

Desperados 3: Mission 12 - map, badges Desperados 3 guide, walkthrough
Last update: 24 February 2021
Key points of Desperados 3 - Mission 12
Important locations on the map
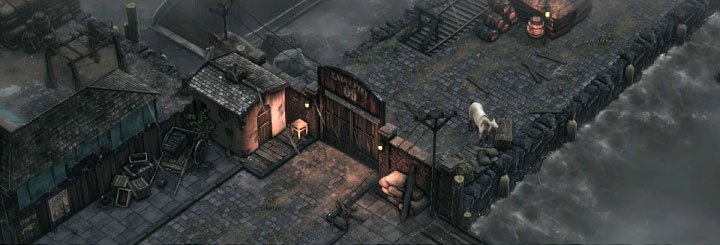
On this page of our world atlas for Desperados 3 we have prepared a detailed map of mission 12 - Dirt and Blood. It is a copy of the New Orleans map known from Mission 10. However, this time as our team of heroes revisits this location they have to face new challenges and use other paths in order to complete this task. Our walkthrough explains how to get to the Marina 9 in order to confront Frank.
The full description of Mission 12 can be found on the following pages of this chapter. Our walkthrough also contains links and indications that refer to the map. For example, the marking (M12,5) indicates that you should find the blue point no. 5 on the map of mission 12.
Mission 12: Markings on the map
- Red dots represent the opponents in New Orleans, while the white dots symbolize the civilians. There are many of the latter in the city. They can trigger an alarm if, for example, they notice an attack.
- We have marked all important locations (worth visiting) with blue points. Descriptions of these areas can be found just below the map.
Mission 12: General information
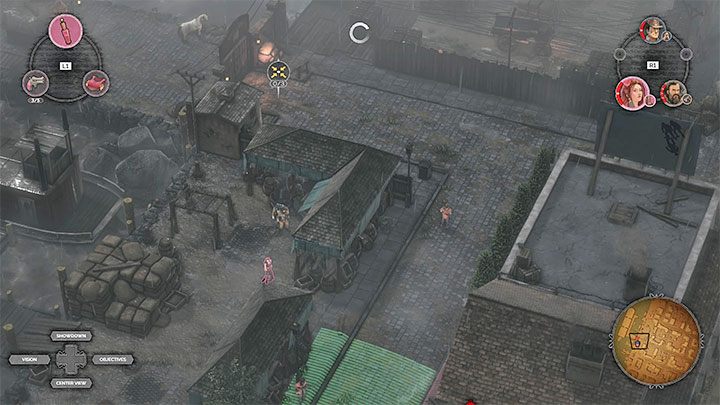
Mission 12 (Dirt and Blood) consists in returning to the city of New Orleans after burning down a steamer in the previous mission of the main story campaign. The overall structure of the map is identical to that of Mission 10. However, the course of the mission is significantly different from the previous visit to New Orleans. The most important change is that people cannot walk freely in the city because a curfew has been imposed. Team members will be attacked immediately if they get detected. Keep in mind that Kate can re-acquire the disguise (she failed to retain the disguise from Mission 10). This means you have to visit the brothel once again. However, obtaining the disguise for the second time can be much more difficult than before.
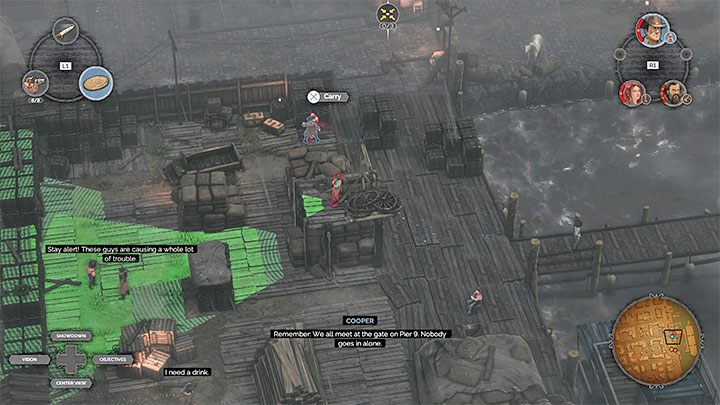
The main objective of re-visiting New Orleans is to reach the gate of the docks with the intention of getting on board the ship on which the wanted Frank is currently residing. There are two paths leading to this place - left and right. Each path involves passing through a different part of the city and confronting different opponents and obstacles. Of course, we have described all possible ways to reach the docks in our walkthrough. Unfortunately, you can't reach the mission's destination by simply walking there in a straight line, because several barricades have appeared in the city. They can force you to search for a way around.
Playable characters:
- Kate - she is available from the very beginning of the mission, but does not participate in the final part of the mission which takes place on a long boat in the docks.
- Cooper - he is available from the very beginning of the mission.
- Sanchez - he is available from the very beginning of the mission, but does not participate in the final part of the mission which takes place on a long boat in the docks.
Mission 12: Badges / Challenges
There are 8 Badges to collect in Mission 12. We have listed and explained them below. The challenges are initially hidden, although you can still unlock them during your first playthrough.
Challenges are unavailable if you play on the Beginner difficulty level. In order to access the challenges, you need to choose at least the normal difficulty level. The same goes for replaying missions to get the remaining challenges.
- Choose the path on the left
- Choose the right path - Choose the path on the right
- Don't use a disguise
- Don't use any of Cooper's skills
- Kill all Long Coats
- Kill 3 guards using the steamer wheel
- Speedrun: Complete the mission in under 22:00 minutes
- Complete the mission on Hard difficulty
Choose the path on the left
This and the next challenge are mutually exclusive. You won't get the second challenge even if you reach the gate (M12,14) and decide to turn back in order to reach the same spot from the other side. You have to compete for both challenges in the various stages of this mission.
The left path consists in walking through this part of the docks where there is a large steamer wheel (M12,10). For more information please check our walkthrough.
Choose the right path - Choose the path on the right
The right path involves passing through Dock 9 (M12,13), a location you may have already visited as part of Mission 10. You can find the optimal route of getting to the gate in our walkthrough.
Don't use a disguise
This challenge will only be interesting if you replay the mission on easy level of difficulty. In other words, you will encounter less troublesome opponents that are less vigilant.
The lack of disguise becomes quite a nuisance in the later part of the mission, after choosing one of the paths leading to the gate in the docks area. You need to use gadgets that can stun your opponents or distract them instead of using Kate's flirting abilities.
Don't use any of Cooper's skills
This limit applies to revolvers, coin and Cooper's throwing knife. Not being able to use revolvers and coins is quite an impediment, but the lack of throwing knife can make it really tough to get through certain locations. Use the skills of the other two characters more often, such as whistling, animal trap and Kate's perfumes.
Kill all Long Coats
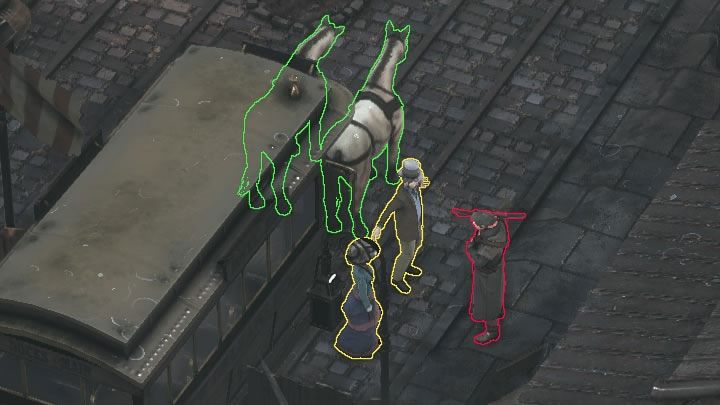
The challenge is not as difficult as its description would suggest. You must kill:
- All the Long Coats enemies that stand still and don't talk to anyone.
- All Long Coats who patrol the area (either alone or in the company of a dog or lesser enemies).
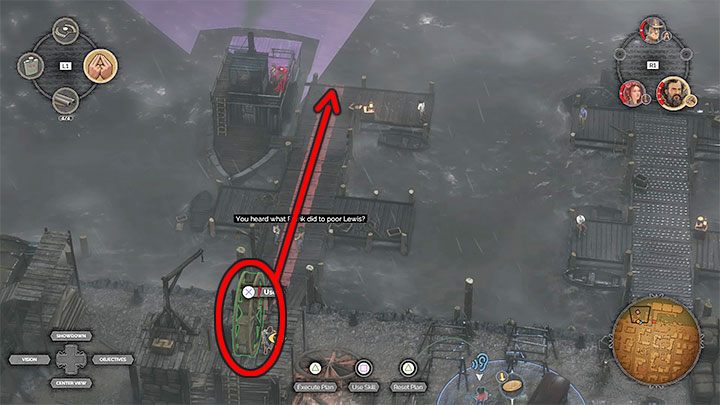
You don't have to kill Long Coats who talk to civilians throughout the mission - an example of this type of group is shown in the picture above. This is a great advantage, as attacking Long Coat standing next to civilians would immediately raise an alarm.
Kill 3 guards using the steamer wheel
The steamer wheel is located at the opposite end of the map, in the docks area to the left of the gate that is the main destination of the mission (M12,10). This challenge has 2 major handicaps:
- First you have to deal with all the bandits that are looking towards the wheel and the bandit that works at the wheel.
- You have to make sure that there are 3 enemies on the pier on which the detached wheel may roll. Initially there are only 2 opponents. You can lure the third bandit by using Kate's flirting (remember to let Kate escape from the incoming wheel) or by placing an unconscious opponent on the route of the rolling wheel.
Speedrun: Complete the mission in under 22:00 minutes
Play on the easy difficulty level in order to encounter less problematic opponents on the map. Also, enemy reactions will be a little bit slower.
Don't acquire Kate's disguise. It's worth to skip this action because there is a high probability that it may take you a lot of time even if you decide to do it without all of the optional steps. We also advise you to choose the left path (M12,9). You will encounter a smaller number of opponents on your way. In the final part of the mission, don't waste your time on attacking all opponents on the ship, but bypass them or distract them with coins.
Complete the mission on Hard difficulty
This is the best choice when completing the mission for the first time, but playing on a high level of difficulty means having to deal with uncomfortably positioned opponents. You'll notice that especially while trying to get a disguise for Kate and walking towards the Docks. You have to carefully plan every step in order to attack a particular enemy out of sight of other enemies that may stand nearby or on the roof. Fortunately, this challenge doesn't have a time limit, and you can save your progress freely.