
Ratchet & Clank Rift Apart: Run away from Fixer - walkthrough, Torren IV Ratchet & Clank Rift Apart guide, walkthrough
Last update: 23 June 2021
This page of the Ratchet & Clank Rift Apart game guide covers the third part of the planet Torren IV walkthrough. In the following walkthrough you will learn how to successfully escape from the Fixer, who is a large machine. This is required to safely leave the planet Torren IV.
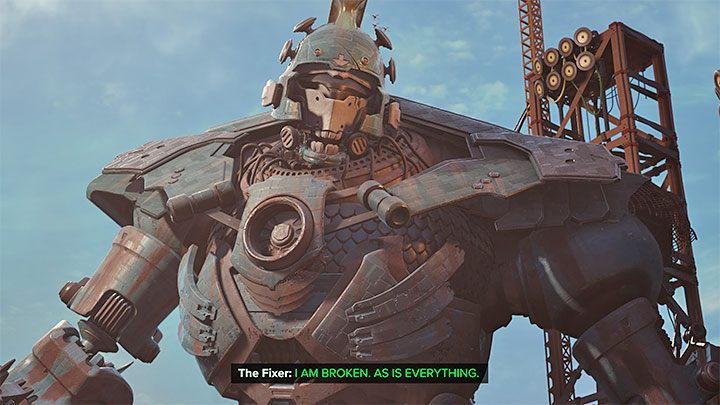
As a reminder, the Fixer is the large walking machine you saw in the background while exploring other areas on Torren IV. Rivet had to reach the crank located next to the Fixer to reset the mech.
Unfortunately, the Fixer will initially be hostile to the main character. This means that you will need to complete an escape scene.

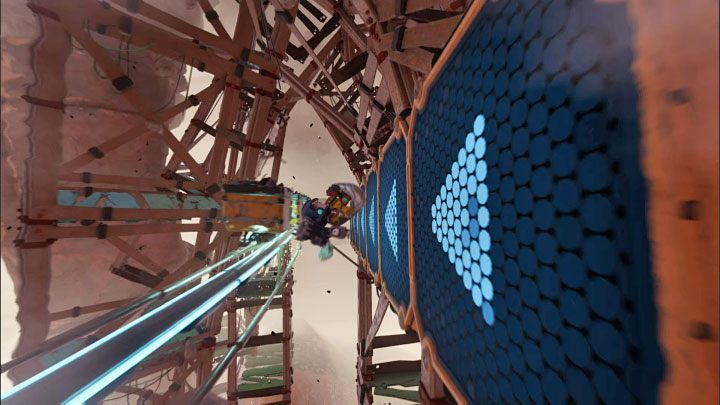
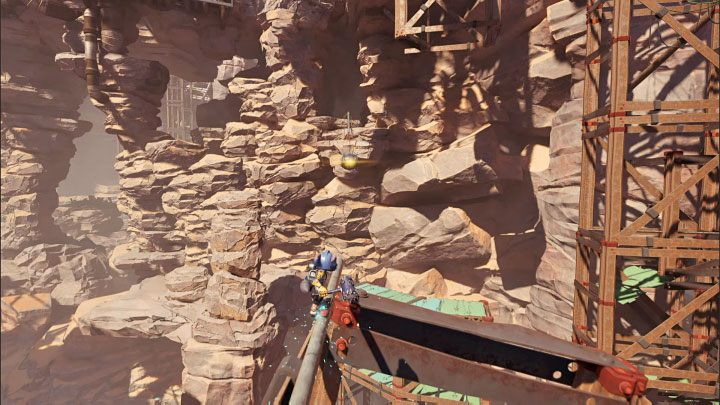
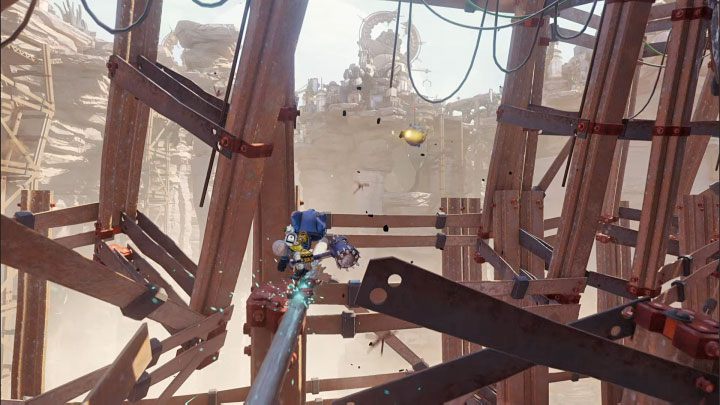
The escape from the big machine starts with traveling on a rail. Be prepared to jump onto adjacent rails at certain points during your escape. You will be forced to do this for the first time close to the start in order to avoid the Fixer's lower limb.
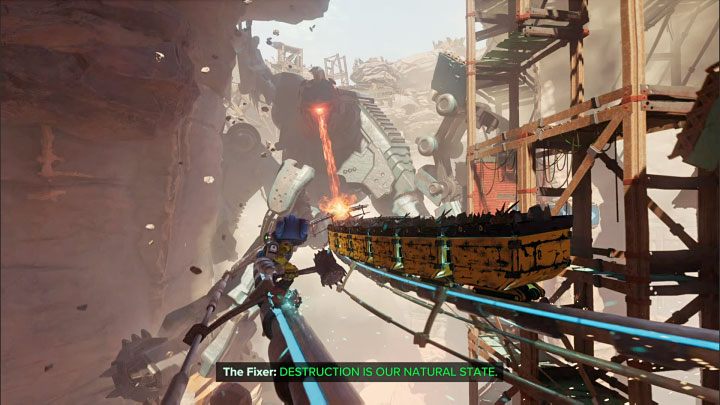
A little further on, there will be another obstacle in the form of a row of carriages over which you cannot safely jump. Instead, you must run on the walls on the side and only return to the main rail when it is safe to do so.
In one of the following areas, the Fixer will launch a laser attack that targets the left rail. Wait for the perfect moment to jump to the adjacent right rail.
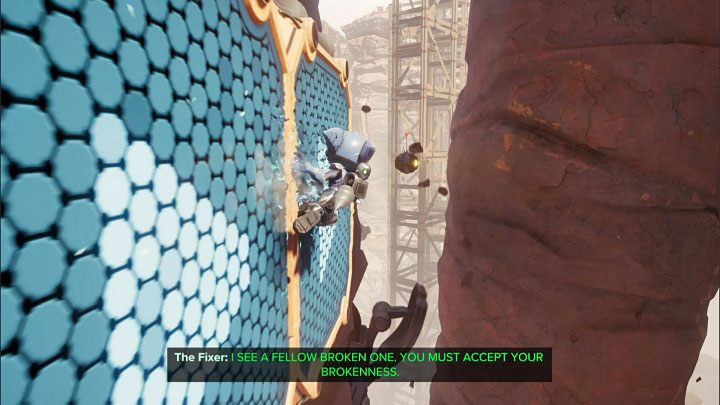
Soon you will have to run along the wall again, but you will also need to grab onto the hook with the hurlshot. Catapult Rivet towards the Fixer - you will fly past the mech and land on the new rail behind their back.
Be ready to grab onto the hook again and use the hurlshot (hold down L1) when you reach the end of the rail. This will bring you to the next rail and take you into the Abandoned Mines.
As you ride through the mines, once more run on the wall and jump to the right rail.
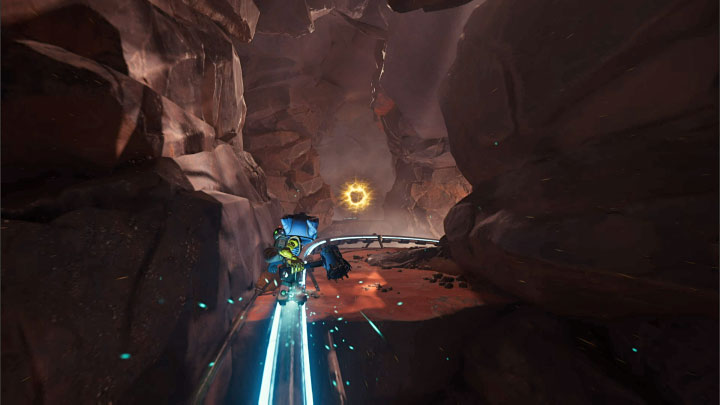
Wait for the moment when a rift appears in front of you and press the L1 button to pull yourself towards it.
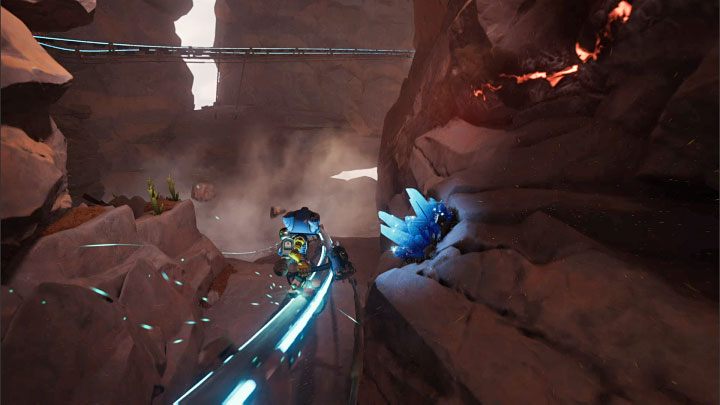
In the next part of the mine, jump to the left rail at the first opportunity, as the Fixer will fire lasers at the right rail.
Along the way, you can optionally hit the raritanium crystals with your melee weapon (Square) to add them to your inventory.
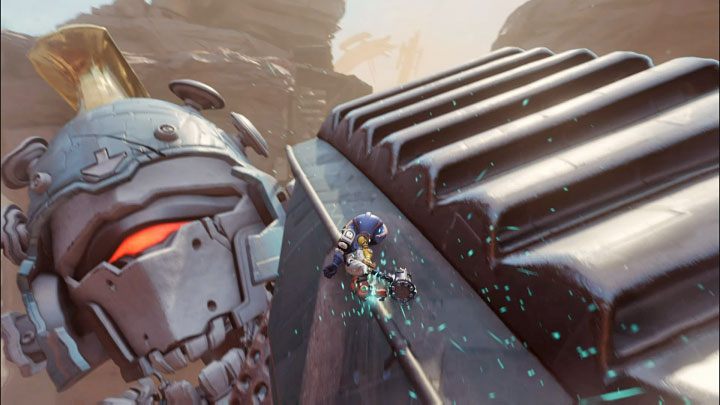
At the very bottom, grab the new hook and catapult Rivet using the hurlshot. You will spend a long time in the air and once you have landed on the Fixer, you will need to ride on the makeshift rail on their back.
Start the ride on the skewed scaffolding and grab onto a new hook.
After sliding down the crooked shelf, you will find yourself on another rail. The last thing you'll need to do is to grab onto the hook at the end of the rail.
A long cutscene with the Fixer will begin and their attitude towards the heroes will eventually change. The mech will fix the phase quartz that you found earlier.
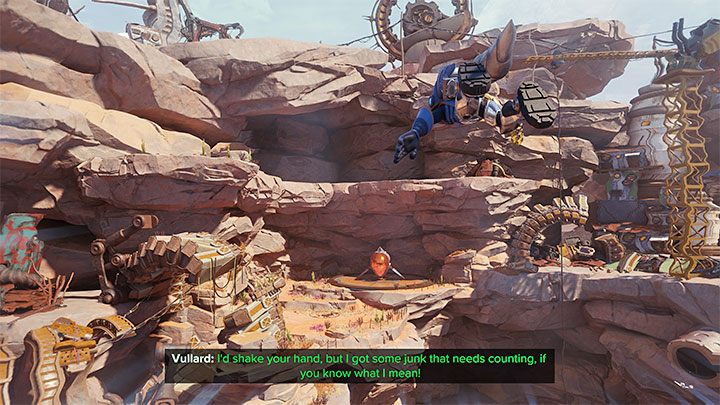
You may now leave the planet Torren IV - return to Rivet's spaceship. If you have followed this this guide so far while playing the game, you will now be able to explore planet Cordelion. We have described it in the next chapter of the guide.