
Ratchet & Clank Rift Apart: Finding the Dimensionator Blueprints - walkthrough Ratchet & Clank Rift Apart guide, walkthrough
3 temples
Last update: 15 June 2021
This page of the Ratchet & Clank Rift Apart game guide covers the third part of the Savali walkthrough. The following walkthrough explains where to find the Mountain Temple, the Earth Piercer Temple, and the Primeval Forest Temple, as well as what you need to do in these locations in order to obtain the Dimensionator Blueprints.
Temple exploration - basic info
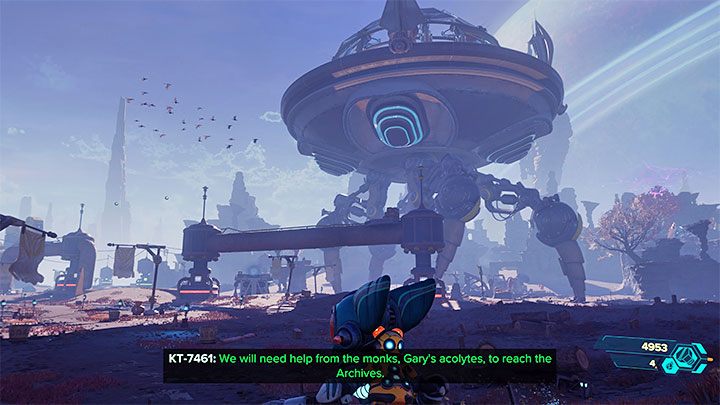
Once you reach the main section of the wilderness on planet Savali using the Hoverboots, you will realise that in order to board the great walking Archive, you must visit 3 different temples and free the monks that are held there.
The game will mark the locations of the temples on the Savali map. You can visit these places in any order. In each location you will have to perform slightly different activities related to, for example, fighting or climbing. All 3 temples are described in more detail below.
Primeval Forest Temple
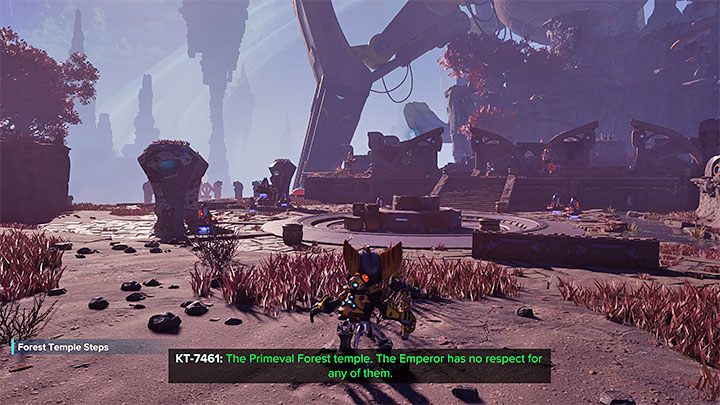
This temple is located at the eastern end of the map. Approaching it will initiate a rather intense battle against Nefarious's troops.

Expect the mini-boss, Nefarious's Destroyer, to join the fray as the battle progresses. It has identical attacks to the previously encountered Destroyers, so the main things you need to watch out are the laser beams and the leaps.
It's a good idea to use Phantom Dash, run around a lot, and pull yourself towards gaps from a distance when necessary. It might also be a good idea to summon Mr. Fungi to help Ratchet eliminate or weaken enemies.
Once the battle is won, locate the interactive console. Kit will investigate it.

Don't expect that freeing the monks will be an easy task, as reinforcements will show up while Kit is disarming security. Notice that Kit's health bar is visible on the screen and you can't let her die. You must react aggressively to all enemy attempts to reach the place where the monks are held captive - cover Kit if necessary and use strong ranged weapons (e.g. the Negatron Collider) before the opponents get too close. You can also summon Mr. Fungi to help Ratchet eliminate enemies.
Winning the battle will lead to freeing the monks and completing the first of three mission objectives.
Earth Piercer Temple
The next temple is located in the north-western part of the map and you will notice the huge construction from a long distance. You have to visit the area below it.
This is a location where some pretty intense battles await you. During the fights, keep an eye out for sniperbots - their attempts to target Ratchet are marked by red laser beams. Get rid of them before they can manage to shoot you or avoid getting hit by frequently using the Phantom Dash and Hoverboots and by pulling yourself to the gaps in the area.

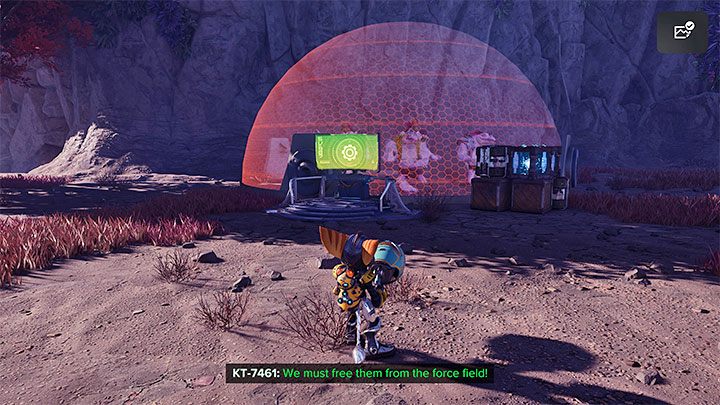
After the fights, find the terminal on the lower level - it is next to the round cell where the monks are imprisoned. You can release them without any additional problems.
Mountain Temple
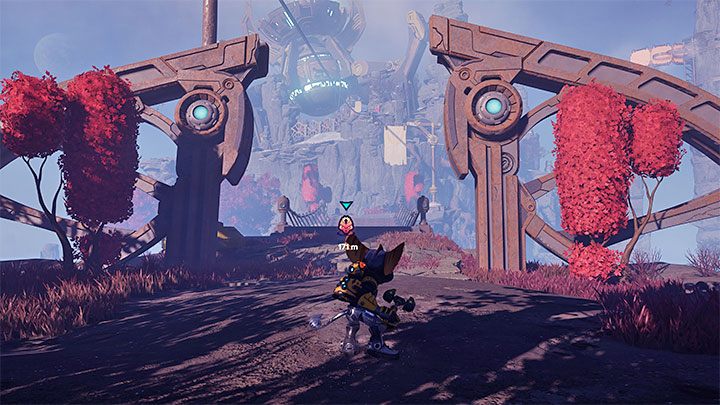
In order to explore this temple, you must head towards the island located at the southern end of the map. The large drawbridge shown in the picture leads to it. When you reach the path that leads to the top of the mountain, you will meet Gary and have a brief conversation with him.
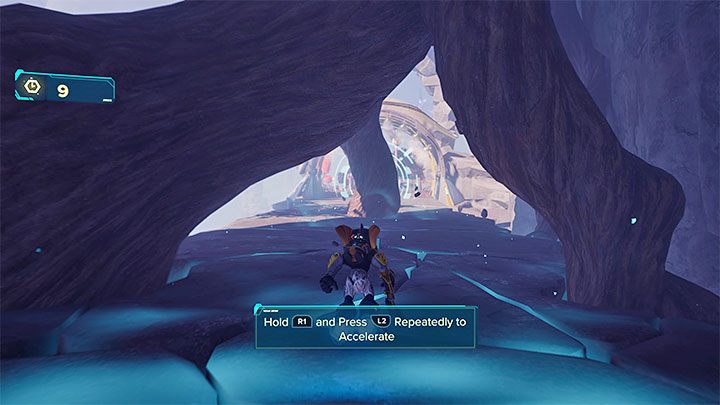
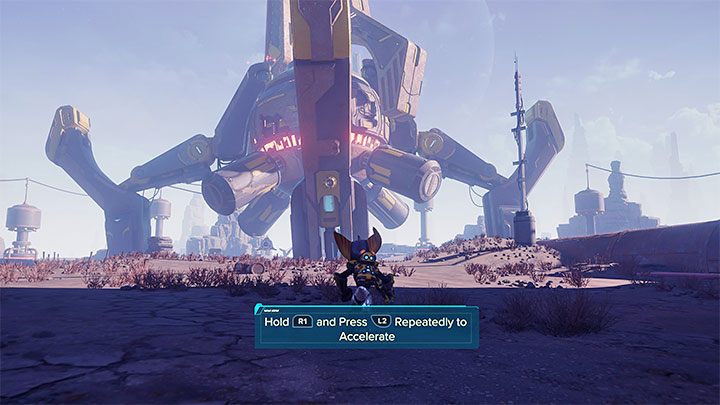
On the way to the peak, you will need to use the Hoverboots to reach safe places before a given section of the path collapses. When using the Hoverboots, you can accelerate their speed, but make sure not to collide with some indestructible obstacle on the way or fall into an abyss, e.g. when the path turns sharply. A counter always appears in the upper left corner of the screen indicating how many seconds are left before a section of the path collapses.
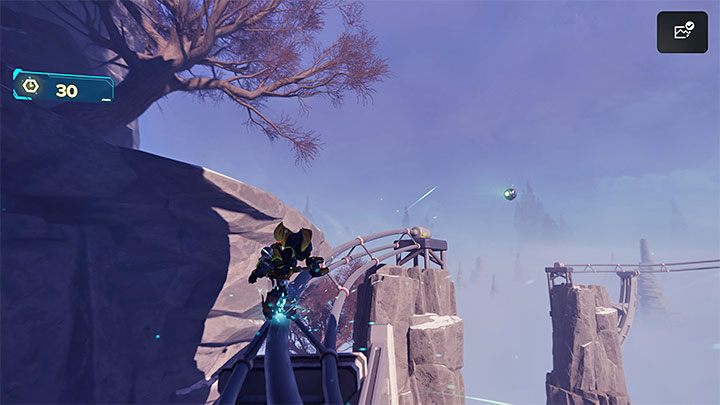
Further along the climb while using the Hoverboots, there will be additional obstacles such as:
- walls to run on - use the double jump if necessary to accurately target each wall,
- rails,
- levitating handles - time holding the L1 button well.

After reaching the temple, collect the nearest supplies and start new battles. Once more, make sure to watch out for the sniperbots and aim to destroy them as quickly as possible.
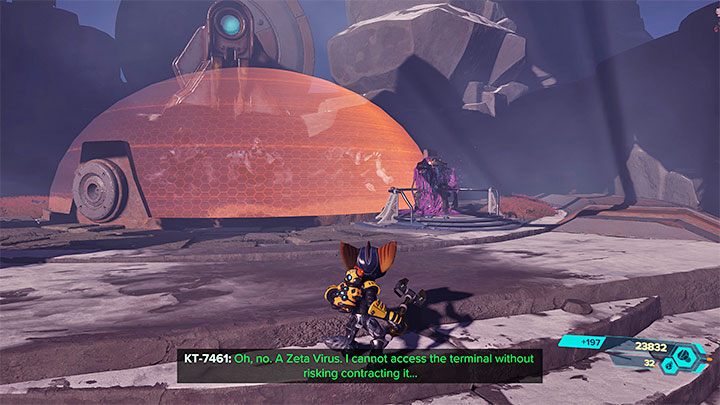
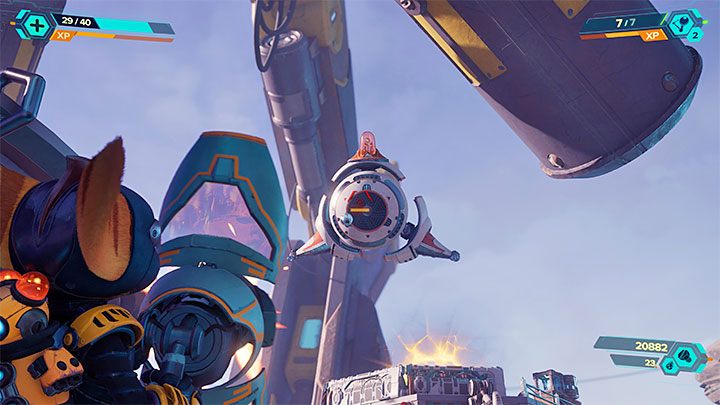
Once the battles are over, approach the console next to the sphere containing the imprisoned monks. You will discover that the console is infected and as a result you will need to play a new Glitch section.
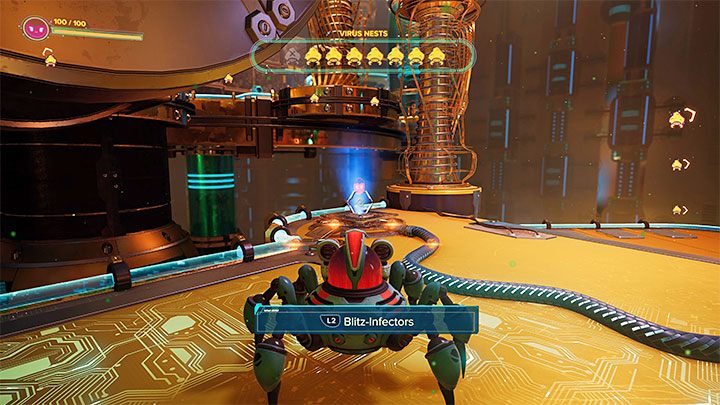
As a reminder, the main goal in the Glitch stages is to eliminate nests of hostile viruses. Keep in mind that some of the nests and enemy cannons will be protected by forcefields. Find buttons similar to the one in picture no. 1 to disable these types of barriers. Note - Some buttons may be located on the walls or ceilings. Watch the cables coming off the forcefields.
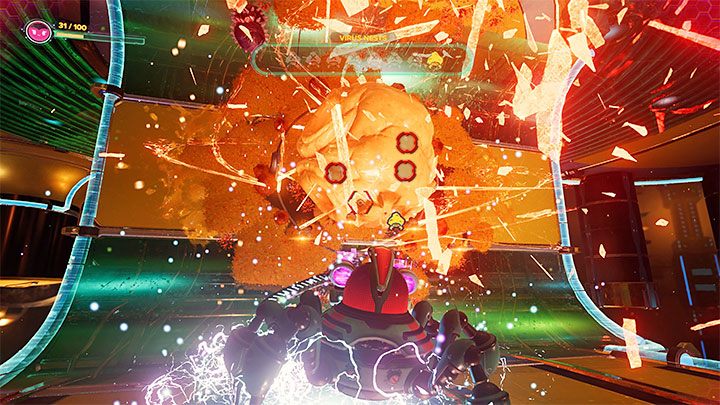
By pressing the L2 trigger, you can launch infectors that will help you eliminate enemies. While targeting, crosshairs should appear on the attacked object (example in picture no. 2). Destroying all the nests will allow you to complete the stage and free the monks.

If you have freed the monks from all 3 temples, you will be transported to a place where you can talk to Gary. It will open a portal for Ratchet. Now you can proceed to the next page of the guide titled Getting to the Archives.