
Ratchet & Clank Rift Apart: Gaining Lombax Lore - walkthrough Ratchet & Clank Rift Apart guide, walkthrough
Last update: 15 June 2021
This page of the Ratchet & Clank Rift Apart game guide covers the second part of the Savali walkthrough. The following walkthrough focuses on the optional mission objective, which is acquiring Lombax Lore. You will learn where to find all 12 shrines with Lorbs and what rewards you will get for completing all the extra knowledge.
- Meeting the Monk Scholar
- Shrine 1
- Shrine 2
- Shrine 3
- Shrine 4
- Shrine 5
- Shrine 6
- Shrine 7
- Shrine 8
- Shrine 9
- Shrine 10
- Shrine 11
- Shrine 12
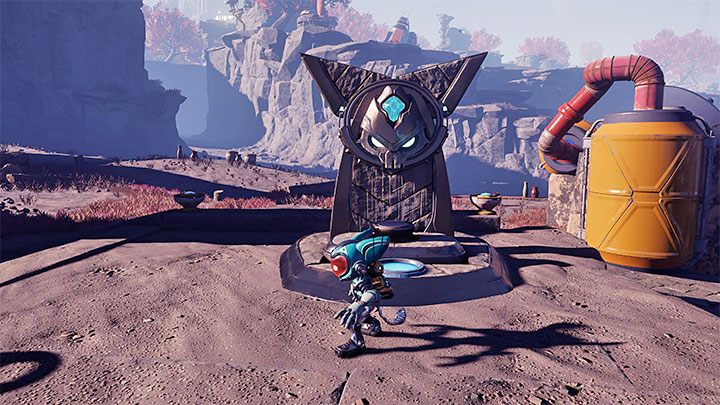
Meeting the Monk Scholar
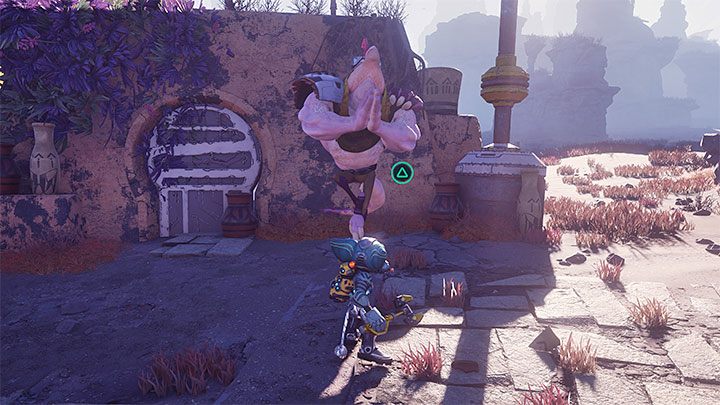
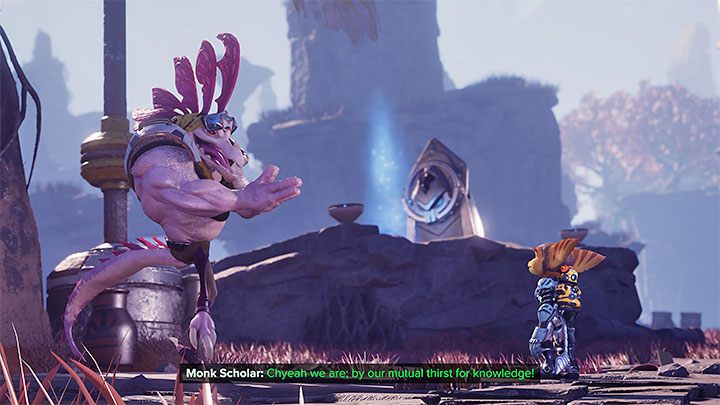
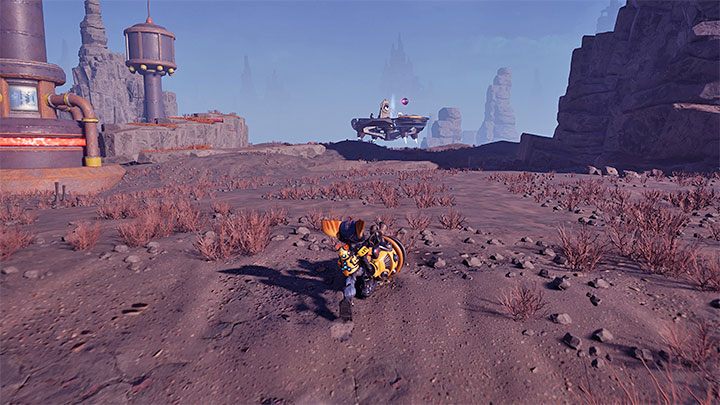
You can start looking for shrines as soon as you reach the main part of the Savali planet wasteland, but it is worth meeting a Monk Scholar first. You will find him in a small village - the meeting place is marked with a blue dot on the map. You will learn that he is collecting objects called Lorbs containing Lombax Lore and that providing these to him will reward you with unique treasures.
The monk will initially ask you to bring him 3, but ultimately you should find and bring him all 12 Lorbs.
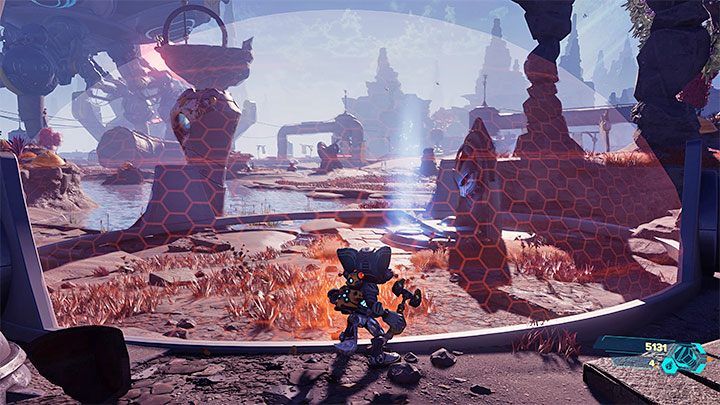
Below you will find a list of all shrines with Lorbs. We have listed them in sample order presented on the Savali map attached to this page, but of course, you can reach them in any order you like.
Shrine 1
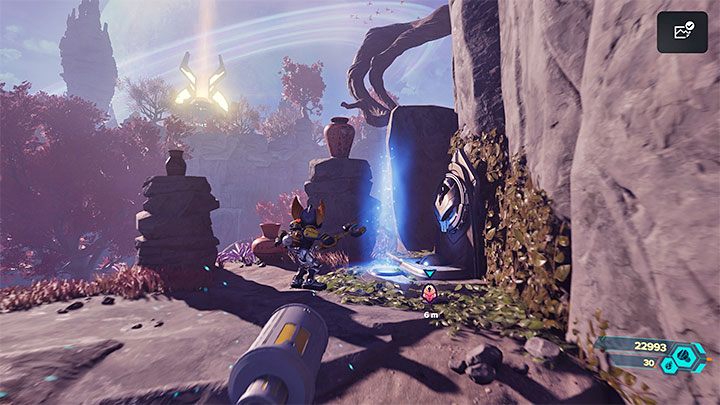
The shrine is in the southwestern part of the wasteland. It is initially surrounded by a force field, and you can't reach it, even if you use the Phantom Dash.
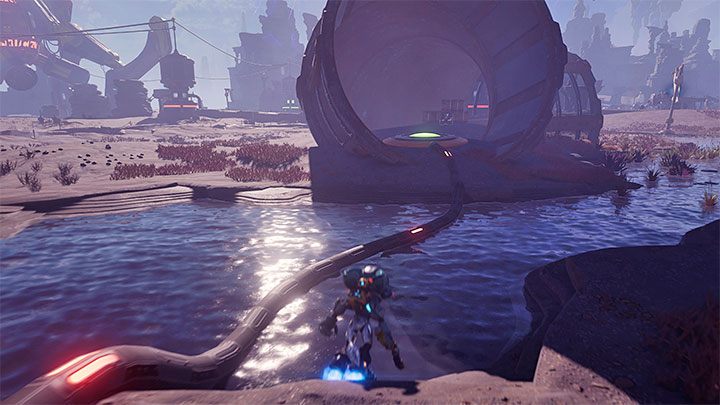
Note the wire which is coming from the field surrounding the shrine. Follow it and to reach the pressure plate shown in the picture. Touch it.
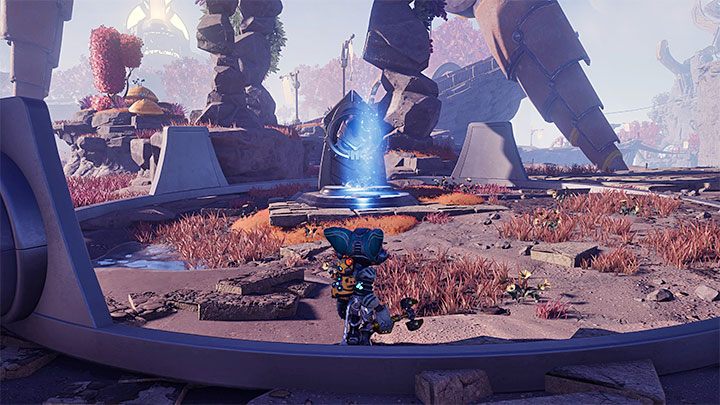
You can now return to the starting point. Touching the plate has disabled the force field, and now you can approach the shrine.
Shrine 2
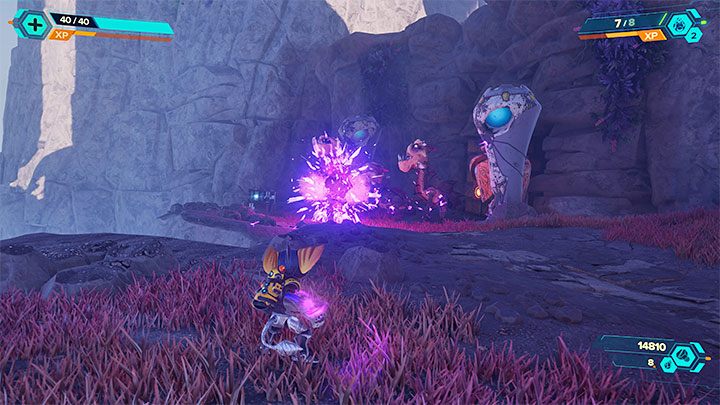
The shrine is in the western part of the wasteland. There may be enemies near it and you should deal with them first.
Shrine 3
The shrine is in the village next to the place you might meet the monk.

For delivering 3 Lorbs to the monk, you will receive the Wasteland Gear Boots. All items in this set weaken the attacks of enemy creatures (the bonus works even if you don't currently use the Wasteland set).
The monk will mark the other 9 shrines on the map, and it should make it easier for you to find them.
Shrine 4
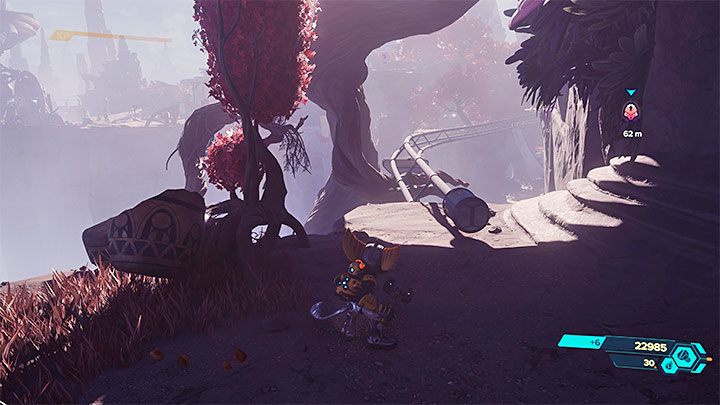
Look around the area near the village with the monk. You have to locate the ramp shown in the picture, which is to the east of the shrine marker. Hover over it with Hoverboots on.
Bouncing off the ramp at high speed will allow you to reach a high ledge with the shrine.
Shrine 5
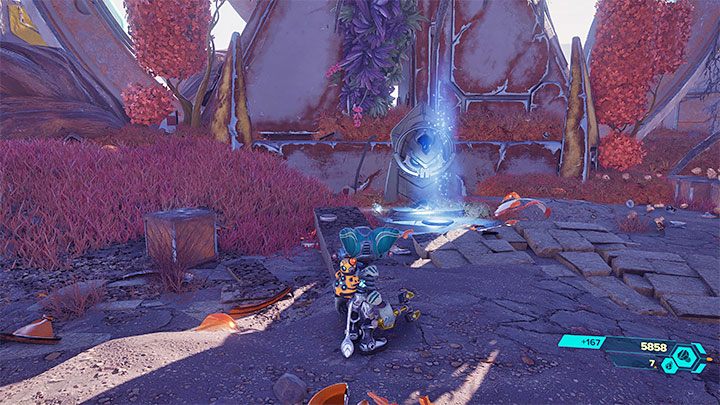
The shrine is in the southern part of the map. You have to touch the pressure plate and run on the walls shown in the picture.
When running, try not to bounce off too early. There are vertical buttons at the end of some walls - we've marked an example in the picture. You have to touch them while running and then jump (preferably double jump) towards the next walls.
If you have pressed all the buttons correctly along the way, then the force field surrounding the shrine will turn off, and you will be able to take the Lorb.
Shrine 6
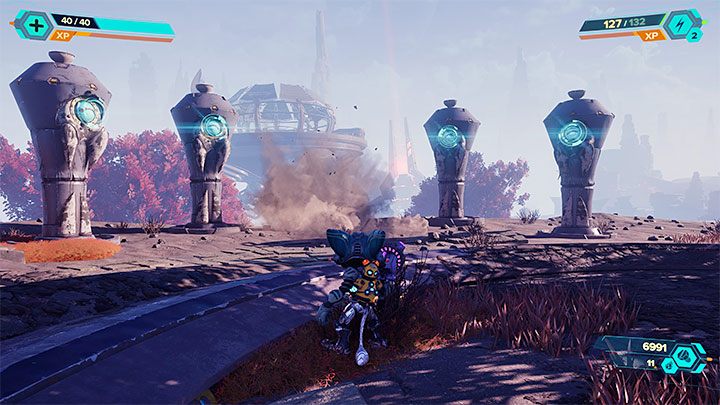
The chapel is located in the southern part of the wasteland. You will reach an area with four pillars. You have to hit the red one, and eventually, they all light up blue. The shrine will rise from the ground.
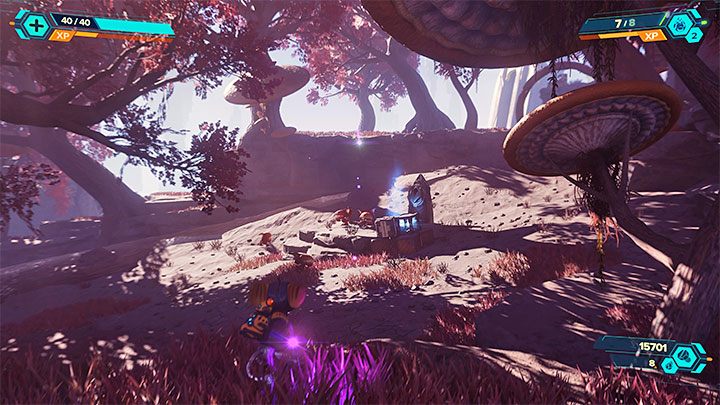
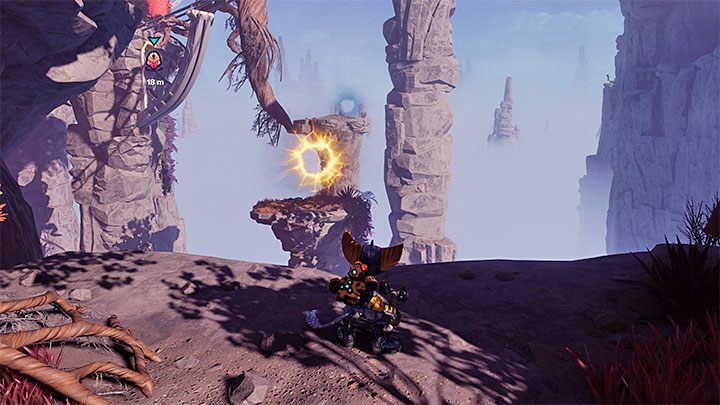
Shrine 7
The shrine is in the centre part of the wasteland. You have to start by locating the large mushroom shown in the picture. Ratchet can bounce on it.
While in flight, pull yourself to the gap marked in picture 1. You will land on a high rock ledge with the shrine.
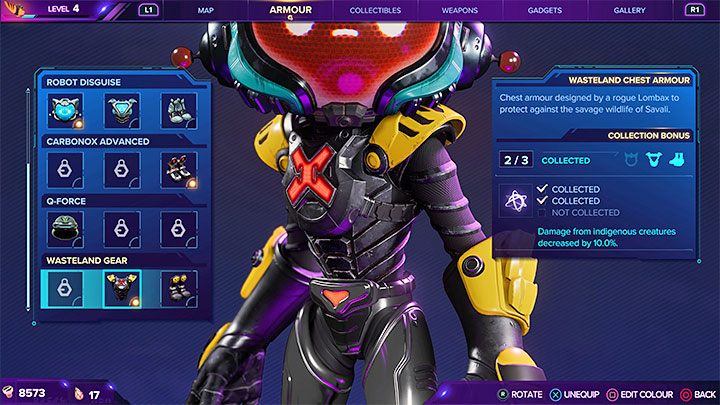
For delivering 7 Lorbs to the monk, you will receive the Wasteland Gear Chest.
Shrine 8
The shrine is in the southern part of the map, next to one of the Pocket Dimension (another category of secrets). It is hidden by the rocks and is guarded by a group of monsters that you have to fight.
Shrine 9
The shrine is in the eastern part of the map, a short distance west of one of the temples associated with the main mission objective. There are many trees near the shrine and a group of not challenging creatures.
Shrine 10
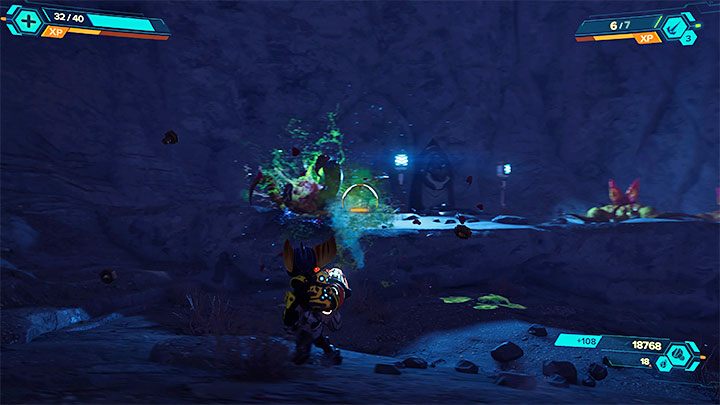
The shrine is located in the northeastern part of the map. It is hidden in a gorge, and you have to defeat monsters before obtaining the Lorb.
Shrine 11
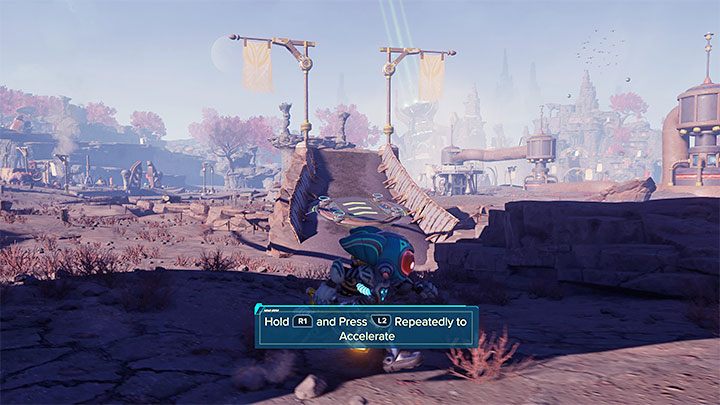
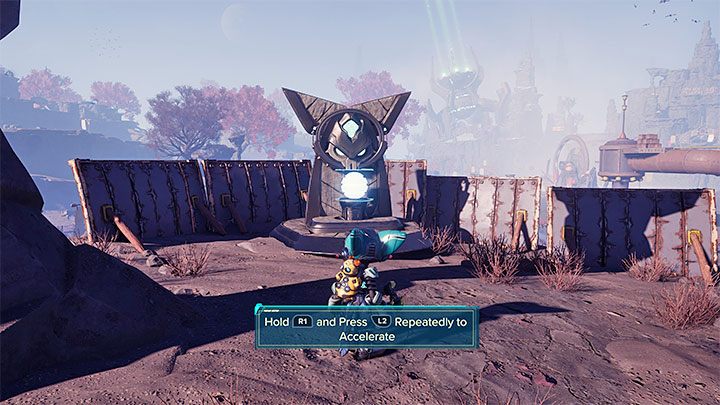
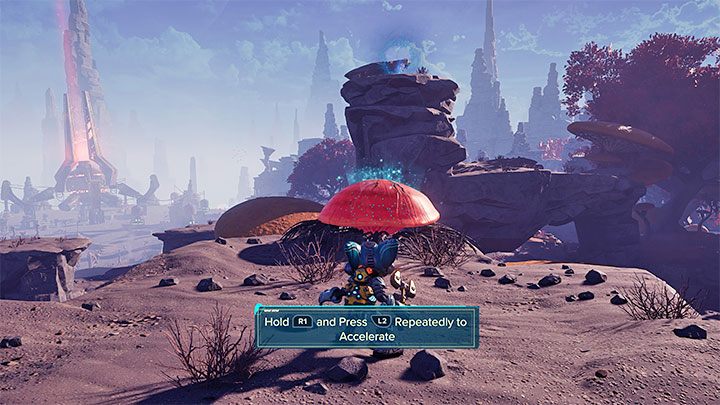
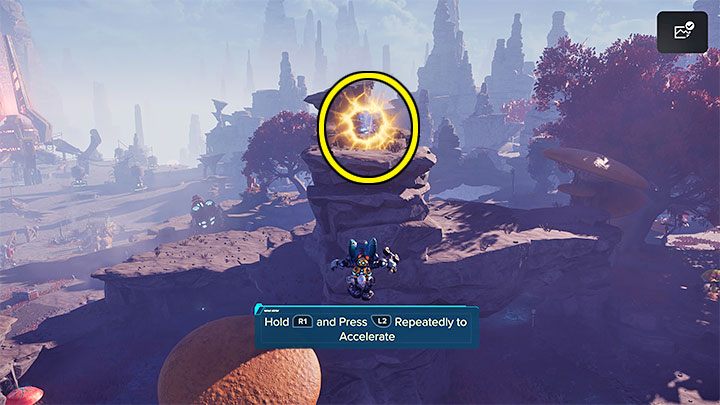
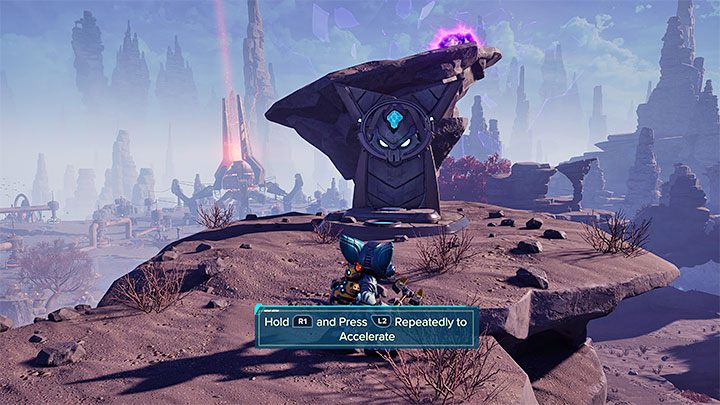
The shrine marker is at the north end of the map. Its location changes because the shrine is on board a UFO flying around this part of the wastelands. Once you get close to the UFO, it will start running away, and you have to pursue it.
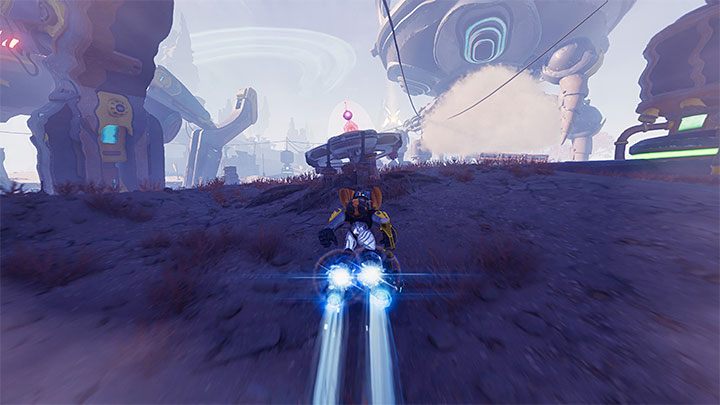
As a reminder, you have to use Hoverboots (hold R1) to chase it. Try moving at maximum speed (L2 or R2) while looking around for ramps. Bounce off one of the ramps and fly towards the UFO.
If the UFO escapes, you can wait a while until it returns to the northern part of the map and repeat the steps. Remember to always move at the maxum speed, but avoid colliding with indestructible obstacles and falling into the abyss.
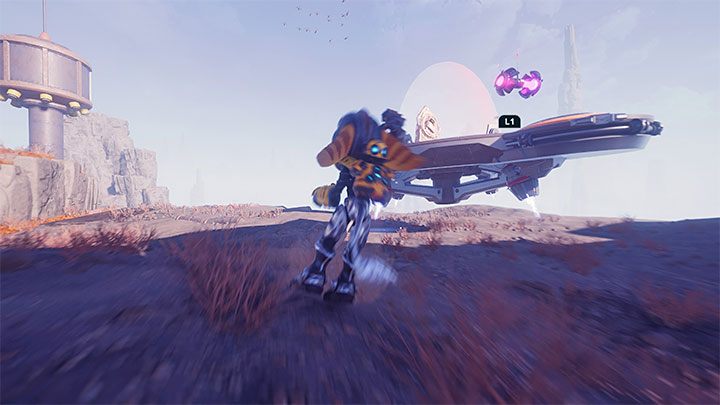
After you bounce off the ramp, you should shorten the distance to the fleeing UFO. Be ready to hold down L1 to grab onto grappling and land on the UFO. All that remains is to step on the pressure plate that would disable the force field surrounding the shrine.
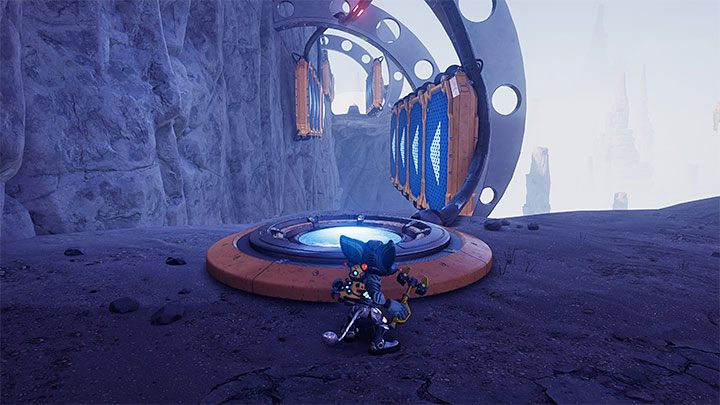
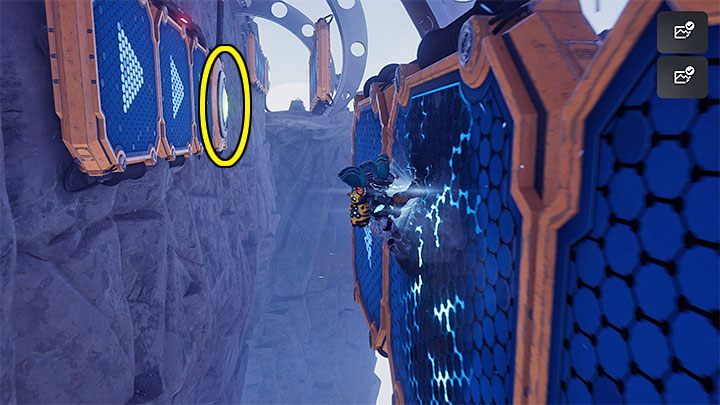
Shrine 12
The shrine is on a southern island that you will visit when searching for one of the temples related to the main storyline. Start at the place where you met Gary. Look around for the rock ledges shown in the picture. You can pull yourself to the gap here.
The last time you pull yourself to the gap, you will find yourself next to the rail shown in the picture. Hop on it to start the ride.
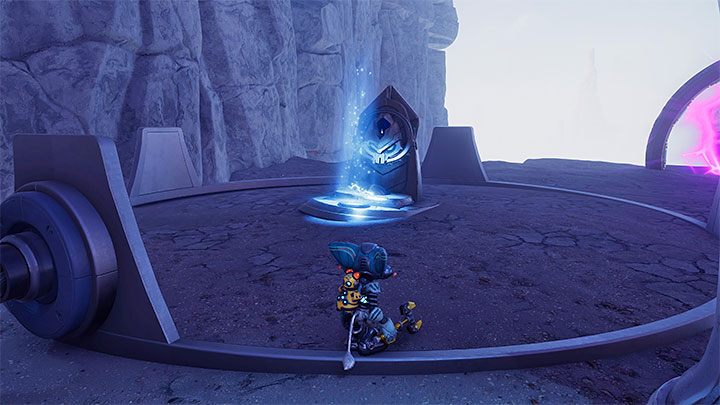
You will reach a rock ledge with a shrine.

After you deliver all 12 Lorbs to the monk, you will receive the final reward - Wasteland Gear Helmet. You will also complete a side quest.