
Ratchet & Clank Rift Apart: Protecting Morts, freeing Seekerpede - walkthrough Ratchet & Clank Rift Apart guide, walkthrough
Last update: 18 June 2021
This page of the Ratchet & Clank Rift Apart guide has the first part of the walkthrough for your second visit to Sargasso. You will learn how to help the Morts defeat Nefarious' troops, as well as how to complete all 3 of Kit's puzzles to free the imprisoned Seekerpede.
Defend the Morts

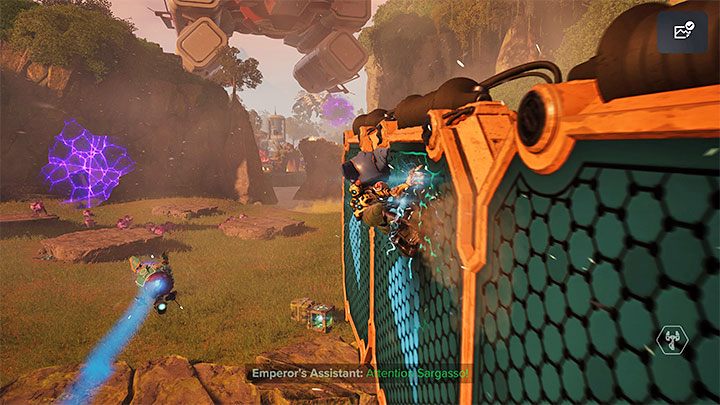
You will begin your second visit to the planet Sargasso on one of the platforms adjacent to the wetlands. You do not have to rush to protect Mort - there is no risk of failing the mission if you do not react quickly enough.
Mrs. Zurkon has set up her shop nearby - she now sells an excellent weapon called the Blackhole Storm. It costs 35,000 Bolts and you should get it as soon as possible. The minigun is useful for attacking groups of enemies, as well as for weakening strong opponents. Just remember that weapon takes a while to start firing. You won't be able to attack with it right away.

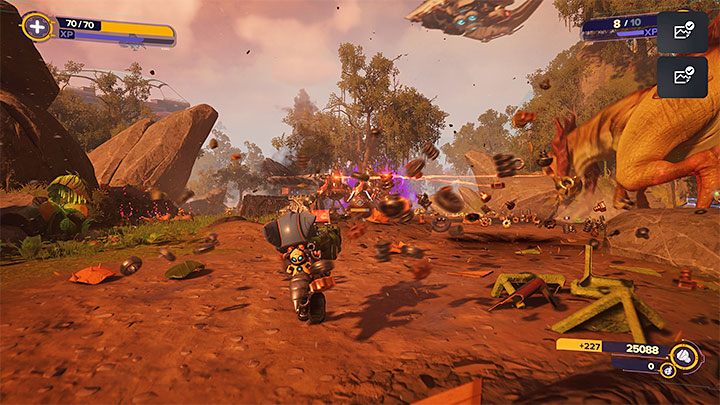
Set off towards the neighboring platforms and eliminate Nefarious' machines. It's a good idea to attack them from a distance (if you have a sniper rifle, aim for the heads inside the machines). You can also use the nearby rifts and pull yourself towards them.
After dealing with the first group of Nefarious' machines, you will have a short conversation with the Morts. You will learn that you need to free the Seekerpede so it can join the battle.
Free the Seekerpede
You have to head south and that means going down the metal platforms. Avoid touching the swamps' water by running on the walls.
You will reach a clearing where more of Nefarious' machines will pass through rifts. Remember that you can summon allies (e.g. Bombardier, Glove of Doom).

When you reach one of the next metal platforms, you will need to interact with the crank. This will allow you to run on new walls.
Follow the path and defeat more of Nefarious' subordinates. Get rid of them all before you go any further, as more machines may come through the rifts - you don't want to get overwhelmed by enemy forces.
Along the way, you will use a new rift by reaching the southwestern part of the map. In this area, Nefarious' machines are fighting Grunthor. You can ignore these battles and move on, or you can join the fight. Be aware, however, that Grunthor will treat Rivet as a hostile.
Use rifts and equip yourself with good weapons to destroy the flying machines that will appear in the area.
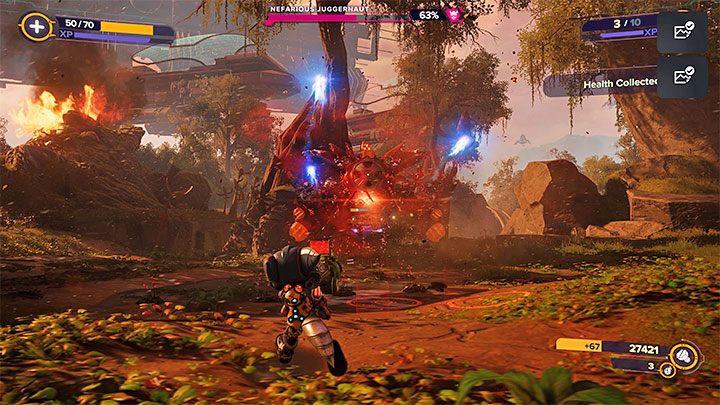
You will be prevented from reaching Seekerpede by a mini-boss - Nefarious Juggernaut. You should remember from previous battles with these enemies to avoid their purple rays - jump over them or use Phantom Dash. Use a dodge when the mini-boss shoots its rockets or makes long jumps.
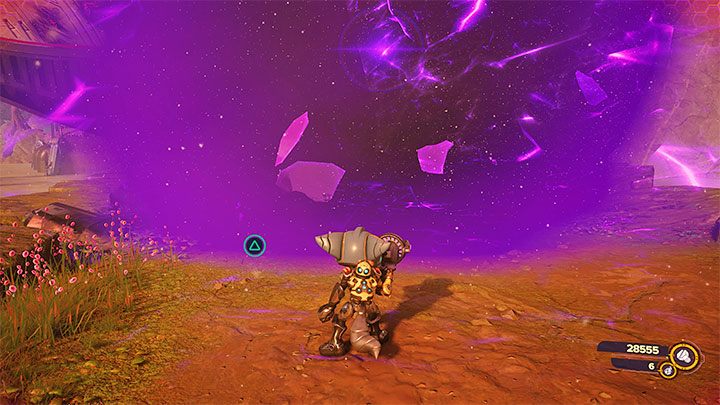
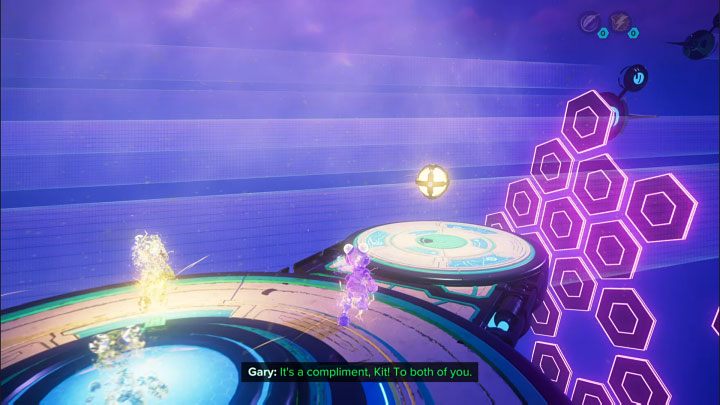
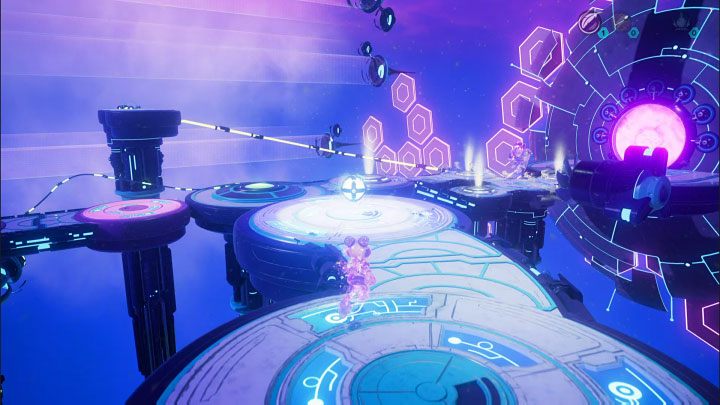
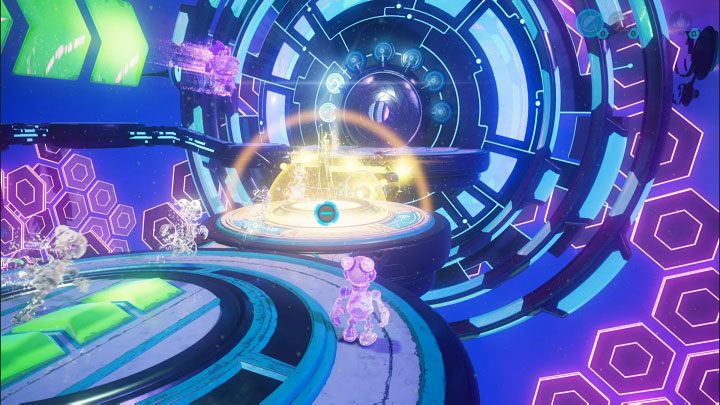
In addition to the Juggernaut, you must also deal with the last group of Nefarious' smaller machines. Soon, you will reach the purple anomaly. In order to free Seekerpede, you will have to solve 3 new puzzles as Kit.
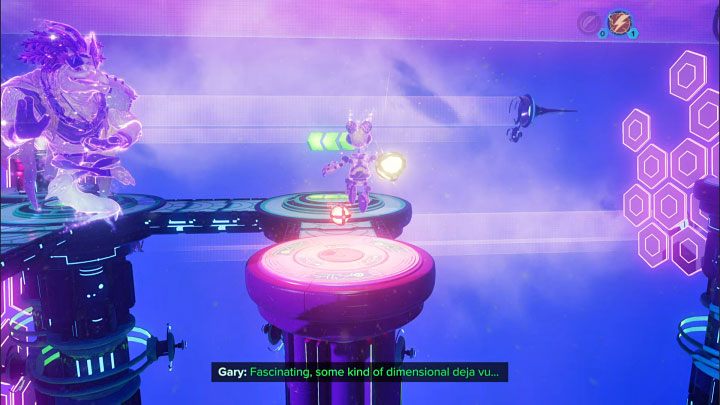
Kit's first puzzle
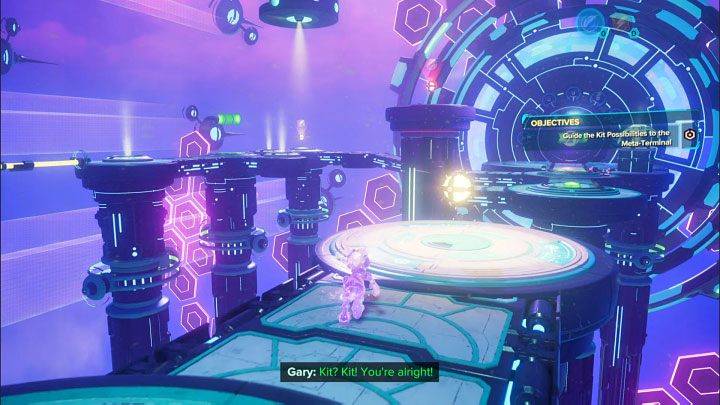
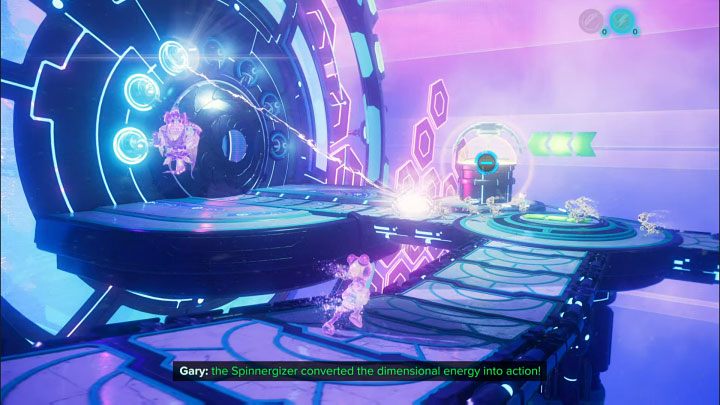
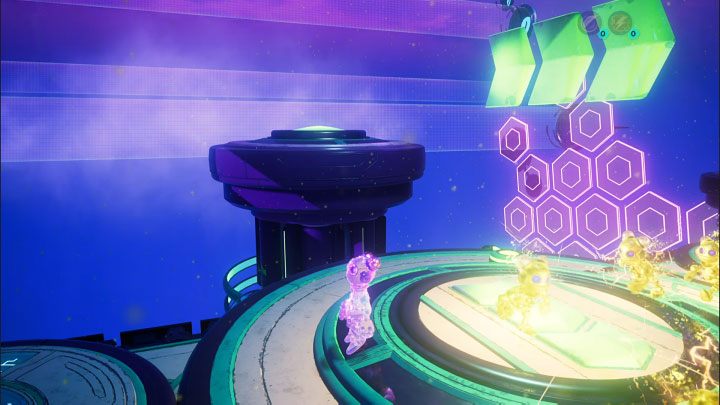
It's worth noting that Kit has identical moves and abilities to Clank. The goal of each puzzle also remains unchanged - you must lead the running projections to the meta-terminal (exit point).
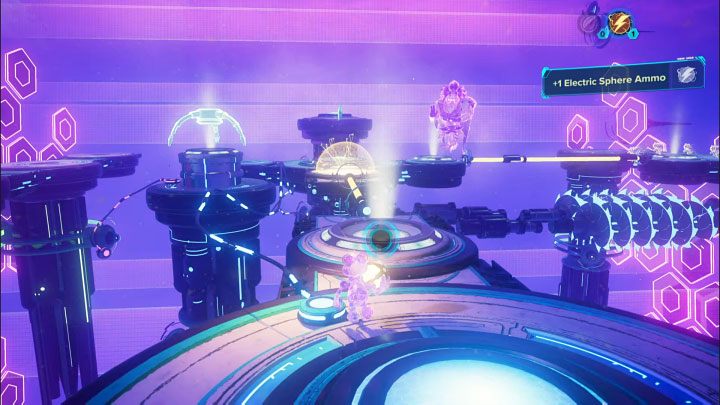
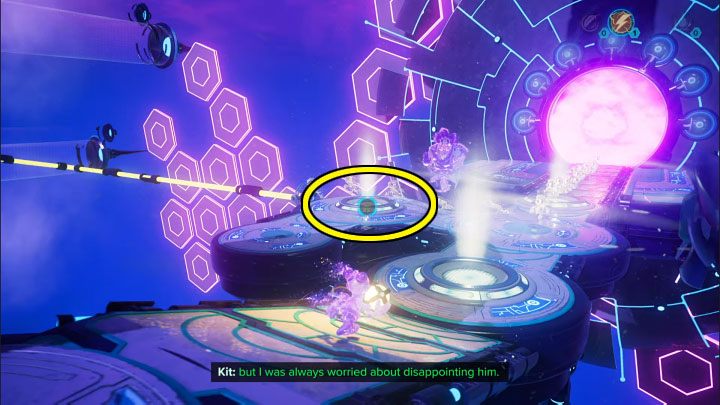
In the first puzzle, start by going straight ahead and taking the Electric Sphere from the round platform.
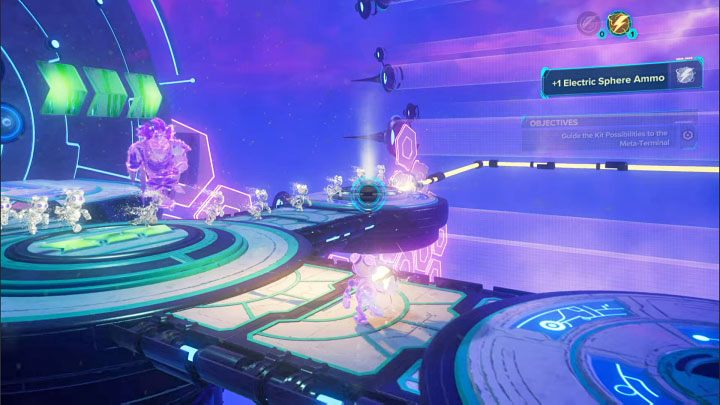
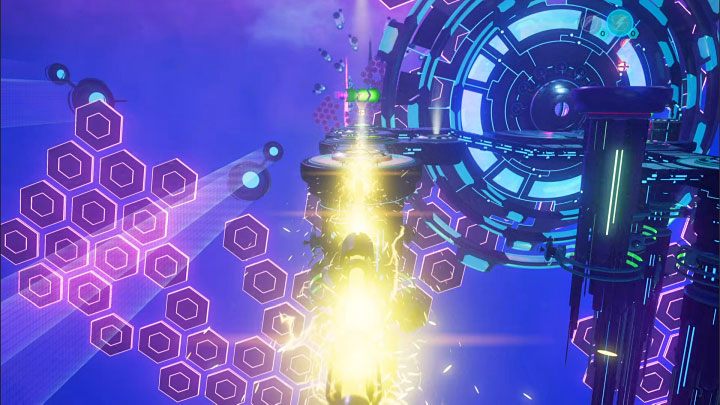
You can immediately use the electric sphere on the left slot. Next, approach the electrified cable and travel with the projections to the opposite end of the cable.
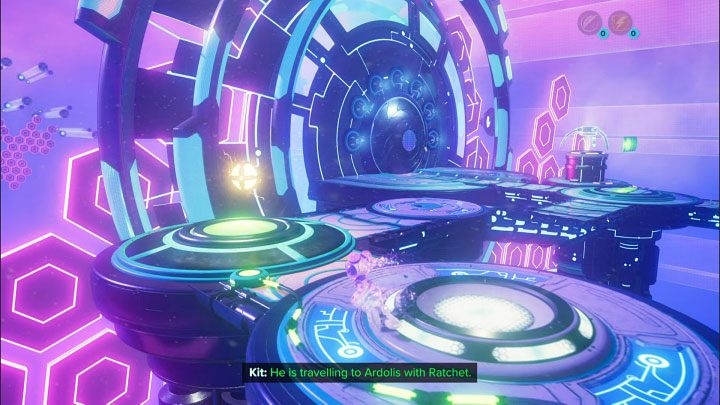
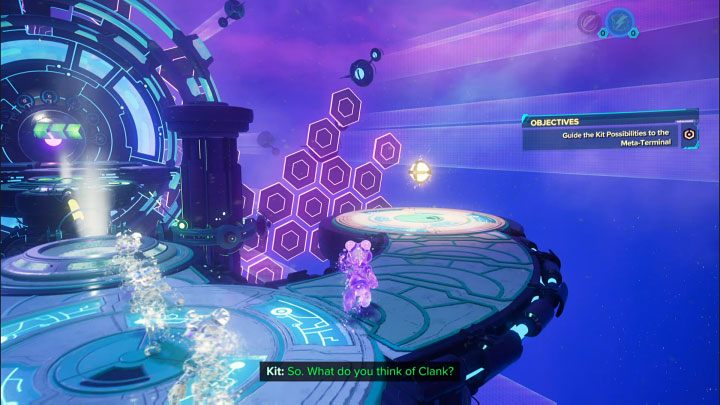
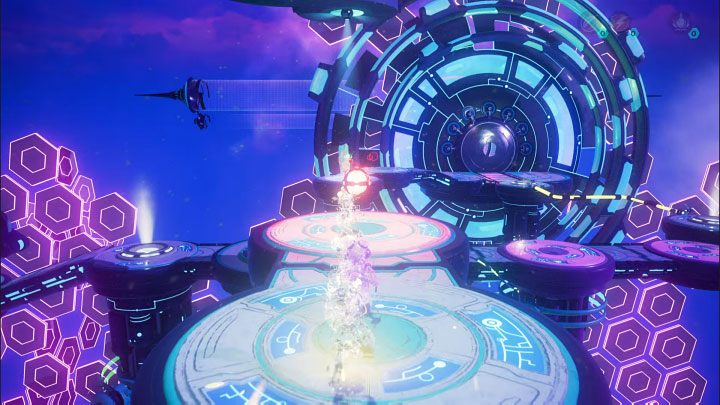
Once you arrive at the new area, head straight ahead until you reach another electric sphere. Stop on the pressure plate located in this area.
Remain on the pressure plate until the nearby platform has lowered. Head towards it and do a double jump to get the Lift Sphere.
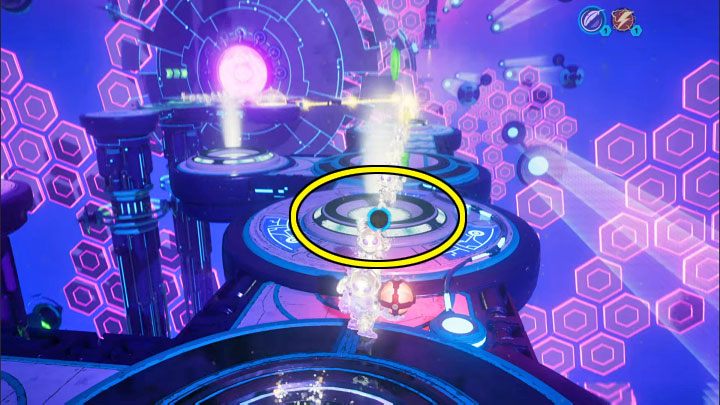
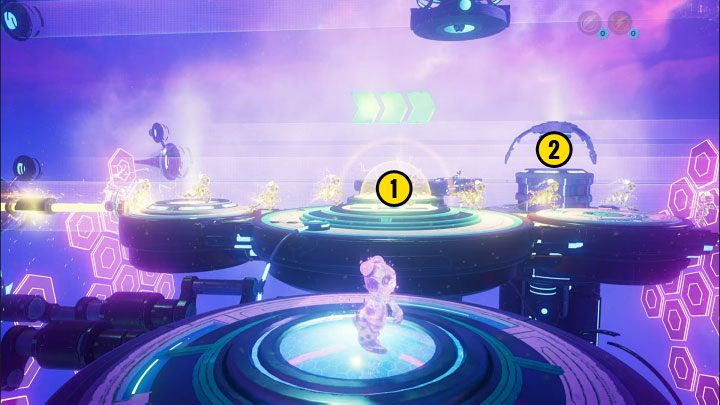
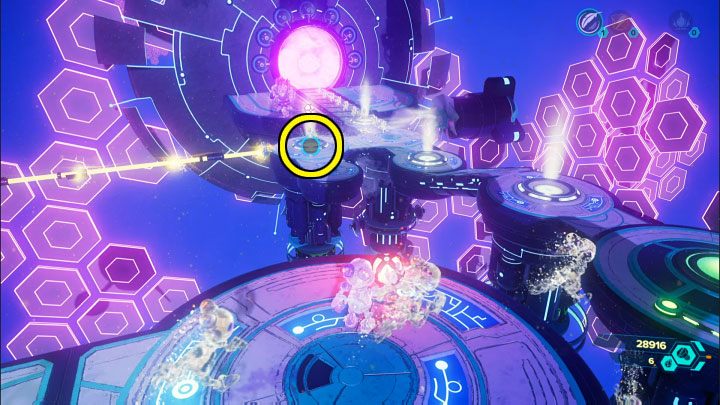
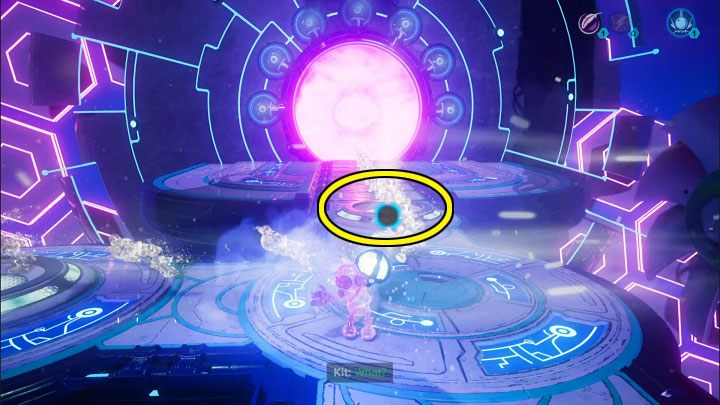
Return to the area with the pressure plate and throw the lift sphere into the slot marked in the picture. This is to prevent the projections from running across the pressure plate. They should now be turning sideways as a result.
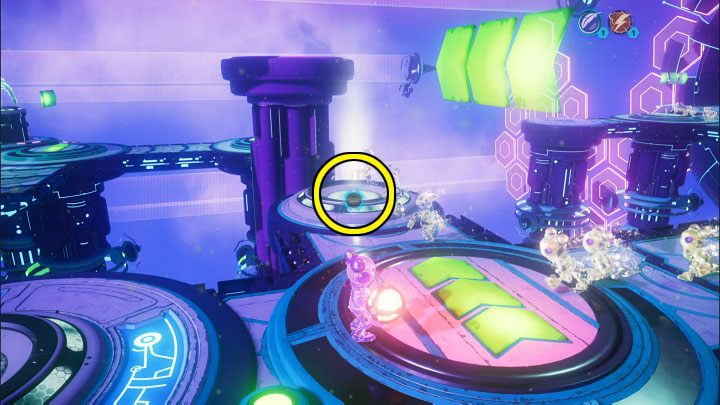
Remove the lift sphere from the slot and immediately use it on the adjacent slot marked on the picture. This will cause the projections to jump at the spot where you previously found one of the spheres.
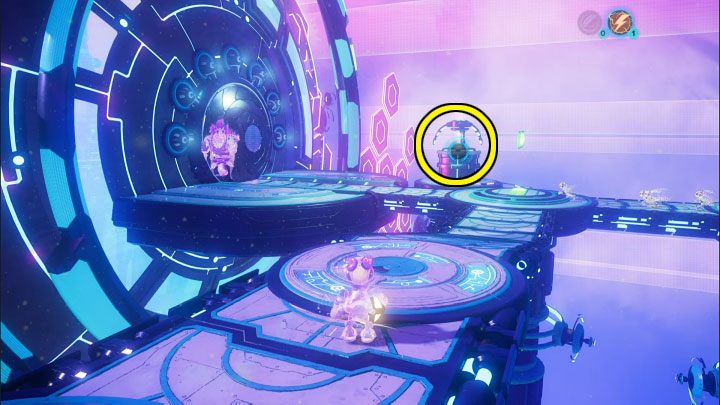
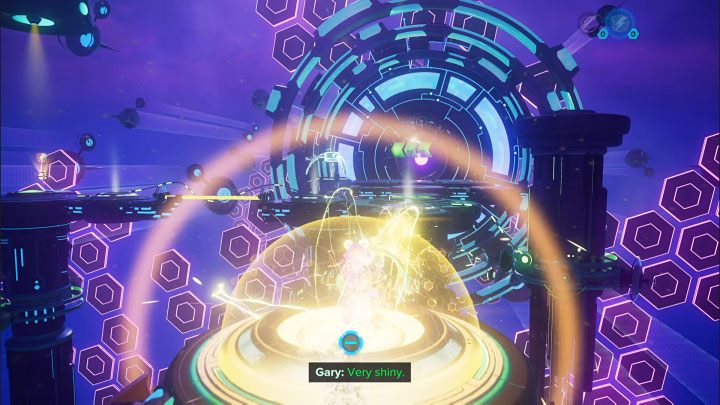
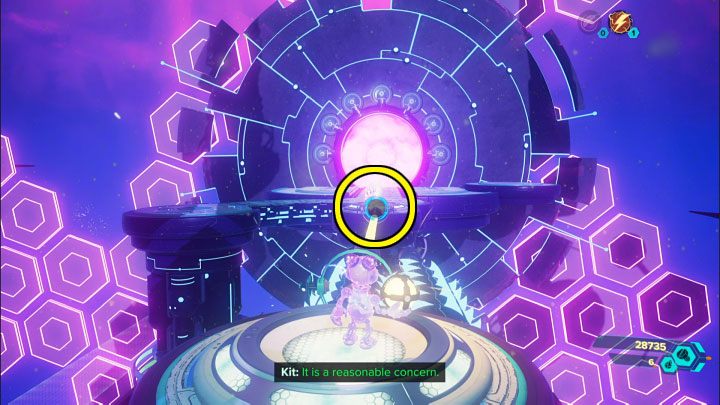
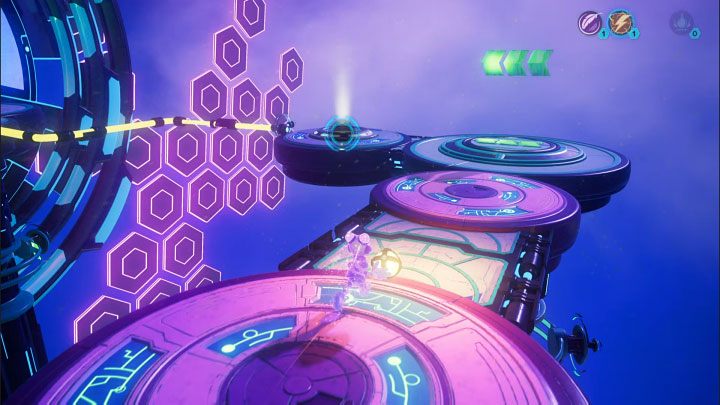
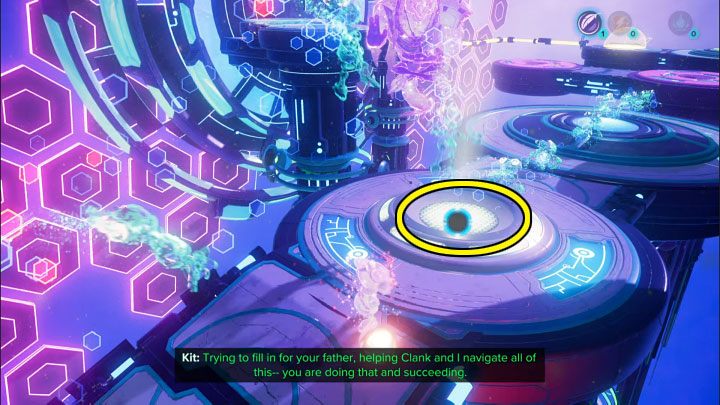
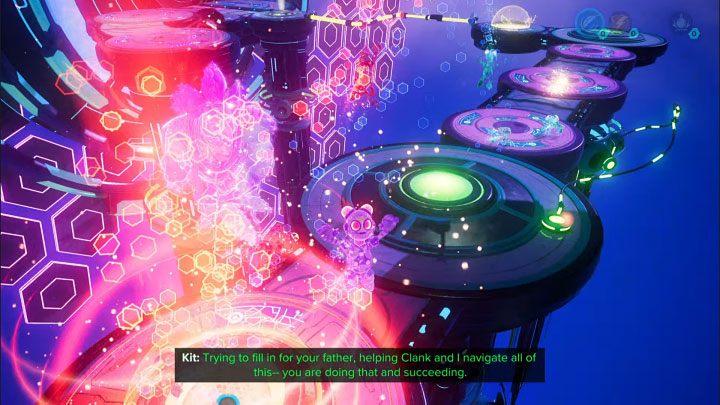
Select the electric sphere from your inventory and throw it towards the generator marked on the picture, which is located right next to the meta-terminal.
By using the electric sphere on the generator, the arrow plate has rotated and the projections will now run up to and collide with the meta-terminal. Wait until the exit is unlocked.
Kit's second puzzle
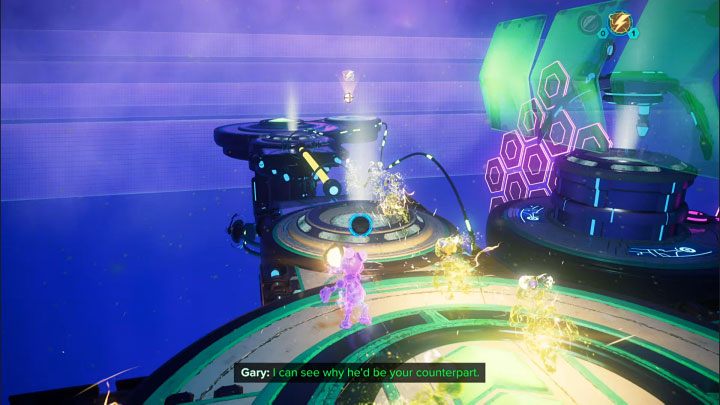
Start by going straight ahead from your starting point and picking up an Electric Sphere.

Use the Electric Sphere right away on the left slot and touch the cable to transport Kit to the next part of the location. When the ride is over, turn the camera by 180 degrees and from a distance remove the electric sphere from the slot, as you will need it elsewhere in a moment.
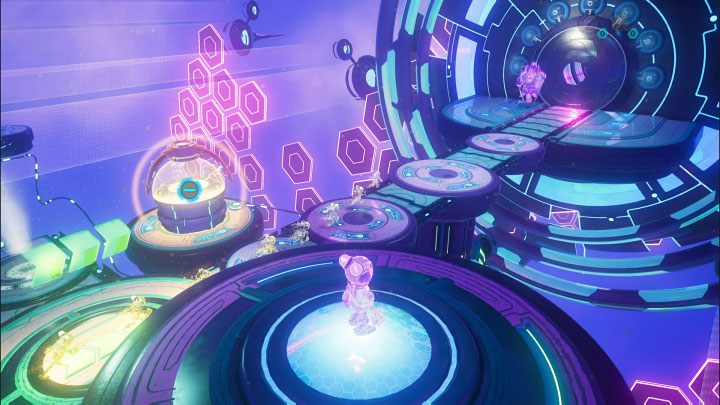
The next place to use the electric sphere is on the left (pictured above) and as before, touch the cable to get Kit to the other end.
In the newly unlocked area, there is a second electrical sphere that you must pick up.
Place the newly acquired sphere in the slot pictured above. This will allow you to move along the cable and return to the central area. Once you do so, turn 180 degrees to pull the other electric sphere to you.
Throw the electric sphere once again at the first slot near the starting point you used at the very beginning of the puzzle - we marked it on the picture.
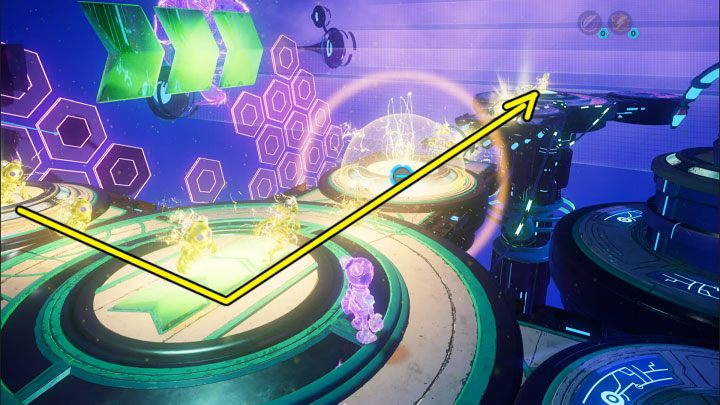
Your actions so far should lead to the following situation:
- the projections will run through the yellow area from the starting point and use the cable,
- the projections will turn left, run through another yellow area and use another cable,
- the projections will step on the pressure plate marked on the image.
By pressing the pressure plate, the projections will lower the side platform shown in the picture. Jump on it to press the new pressure plate. This will change the direction of the arrow plate and the projections will now run in a different direction once they ride the cable for the first time.
Now do the following steps:
- from a distance, pull the electric sphere out of the slot from point 1 in the picture,
- throw the electric sphere at the generator on the right from point 2 in the picture.
Activating the generator will rotate the nearby large platform by 90 degrees. This will create a path for the projections to reach the meta-terminal and unlock the exit after a while. Teleport to it.
Kit's third puzzle
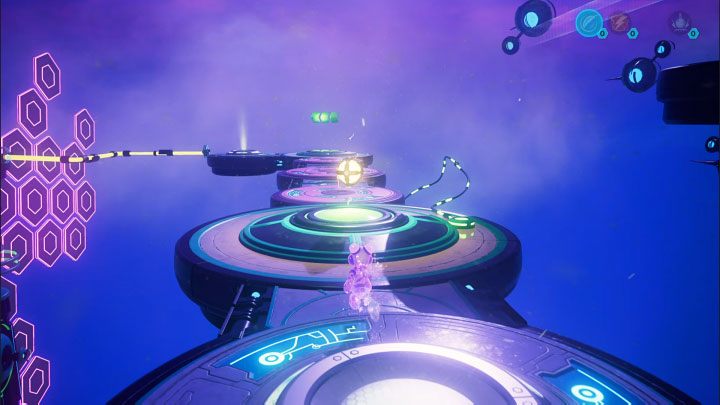
Follow the main path all the way straight ahead until you reach the Electric Sphere - take it.
Return to the starting point and throw the electric sphere at the slot marked on the picture, the one through which the projections are running. This will allow you to touch the cable and start a longer ride to a new location.
You will reach a high ledge with a Lift Sphere.
Stay where you got the lift sphere and pull the electric sphere towards you from a distance (picture 2).
Make a double jump towards the main path, turn right and throw the electric sphere at the slot in the above picture. Then, touch the cable to start a new ride.
Once you are next to the meta-terminal, turn left and explore the new path. This will lead Kit to the Heavy Sphere shown in the picture.
Return with the heavy sphere all the way to the starting point (you can do a double jump along the way). You must place it in the first slot in the above image. The projections will no longer be affected by the fan and start running straight.
Select the lift sphere from your inventory and throw it at the slot shown in picture 1, which is in the path of the projections. This is supposed to make the projections stop touching the nearby pressure plate. Wait a moment until the rotating mechanism switches and the projections can run further without falling into the abyss.
Since you haven't moved the electric sphere, the rest of the puzzle should be completed automatically - the projections will move along the cable and start hitting the meta-terminal, unlocking the exit. Teleport to complete the stage.
After solving the puzzles, you will set Seekerpede free and advance to the next part of the mission.