
Ratchet & Clank Rift Apart: Repairing the anomaly - walkthrough Ratchet & Clank Rift Apart guide, walkthrough
Last update: 05 July 2021
This page of the Ratchet & Clank Rift Apart guide has the fourth part of the walkthrough for the planet Blizar Prime. Our walkthrough explains, among other things, how to solve all three puzzles for Clank related to the anomaly in the miners' camp, and how to complete the sequence during which you drive on rails towards the drill.
- Follow J.I.M.
- Anomaly - Clank's first puzzle
- Anomaly - Clank's second puzzle
- Anomaly - Clank's third puzzle
- Unclog the lube tube
- Grind to the Drill
Follow J.I.M.
J.I.M. is one of the science bots you were supposed to find at the request of the Chief Engineer. You can start following the friendly bot after you find all 3 bots and defeat the Engineer.
Use the platform to return to the miners' camp and explore its northwestern part. You will find an anomaly - fixing it involves completing 3 new puzzles for Clank.
Anomaly - Clank's first puzzle
Puzzles can be skipped in the pause menu. However, you should have no problems solving them if you follow the tips below.
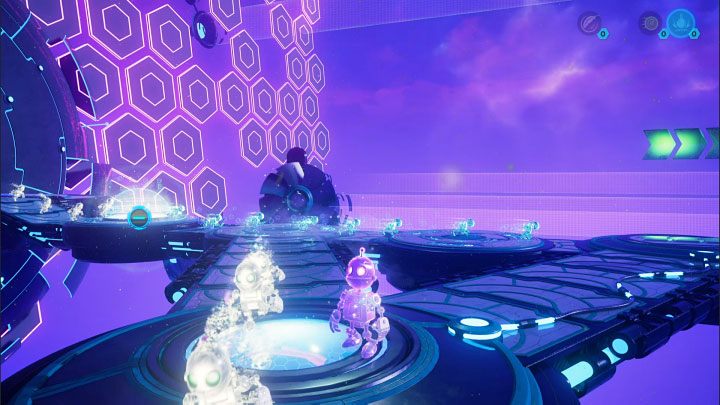
As a reminder, puzzles are solved in the space between dimensions. You have to make the projections reach a meta-terminal - the exit. You do that by manipulating the interactive objects and environment.
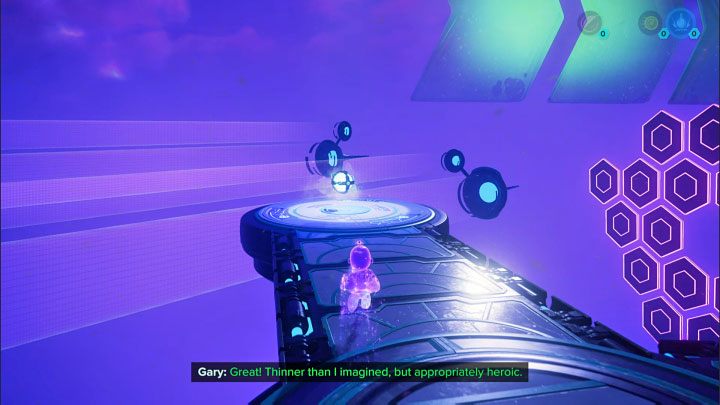
After starting the first puzzle, run all the way straight and take the left path - Heavy Sphere is at the end of it.

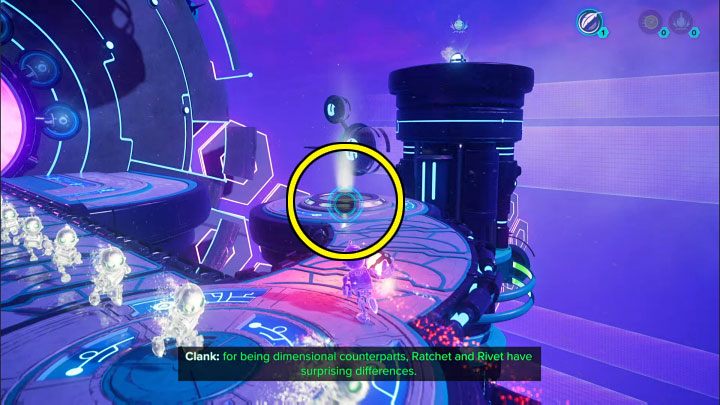
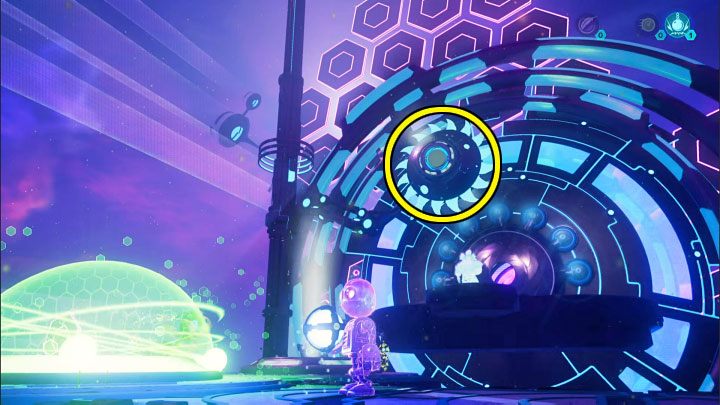
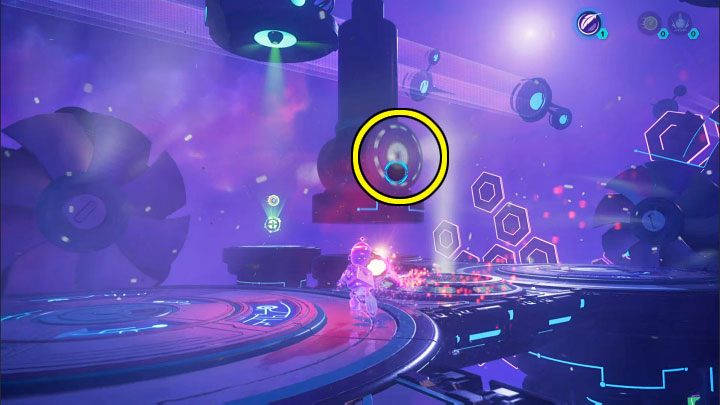
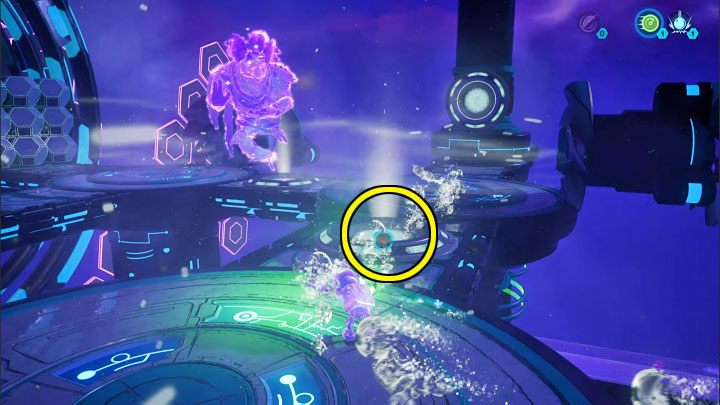
Use the Heavy Sphere immediately on the jack next to it - throw the sphere into the slot shown in the image.
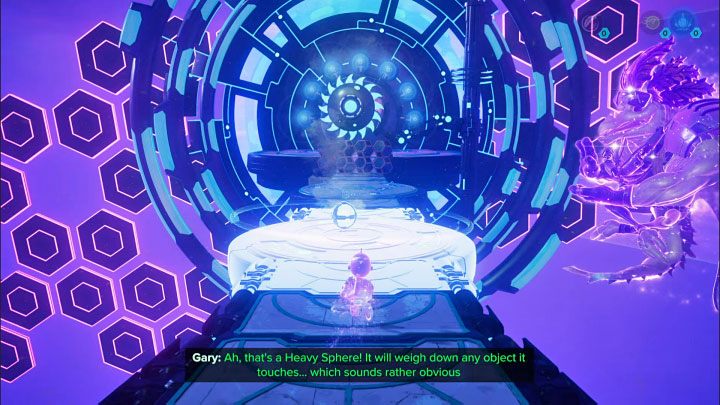
By lowering the jack, you will be able to take the other Heavy Sphere that was lying on top of it.

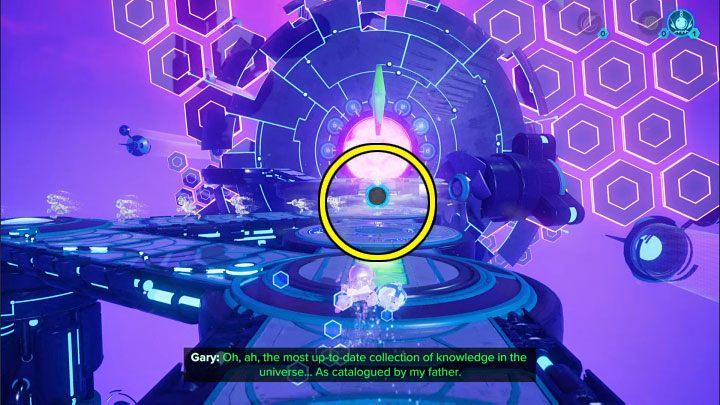
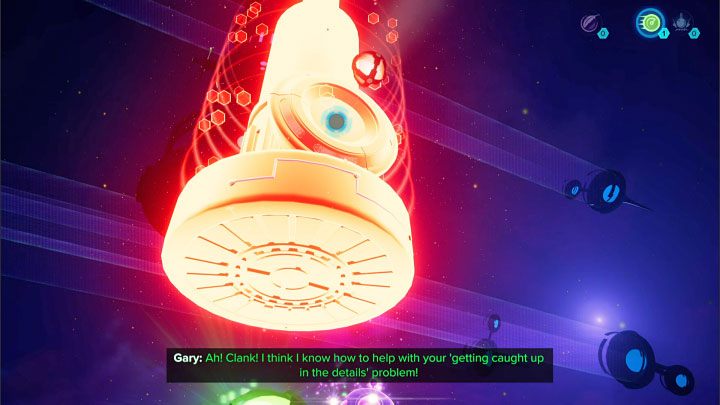
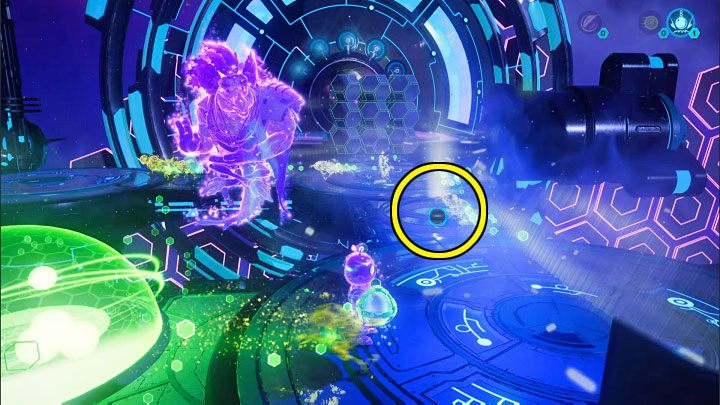
Stay in the area where you obtained the second heavy sphere and throw it at the top slot of the working fan marked in the picture. This will lower the fan and destroy the obstacles beneath it.
After doing this, remove the heavy sphere from the fan to return it to its original top position.
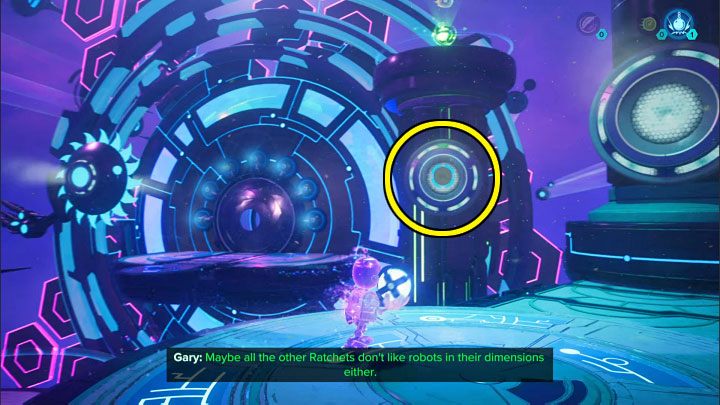
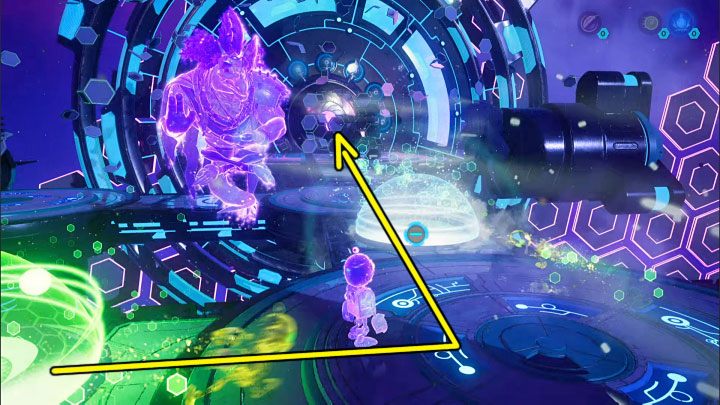
Return near the starting point with the second heavy sphere. Throw it into the slot marked on the picture, in front of the working fan.
Now steer Clank to the pressure plate located on the left. By stepping on it, you can change the direction of the projections. The placement of the heavy sphere allows the projections to run past the moving fan without further issues.
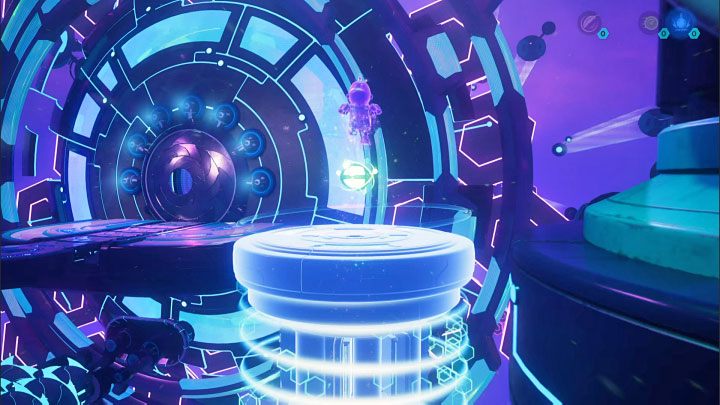
Now you just have to wait until enough projections reach the meta-terminal and unlock the exit. You can teleport to it.
Anomaly - Clank's second puzzle
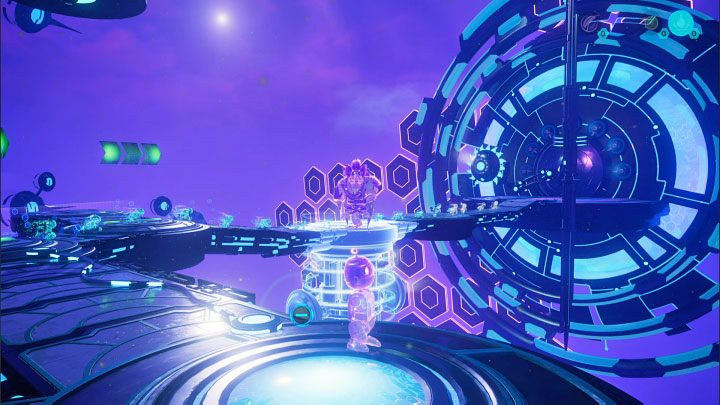
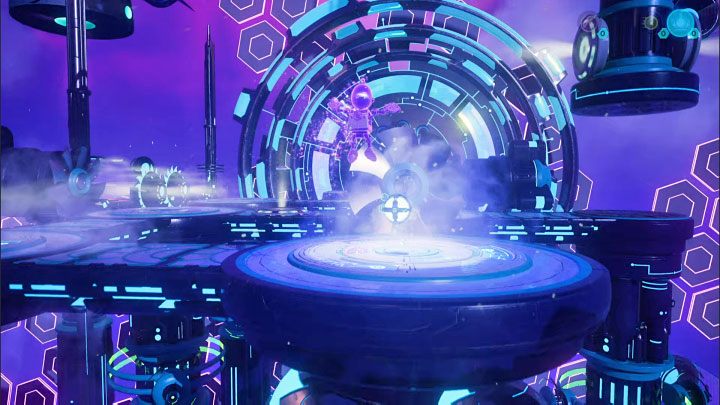
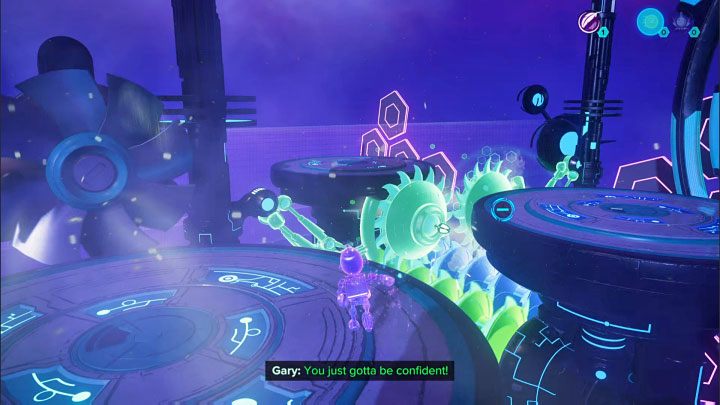
Run straight and turn right at the first opportunity. The working machine pictured above is located here. Jump on it when it gets low enough. On the adjacent, circular platform, you will find the Lift Sphere.
Bring the lift sphere near the starting point. This time, head to the left and throw the lift sphere into the slot marked on the picture. Catapult Clank to the top platform to obtain a Heavy Sphere.
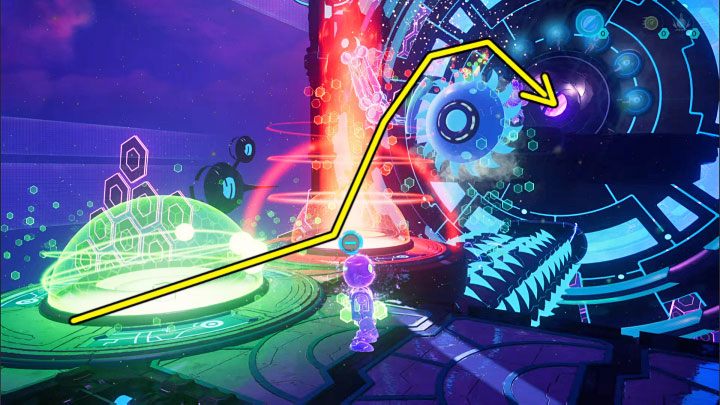
With the heavy sphere, return to the area where you found the lift sphere earlier. Throw the heavy sphere at the remote slot of the working machine with the green sphere, which is marked on picture no. 1. Make a double jump towards the lowered platform to acquire a Speed Sphere.
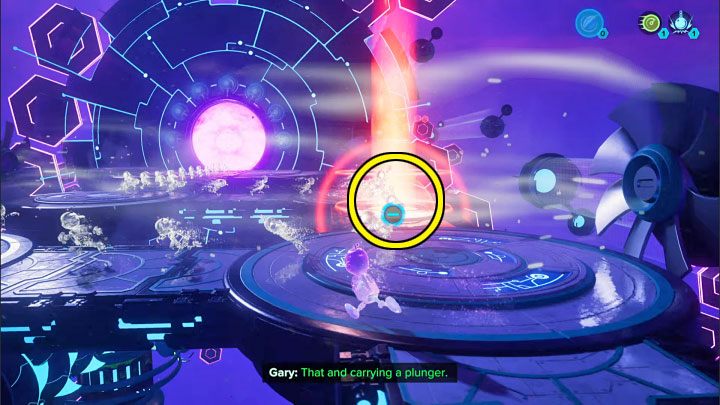
Return with the speed sphere to the main path taken by the projections and throw the sphere in the slot marked on the image.
Remove the heavy sphere from the machine on the right (you can do this from a distance) and throw it at the fan marked on the picture, located directly in front of the meta-terminal. This will lower it.

Return to the left path, pull the lift sphere towards you and place it in the slot in the image above.
If you have followed all the steps correctly, the projections should:
- gain speed by running through the green area (speed sphere),
- be catapulted into the air by running through the red area (the lift sphere),
- fly over the lowered fan (heavy sphere) and start hitting the meta-terminal.
After unlocking the exit, teleport to it to proceed to the final puzzle.
Anomaly - Clank's third puzzle
Head forward and jump to the circular platform with the Heavy Sphere.
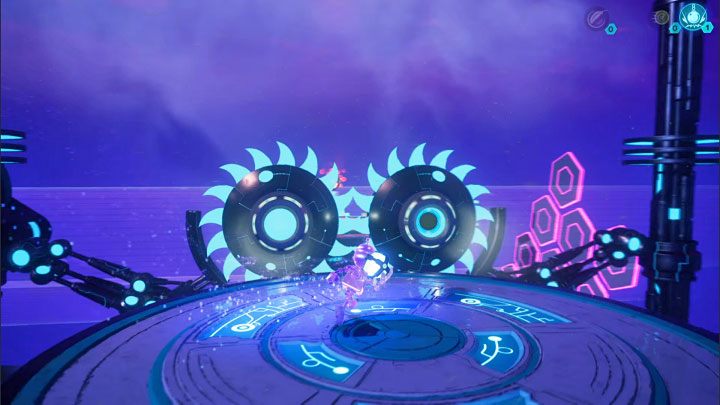
Grab the heavy sphere and go straight ahead and then to the left. At the location pictured above, use the sphere on one of the slots to lower the two working fans. This will allow you to jump to the shelf behind the fans where the Lift Sphere is.
With the lift sphere, head to the opposite end of the area and throw it into the slot of the working machine from the picture to make it stay in the top position and stop crushing the path. This action will earn you the Speed Sphere.
Grab the speed sphere and return to the central part of the location, then take the previous two spheres out of the slots you placed them in earlier, that is:
- take the lift sphere out of the raised crusher,
- take the heavy sphere out of the lowered windmills.
You should end up with 3 spheres in your inventory - one sphere of speed, lift, and heavy.
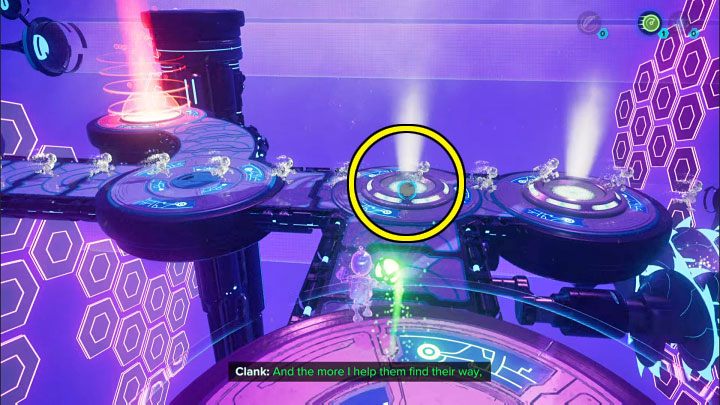
Set off towards the starting point and place the lift sphere in the slot marked in the picture, i.e. where the projections are running though. This will allow them to jump over the working fan.
Go a bit further along the projection path and place the speed sphere in the slot from the picture - it is located between one of the fans and the crusher.
Finally, place the heavy sphere in the slot nearby that is shown in the picture.
Once all the spheres are placed correctly, the clones will smash the wall blocking the path leading to the meta-terminal and then they will unlock the exit after hitting it for a while.
Unclog the lube tube
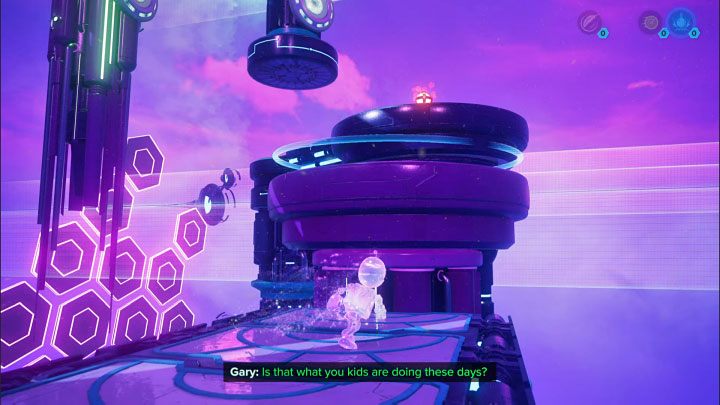
By completing all of Clank's puzzles, the purple anomaly will disappear Clank and you will be able to interact with the crank.
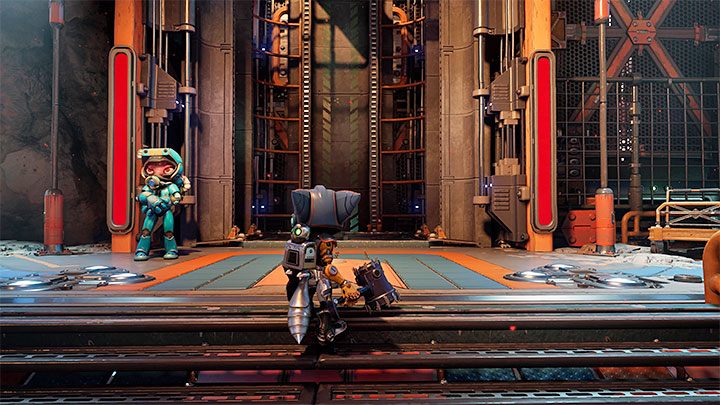
This will unlock access to the elevator located in the northern part of the miners' camp - the place is shown in the picture. Use the elevator to reach the upper level.
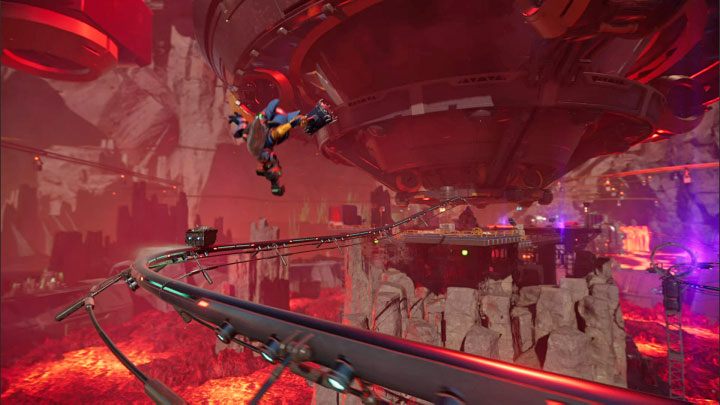
Grind to the Drill
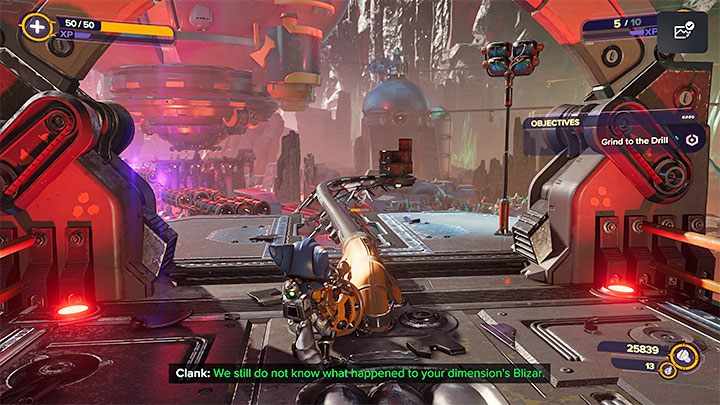
Head north and defeat more opponents. Eventually, you will reach a rail leading towards a large drill visible in the distance. Hop on it to start the ride.
You can optionally destroy the crates you pass along the way. However, avoiding obstacles is more important:
- jump over the wagons (use double jumps),
- jump to adjacent rails if you notice that you are heading towards an indestructible barrier - hitting it will reset the entire sequence.
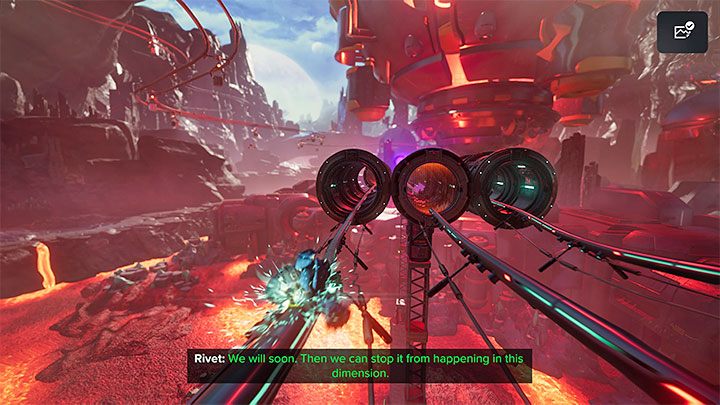
At some point, you will have to hit the Blizon to move to another dimension. Time your melee attack well.
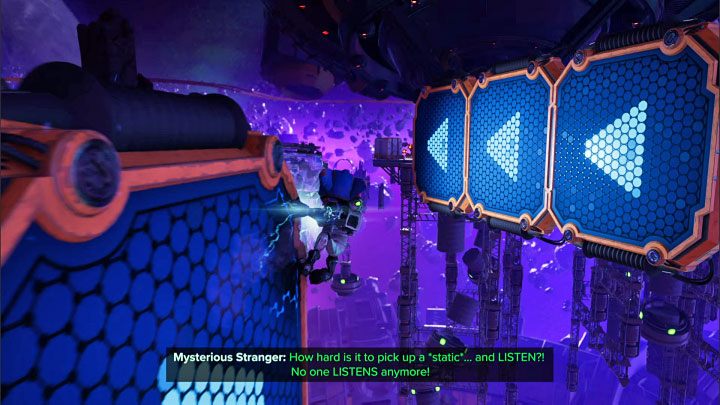
There will be more difficulties in the other dimension:
- you have to hold down L1 to grab the handle and swing on it,
- you have to run on the walls with arrows.
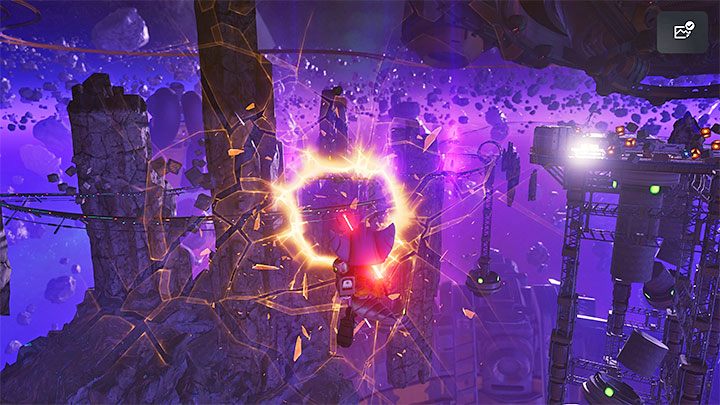
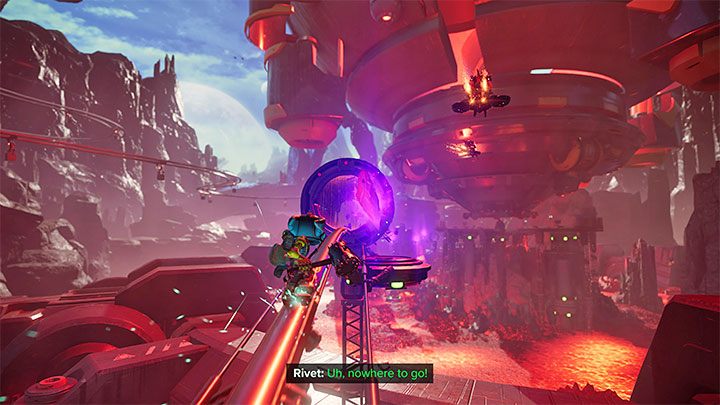
After you have done all the jumps, press L1 again to pull yourself to the rift. This will put you back on the rail. After a short ride, hit the Blizon to return to the previous dimension.


You can explore both side rails to find new destructible crates. To continue the plot, you have to:
- hit the Blizon from picture 1 to move to the dimension after the cataclysm,
- hit the Blizon from picture 2 to return to the pre-cataclysm dimension one last time.
Jump over the last two train cars. The single rail will get you to the area with the drill.