
Ratchet & Clank Rift Apart: Dimensional Anomaly, Rivet's Hideout - walkthrough Ratchet & Clank Rift Apart guide, walkthrough
Last update: 17 June 2021
This page of the Ratchet & Clank Rift Apart game guide describes the second part of the Sargasso walkthrough. Below, you will learn how to explore the anomaly, complete the first Clank's riddles in the interdimensional space, where to find Rivet's hideout on Sargasso, and how to get there safely.
- Exploration of the Factory surroundings
- Investigate the Dimensional Anomaly
- Clank's riddle #1
- Clank's riddle #2
- Clank's riddle #3
- Head to the Hideout
Exploration of the Factory surroundings
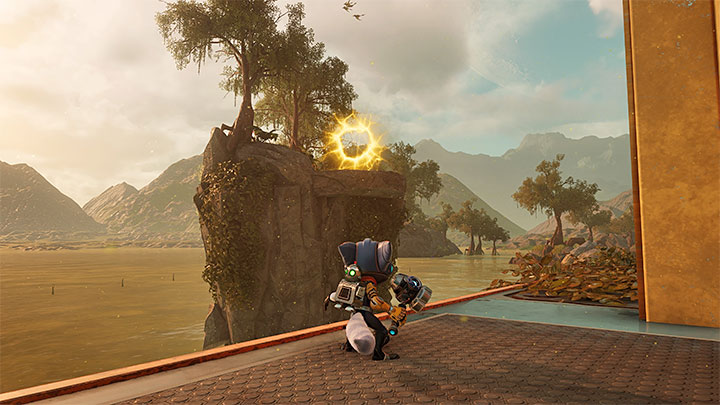
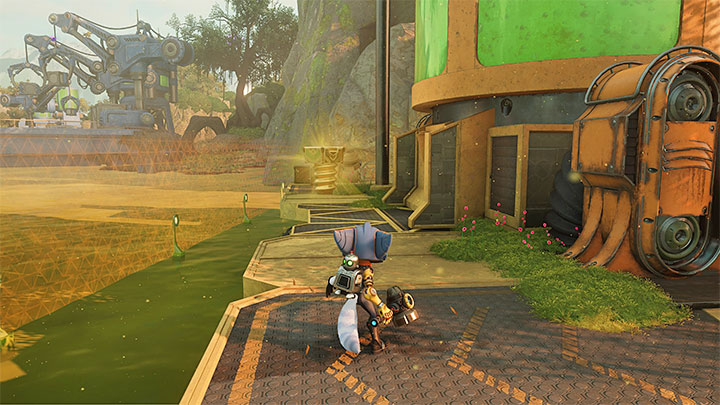
Before approaching the two new mission objectives (we described them in the following subsections), first head to the back of the factory. At the location shown in the picture, you can pull yourself to the rift on the small island adjacent to the factory. There, you will find one of the secrets - Gold Bolt.
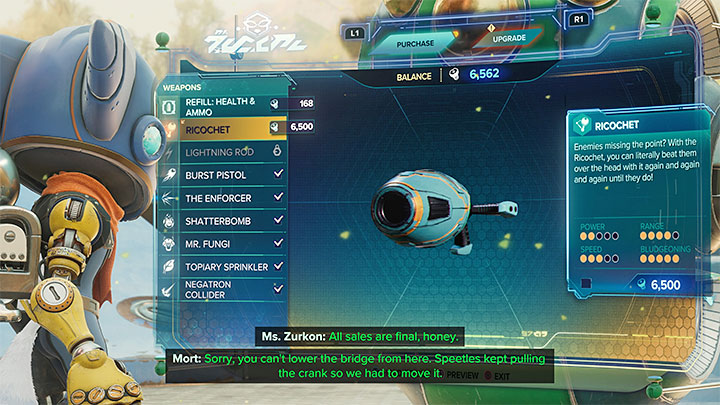
The second optional step is to meet Mrs. Zurkon, who runs the store next to the factory. There will be an opportunity to buy another new weapon - Ricochet for 6500 bolts (if you can't afford it, you can return to the trader e.g. after defeating the main boss on Sargasso).
Ricochet is a very interesting weapon. After you hit an enemy with it, you can continue pressing the R2 button in small intervals. This will allow you to use a previously fired bullet to make consecutive hits - either on the same target or other enemies standing close to the attacked character. Each successive ricochet inflicts more and more damage, so you should strive to perform a series of attacks and not limit yourself to single hits that do not use the potential of the described weapon.
Investigate the Dimensional Anomaly
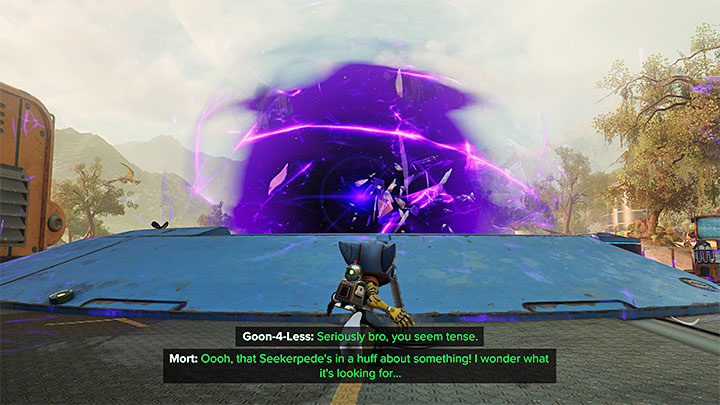
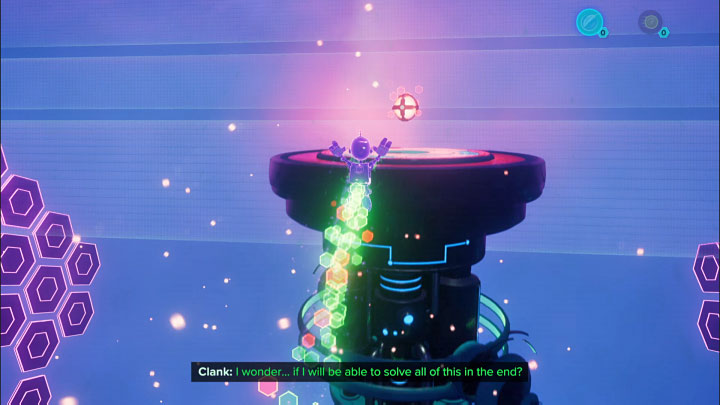
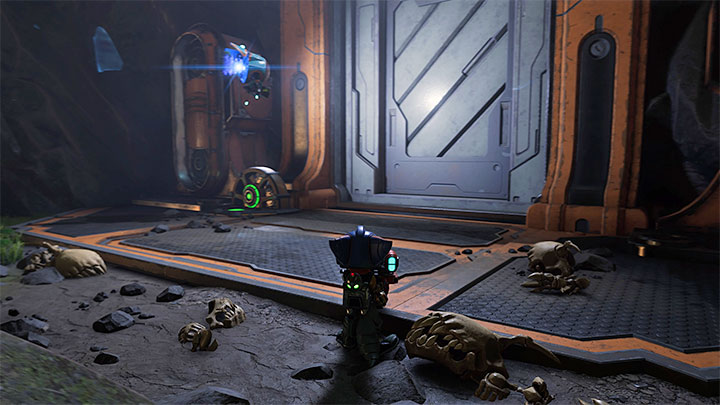
There is a dimensional anomaly next to the Factory. After interacting with it, you will hear back from Clank, who will want to take care of investigating it.

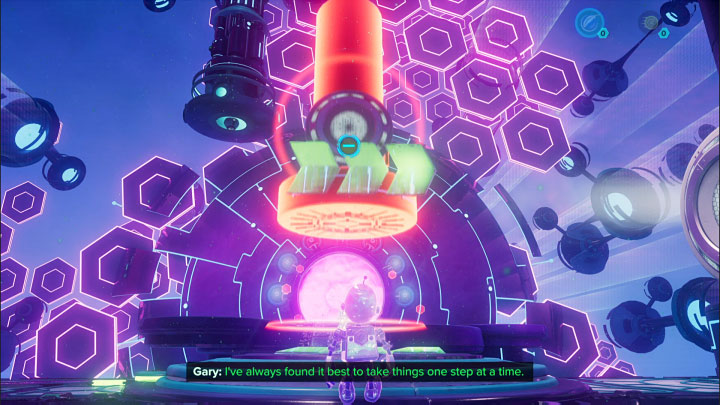
Clank will be transported to interdimensional space for the first time - a safe place where you will meet Gary. Your task will be to solve logic riddles about getting Clank's "projections" to the meta-terminal, a portal-shaped object at the very end of each area. There are three such riddles to complete each time.
The locations for completing riddles are devoid of opponents. Moreover, even if you fall into the abyss, the riddle will not be restarted, but you will resume the struggle not far from where you fell. Clank will use Orbs with different actions to solve the riddles. You need to find the orbs, which you can then store in your inventory to carry more than 1 at a time.
It is worth noting that the game allows you to skip Clank's logic riddles from the pause menu. However, we do not advise you to do so, especially for the first set of riddles on Sargasso, which is quite simple.
Clank's riddle #1
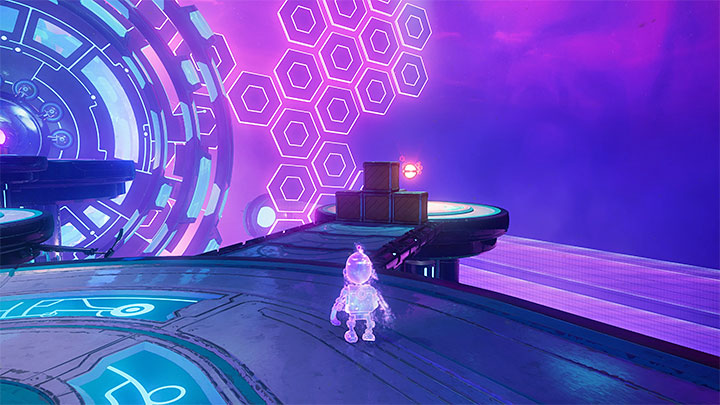
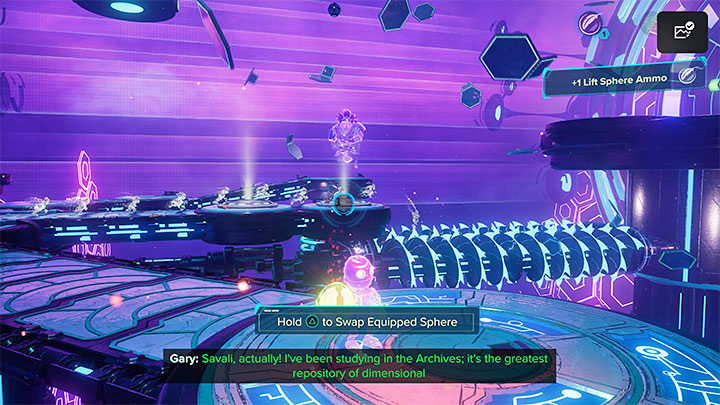
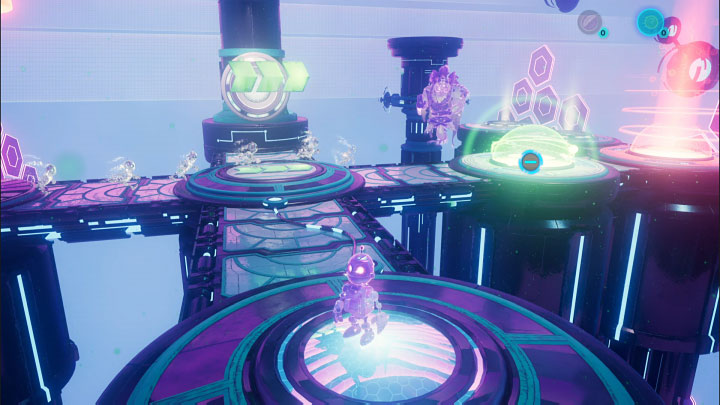
Start by destroying the crates, behind which you will find the Lift Sphere.

With the sphere, reach the place shown in the picture. Throw it at the hole in the floor, then run at that spot, making the controlled Clank catapult and land on top.

On the upper level, destroy the new crates and wait until enough projections hit the meta-terminal to unlock the exit (this is symbolized by the lights appearing above the meta-terminal).
Clank's riddle #2

Start by getting two spheres:
- The Speed Sphere is behind the crates (screenshot 1).
- Place the speed sphere in the right slot and run through it. Make your way through to where you captured the Lift Sphere (screenshot 2).

Take the speed sphere back and with both spheres reach the spot in the screenshot where the projections are running:
- Put the Speed Sphere in the first slot(1 in the screenshot)
- Put the lift sphere in the second slot(2 in the screenshot)

Catapult Clank to the top. Once you are on the upper level, position yourself on the right pressure platform to change the direction of the projection run. After a short while they will smash the exit, and you will complete the second riddle.
Clank's riddle #3
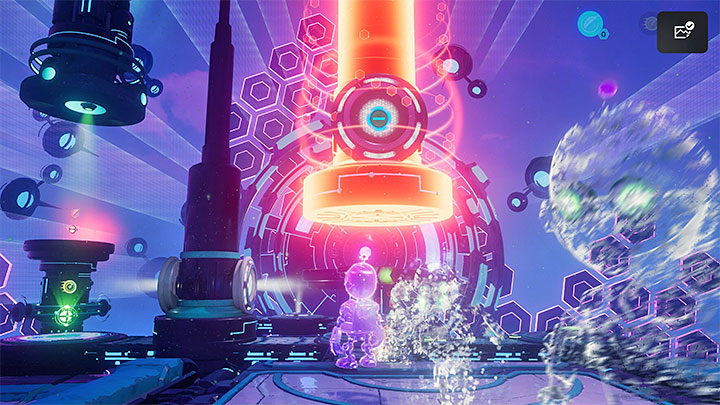
Start by taking the lift sphere located on the right side. Use the sphere on the first working mechanism to make it rise and lock it in place.
After running under the locked mechanism, turn towards it and pick up the lift sphere, as you will need it elsewhere.
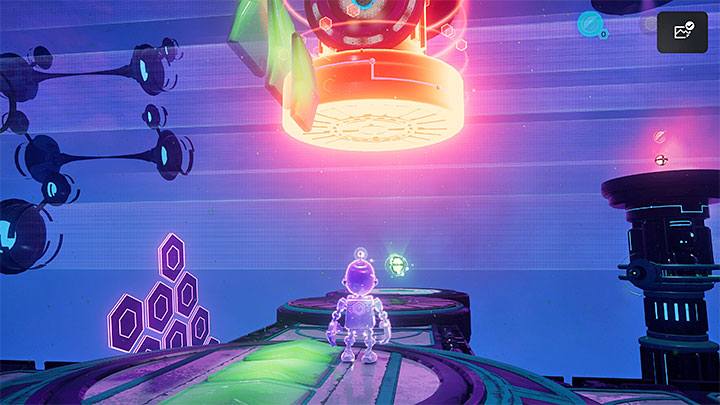
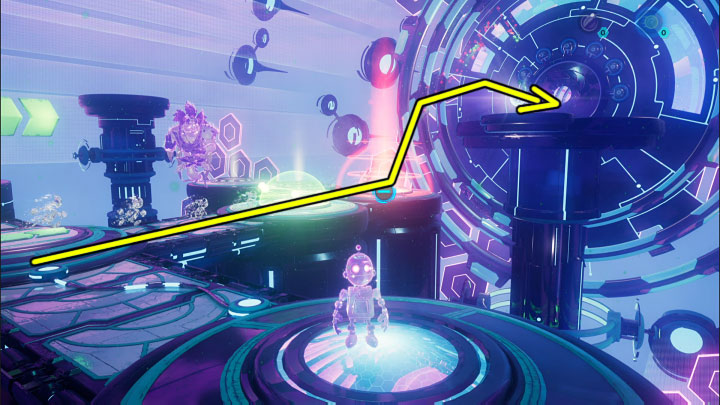
With the lift sphere, go to the machine shown in the above screenshot. Block this machine with a sphere, and you will gain access to a circular platform with a speed sphere.

Reach the barricade shown in the picture and place the speed sphere in the slot just in front of it. Run through the sphere to break the obstacles.
Go back to where you used the lift sphere. Pull it towards you and take it to a recently broken barricade. Throw the lift sphere in the 1 slot shown in the screenshot. Use both spheres (speed and lift) to catapult Clank and fly him to the ledge shown in the screenshot 2 with the second sphere of lift. Pick it up.
Return to the bottom and remove the spheres from the slots. You should have 3 spheres in your inventory at this point - 2 lift spheres and 1 speed sphere.
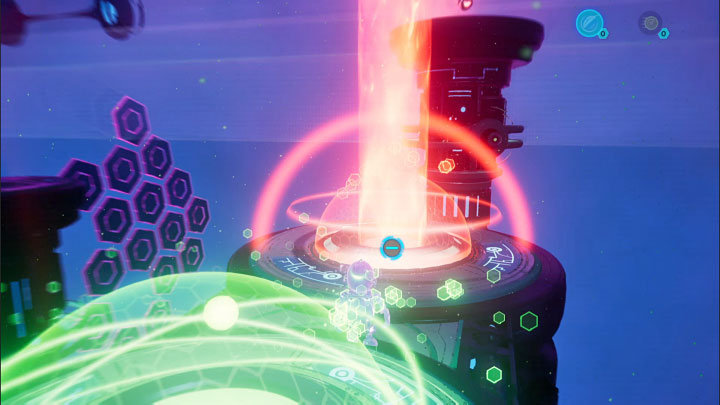
Use the first lift sphere to again lock the machine blocking the projections.

Place the other two spheres further down the main path:
- The speed sphere in the first slot(1 in the screenshot)
- The lift sphere in the second slot(2 in the screenshot)
Reach the side pressure platform shown in screenshot 1 to bring the projections to start running straight ahead. They should be accelerated by the speed sphere and catapulted by the lift sphere.
Send Clank to the upper level and wait for the last meta-terminal to be smashed.
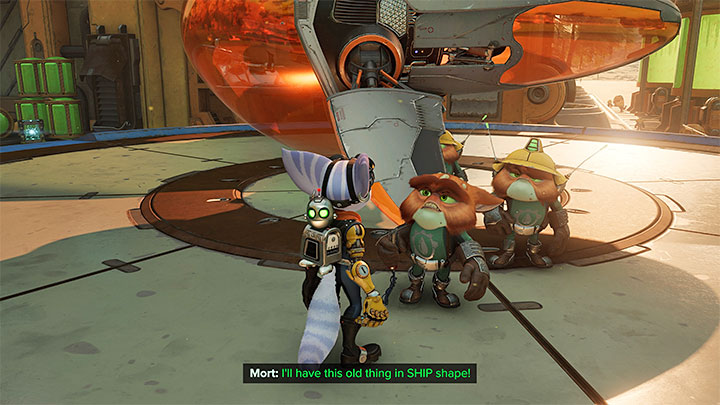
When you return to Sargasso, you will see a cutscene involving talking to Mort and unlocking the spaceship. Don't leave the planet right now (your only destination would be Nefarious City), but first visit Rivet's Hideout described below.
Head to the Hideout

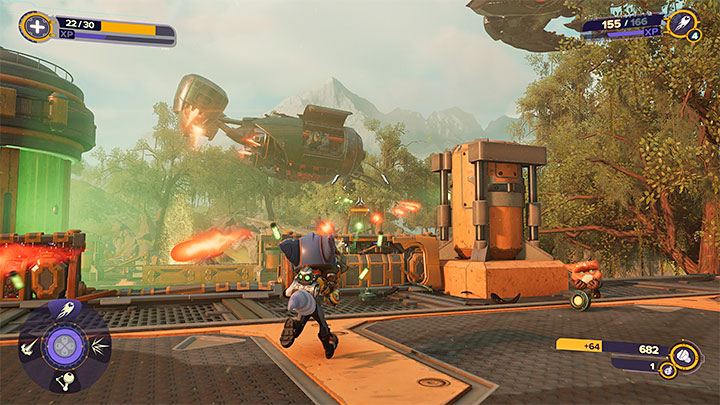
You need to head east from the Factory. In a larger clearing, a group of Nefarious thugs will fight the new Grunthor . Engage. You can focus on weakening the big beast interested in attacking the thugs initially, or you can deal with Nefarious' subordinates first to have 1 target to defeat. Remember to avoid charges and boulders thrown by Grunthor. A defeated Grunthor will drop raritanium.
Next to visit is the eastern platform. Run over the 3 pressure platforms to summon the moving shelf.
There are rifts in the new location and these can be helpful in approaching new enemies or in escaping massed gunfire. Keep an eye out for enemy landing ships during battles. It's a good idea to try to destroy them before they dispatch reinforcements - the Negatron Collider, for example, can help with this.
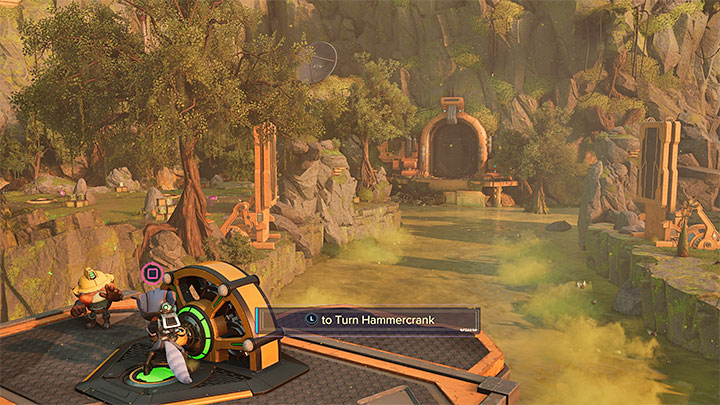
After the battles, investigate the crank use area shown in the screenshot. Interacting with the mechanism was supposed to lead to lowering the bridge, but this action will fail - the first half will lower only partially, and the second half will fall off completely. Fortunately, this will not derail your plans.
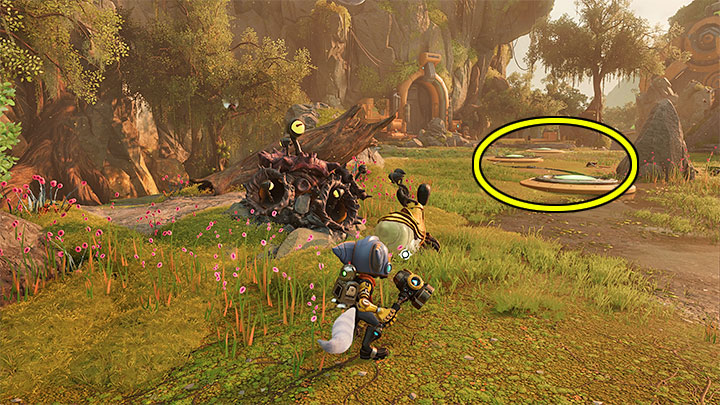
Return to the clearing where you fought Grunthor. Look around here for a speetle nest , so you can get your hands on one of these creatures. Direct a speetle at the partially raised ramp and bounce off it with the afterburner on to reach a new location.
Expect a fight with yet another Grunthor, as well as with smaller monsters, which are worth getting rid of quickly using the Enforcer, for example. Wasps will also appear in the area, and as before, traditional firearms will come in handy (e.g. Multi-shot).
After the fights, it's a good idea to look around the area. Behind one of the large metal structures you will find the gold screw visible in the screenshot.
Your new task is to use the speetle (there's a new nest in the area) to quickly run over the 3 pressure platforms shown in the screenshot. An afterburner (R1) will, of course, help to carry out this plan.
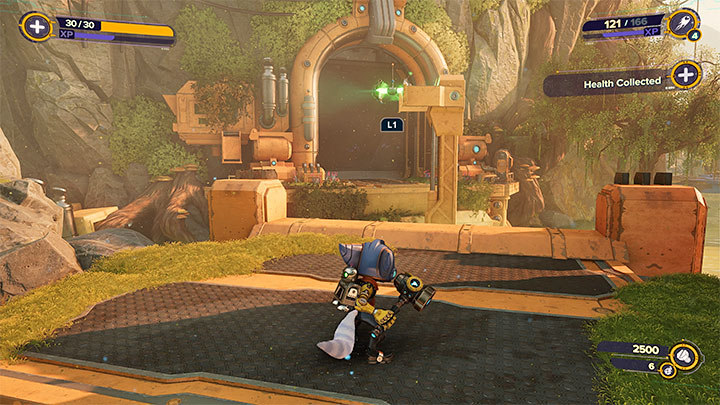
You may already be concerned with locating the interactive hitch. Hold down L1 after the jump to catch it and rock it properly. After making the jump, you can enter the cave.
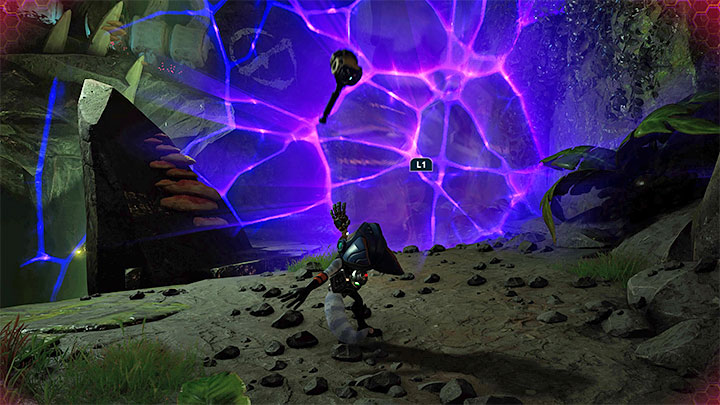

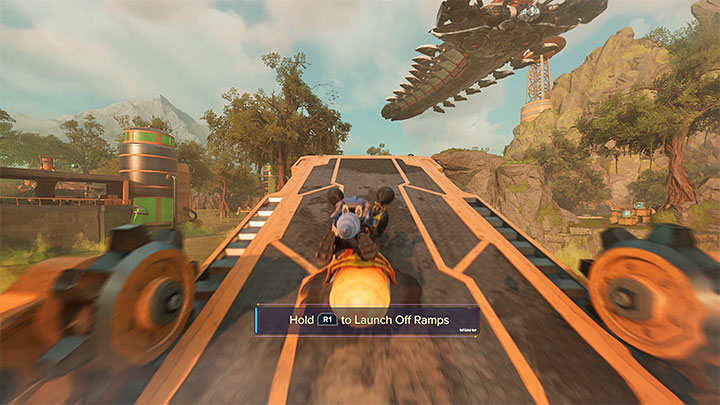
As you explore the cave, look around for the dimensional pocket shown in screenshot 1. You will open a rift to another dimension where you need to complete an obstacle track (screenshot 2) - the plan is to jump over the red crates, avoiding destroying them by accident. If you reach the very end of this path, you will come into possession of Boots of robot disguise.
After returning to the cave, complete towards the entrance to Rivet's hideout, located at this point. After entering the hideout, you will see a cutscene. The boss Seekerpede will appear. You will be forced to set off in pursuit of a giant mechanical myriapod.