
Beneath the Surface | Rage 2 Walkthrough Rage 2 Guide and Walkthrough
Last update: 22 May 2019
This page in our guide to Rage 2 contains a detailed walkthrough for Beneath the Surface, one of the main missions in the game. This is the second main mission received from Loosum Hagar. During it, the main character must visit a huge outpost belonging to the Authority, and find the core in it.
- Unlocking the mission
- Reach the Authority Facility
- Exploring the Authority Facility
- Get out of the Authority Facility and return to Loosum
Unlocking the mission
You must first complete the first story mission received from Loosum Hagar - Wasteland Celebrity. Its description is on a separate page.
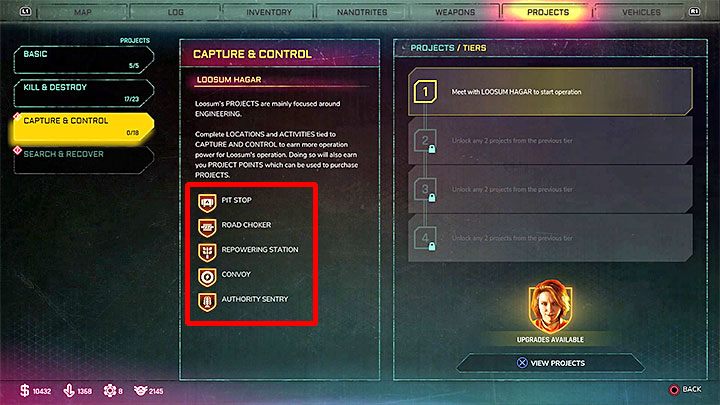
The second requirement is to reach level 5 reputation for Loosum Hagar. Reputation points can be earned primarily by visiting locations on the world map and completing small tasks (for example, killing all opponents). Not all locations on the world map are associated with Loosum Hagar. The list of locations that allow you to earn reputation points for the mayor is available in the projects menu (the picture above). These locations include:
- Pit Stop
- Road Choker
- Repowering Station
- Authority Sentry
To unlock this mission, look only for the above locations. Completing other types of locations will not bring you closer to unlock a new mission for Loosum Hagar.
In addition, you can get reputation points for Loosum Hagar by attacking convoys. They travel around the world. You can find them faster by using Convoy Locator project.

Open the log to check your progress in gaining reputation (see the picture).
Once you reach the fifth level, wait for Hagar to contact you over the radio and ask you to meet her. Return to Wellspring and visit the City Hall again. Meet Loosum in her office on the second floor (use the lift).
We recommend getting a Rocket Launcher and a lot of offensive skills before you focus on the main mission. They will help you complete this quest. Check Weapons and Nanotrites pages to learn where you can find new weapons and skills.
Reach the Authority Facility

This Authority Facility is located in the north-west corner of The Wilds region. If you haven't explored this region yet, simply keep moving north. If you are familiar with this region, it is best to use fast travel to Dreadwood. From there, you will have to make a short trip to the west.

Your objective is to reach Twin Falls, a level 6 Bandits Den. Start attacking the enemies as soon as you reach the destination. Don't rush through this location - you don't want to be attacked by too many enemies. If that happens, staying alive can be difficult for you.
This location is rather linear. The path turns and leads upwards a little. Once you get to the very top, watch out for one opponent in heavier armor. A Rocket Launcher or any other stronger weapon/ability will be helpful here. Run to the sides to avoid the enemy's fire.

Find the zipline presented in the picture. Slide down the line to quickly enter the Authority Facility. Approach the small door and start exploring the enemy base.
Exploring the Authority Facility
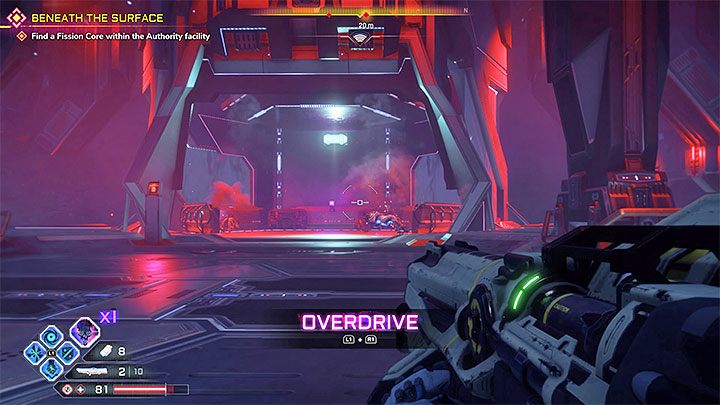
Goliath Plant has difficulty level 6. Start with eliminating enemies at the other end of the huge hall. A Rocket Launcher is useful in the majority of these fights. Mark a few enemies with this weapon (2-4 depending on how much it has been improved) before you get noticed or before the opponents get close to you.
After killing the first group, go to the place where the opponents were and activate a large lift.
Once you arrive at the new floor, the game will play a cut-scene starring Klegg and General Cross. After that, a new battle will begin. Try to eliminate the enemies as quickly as possible - you don't want to be overwhelmed by their fire.
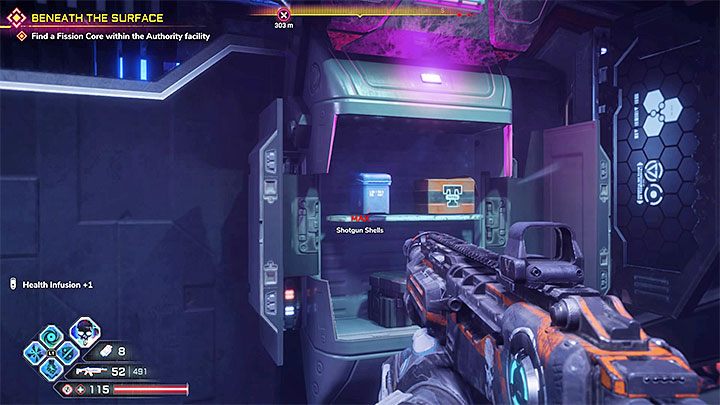
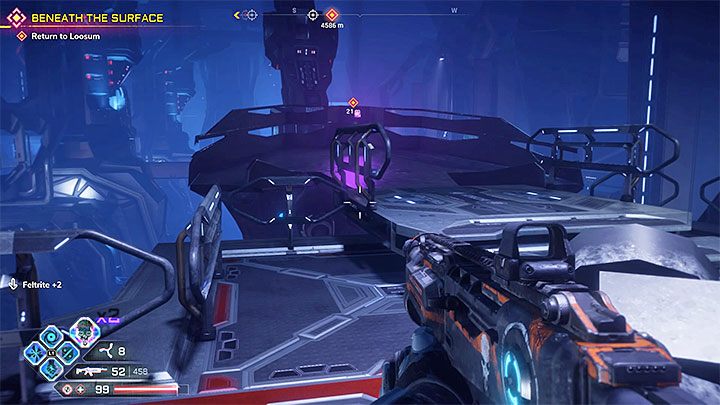
During the exploration of the base, you can come across stashes on walls similar to the one presented in the picture - you can recognize them by pulsating purple lights. It is worth checking them - they can contain ammo, infusions and other supplies.

Watch out for the new lift - a few enemies will get out of it. If you have a Rocket Launcher, take out the weapon and shoot them before the enemies spread out. Once you are done, use the same lift to reach another floor.
Keep exploring the facility. One main path leads to the goal. However, if you explore the side corridors, you will find rooms with optional loot and collectibles. Get to the biometric device and interact with it - this will activate the nearby bridge. However, do not rush with crossing it - a very large group of opponents will appear on the bridge. Shoot them with the Rocket Launcher, throw grenades or use Vortex skill.

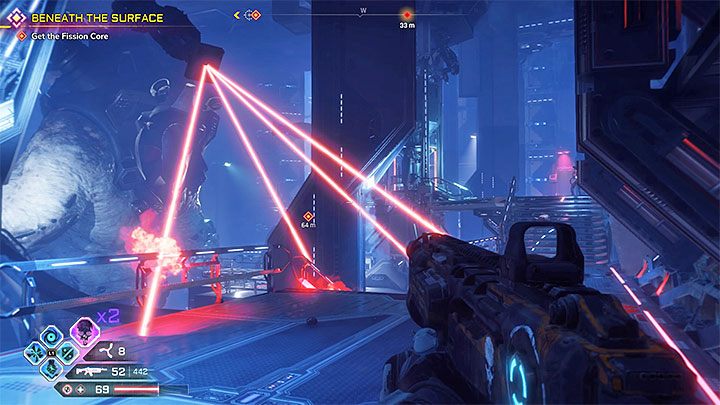
Cyber Crusher, one of the bosses, will appear in one of the larger rooms. This fight is identical to the confrontation with the similar boss you faced during the final part of Ground Control. Below you can find the most important information regarding this fight:
- Avoid its melee attacks by jumping backward. Dodge laser attacks by jumping over beams or moving outside the laser range.
- Aim at the weak spot on the boss's chest. Once his energy bar is depleted, two blue tanks on Cyber Crusher's back will get exposed. Quickly run up to them and shoot the tanks. Repeat this pattern until both tanks are destroyed.

- As for the second part of the battle, simply attack the boss's exposed head. The boss can very quickly lose its entire (new) health bar.
- Defeat Cyber Crusher to receive Neuronic Interface, one of the items that allow you to increase your character's stats at the cyber doctor in Wellspring.

After defeating the boss, use the newly opened small passage. You will come across "standard" opponents. A Rocket Launcher will be very helpful here.
You will also encounter a new enemy in heavy armor. Attack him from a distance. If he gets close, you can, e.g. use Slam or Combat Shotgun.
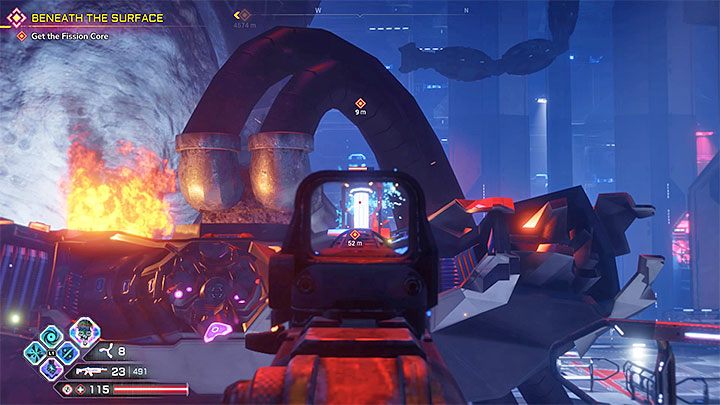
The core is in the next room, but can't pick it up immediately - it is surrounded by lasers.
Examine the two control panels on the left and on the right from the core - you can reach them in any order. Start with damaging them (press the interaction button) and then shoot the two small containers that came out of the device. The picture above shows an example of one of these containers.
Watch out for new enemies AND lasers standing in your way to the second console. In this case, you can sprint or use Grav-Jump to get to the ledge located away from the lasers.
Sabotage the second control panel in the same way - damage the console and destroy the two containers with any weapons. After sabotaging both panels, return to the Fission Core to pick it up.
Get out of the Authority Facility and return to Loosum
We recommend eliminating all new opponents, or at least most of them, so the won't cause you problems with leaving the facility. After clearing the area, jump down to the platform behind the place where the core was held. Get to the new lift. If you got rid of enemies, the lift ride will be quiet. Otherwise, run around the lift to avoid enemy fire.
Follow the same path to the facility's exit. You won't meet new enemies on the higher floors.
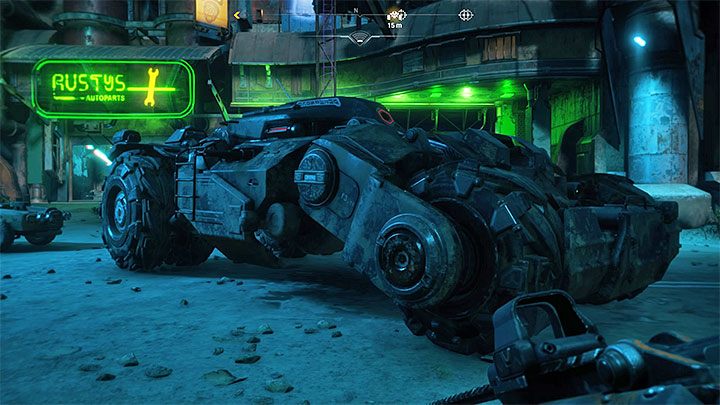
You can use fast travel to get back to Wellspring. Meet Loosum Hagar at her office in the City Hall. The quest has a unique reward - you can start using the Xerxes III tank. It is parked in front of Wellspring. You can also access it from the garage menu.
Complete this mission to unlock Beneath the Surface bronze trophy.