
Weeping Crag | Additional Locations Darksiders 2 Guide
Last update: 11 May 2016


Location: Forge Lands
These ruins lie east of the Stonefather's Vale - you first pass them by at the beginning of the play when you're journeying to the Cauldron.
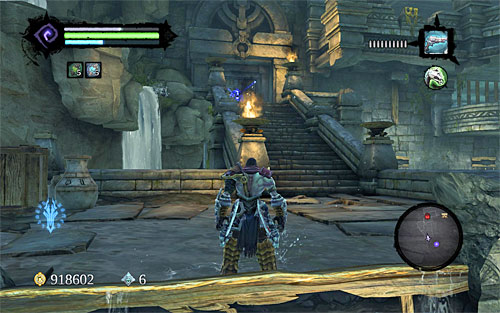
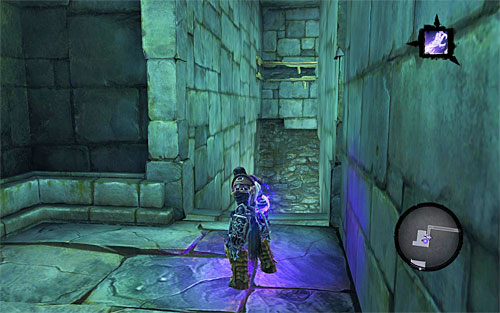
The first thing I recommend doing is jumping into the water pool directly under the ruins. Dive in to collect a Boatman Coin. Go back to the starting point and find a single interactive edge to make your way to the door shown on the screen, which is closed for now.

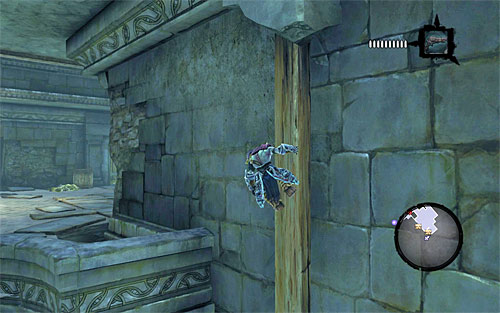
Stand in front of the closed door, turn right (the above screen) and start wall-running. After clutching onto a vertical wooden pole, drop down and grab an interactive edge below. Move to the right, run towards a small edge and stop there for a while.
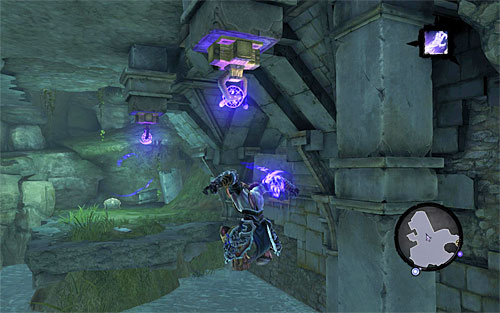
Make sure to have Death Grip activate and jump from edge mentioned above. The goal of this operation is to grab onto the first interactive handhold pictured on the screen in flight, and then do the same with the other handhold. This will get you across to a small island with a chest. Loot it and go back to the upper ledge you've jumped from earlier.
Once again, wall-run and grab onto the new vertical pole. Move up a little and then run to the last wooden pole. Go up, jumping over to the other part of the broken pole. Finally, run to the left balcony shown above. You'll have to break through a group of Construct Warriors, but as long as your level is high enough it should take you only a few seconds to get rid of them.
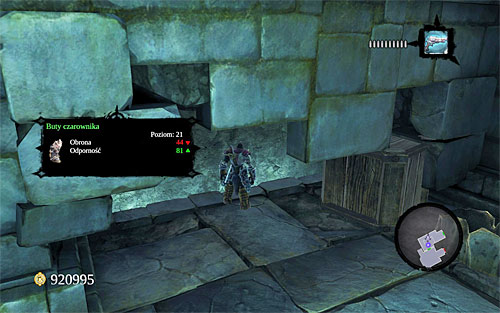
After winning the battle, make your way towards the only available door, taking down another batch of Constructs. Look around for a chest and then bash the nearby objects. Head towards the hole in the wall pictured above and jump down to reach the balcony below.

Start exploring the balcony to find a new chest. Then, use Death Grip on the handhold illustrated above to get across to the opposite balcony with another chest. Go back to the chamber with a hole in the wall, which is where you fought the last group of Constructs. Ignore the hole now, but take the stairs leading to the upper level.

Run towards to new door and you'll find yourself in a larger hall. Stand on the pressure plate shown above and wait until the platform in front of you raises as high as it can. Quickly, step off the plate, jump across towards the moving platform and wall-run vertically. Jump across to the other wall, and again wall-running vertically. If you're fast enough, you should be able to reach the balcony above.
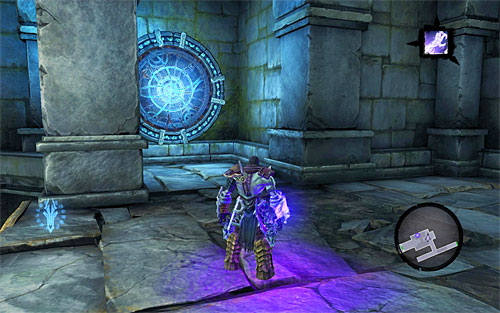
Turn left and use Voidwalker (or Phasewalker) on the portal shown on screenshot 1. Then, go east, turn north and activate the portal shown on screenshot 2. Go back to the first one and go through it.

Take the north door to enter to a fairly large chamber (the above screen). There are three chests to find here, and at least one of them should hold a particularly rare item. After going through the whole dungeon, locate a small area with a GnoMAD Gnome for the side quest [GnoMAD's Gnomes]. Once you have it, jump into the water pool below and bounce off the wall to get to a Boatman Coin.
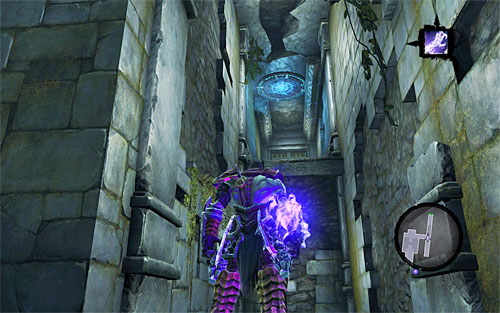
Go back to where you landed after using the portals activated earlier. Head south (the above screen), past a small water tank. Take care of Construct Warriors in the new chamber and wall-run on two walls (bouncing off the first one when nearing a corner) to reach a shelf with a chest holding a Skeleton Key.
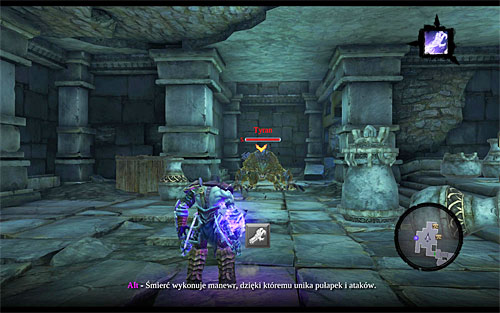
Use the newly unlocked door to go back to the dungeon's entrance. As you may be guessing, you need to use the Skeleton Key on the door you went by before. Move into the new chamber and get ready to eliminate a lonely Stalker (the above screen). The beast might prove a little challenging, but only to lower-level characters - if so, remember to dodge effectively and don't let the creature chase Death into a corner.

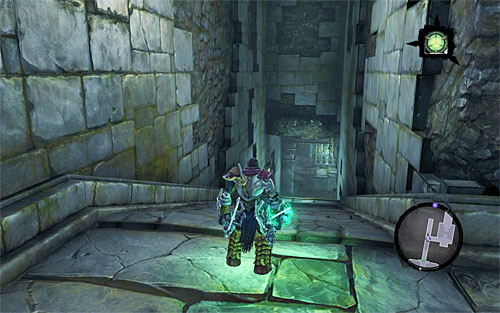
Afterwards, look around for two chests nearby, and then run towards the gap pictured above. Go down the stairs and drop down on the shelf below.
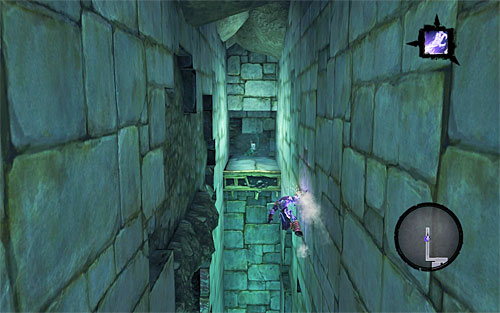
Place yourself as seen on screenshot 1. Run on the left wall to reach interactive edges. Move far to the right and perform a series of runs, bouncing off the walls when necessary. The goal of this operation is to reach a small shelf illustrated on screenshot 2 - it has a Book of the Dead page ([The Book of the Dead] side quest).
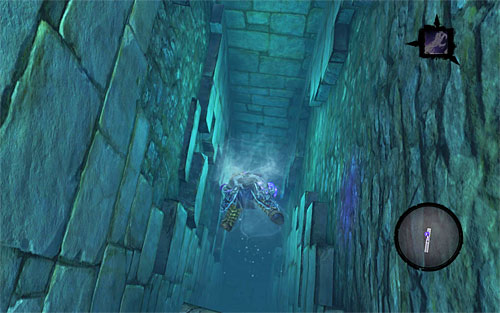
Jump into the water but DON'T go back to the stairs, instead dive in and locate the underwater tunnel shown on the above screen. Swim through it to get to a whole new area of the ruins.
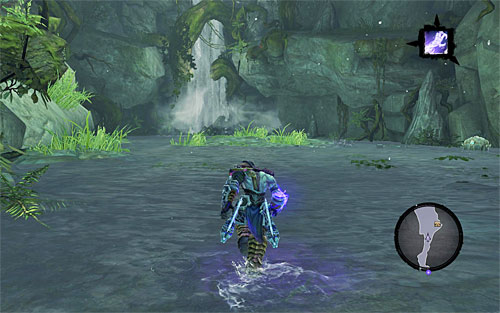
After reaching the surface, grab onto the edges and make your way north-west. Your destination is an area, pictured above, where you'll have to fight a mini-boss called Gorewood.
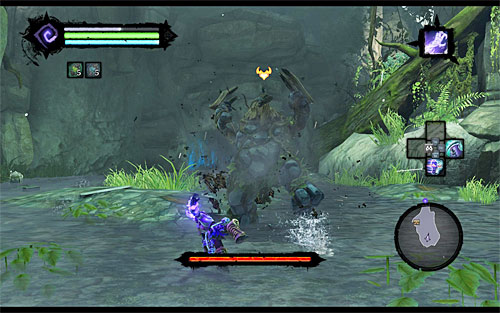
For the most part of the battle, Gorewood should be using pretty much standard melee attacks, which doesn't mean, of course, you shouldn't try to evade them. It's particularly important if you have a low-level character because otherwise you may take pretty serious damage upon getting hit.
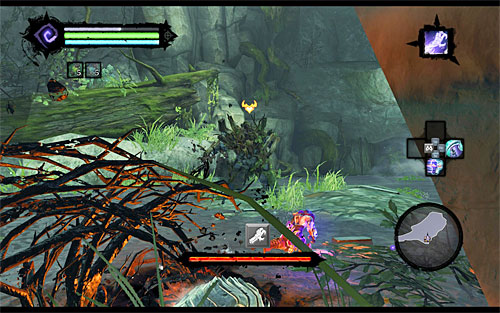
The mini-boss' most important attack is when he springs roots which automatically aim at Death (screenshot 1). When that happens, keep moving around the battlefield so as not to get caught, because if you do, you'll be stopped and have to try to free yourself by continuously pressing E (screenshot 2).

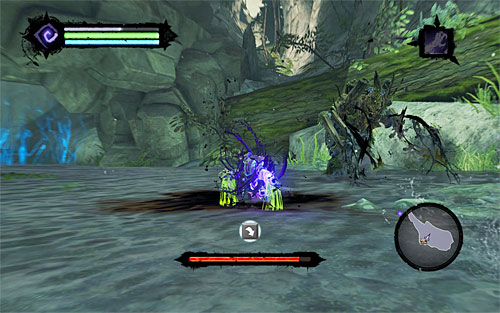
You can weaken Gorewood by any means you chose, but given that he's fairly slow I suggest using strong special attacks. When the battle is won you'll be rewarded with a legendary weapon called Gorewood Maul. Before leaving this place, take a look inside the nearby chest.
[TIP: Defeating Gorewood has been a part of the side quest [Find and kill Gorewood]. If you haven't unlocked that mission before, it will automatically appear in your quest log, so don't worry about missing the chance to receive the reward for it.]