Boss 7 - The Guardian | The Heart of the Mountain Darksiders 2 Guide
Last update: 11 May 2016

The battle with the Guardian is basically divided into two phases and each of them. Unit to perform the same activities twice. PHASE 1 is much easier, but before we start discussing it, it's worth saying the most important thing, namely about the necessity to use Despair (death's horse) that is summoned by pressing "C".

Start to cruise around the Guardian, but keep him at bay (considering his size and the range of his attacks) Wait for the boss to raise his limb to swing the hammer and use gallop ("ALT" key) to escape the spot that the hammer hits.
[TIP: if you don't escape and you get hit with the hammer, you will lose some of your energy. If that happens, summon Despair once again to prevent being hit by further attacks.]

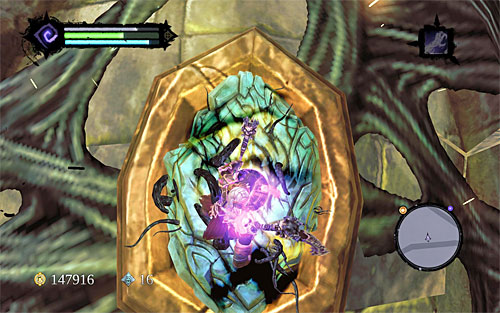
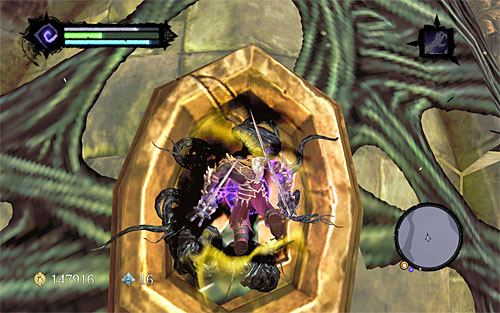
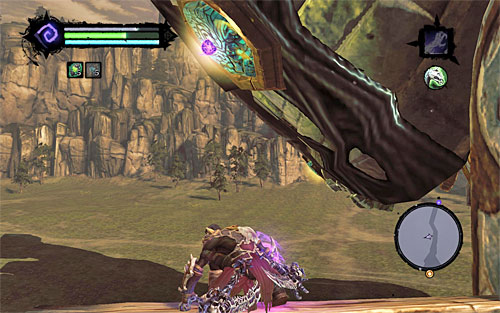
Right after the guardian's attack misses, quickly approach this right limb. Enter aiming mode and use your pistol ("Q" key) aim at the shadowbombs visible in the above screenshot, and fire at them, which will result in a series of explosions.
[TIP: you need to hurry destroying shadowbombs, or else the Guardian will return to his upright position and you will have to wait for him to swing the hammer again.]

Note that the explosions made the Guardian, kneel. Run up to him and unmount the horse. Lock in on the interactive point visible on the above screenshot, and to make sure that you have the skill death grip ready. Press quickly the middle mouse button to pull yourself towards the boss's heart fragment.
[TIP: this time, you will be given more time to perform the discussed action, but if you do not hurry AT ALL, you may have to repeat all of the previous steps anyways.]
After the death transports to the heart fragment, perform several quick attacks with your scythes (left mouse button).
After a moment, the player character will be pushed away. As a result, you'll have to repeat all of the steps discussed above, which means you need to wait for the Guardian to swing this hammer against the ground, destroy shadowbombs on his arm, and climb up him using the death grip. This time the process of destroying the heart fragment will be successful and you will be promoted to the SECOND PHASE of the duel.
During the second phase the boss will start using cannon and shoot large yellow projectiles, being large, explosive bombs. Note that each of the fire projectiles automatically guides itself towards the Death and moves relatively fast. As a result, even several charges in a row may not be sufficient to escape from them.
[TIP: just like in the case of hammer attacks, being hit with the bomb equals to losing some of your energy and you will have to summon Despair again.]
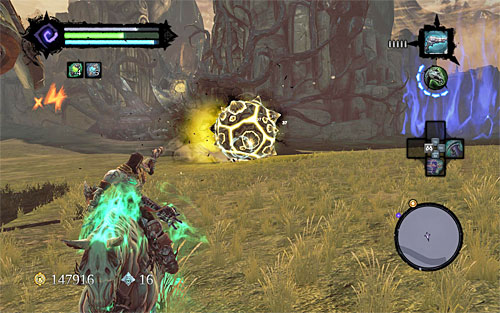
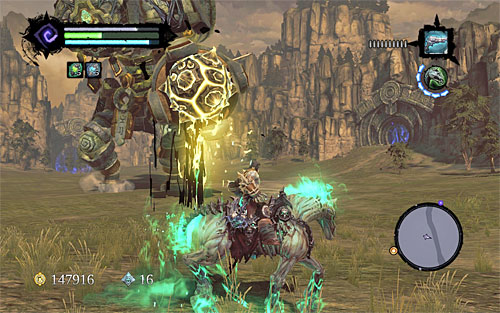
As you can probably guess the key to success is to use the bomb against the boss himself. Make sure that you are on the horse and start firing your pistol at the bomb (it is a good idea to lock on the yellow ball), while in constant movement.
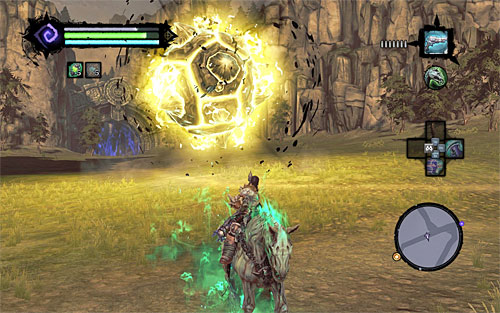
Make sure that your last of the pistol attacks take place near the balls. Also you need to be careful about his lower limbs that he thumps the ground with; and do not let yourself be off the horse. A severely damaged bomb should glow more and it starts to levitate.
Move further away from the bomb and wait for it to explode, which should wound the boss. If this does not happen, this is a visible sign, that the explosion took place too far away from the Guardian and you need to try again.
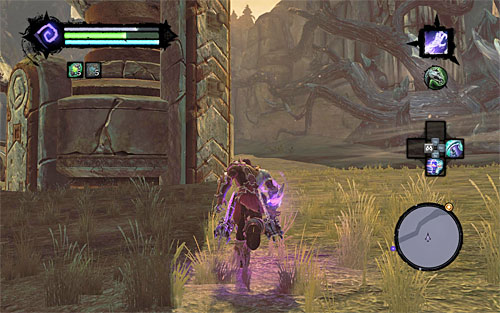
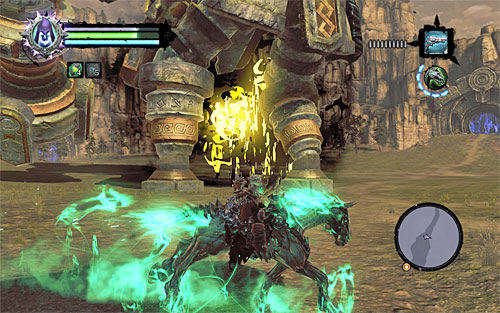
Move closer to the kneeling boss and jump off the horse. Start climbing in the spot visible in the screenshot (the Guardian's cannon), by catching on to its projections.
Once you reach the horizontal wooden pole, move to its end, and turn towards the second heart fragment (the above screenshot).

Jump towards the heart fragment and when you are airborne, press the middle mouse button (make sure that you have the death grip skill ready). After the character nears to the fragment, start destroying it.
Just like during the first phase of the battle, you won't get the chance to destroy the fragment at the first try. After the boss shakes you off, you will have to repeat all of the activities described above , i.e., weaken the projectile, detonate it near the boss, climb up the Guardian and jump towards the heart fragment. Destroying the fragment will bring the battle to an end, and the mission will be accomplished. Rewards for completing the quest are Harvester Revenge (a skill effective only in battles), 1200 experience points and 600 gold pieces. Also, another main quest will unlock. [The tree of life].
[TIP: Harvester Revenge is an attack activated with the "ALT" key (without pressing any additional directional keys), but it needs to be well-timed in order to be effective, which release that he needs to be launched exactly at the moment of the enemy's attack. I suggest training it with weaker enemies.]
[TIP: before you move out to the tree of life, I suggest that you close all of your business in Tri-Stone connected with equipment, and side quests. It should be pointed out, however, that you do not need to worry that the unfinished side quests will disappear from your log, because the game allows you to deal with them at any chosen moment during that campaign.]