
The Breach - Exploring The Breach | Additional Locations Darksiders 2 Guide
Last update: 11 May 2016


Location: The Kingdom of the Dead
The dungeon in located in the south of Leviathan's Gorge, and it connects it to the Maw.
[TIP: The following description is written under the assumption that during [The Lord of Bones] main quest you've already unlocked the exit of the Breach. As a result, the description concentrates mostly on acquiring valuables, especially the ones that haven't been accessible before.]

Go straight ahead, wall-running along the left wall and grabbing onto an interactive grapple with Death Grip. When you get to a corner, jump over to the neighboring wall. Continue along it until Death reaches some interactive vines.

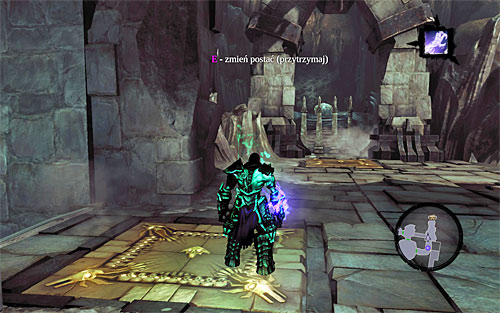
Hold on to the vines, lean back, jump backwards and latch onto another grapple, pictured above (Death Grip necessary again).

Start making your way up, using one more grapple on the way. Finally, perform a short wall-run up the wall and bounce off to grab onto an edge behind your back (the above screen). Climb the new ledge.

For starters, loot the chest in front of you. Afterwards, step on the pressure plate and leap forward once the grates are lowered. Go right to find another chest.


Go back to the chest behind the grate. Stand on the pressure plate shown on screenshot 1 and activate Soul Splitter. Take the first half of the soul to the second pressure plate, on the right (screenshot 2). Switch back to the first half and approach the chest.

Find the spot pictured above and jump down to the bottom level. Jump into the smaller hole.

Stand on the pressure plate illustrated above. Wait for the passageway to open, then leap towards any wall and start wall-running. Finally, jump towards the interactive edge. Everything should go according to plan provided you haven't wasted too much time after stepping off the plate.

Enter the north chamber and go through the west door. Your goal is the above pressure plate. Stand on it (it will lower the grate) and activate Soul Splitter.

Send the first half over to the pressure plate shown in screenshot 1. Switch to the other one and have it stand on the pressure plate shown on screenshot 2. Leap forward to get to the chest before the grate has time to rise.

Go back to the north chamber and take the door leading to the north-west cave. Flip the switch to raise the drawbridge and head east. Find the portal illustrated above and activate it with Voidwalker (or Phasewalker). Make sure to create the enhanced version of the portal (hold the middle mouse button).

Head south now and jump over to the vertical wooden pole there. Leap across to an interactive edge, but instead of moving right use Death Grip to grab onto the upper edge (the above screen).

Jump up to the top edge and examine the small ledge - it holds two chests with valuables. There is also the second inactive portal there (the above screen), so use Voidwalker (or Phasewalker) again.

Jump through the newly activated portal and wait until you're thrown out of the previous one, safely reaching a vertical pole. The only thing left to do is to bounce off the pole towards the upper ledge shown above, and find a treasure chest.

Go back to the chamber adjoining the hallway with protruding spikes and head for the east door (the above screen). After unlocking the way, follow the narrow corridors to find a Boatman Coin. Enter the last chamber of the dungeon.
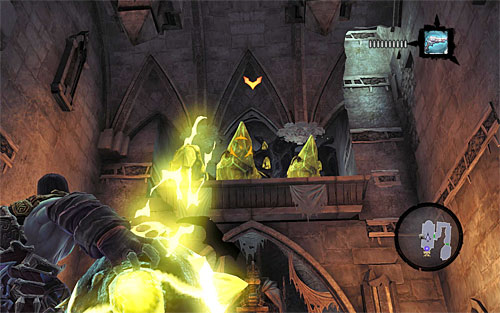
Look around for another Boatman Coin and a shadowbomb hidden behind one of the statues. Pick it up and throw it at the yellow crystals on the balcony (the above screen).

Make your way up, finding and reaching an interactive edge. Keep moving right until you get to a small balcony. Go across to the other side, grab onto the new edge and move right. Stop where the screenshot shows.

Before going further to the right, start grabbing onto the smaller edges in front of you. It will allow you to reach a small balcony with a chest (the above screen), which is of course worth looting. Take a look at the statue with an active lantern behind the grate. Reaching that area would be one of your next objectives, but it's unfortunately much more complicated than it seems.

Go back to the interactive edge pictured on one of the previous screenshots. This time go down to the lower edges and when you do, start moving right, performing a single wall-run. At the last ledge, move right as far as you can and wall-run once again, bouncing off to grab onto an interactive ledge at the last moment (the above screen). The last action requires Death Grip, of course.
![Take a look inside the chest on the balcony, then jump down and leave the dungeon in order to travel to [The Maw] - The Breach - Exploring The Breach - Additional Locations - Darksiders II - Game Guide and Walkthrough](/darksidersii/gfx/word/1141209093.jpg)
Take a look inside the chest on the balcony, then jump down and leave the dungeon in order to travel to [The Maw]. Now we're going to try to unlock access to that balcony with a statue. For starters, head south (the above screen), across bridges, to reach the main area of the Maw (the one with Sentinel's Gaze and Phariseer's Tomb).