
Restore the Tears of the Mountain (1) | The Tears of the Mountain Darksiders 2 Guide
Last update: 11 May 2016
![Take down new Stingers in the area of [Drenchfort], and afterwards head towards the fort's main entrance - Restore the Tears of the Mountain (1) - The Tears of the Mountain - Darksiders II - Game Guide and Walkthrough](/darksidersii/gfx/word/1316930625.jpg)
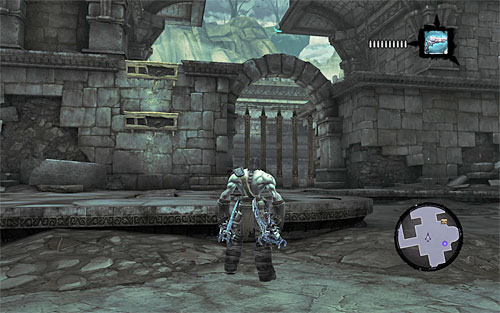
Take down new Stingers in the area of [Drenchfort], and afterwards head towards the fort's main entrance. You'll stumble upon new insects on the way, but by now you should be quite proficient in eliminating them. Nevertheless, watch yourself when you encounter a group of Prowlers, remembering to dodge frequently.

A new puzzle awaits you ahead, and as you can probably guess, it involves placing a large ball in a hole in the ground. Begin by examining the west wall to find handholds which help you climb up. Grab onto the interactive edge and start moving left, wall-running on the way. Let go only when you get above the small shelf.
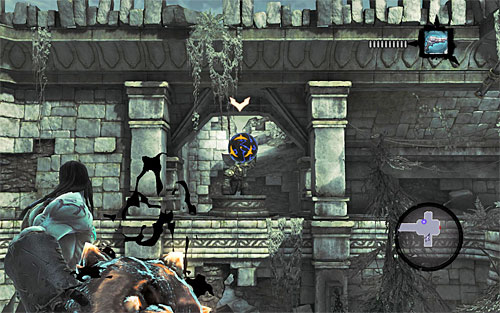
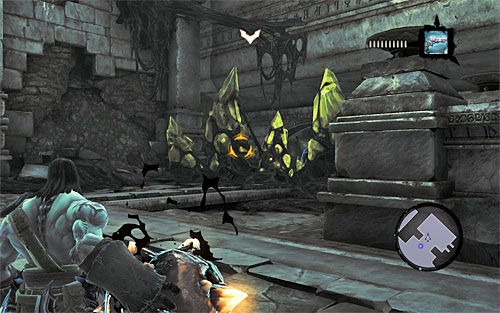
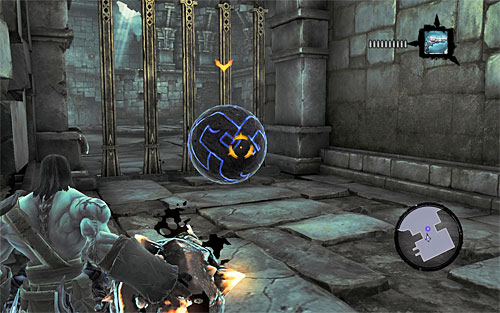
Approach the dormant shadowbomb and press the E button to take it. Dormant shadowbombs are used similarly to their regular counterparts, so enter Aim Mode (Q button), aim the ball in front of you (the above screen) and throw it (middle mouse button).
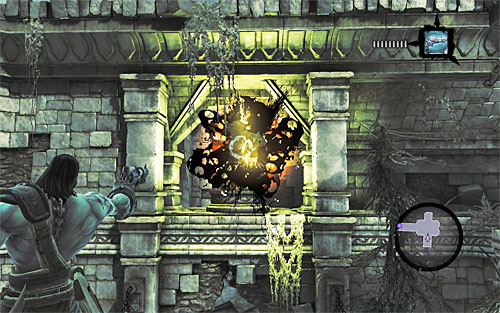
The only difference is that dormant shadowbombs don't blow up the moment they touch the target, so you have to shoot the one which you've attached to the ball with the pistol. The explosion should cause the ball to roll down to the lower level, so go there and roll it into the a previously mentioned hole. Use the newly unlocked passage to get to the biggest area of the fort.

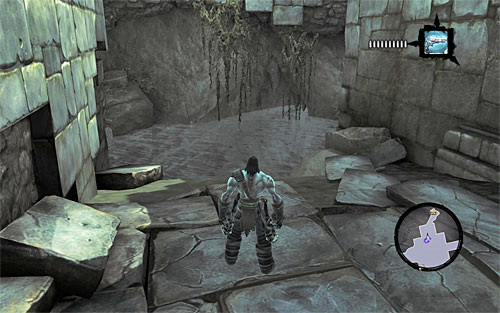
Before we proceed to the next part of the main quest, it's a good idea explore the area thoroughly, but beware of groups of Stalkers. Start off by reaching a chest located right before the starting point (in the northern part of the area). Jump over the railing to land behind a large statue (the above screen). There is also another chest in the area as well as a Boatman Coin, but you shouldn't have any problems getting to them now.
![The last interesting object to take from here is a Book of the Dead page ([Book of the Dead] side quest) - Restore the Tears of the Mountain (1) - The Tears of the Mountain - Darksiders II - Game Guide and Walkthrough](/darksidersii/gfx/word/1316930703.jpg)
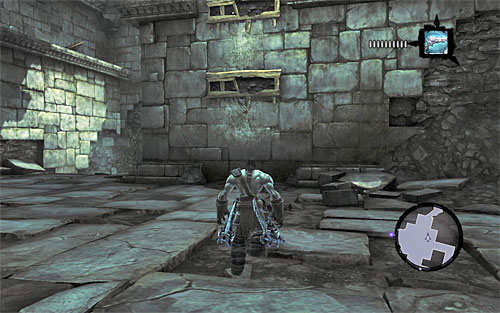
The last interesting object to take from here is a Book of the Dead page ([Book of the Dead] side quest). Reaching it is not easy because first you need to locate interactive edges and handholds in the northern part of the area, shown on the above screen. Use them to get to the large niche.

You can now concentrate on the current mission again, so go to the east door shown on the above screen (on the top level). Open it, head east, take care of Stingers and find two new chests.
[TIP: If you're having trouble locating a destination point, remember that you can use the help of Dust by holding the Z button. The crow will fly to the target spot and you just need to follow it. Dust isn't always accurate and can sometimes get stuck on the way, but usually does quite fine.]

Before heading forth to the east, take the corridor leading south and you'll reach a door to a larger chamber. Attack the Stingers, which after a while will be joined by Stalkers. I suggest using area attacks, especially if you find yourself surrounded.

Soon, a mini-boss called Earth Crag will join in. Watch out for his charges and the stomping on the ground. I recommend using the most powerful attacks and making sure that the character doesn't take damage too often. Once the battle is over, check out the contents of the chest and find Karn's Helmet lying on the table, which is needed in the [Lost and Found Part 2] side quest.

Go back to the previous area and this time take the previously omitted east door. On the way, watch out for Savage Prowlers, although they're not particularly stronger that their regular counterparts. Your goal is the most east-end area of the fort. Here, a new ball puzzle awaits you.
First off, I suggest going south. Dive in where the screen shows to reach an otherwise inaccessible chest. Go back to the starting point afterwards.
There are two balls to roll, but the southern one is easier to get to. Find interactive edges in the southern part of the room, shown on the above screen, and use them to climb up to the upper shelf.

Another step involves wall-running, but this time you'll have the first opportunity to test jumping to the adjacent wall. It's a continuation of the run after reaching a corner. As soon as you're at it, press SPACE. You'll have to repeat the same process after a while since it's the only way to get to the shelf with the first ball.

Approach the south ball a push it down to the lower level. Jump down yourself and roll the ball into either of the holes.
Now we can take care of the north ball. Locate interactive edges in the northern part of the room which will enable you to climb up to the top platforms. Once you're there, grab a Boatman Coin and look around for a chest with a Dungeon Map. You can now jump down, but do it so that you're on the previously inaccessible side of the gate.
Locate another chest, and then other interactive edges to help you get to the small niche holding dormant shadowbombs. Grab one and aim it at the yellow object blocking the way to the north ball (the above screen).

The next steps aren't so obvious, so make sure you're following the instructions exactly. Approach the newly unlocked ball and roll towards the previously mentioned gate, which divides the central and the northern part of this area (the above screen).
When you do it, go back up to grab another shadowbomb, jump down with it and attach it to the ball (the above screen).

Next, step on the pressure plate shown on the above screen, which will cause the gate to open. The only thing left to do is aim at the shadowbomb attached to the ball. The explosion should cause it to roll into the central part of the area.

Step off the pressure plate and use the interactive edges for the last time to go back to the starting point. You can now approach the north ball and roll it into one of the holes. Head towards the newly unlocked east passage, and it will take you to the second level of the fort.

Be careful, because right around the corner you'll be attacked by Stingers, and they'll have a brand new nest to destroy. If you don't want to destroy it, you can quickly run through this corridor, but I strongly recommend getting rid of it as it will get you precious XP.

Continue forth. When you reach the next area, take care of Savage Stalkers first and then use the nearby shadowbomb to destroy the yellow object. Interact with the switch to restore water supply in this part of the fort. Jump into the aqueduct and start swimming with the current.