
Restore the Tears of the Mountain (2) | The Tears of the Mountain Darksiders 2 Guide
Last update: 11 May 2016
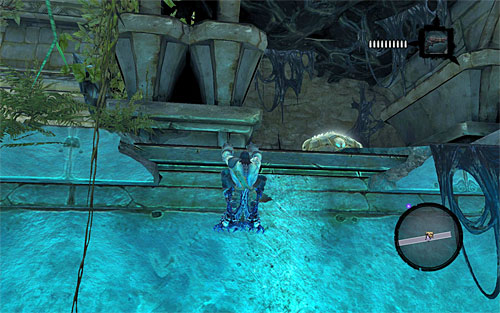
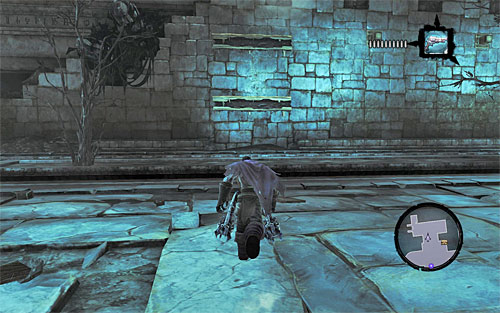
On the way, I recommend looking around for a ledge on the left side, shown on the above screen, which Death can grab onto. Climb up to a shelf with a chest. Jump into the water and continue the swim. After reaching the previously explored area, use the interactive edges and go back to the main part of the fort (west door).
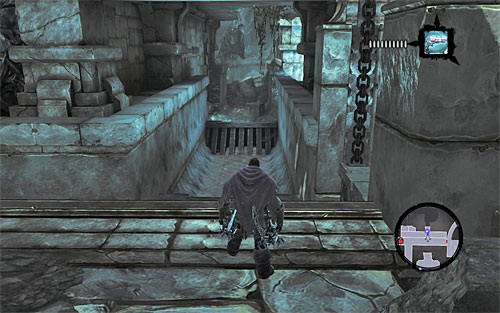
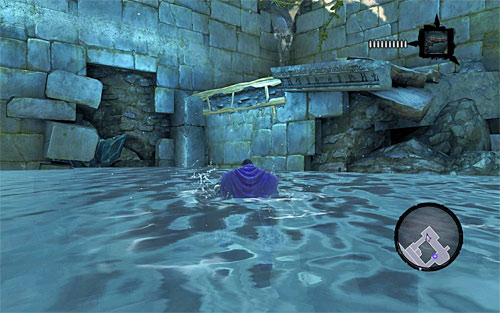
Once there, watch a short cutscene which will tell you where to go next. Get to the lowest level and jump into the water. Find the south tunnel seen on the above screen to reach a brand new area. Also, grab the opportunity to look around for a Boatman Coin underwater.
Swim towards the wall with interactive edges and climb up. After reaching the top ledge, go left. You'll have to wall-run on the three adjacent walls in a row, so remember to press SPACE every time you reach a corner. When you're done running, climb the wall again to reach a ledge with a chest.
Jump into the water and go back to the previously mentioned top ledge. Now, for a change, go right. Bounce off the wall when you reach a corner and wait for Death to grab onto vines. Go up to get to the highest balcony. From there, go straight ahead, namely towards the small square room.
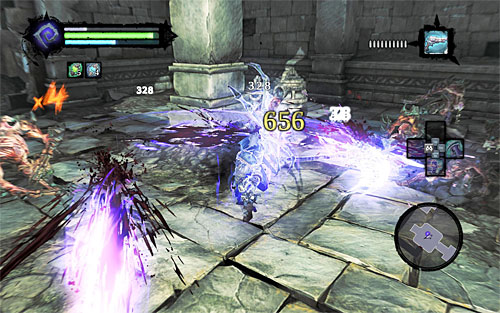
Before you can proceed, you'll be forced to fight a pretty hard battle with Prowlers. Since they will surround you right at the beginning, try using Harvest or any other area attack. Don't forget to dodge and use potions if needed.
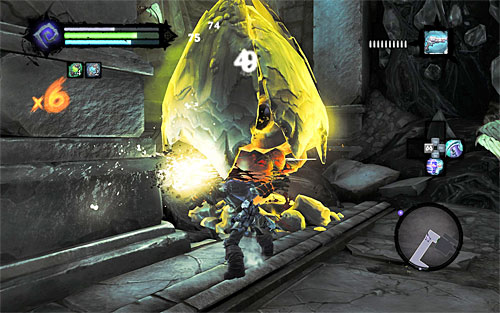
The battle will be soon joined by a Savage Stalker, the more powerful version of the well-known enemy. The main difficulty here will be the fact that the beast appears before you have the chance to get rid of all the Prowlers, so it's still advisable to use area attacks. Also, keep avoiding the Stalker's well-known attacks (especially the stomping on the ground), because they take a lot of Death's energy.
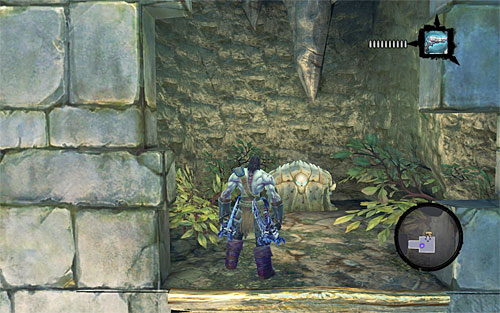
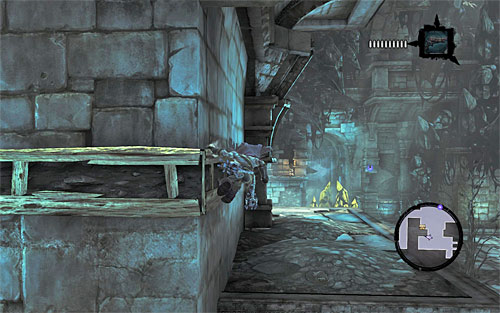
Afterwards, bash the surrounding crates for a Boatman Coin and head for the west door. Enter the next area and ignore the closed door for now. Jump into the aqueduct and find the corridor leading north (the above screen).
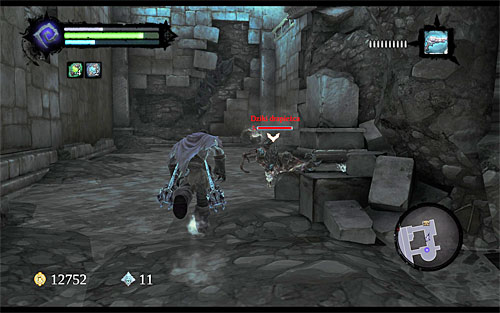
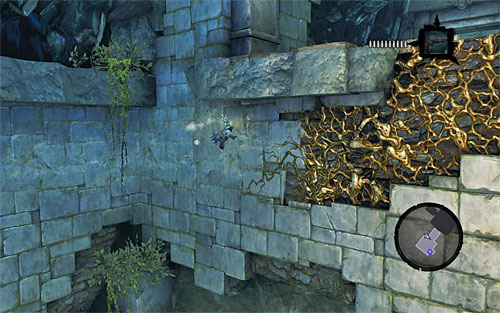
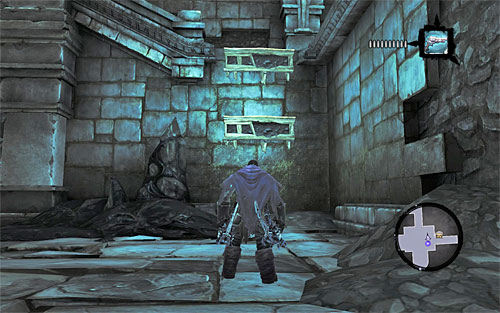
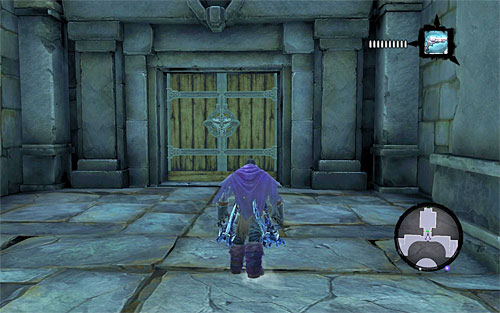
Next, enter the tunnel leading west (the above screen) and deal with a group of Savage Prowlers. Afterwards, approach the chest and open it to find a Skeleton Key. Go back to the previous area and use the interactive edges on the west wall to get to the previously closed door. Use the Key to unlock it.
[TIP: Don't worry about the top ledges visible in the distance; you'll have time to explore them later, after you've restored the water supply to this part of the fort.]
Go through a set of corridors, dealing with Stingers and Prowlers as you go. Your destination is a large west chamber with a new puzzle to solve. Start with exploring the northern part of the location to find a chest and interactive edges shown on the above screen. Make your way up.
Get to the top edge, move right and start wall-running, then bounce off when you get close to the corner. Repeat the same process at the other corner. Finally, move as far to the right as you can and jump over to the previously inaccessible top shelf (the above screen). Find a chest here, loot it and go back to the starting point.
Now take a look around the central part of the chamber and you'll find further interactive edges, as seen on the above screen. Use them to get to the top balconies and find a spot with dormant shadowbombs.
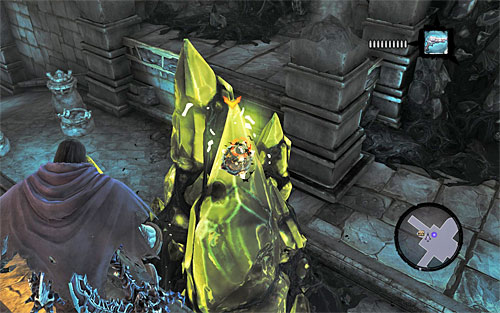
Grab one and aim it at the yellow object on the screen, which is blocking the way to a ball. Detonate the shadowbomb, drop down and loot a nearby chest while you're there. Now you're free to get to the ball.
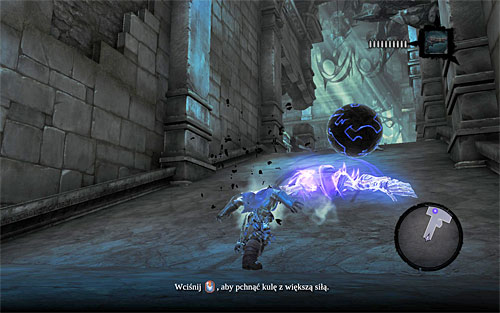
Approach the ball and press E the usual way to get it to roll. Follow the game's tip. Turn towards the central part of the area and press the middle mouse button to push the ball with greater force.

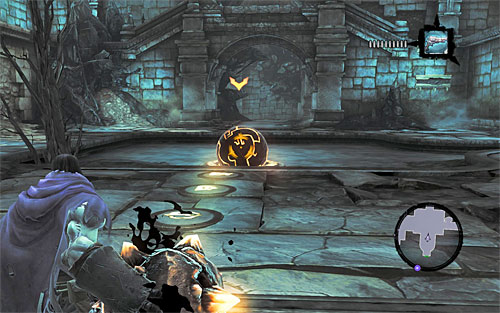
If you do it right, the ball should reach the place where the puzzle starts without any problems. Roll it into the only hole there and notice that it caused the elevator to lower down.
Go back to the balcony with shadowbombs, grab one and jump down. Stand exactly as shown on the above screen, namely on the lowered elevator. Throw the shadowbomb at the ball in the hole and detonate it with your pistol. It will dislodge the ball and move the elevator up, which will take you to the upper level. You can now head towards the west door.
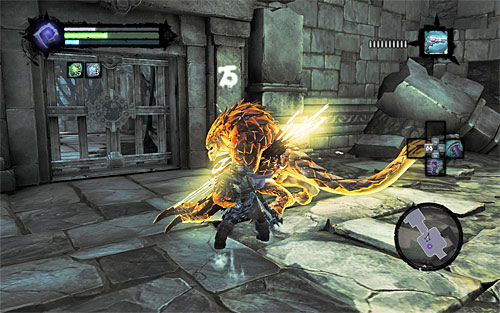
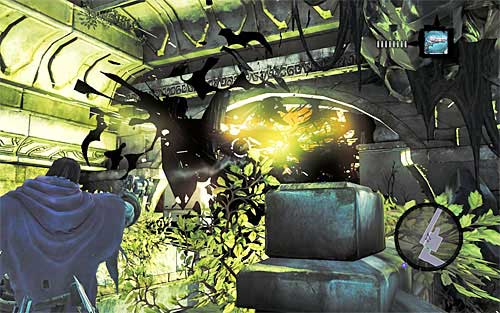
As you go through the new corridor, destroy a nest of Stingers, but this time to be careful more than ever because you'll also be attacked by Prowlers. If necessary, lead the beasts away from the nest, exterminate them, and go back into the main battle.
Soon you'll reach a new balcony. Start off by detonating a shadowbomb on the left and only then use the switch to restore the water supply. Same as before, jump into the aqueduct and wait for the current to take you to an unexplored area of the fort.
Notice that you found yourself in the area at which you've been before, when you took the Skeleton Key. Similarly, head north. Find a ledge along the way and climb on it in order to collect a Book of the Dead page ([Book of the Dead] side quest]). Head back into the water and turn west. The main difference between your previous visit and this one is that thanks to the raised water levels you can now get to the shelf shown on the above screen.

Turn around and run on the right wall to grab onto an interactive ledge. Move right as far as you can, then jump up to the upper edges. Holding onto the top one, lean back and jump to get another Boatman Coin. Return to the same spot and climb up to the new ledge. Go straight ahead to reach a switch witch which you need to interact.
Watch a short cutscene, jump down and head towards the east door which will take you to the main area of the fort. Again, watch a cutscene. When it's over, head for the south door which you haven't yet paid attention to (the above screen); they're on the same top level.
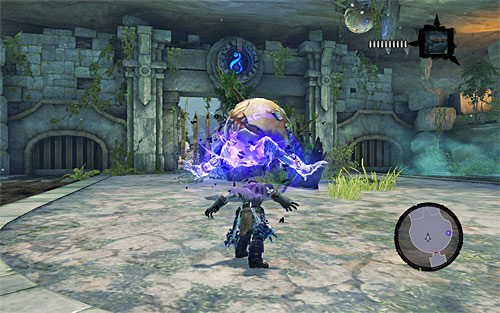
When you open them, jump into the water and swim towards the edge visible in the distance so that you could climb a new shelf. Enter the large south room. There, approach the ball, grab onto it, turn around towards the plants and push it forcefully (middle mouse button; the above screen). This will commence the main boss battle of this mission.