
Explore the City of the Dead - return to the eastern part | The City of the Dead Darksiders 2 Guide
Last update: 11 May 2016
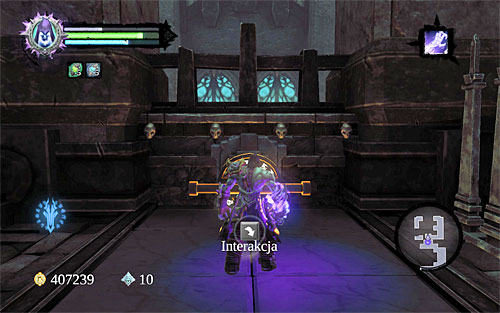
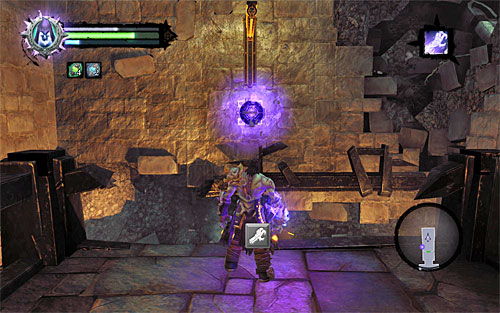
Use the newly unlocked the door region balcony located directly above the central area of the city of the dead. And reach the new door. Open the door and use of the switch that has been inaccessible before (the above screenshot), and unlock access to the door located in the previously explored room.
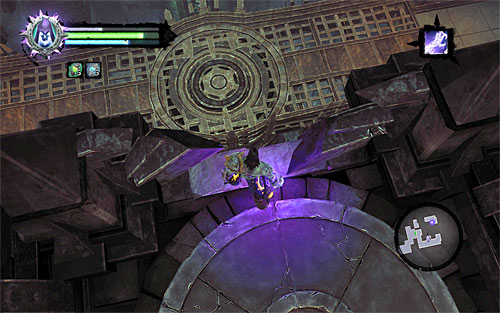
Use the stairs on the right. And after you reach the balcony, with the mechanism that you used before, position yourself in the spot shown in the above screenshot, and jump towards the bridge in front of you. After the land. Go to the Eastern door mentioned before. Enter a large area where you will have to fight.
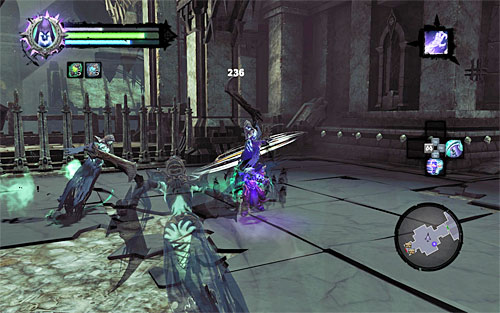
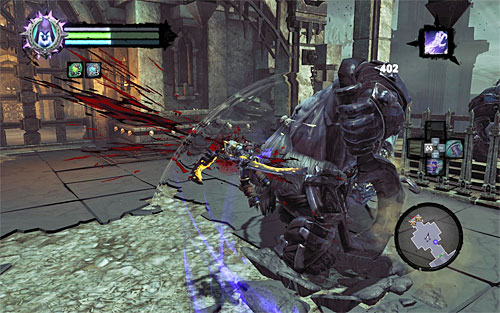
At the very beginning you will be attacked by ghouls. Take advantage of the fact that the area in which you have to fight is a big one, and you can freely move around , and the dodge without obstruction. I also advise to eliminate the monsters one by one, unless you have good territorial attacks and a lot of wrath points at your disposal. The second part of the battle, is a battle with an undead general. You should know perfectly what to do (the use death grip and pull yourself towards him every time you have the opportunity to do so).
The two remaining parts of the battle are the most difficult ones. First, it will be attacked by a single prowler , and then another two. To deal with them. He doing the very same thing I have talked about while discussing the battle with the prowler boss. Therefore, you should attack the right hand side of the monsters body. At the same time, avoid this attacks with his growth, as well as his spits. The last battle. Maybe make it easier by launching Reaper Form, but this rather won't be necessary.
Traditionally, after win collect all of the items left by the killed monsters. You can move forward and find two new chests that shouldn't be holding especially valuable items. Open the Eastern door and approach a large shaft. Start climbing by using death grip on the interactive catch. Now, we will you will have to engage into some sort of a race with time, because you need to reach the top of the shaft thus avoiding getting killed by spikes or flames. Refer to the below table to see what to do next:
 | 1) . Catch on to the upper projection and next on to the edge |
 | 2). Shimmy to the left. Be careful during the long wall run during which you will have to bounce off the wall |
 | 3). Climb up using projections again. |
 | 4) . Go left and remember about the necessity to bounce off the wall after you reach the corner. |
 | 5) . Right after you catch on to a ledge, release your grip and fall on the ledge below. Once you do that move to the left. |
 | 6) keep moving to the left and make use of another projection on the way. |
 | 7). After you reach the last of the ledges, start climbing |
 | 8). Jump over to the right interactive catch. Start wall running and catch an interactive catch using Death Grip . |
 | 9) start moving to the right and then perform wall run combined with bouncing off. |
 | 10). Stop after you get underneath a catch. Wall run again and use death grip in the right moment. |
 | 11). Wait for the death, to reach a new, interactive edge, and go left. Climbing should be finished in the spot shown in the above screenshot, by climbing onto a stable ledge. |