
Wake the Construct (2) | To Move a Mountain Darksiders 2 Guide
Last update: 11 May 2016
When you're there, I suggest jumping over to the south ledge seen on the screen to get to a chest there. Only then enter the large west area. There are two new chests here and another Boatman Coin. At the construction in the centre somebody left Karn's Compass needed in the [Lost and Found Part 3] side quest. Take down Stingers and head for the south door.
Find a new Construct and bring it to life with the Maker's Key. Take it to the oval elevator shown on the above screen and leave it there.
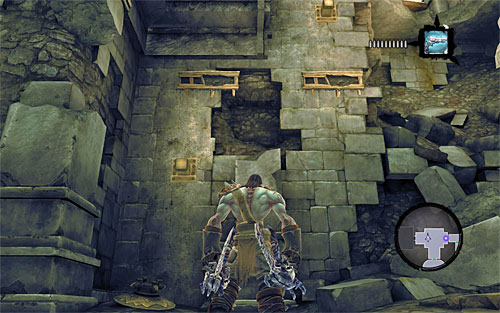
Locate the interactive edge (the above screen) which will help you get to the upper shelf. Continue going up, grabbing onto a ledge and another edge. Run on the left wall and start moving left. After a few moments you should reach the higher level of the temple.
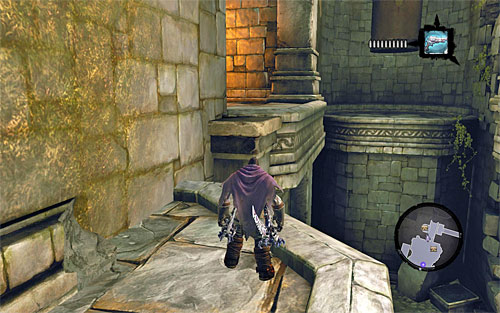
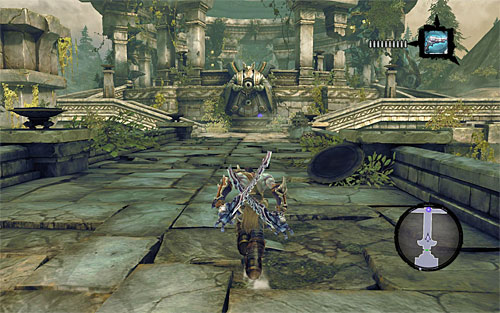
Starts exploring the new area by jumping down to the lower platforms you see on the screen. Jump over the small hole to get to a hidden chest. Take what's inside and go back up using the nearby vines.
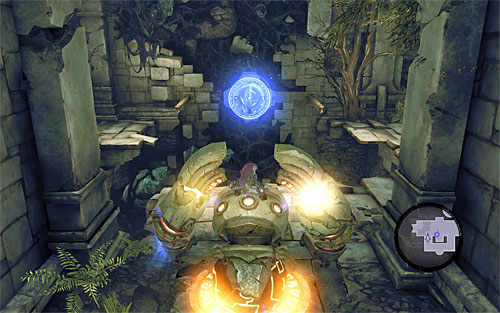
Find a new inactive Construct and wake it with the Maker's Key. Take the Construct to the area with the oval elevator and stop it where the screen shows. This will make the other Construct, the one left below, to ride up with the elevator.
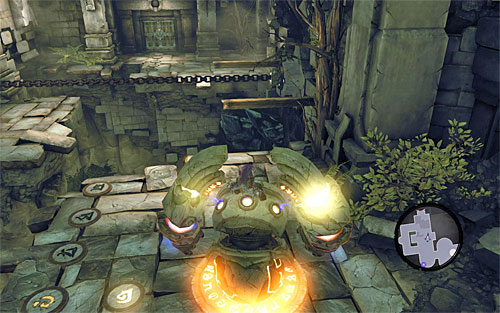
Dismount the Construct used to get the elevator to move and go back to the one which rode in it. After activating it, move ahead. Look around for the nearest hole and stop the Construct at it to lower the grate shown on the above screen.
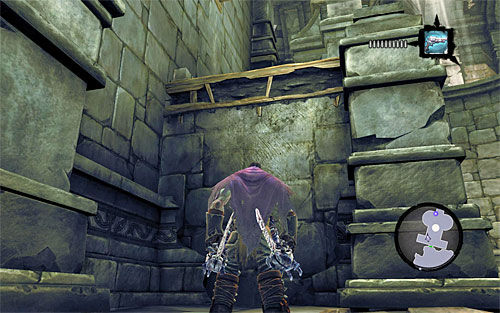
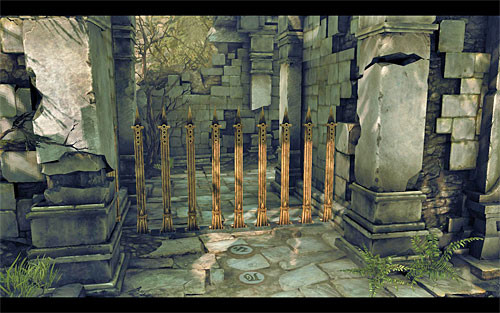
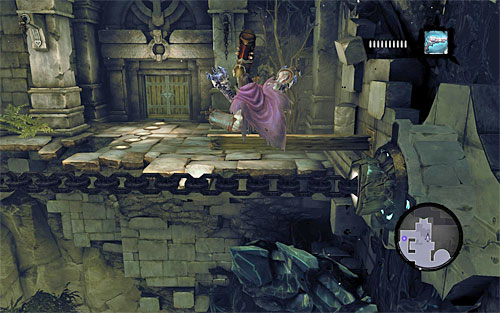
Dismount and go back to the Construct used to move the elevator. Take it to the previously unlocked south corridor, passing by a corner with a secret which you'll get to in a moment. Stop after reaching the yellow objects, destroy them with the chain and place the Construct at the hole shown on the above screen. Finally, shoot the chain at the hook in front of you.
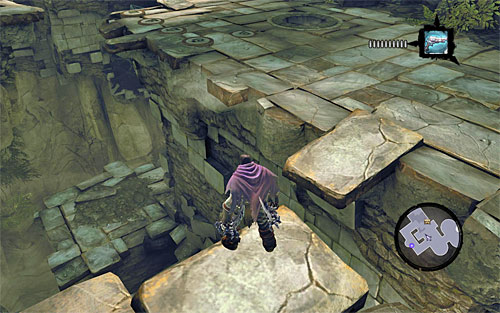
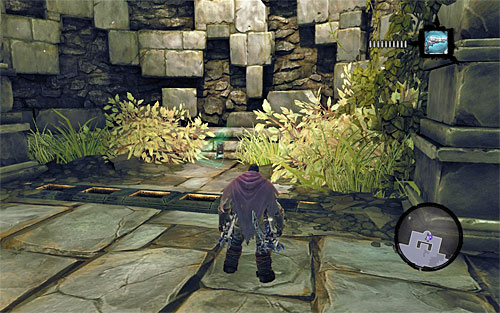
Dismount the Construct and go back to the other one, the one used to lower the grate. Take it west, namely to the hole shown on the above screen.
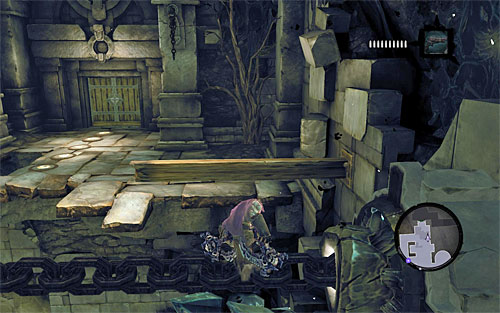
Leave the Construct there and go straight ahead, jumping over to the first wooden pillar. Then, jump on the chain launched before, BUT don't go ahead yet; instead turn left (walking on the chain).
Again, head towards the southern part of the area. Notice that the game has unlocked access to the previously mentioned secret, which is a Book of the Dead page ([Book of the Dead] side quest).
Finally, go to the Construct with the launched chain. Get over to the other side, turn left (the above screen) and jump to the neighboring wooden pole. The only thing left to do is jumping to the new ledge and heading for the exit.
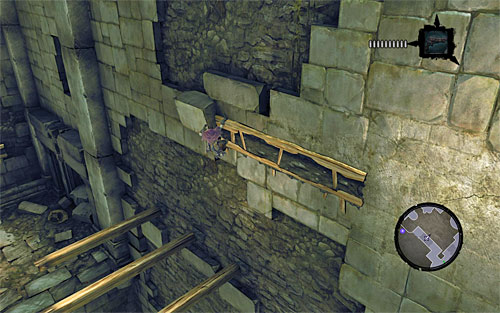
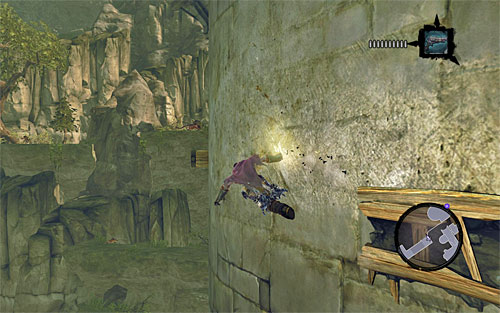
Outside, you'll be attacked by Constructs, though you shouldn't have any problems dealing with them. Afterwards, head north. Run on the right wall, grab onto the interactive edge and move left to the end. Make sure you're in the exact position as on the screen, and only then drop down to land to on the horizontal wooden pole.
Jump from one pole to another, and land on a small rock ledge. Find a new interactive edge, grab onto it and move left. Wall-run, and don't worry about falling because Death will automatically use two ledges on the way. Wait for him to reach the larger balcony where a pretty difficult battle awaits you.
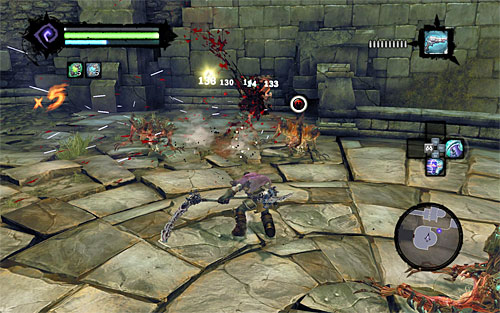
In the initial stage there'll only be Prowlers to deal with, but take into account that the balcony is small in size, so use area attacks, especially since you'll be surrounded by enemies quite a few times.
Later, two Savage Prowlerswill join in and unfortunately defeating them may prove very problematic. Consider using the Reaper Form, though on the other hand it may be more useful in the further part of this quest. It's also a good idea to attack with frequent and powerful area attack based on the full Wrath pool (i.e. Harvest). Don't forget to dodge and don't let yourself be thrown off balance.
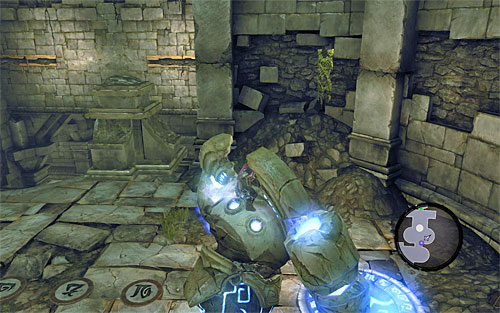
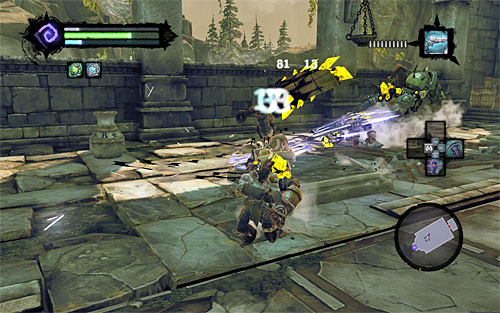
Pick up items dropped by the enemies and go through the only available door. The new location has Stingers and Tainted Constructs, but in comparison to the battle you've just won, they're not a threat you have to be particularly worried about. Once you've cleared the area, examine the north wall and proceed to climb it at the spot shown on the screen.
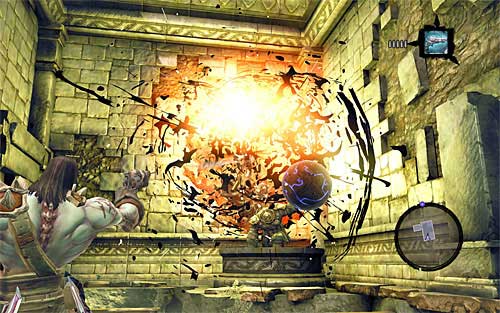
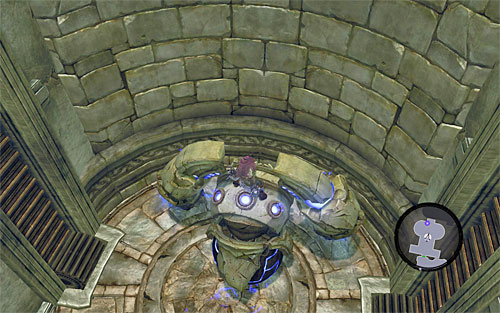
When you get to the second level of the temple, locate a new blue ball and aim at the dormant shadowbomb to free it. Stay on this level a little longer, jumping over to the nearest horizontal pole. Jump from pole to pole to reach a small area with a hidden Book of the Dead page hidden ([Book of the Dead] side quest).
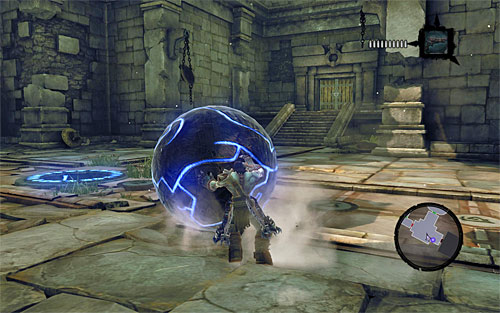
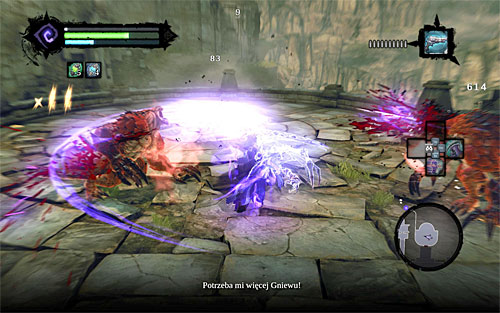
Go back down (go ahead and jump) and roll the freed ball into the hole in the ground. You can now go towards the newly unlocked passage. As soon as you enter another chamber, the game will commence one of the hardest battles in this stage.
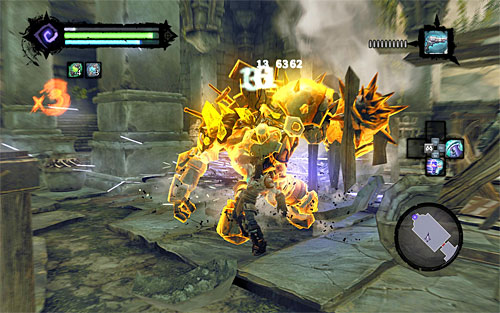
Your main opponents are two Tainted Construct Champions. The essential difficulty lies in the fact that both of them appear at the same time, so it becomes very problematic to be able to attack one of them without getting hit by the other. If you haven't used the Reaper Form attack yet, this is the best time and place to do it; it won't be needed further in this quest. If, however, you don't have it anymore, make your best use of powerful special attacks relying on Wrath Points.
If you can, try attacking only one of the Constructs, not both of them at once, because the moment one of them falls, the battle becomes much easier. In the last stage a few regular Constructs will appear, but they're not that much of a problem. What's more, you can use them to easily pump up Wrath Points. Once the battle is won, don't forget to explore the area.
[TIP: If during the battle you run out of curatives (especially Health Potions), start bashing the nearby objects much earlier. Also, keep in mind that the game allows for a free traveling between world locations, so there's nothing stopping you from going back to Tri-Stone even before the battle begins, to stock up on curatives or buy better gear elements.]
Make sure you've taken all valuable items and use the west door. Follow the linear path, and when you reach the new area, take any stairs. As soon as you enter the arena, the game will initiate a main boss battle.