
Summon the Arena Champion (1) | The Toll of Kings Darksiders 2 Guide
Last update: 11 May 2016
![As soon as you enter the [Gilded Arena], take the stairs down - Summon the Arena Champion (1) - The Toll of Kings - Darksiders II - Game Guide and Walkthrough](/darksidersii/gfx/word/1658835562.jpg)
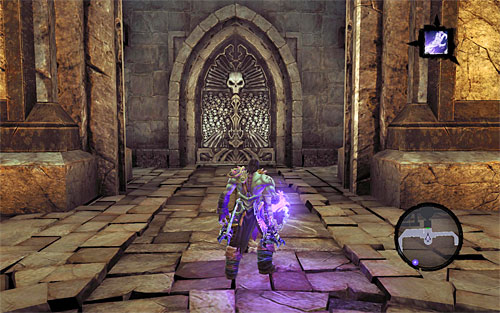
As soon as you enter the [Gilded Arena], take the stairs down. Stop at the door on the first floor (the above screen) and go through it. Exploring the lower floors is optional; the only thing to find there is a gate which leads back outside, to [Leviathan's Gorge].

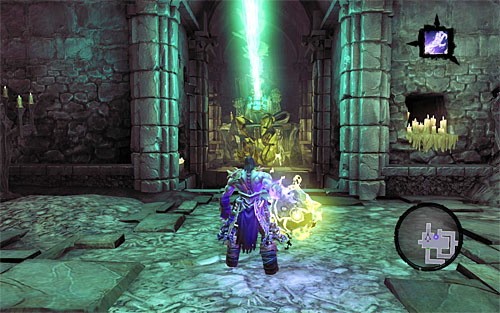
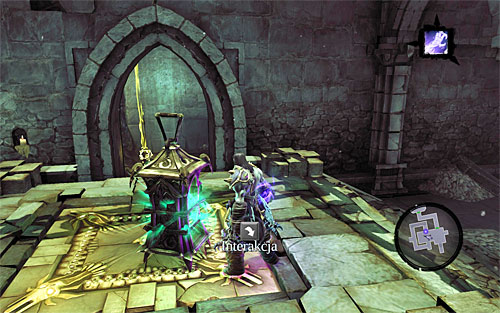
Go straight ahead and approach the statue with a lantern, which is standing in the central part of the chamber. Following the game's tip, you need to rotate it. Stand in front of one of the handles and press E. The goal of this easy puzzle is to turn the statute in such a way so that the beam of the lantern illuminated the crystal above the closed door (the above screen), thus unlocking the passage. Naturally, go through the door.
In the new chamber, with a wide gap, jump down to the very bottom before you do anything else - there are two chests to find there. Loot them and go back up, using interactive vines for help. You can now go to the opposite site of the balcony by wall-running combined with the Death Grip ability. Turn towards another door and step into the main area of the Gilded Arena, where you'll have a rather interesting meeting. You'll learn that you have to find three Animus Stones because only then will it be possible to summon the Arena Champion.
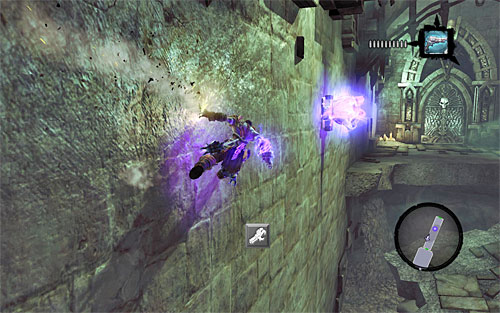
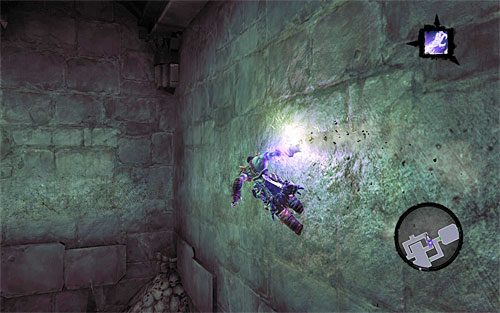
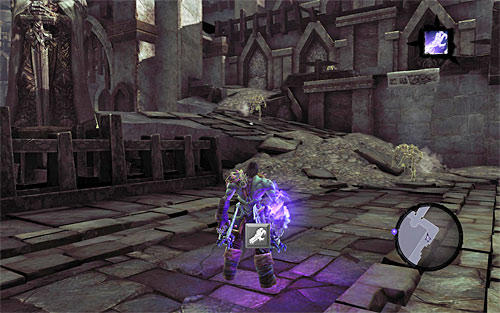
It's important to know that the Stones should be acquired in a strict order. First, explore the eastern part of the Gilded Arena, and to do that you'll need to find the door with torches burning beside them, which has been shown at the very end of the cutscene. For starters, I recommend exploring the whole area thoroughly (numerous interactive edges and small balconies) to find several treasure chests. The most valuable secret in this location is the Relic of Renagoth (the [Lost Relics] side quest]. You can find it in the north-east corner and to get to it you need to use Death Grip (the above screen) and wall-running.

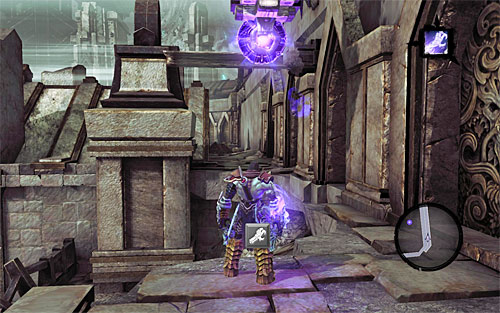
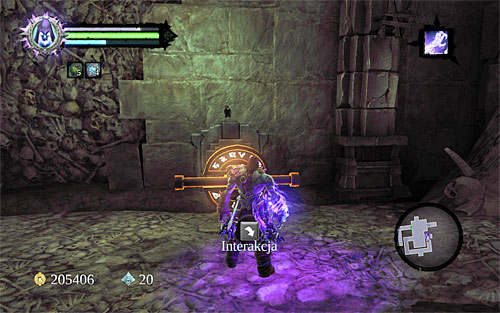
Having collected all the treasures, make sure you're on the upper balconies and head towards the eastern part of the area, passing through a hole in the wall (remember that you can summon Dust to show you the way to the current mission goal). Your destination is the door leading to the east chambers of the Gilded Arena (the above screen).

Go straight ahead and you'll reach a demolished staircase. On one of the lower ledges you should notice a chest - to get to it run on the right wall (the fact that the wall is oval in shape doesn't have any effect on the performance of wall-running), grab onto the interactive edge and then lean back to jump.
[TIP: You can reach the chest in another way - by jumping down, grabbing onto an interactive handle with Death Grip, and wall-running vertically.]

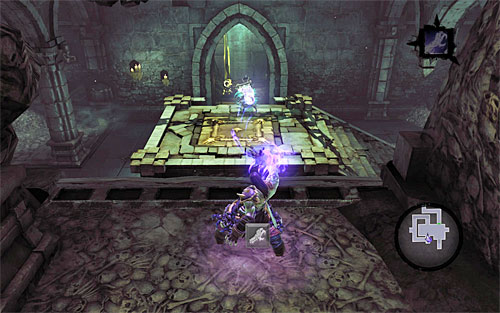
Look inside the chest and proceed forth, wall-running when necessary. When you reach the lowest level, take the corridor leading to a new door. You'll find yourself in a room where you'll be forced into quite a difficult battle with Skeletons. Since the fighting area is small I strongly recommend using area-effect attacks, such as Harvest (the above screen).

After eliminating the first group of enemies, new Skeletons will attack you, but this time they'll be led by a Skeletal Warrior. Area-effect attacks are also recommended here, although you can just as easily grab the Skeletal Warrior with Death Grip, which will halt his offensive and render him vulnerable to yours. Take the loot dropped by enemies and proceed onwards. Your destination is a large hall with a difficult puzzle waiting to be solved.
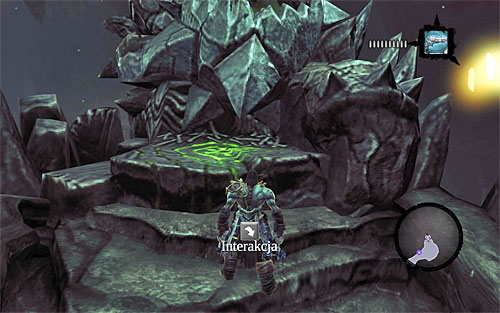
Begin by picking up a new Boatman Coin. Then, face the platform pictured above and stand on the pressure plate. Turn around to face a shadowbomb visible in the distance and grab it using Death Grip.
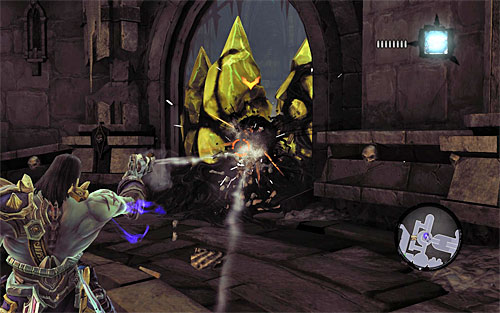
With the shadowbomb in hand, go to the south yellow formation and throw it at it so that it detonates and unlocks access to a chest. Go back to the pressure plate and grab another shadowbomb. This time aim at the yellow formation in the south-western part of the chamber (the above screen).
Notice that the second explosion has uncovered a lantern - catch it using Death Grip. Take the lantern to the pressure plate and place it on it (E button); this will force the grates blocking access to the corridor with shadowbombs to stay open permanently.
Take the previously mentioned eastern corridor, jumping on the right wall and bouncing off it after reaching the corner. Keep wall-running, using a ledge on the way, and press SPACE again when closing to the second corner.
Once you're in the northern part of the area, go through the corridor leading west and then turn south. Interact with the switch to close the grates on the left.
Stand where the screen shows and use Death Grip to grab the lantern you left on the pressure plate earlier.
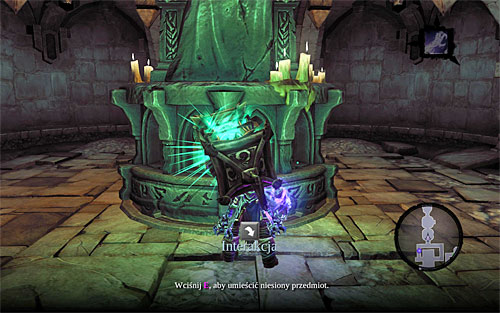
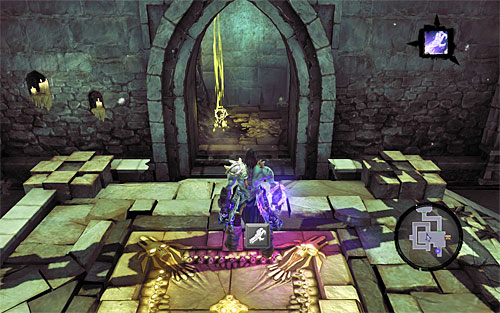
With the lantern, go south and then turn east. When you reach a fork in the road, take the unexplored south corridor. Approach the new statue (the above screen) and press E to attach the lantern to it.
The only thing left to do is rotate the statue so that it illuminated the crystal above the north door and thus unlocked the further passage. Enter the last area of this part of the Arena. Approach and interact with the altar shown on the above screen (E button) to acquire the first Animus Stone.

As you probably expect, the game won't allow you to get away with the Stone so easily. Consequently, get ready to fight some undemanding Scarabs. Make use of your pistol and area-effect attacks. Afterwards, go back to the chamber with the lantern.

A group of Skeletons will spawn nearby, but more importantly, the game has unlocked a new east passageway (the above screen). Naturally, I recommend using it. When you reach the last chamber, look around for a chest with a Dungeon Map.
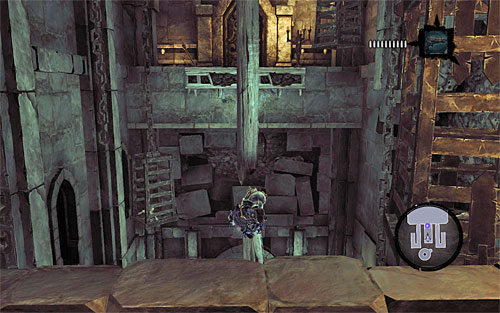
When you have it, start climbing - grab an interactive ledge to get to a vertical wooden pole. Jump over to a horizontal wooden log shown on the above screen, and from it to the upper shelf. Use the switch to unlock the passage to the central part of the Gilded Arena.

You need to place the first Animus Stone on the altar pictured above, so approach it, stand in the right position and use Death Grip. If you're successful, you'll be rewarded with a cutscene which unlocks then way to the eastern part of the Gilded Arena.
Start off by getting rid of a group of Skeletons which have shown up on the arena, and then use one of the narrow passages to go back to the upper balconies. To get to the door leading to the western part of the area, use the ramps seen on the above screen, eliminating individual Skeletons on the way.
As I mentioned before, your current goal is the door lit-up by torches, which is located on the upper balcony in the western part of the arena (the above screen).

Go west. When you enter the chamber with a lantern leave the statue alone for a while and head south. Follow the linear path past a lantern-less statue. Enter a large hall with a lowered drawbridge and use Death Grip to grab a shadowbomb (the above screen) and take it with you.
With the shadowbomb in hand, go back to the yellow formation you've passed by earlier and destroy it. Explore the newly unlocked passage to reach a hidden chest.
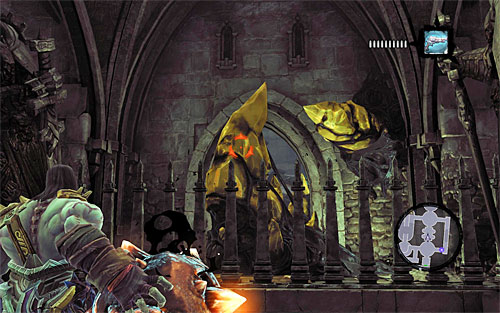
After you loot it, return to the drawbridge for yet another shadowbomb, and go back to the starting point with it - the chamber with the statue and the active lantern. Use the dormant shadowbomb to detonate the north passage seen on the above screen.
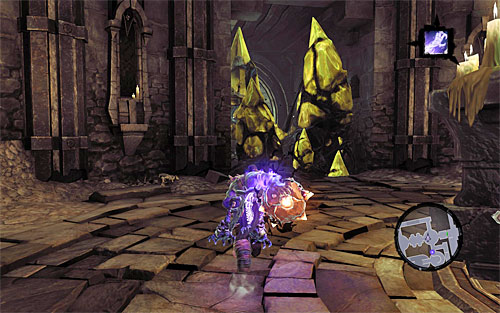
You can now rotate the statue with the lantern by 90 degrees so that it illuminated the west crystal and get the grates to open. Examine the previously unlocked north corridor and pick up a dormant shadowbomb. Head west and throw it at the yellow formation seen in the distance (the above screen). Naturally, you need to detonate it as well.