
Horizon Forbidden West: The Broken Sky - walkthrough Horizon Forbidden West guide, walkthrough
This Horizon Forbidden West guide page contains the walkthrough for the main mission The Broken Sky - boss Mumakiel, Bastion, cannon.
Last update: 28 February 2022
This page of the Horizon 2 Forbidden West game guide contains a walkthrough of The Broken Sky main quest. The following guide explains, among other things, how to defeat the boss Tremortusk, the mechanical mammoth, what to do while following Kotallo, and how to obtain and use the cannon to destroy the walls of the Bulwark.
- Quest rewards
- Go to AETHER's coordinates
- Go to the Throne Room
- Meet Kotallo at Stone Crest
- Follow Kotallo
- Talk to Kotallo
- Go to the bottom of the Bulwark
- Find a path up the Bulwark
- Scan the Ancient Debris
- Find a cannon
- Kill the Tremortusk and the rebels - boss fight
- Loot the Tremortusk
- Return to the Bulwark
- Destroy the Bulwark
Quest rewards
- 11050 XP
- 2 skill points
- Tenakth Conqueror face paint
- Cleaving Sharpshot Bow - it can be equipped with Tear arrows, which are capable of tearing off pieces of armor
- Unlocking the Kulrut main quest
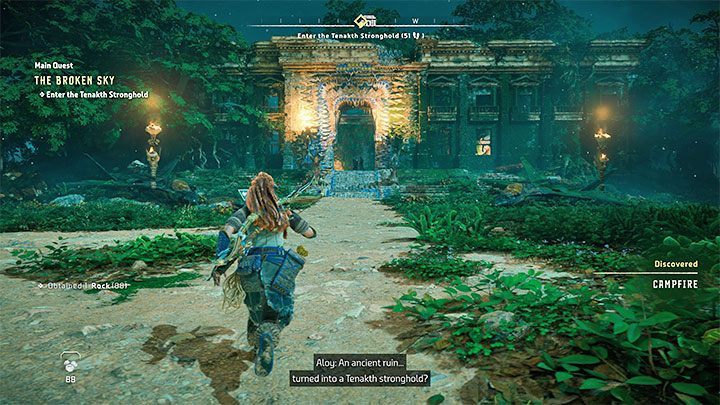
Go to AETHER's coordinates
This is one of the 3 main quests you can tackle after your first visit to the Base and talking with GAJA as part of the Eye of the Earth main quest.
The coordinates will lead you to The Memorial Grove west of the Base, which is a stronghold of the Tenakth clan, and the local characters will be friendly towards you. First, you need to talk to Dekka. During the conversation, you'll get the chance to ask some optional questions.
Go to the Throne Room
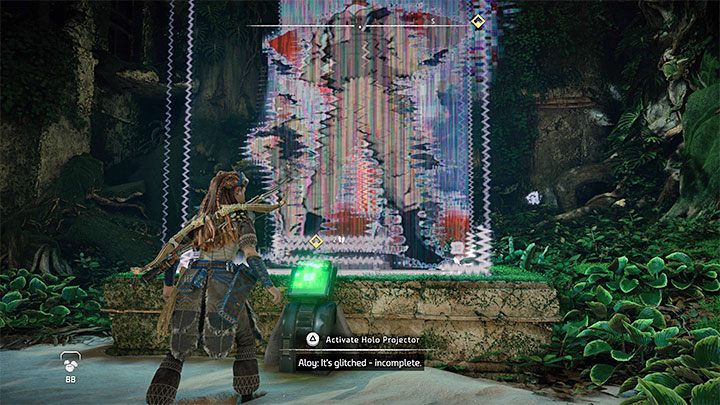
On your way to the throne room, you can optionally investigate the hallucinations, which are simply corrupted holo-projectors that you can interact with and unlock related collectibles. You will find a total of 4 such devices in the area. The interesting thing is that later in the campaign they will be automatically fixed and you'll be able to view the complete recordings.
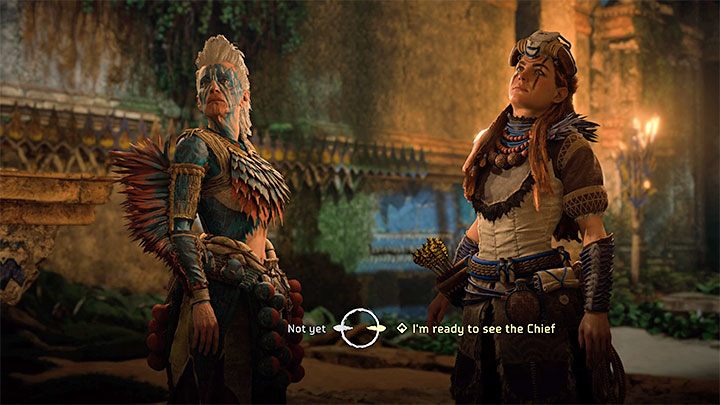
After entering the throne room, you need to confirm that you want to meet with Chief Hekarro (you will have the option to freely explore the Memorial Grove later during the game, including some newly added additional activities).
During your meeting with the chief, you will have the option to select between a number of optional conversation topics, as par for the course. Alternatively, you can quickly push the conversation forward by stating that you want to head north.
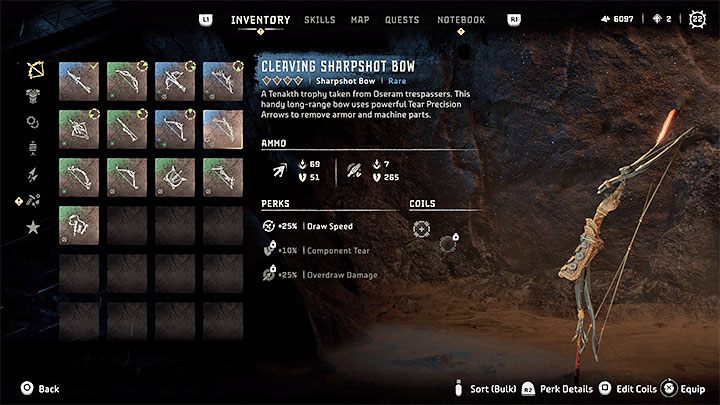
Before you leave the Grove, return to Dekka. She will give you the unique Cleaving Sharpshot Bow, which can be equipped with Tear Arrows specially designed to tear off armor pieces from targeted machines. It's a good idea to try and upgrade this weapon right away, as it will come in handy when facing elite machines in the near future.
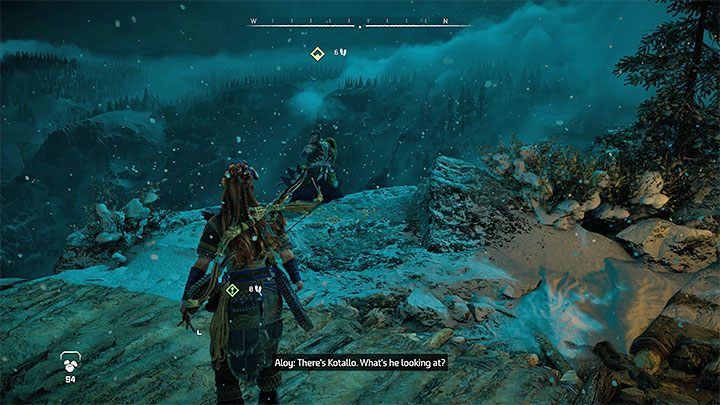
Meet Kotallo at Stone Crest
Stone Crest is located a fair distance to the north of the Memorial Grove. On the way to this location, you need to traverse snowy areas complete with heavy snowfall, but you don't have to worry about your character's outfit, as Aloy will neither lose health nor die from the cold.
Kotallo can be found observing the area at a vantage point. You can either ask him a few more questions first or set off on the journey together straight away.
Follow Kotallo
While traveling with Kotallo, you will encounter Regalla's Rebels twice. Each time, you will have to choose between:
- Sneaking past the rebel camp. You can bypass their camp while keeping a safe distance and continue on the main path.
- Killing the enemies in the camp. It's best to use stealth when choosing this option, as well. This will allow you to surprise your enemies and it's especially helpful against the rebels using energy shields. Silent strikes and other attacks from stealth may kill them in one hit or at least seriously wound them. Use focus mode to locate and track enemies. You can also lure individual enemies away by throwing rocks, for example.
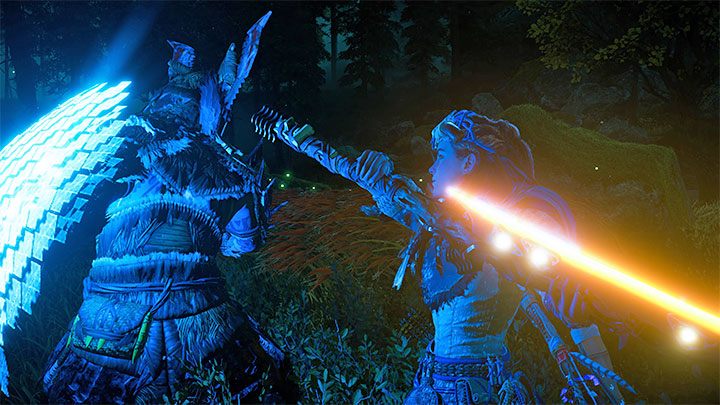
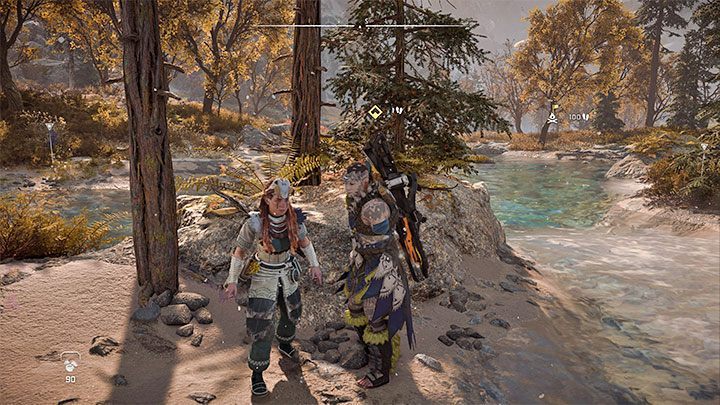
Talk to Kotallo
Your objective is to reach the settlement called Bulwark. Once you near it, you will need to talk with Kotallo again. A cut-scene play, during which the characters will be allowed to enter the Bulwark and access the inhabited area through the elevator.
Once you arrive in the Bulwark, follow the set path. Ask the guards to let the characters pass and listen to the conversation with the clan members.
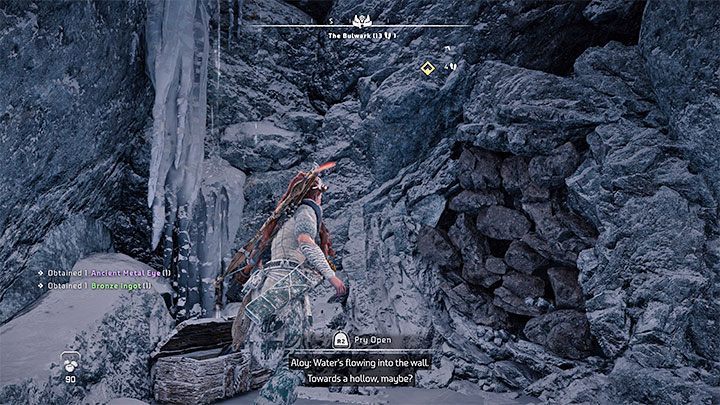
Go to the bottom of the Bulwark
You need to reach the lowest section, but you don't need to use the elevator again. You can opt to glide all the way to the bottom of the settlement by using the shieldwing.
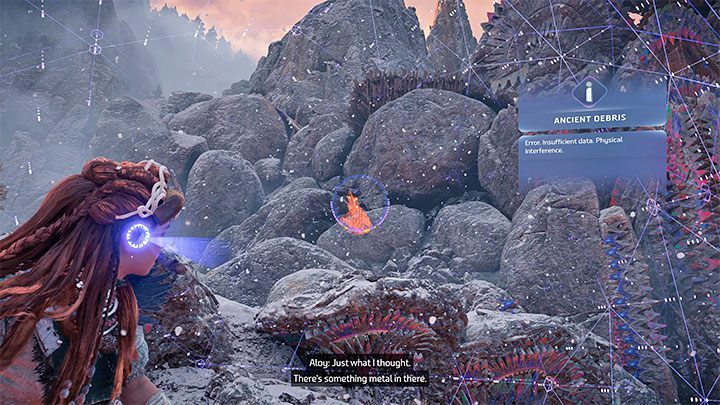
Stand at the location indicated by the game and turn on focus mode. You need to locate the Ancient Debris pictured in the screenshot.
Find a path up the Bulwark
Aloy will want to reach the debris to examine it more closely. Scan the area to the left of the debris, which will help you locate the yellow edges for climbing.
Eventually you will reach the boulders pictured in the screenshot, which you can dispose of by holding R2.
Scan the Ancient Debris
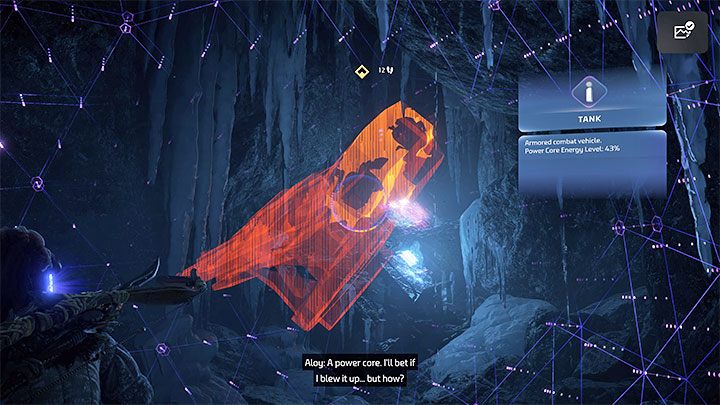
Enter the small cave and use focus mode once again to scan the debris. These will turn out to be the remains of an old tank with an active core - your new quest objective will be to blow it up.
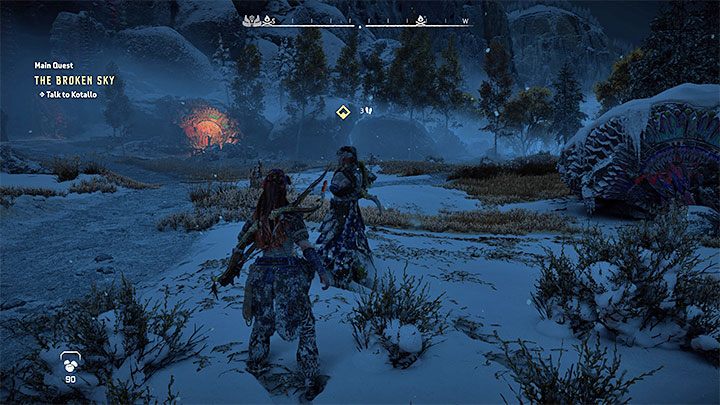
Head down below and once more meet up with Kotallo. You don't have to use the elevator again as the man has gone down in the meantime.
Find a cannon
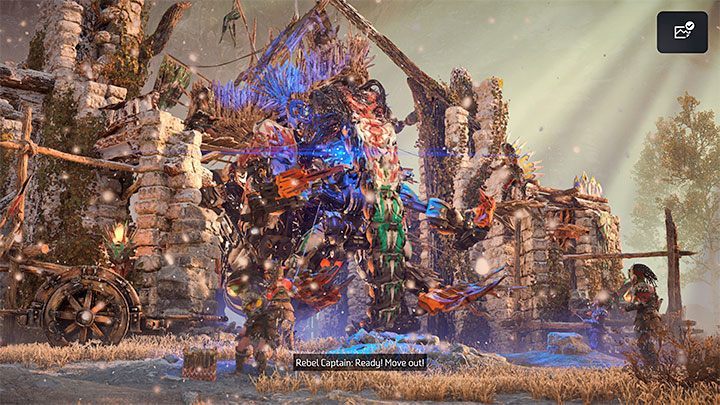
To find the cannon (a heavy weapon), you need to head northeast. Once there, you'll notice that the rebels have managed to subdue a tremortusk (a large mechanical mammoth) and destroying it will become your new objective.
Kill the Tremortusk and the rebels - boss fight
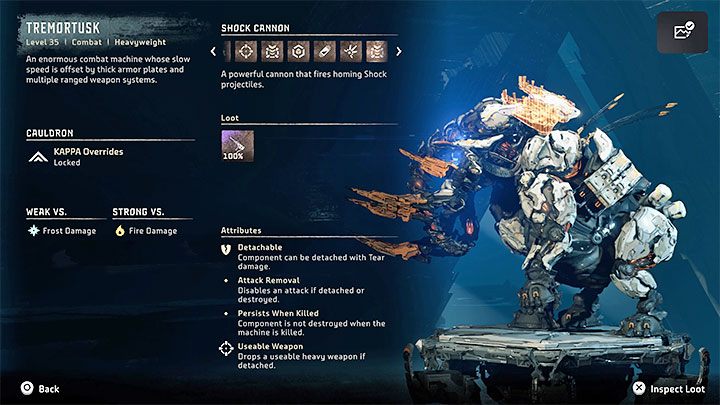
Just like usual, you should start the battle by scanning the Tremortusk and reading through its tab in the machine catalogue. You'll learn that the mammoth is weak to frost.
Prepare a ranged weapon (or several of them) which can deal frost damage. The Cleaving Sharpshot Bow you got from Dekka can come in handy for removing the opponent's armor, as well as frost traps you should set up before you're spotted.
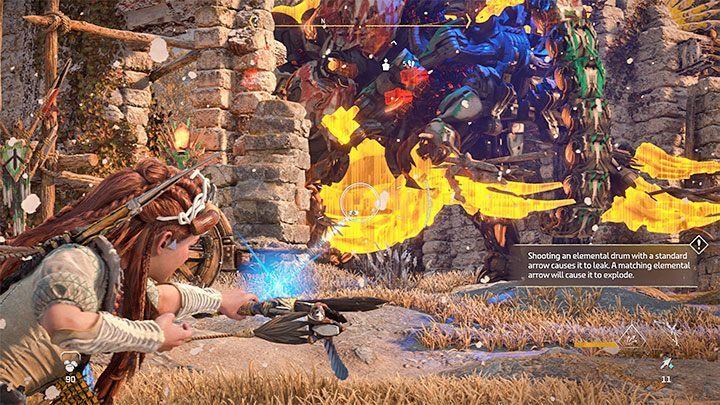
Carefully reading through all of the mammoth's tabs in the machine catalogue can also make the battle easier. You'll learn about its weak points and elements allowing it to attack you at range. These are mainly its tusks, its blaze sac (it's easy to destroy, but if you do so you'll miss out on some loot) and its cannons (Plasma Cannon, Shock Cannon, Salvo Cannon).
Once the battle begins you should prioritize the elements mentioned above - not only to weaken the mammoth but to also prevent it from using its full movepool.
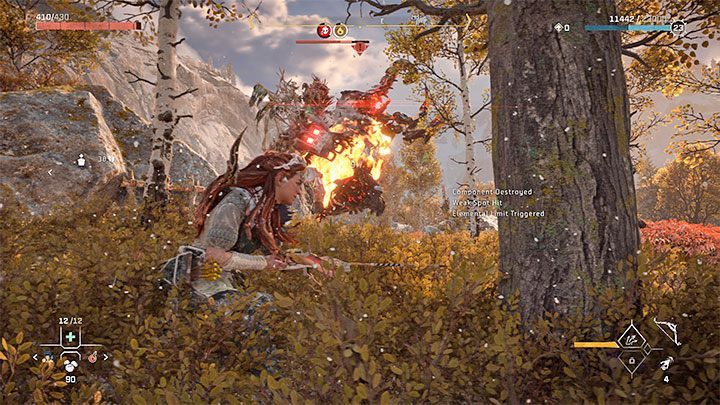
During the fight you should keep your distance from the mammoth, although you must remember it can still attack you at range. Keep moving to avoid its bombardments and other ranged attacks, use the indestructible cover present on the battlefield if you can.
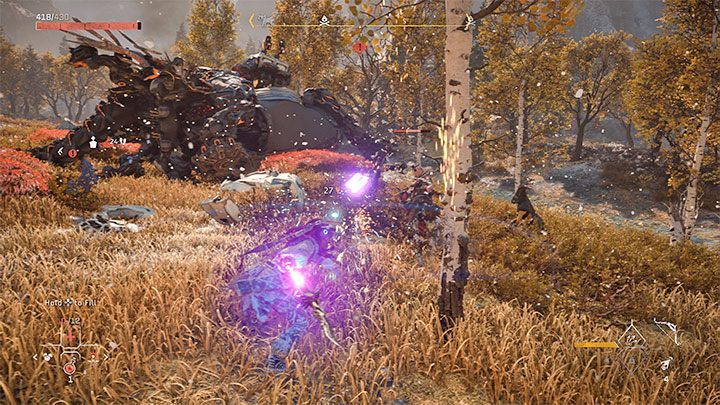
The rebels will also participate in the fight, but Kotallo can draw their attention - or try to do so, at least. Prioritise attacking the Tremortusk whenever you can, as it's by far the biggest threat. Regarding the rebels, you should focus on dodging their attacks and running away from them until you have an opportunity to attack the mammoth again.
Loot the Tremortusk
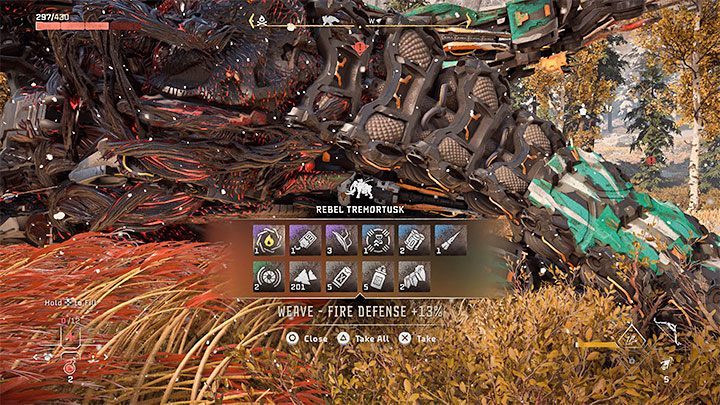
After dispatching the Tremortusk eliminate the remaining rebels - you can kill them from a distance or in melee combat.
Search the mammoth's remains. You'll be rewarded with plenty of loot and the cannon, as shown in a cutscene.
Return to the Bulwark
On the way back to the Bulwark, try not to stray too far from Kotallo, who is busy moving the cannon. Otherwise, your game might glitch out and your companion will end up getting blocked or stopped somewhere along the way (if this happens, try reloading the last checkpoint).
Destroy the Bulwark
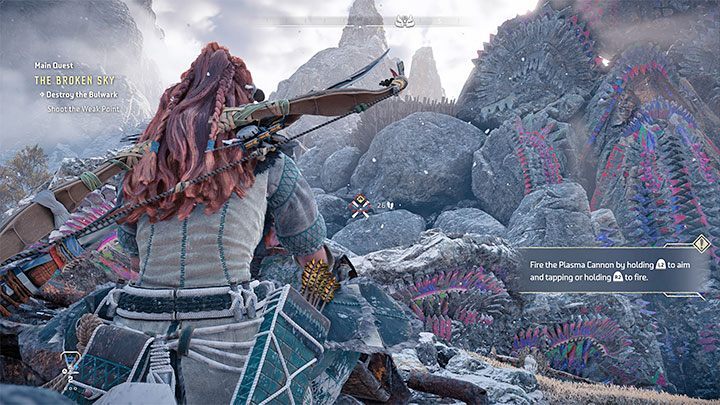
When you reach the target, interact with the set location of the cannon and then start firing at the core of the tank. This will lead to a cut-scene and part of the wall will be demolished. You will also proceed to the next main quest.