
Horizon Forbidden West: The Wings of the Ten - walkthrough Horizon Forbidden West guide, walkthrough
This page of the guide to Horizon Forbidden West contains a walkthrough of the main mission The Wings of the Ten - mount Solarptak, Regalla.
Last update: 04 March 2022
This page of the guide to Horizon 2 Forbidden West contains a walkthrough of the main mission The Wings of the Ten. The following tutorial covers e.g. how to dominate and unlock Sunwing as a mount, how to dominate the Tallneck, how to obtain energy cells, how to defeat Regalla in a boss fight, and what the choice related to Regalla is about.
- Quest rewards
- Return to the Base
- Craft the Sunwing override
- Override the Sunwing
- Fly west
- Land on the Tallneck
- Gather a Horus energy cell
- Fly to the Memorial Grove
- Defeat Regalla - boss fight
- Regalla - important choice
Quest rewards
- 25600 XP
- 2 skill points
- Unlocking the Sunwing as a mount is a very important reward, as it will allow you to fly freely over the world map. This will be useful not only in the described quest, but also for exploring the game world in-between quests.
- Tenakth High Marshal - this is a new outfit, but getting it depends on an important choice in the final part of the quest.
- Regalla's Wrath - this is a unique sharpshot bow, but getting it depends on the important choice in the final part of the quest.
- Tenakth Reaver face paint
- Unlock the final main quest - Singularity
Return to the Base
You will start this quest at Tilda's Mansion, where you've met the Zenith in the previous main quest. You can immediately use fast travel to return to the Base.
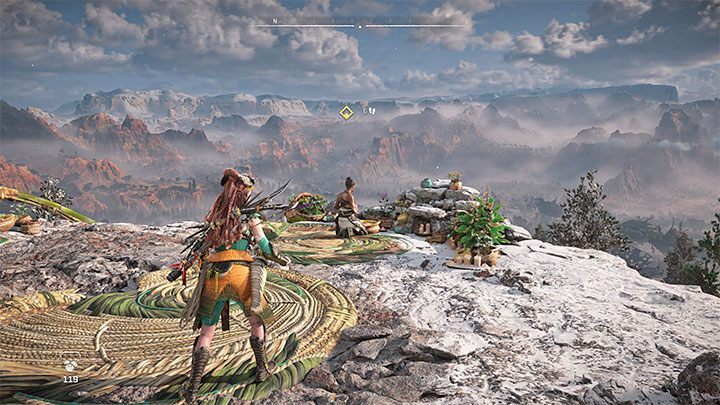
There, you'll see a cutscene that shows a meeting with Zo. Then, use the exit that leads to the hill next to the Base. One of your companions will say goodbye in a cutscene.
Before you proceed with the quest, consider developing Aloy to at least experience level 32. This will increase your chances of completing the boss fight of this quest successfully.
Craft the Sunwing override

Return to the Base and reach the room with the Fabrication Terminal. You can use it to unlock the Sunwing domination without any additional requirements.
Override the Sunwing
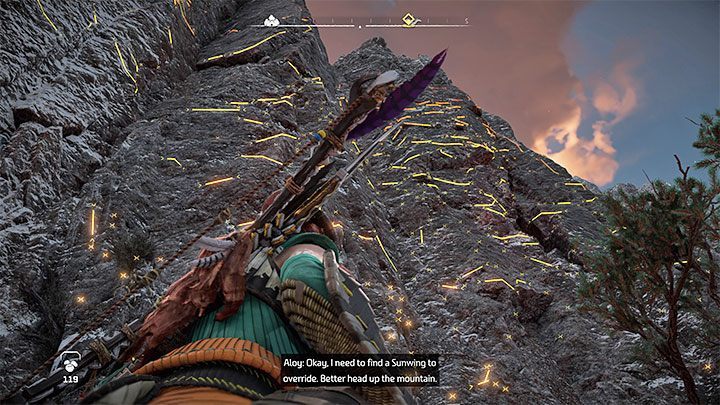
Now, you must climb to the top of the mountain above the Base. After using the indicated exit from the Base, look around for the wall (shown in the picture) with lots of interactive yellow edges to climb. Start climbing to the top - it will take you a while.

Once you get to the top, you'll notice a few Sunwings. Start sneaking to avoid being detected, because otherwise, you won't be able to dominate the machine. There's some tall grass next to the nearest Sunwing - use it to sneak up on the machine. Hold down the Triangle to dominate it.
Fly west
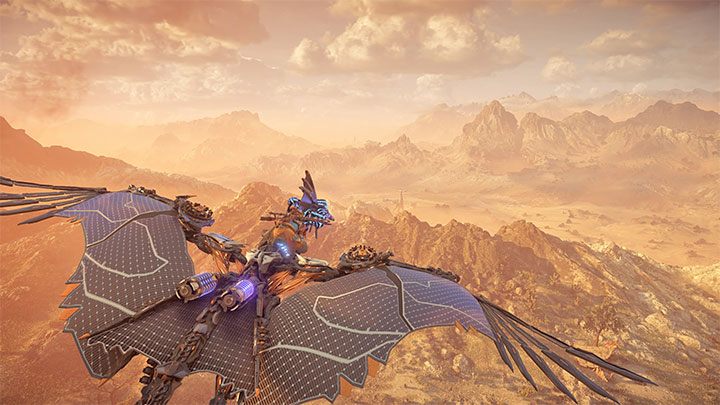
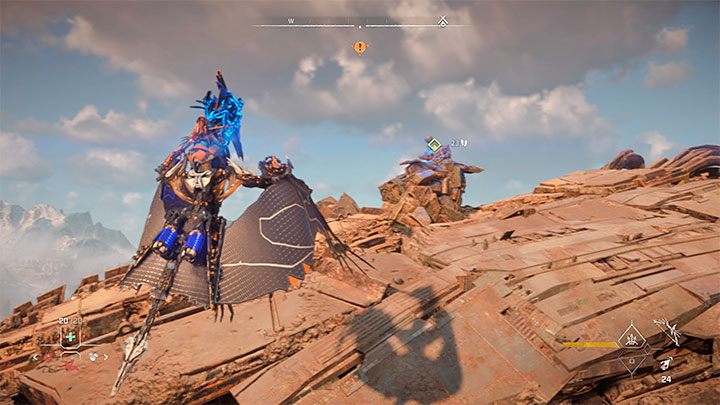
Hop on the back of the Sunwing, which will become your new mount. You must now start a long flight toward a Tallneck that's roaming through the area west of the Base.
During this flight you can learn the basics of controlling the Sunwing - you can accelerate (hold X), perform barrel rolls (Triangle - unnecessary action in this quest), make it hover in one place (Circle) and change the altitude (left analog stick or R1/R2).
Land on the Tallneck
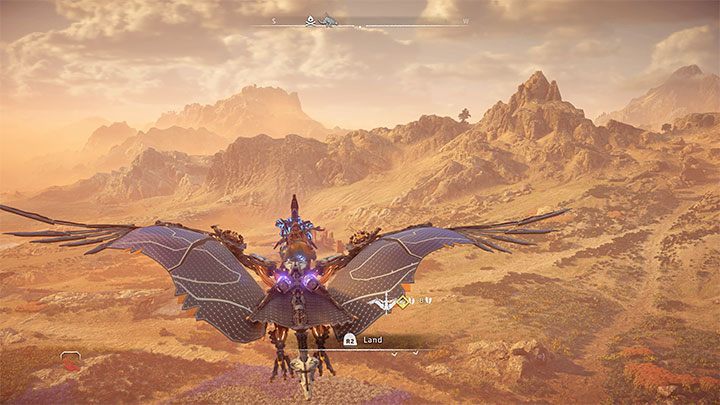
Your task is to land on top of the Tallneck that you couldn't previously dominate because there was no way to climb it. Thankfully, it's easy - once you are close enough to the walking machine, press R2.
Hold down the Triangle to dominate the Tallneck and reveal a new section of the map (including locations related to this quest).
Gather a Horus energy cell
Select the Sunwing from the quick action list (left/right on the D-pad) and summon it to you (down) - Aloy should automatically jump back onto it.
You must now fly to the place where you'll get the cell. Ignore Regalla's convoy passing by on the way, but keep your altitude high to avoid being attacked by them. The cell you're looking for is at the very top of the large machine wreck. Fly up to it and the Sunwing will catch it.
Fly to the Memorial Grove
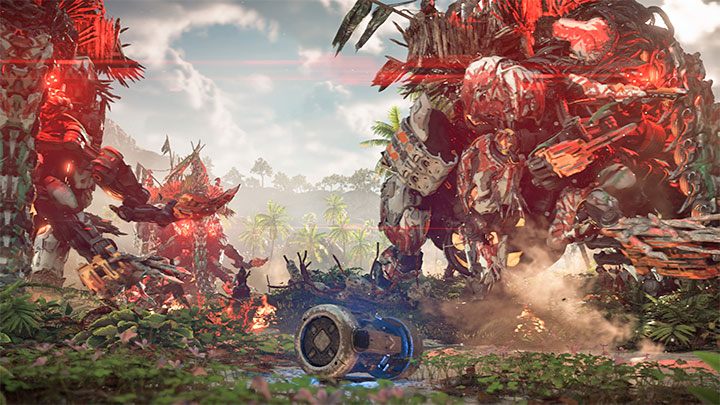
Start flying south. Once you approach the Grove, you don't need to do anything else, because there will be a cutscene that will show the bombing and deactivation of enemy machines. The bad news is that you will now have to start the boss fight with Regalla.
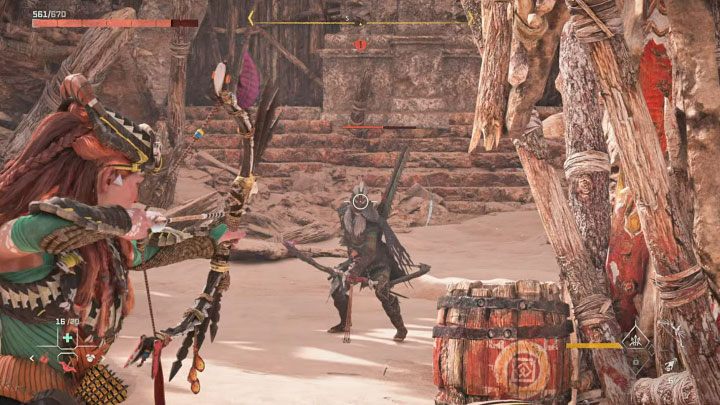
Defeat Regalla - boss fight
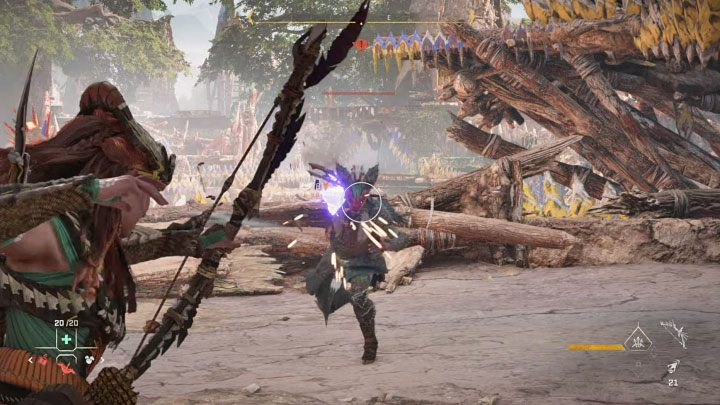
The fight with Regalla consists of three parts that are separated by cut-scenes. In the first part of the fight, you are free to choose your tactic. You can attack Regalla from a distance, but remember that she can dodge these attacks quite well.
In close-combat, on the other hand, you should always start with a series of dodges to avoid getting hit with melee attacks.
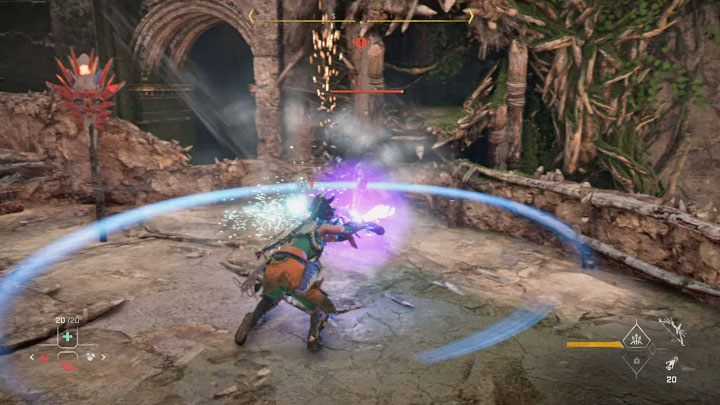
Counterattack right after dodging Regalla's sequence, and use your favorite attack combination. An effective and simple attack can be e.g. the Block Breaker - R1, R1, R2.
Additionally, look for opportunities to activate the Resonator Blast - use the bow to hit Regalla as soon as she begins to "glow" after one of the heavy attacks.
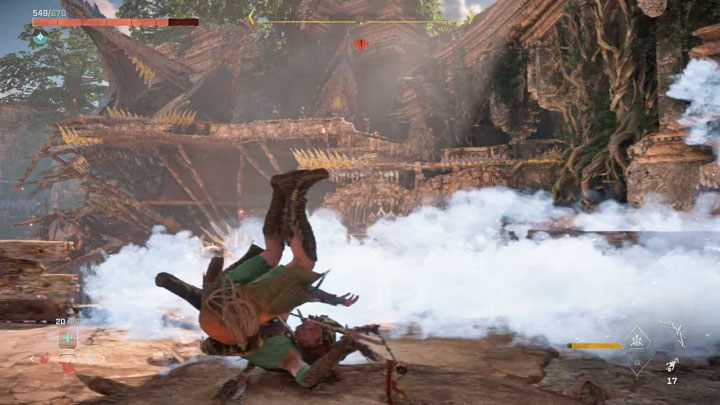
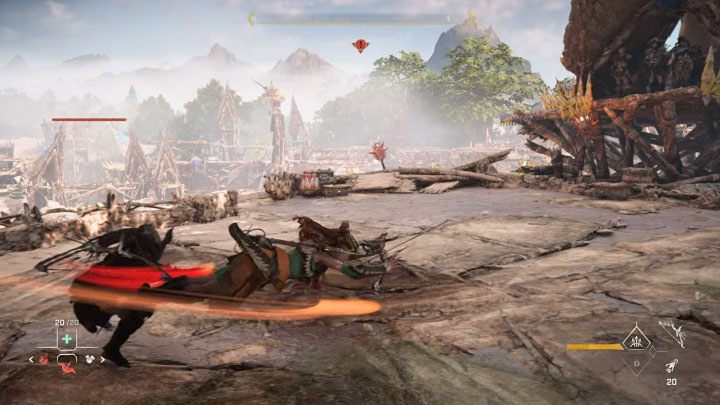
The second part of the fight is more difficult because Regalla will start using her ranged weapons - bow and explosive javelins. To make matters worse, her bow attacks will be boosted by frost which can increase the damage.
There are some covers in the new battle arena, but remember that they can be destroyed. You must be ready to quickly change positions and to dodge successfully.
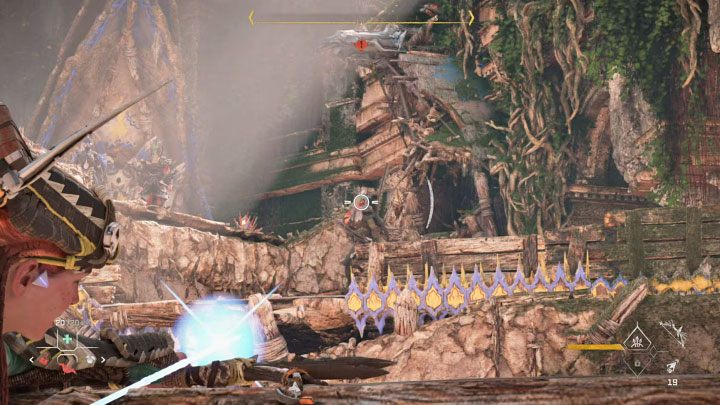
Use the best ranged weapons you have and, if possible, always try to aim at Regalla's headgear in order to gradually damage it.
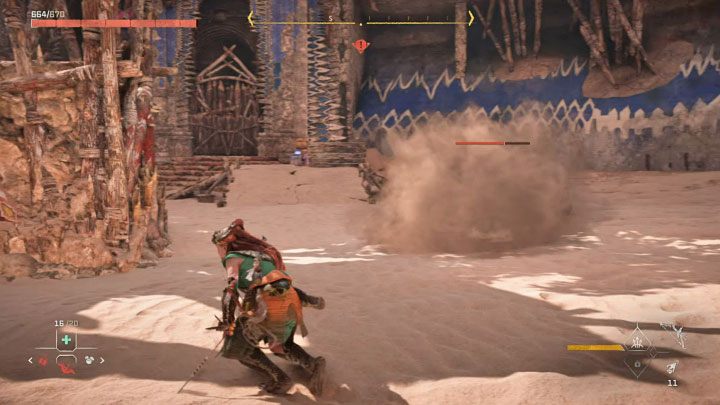
The final, third part of the fight takes place in a much larger arena, and combines ranged and close combat. Regalla will try to hide in the dust from time to time, and it is best to simply move away from her to avoid unnecessary danger. Alternatively, you can also mark her with focus to make her easier to track.
Your main objective should be to destroy Regalla's headgear from a distance. As soon as her head is exposed, hit her with your best arrows and projectiles, and you should defeat her very soon.
Regalla - important choice

Right after the boss fight, you'll face quite an unusual choice regarding Regalla. You have two main options:
- Kill Regalla - select the dialogue option marked with the fist
- Save Regalla - select the dialog option marked with the heart
This choice will not affect the campaign finale. Even if Regalla doesn't die, it won't change the final main quest of the game or affect the ending.
Depending on your decision, you will receive the Regalla's Wrath sharpshot bow (killing Regalla) or the Tenakth High Marshal outfit (saving Regalla). Regardless of what you did, you will unlock the final main quest of the game - Singularity.