
Horizon Forbidden West: Cauldron CHI (The Stand of the Sentinels) - location, walkthrough Horizon Forbidden West guide, walkthrough
On this page of the Horizon Forbidden West guide, you will find the location of the CHI Cauldron, available in the Ranger's Den region.
Last update: 02 June 2022
This page of our Horizon Forbidden West guide offers a walkthrough for the CHI Cauldron, located in Stand of the Sentinels. These are special activities allowing you to explore the mysteries of the ancient world. They are not limited by plot, although you will get to two of them while completing main quests.
Quest rewards
- 12500 XP
- 3 skill points
Location


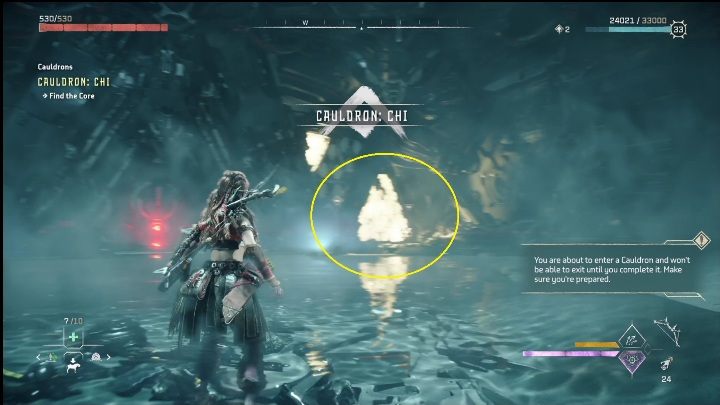
You will find this cauldron in the mountains in the southern part of the Stand of the Sentinels region. You will reach it without any problem, you just have to follow the path near that area shown in the screenshot above.
Walkthrough


This time, the path forward doesn't lead through the cauldron gate. You need to climb the rock on the right and look towards the waterfall. You should see a nearby cave. Climb up there and go inside.
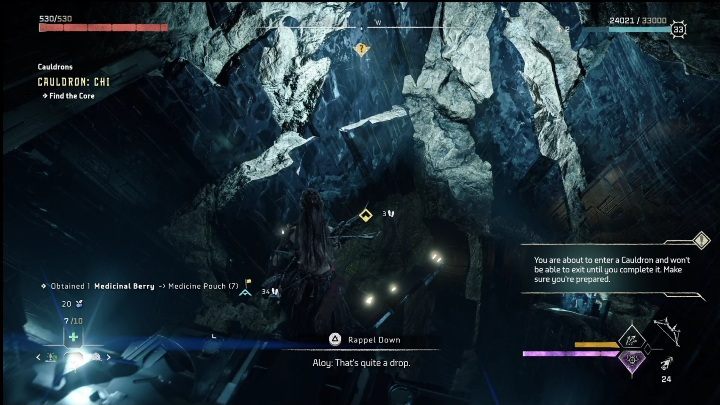
Your task is to get down to the bottom of the cauldron. You can either rappel down or use the Shieldwing. .
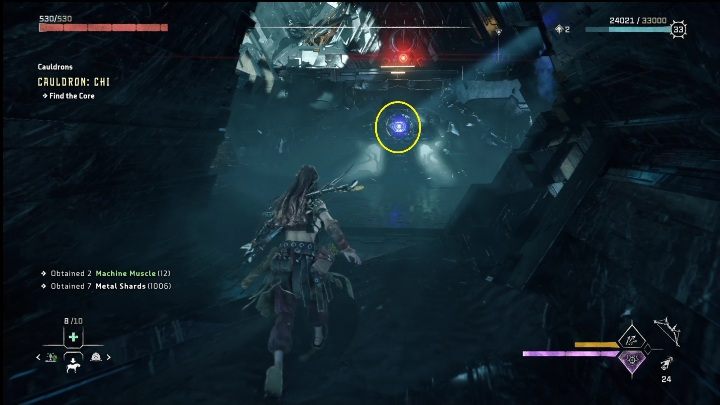
After entering the cauldron, you will see another element that is impossible to override with a spear. To unlock the path, you need to destroy the element shown in the screenshot above.

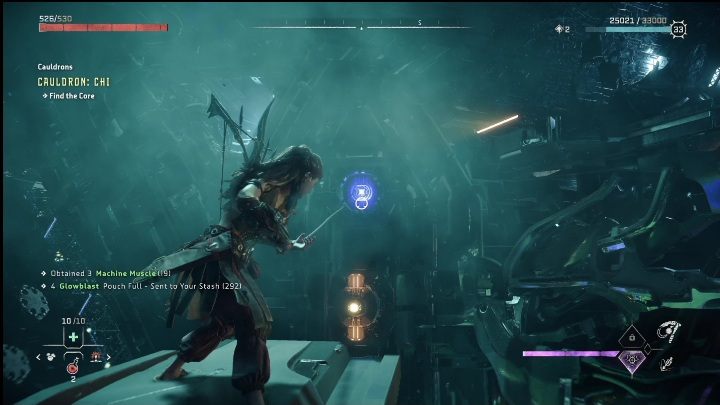
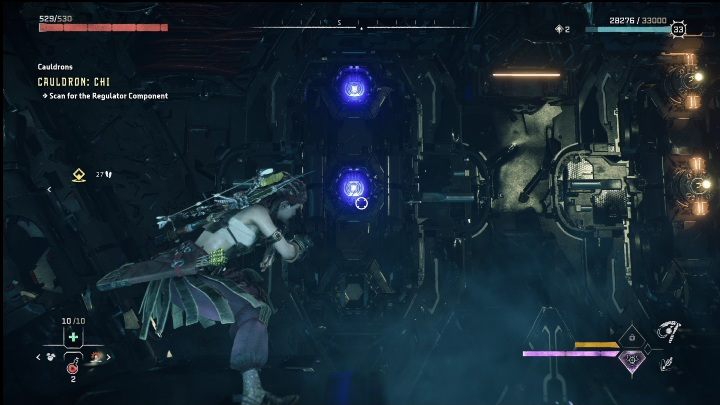
A new mechanic will be introduced to you. There are protruding blue elements that you can pull and make hanging points from them to be used when climbing. Simply pull them using the pullcaster. Their appearance will instantly change, from blue to yellow. You can now use them while climbing.
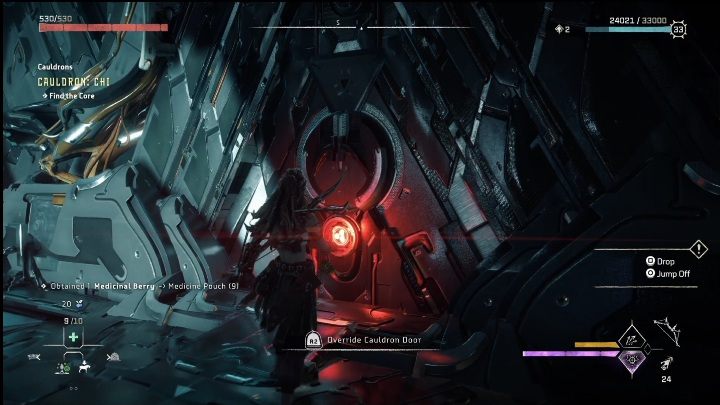
After reaching a certain point, you'll encounter a mechanism that can be overridden. This one will open the path forward.
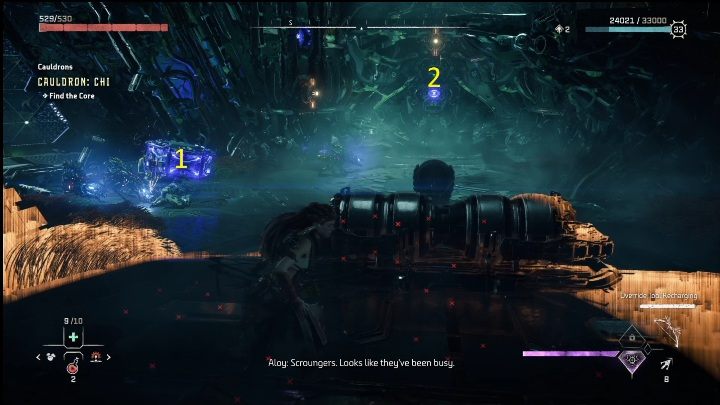
Further ahead, you'll encounter some opponents and additional blue elements. Start by taking care of enemies. Consider a stealthy approach to earn some XP and avoid having a full-on battle on your hands.
Once the area is clear, you need to pull the platform number 1 to the area number 2. Those blue points on the wall are the elements you need to use the pullcaster on to create a path for yourself to go further. Activate all of them (aside from the top left one)
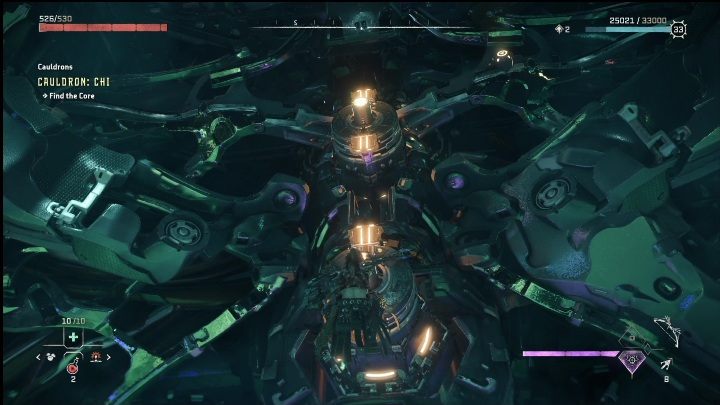
Climb all the way to the top and activate the final canister. This will open the way to the highest floor.


Continue moving towards the light - this way you'll reach the vicinity of the main arena. You need to rappel down to reach it.
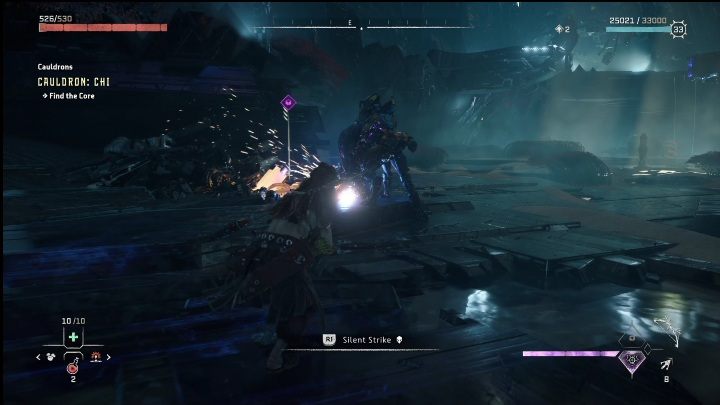
The arena is crawling with enemies. Consider taking them out quietly, but certain enemies cannot be reached that way. Unfortunately, you need to clear the whole area in order to be able to continue the mission.


After getting rid of the enemies you need to move the platform so it creates a path forward. This is the only viable way. The platform has blue elements on the sides, which you can activate. Activate them so that a complete path forward is created.
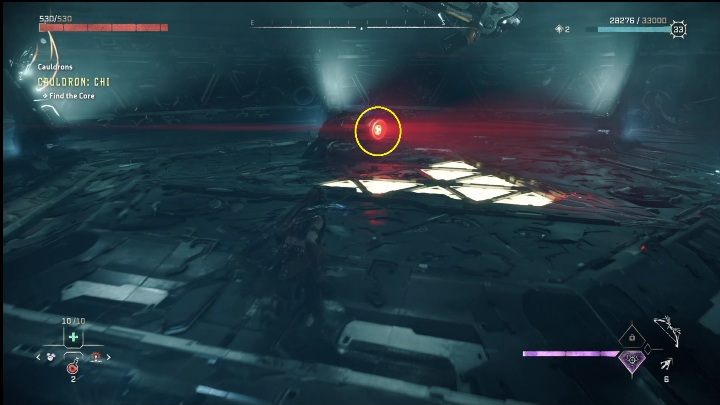

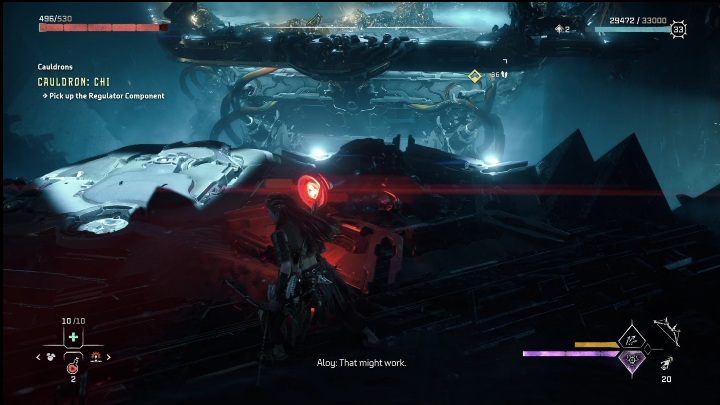
Proceed to encounter another infected mechanism. Eventually you will reach the main arena where the core is located.

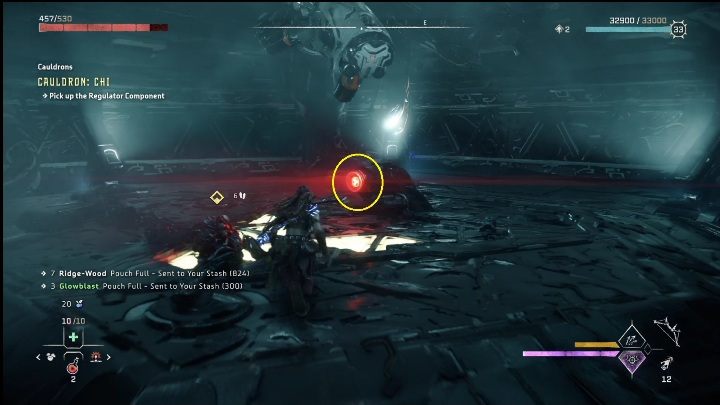
Make an attempt to capture the core. You won't be successful, but don't worry - this is as it supposed to be.
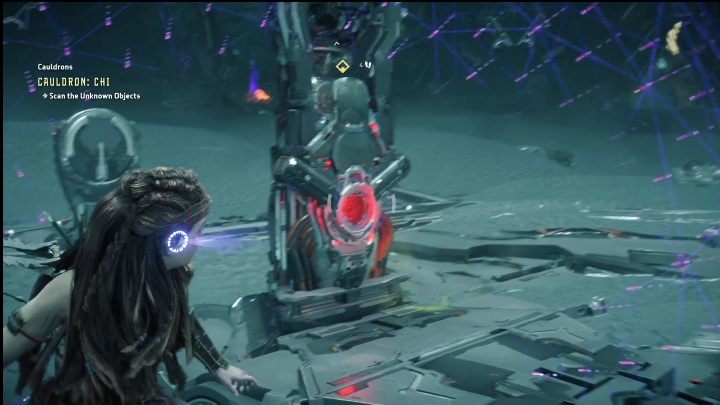
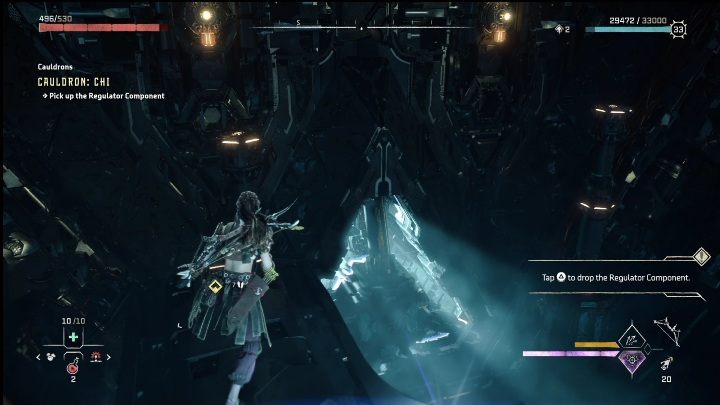
The next step is to scan the red mechanism. It turns out that the battery is missing.


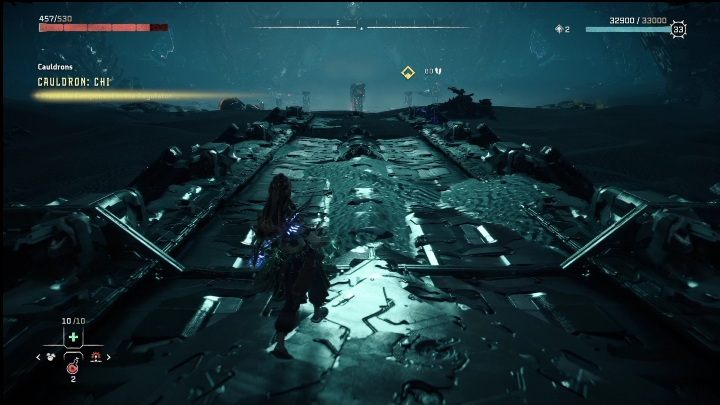
You'll need to go get it - activate your focus to see purple tracks. Follow them to continue.
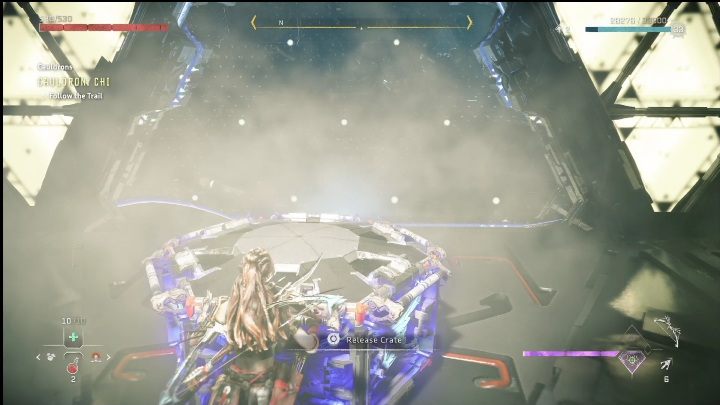
You will reach a corridor with a platform. Push the crate through the shield, but remember that you cannot get past it, as you'll get electrocuted while attempting it.
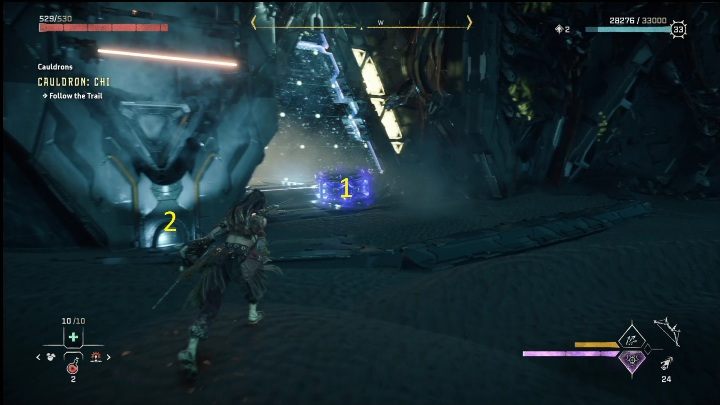
After pushing out the platform (1), run to the other side. Grab it and pull it under the climbing spot (2).


After climbing up, you will see another arena. You must get to it by using the glowing rope that hangs over the chasm.
You will see containers that are already familiar to you. Again, they need to be dragged with a hook. They will unlock the path forward.

Once the containers are ready, take a look around the arena. An opponent will appear suddenly, who will release one charged battery from a pile of metal parts.

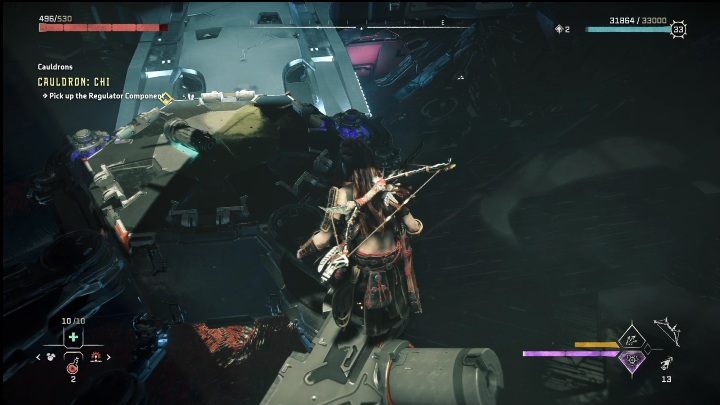
Get rid of the enemy and pick up the battery. You need to carry it all the way to the core, which isn't such an easy task as it may seem. You cannot jump, climb, or throw it.
Drop the battery, follow the path of containers near the wall and override the mechanism with your spear.


This will open the bridge, and after that you can move the battery further.


Continue forward and you will see another mechanism to override. Put down the battery, override the mechanism, and continue carrying the battery. Now leave the batery, and descend to the platform below. You must drag the mechanical arm again, this time so it is closer to the battery.


After moving the element, place the battery on it, go below and drag the platform once again, this time to its prior position.

During this action, you may be interrupted by opponents. Eliminate them all so that no one interrupts your task.
This is almost the end of the task. Just hop on the mechanical arm, grab the battery and continue your journey with it. Along the way there will be another item to override - it will neutralize the energy shield, allowing you to continue.
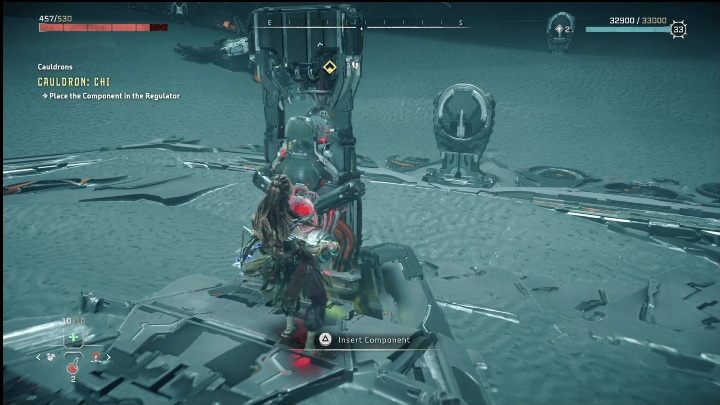
You're almost at the end - pick up the battery and carry it to the core. Place the battery in its slot.

Suddenly, a boss will jump down from the ceiling. Its the Slitherfang, which you've had the opportunity to encounter during story missions. You can find the walkthrough for the encounter on a dedicated page of the guide.

Ultimately, you only need to override the core to complete this location. As a reward, you will receive 12500 XP and 3 skill points.