
Horizon Forbidden West: The Dying Lands - walkthrough Horizon Forbidden West guide, walkthrough
This page of the Horizon Forbidden West guide contains a walkthrough of the main quest The Dying Lands - Song of the Earth, TAU Cauldron, Cephalopod boss.
Last update: 28 February 2022
This page of the Horizon 2 Forbidden West game guide contains a walkthrough of The Dying Lands main quest. The following walkthrough explains, among other things, who to meet in the Plainsong, how to reach the Cordon, how to explore the Sacred Cave, how to enter the Repair Bay TAU, how to solve the puzzles in the Cauldron TAU, and how to defeat the boss Grimhorn.
Note - The suggested experience level for this quest is 15. It's noticeably higher than the previous quest and it's recommended that you reach it beforehand, as this quest includes a boss fight and more.
- Quest rewards
- Go to Plainsong
- Follow Zo to the Cordon
- Explore the Sacred Cave
- Go to the Repair Bay Core
- Override the Network Uplink
- Kill the Grimhorn - boss fight
- Dominate the Repair Bay Core
Quest rewards
- 9000 XP
- 2 skill points
- Utaru Whisperer face paint
- Unlocking The Eye of the Earth main quest
Go to Plainsong

Plainsong is one of the larger settlements on the world map. You can enter it without any restrictions. You need to find Varla and Zo within the settlement. Once the conversation starts, you can ask a number of additional questions or immediately set off to meet the tribe leaders.
Reach the upper level of the settlement and say that you want to attend the meeting.
Follow Zo to the Cordon
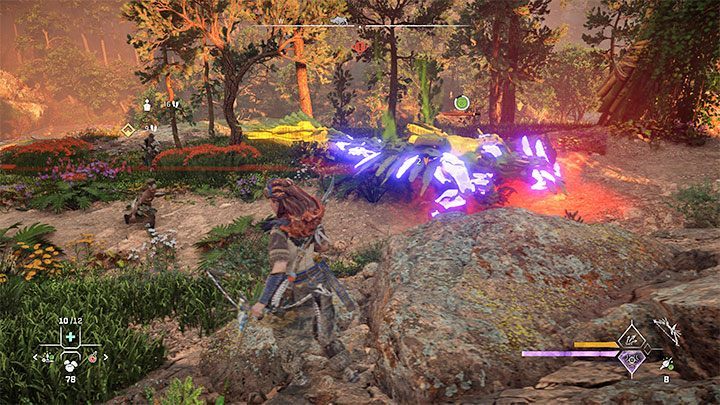
While following Zo, you won't just encounter "regular" machines, but also their more powerful Apex variants. At the start, you don't have to fight the machines. You also don't have to help the locals, who are fighting against the machines in various locations.
Only once you have travelled for a while will you receive the quest objective to battle the encountered machines. Try to focus on attacking one machine at a time, while at the same time avoiding attacks from other machines. Also make sure to scan the enemies to remind yourself of their elemental weaknesses.
To win larger battles against machines, try setting up traps around the area (but be sure not to trip over them yourself) and heavy weapons such as the machine gun that can drop from a damaged Ravager. Keep in mind that all heavy weapons in the game are characterized by their high firepower.
After the battles, collect loot from all the defeated machines and resume following Zo. Your destination is the Sacred Cave.
Explore the Sacred Cave
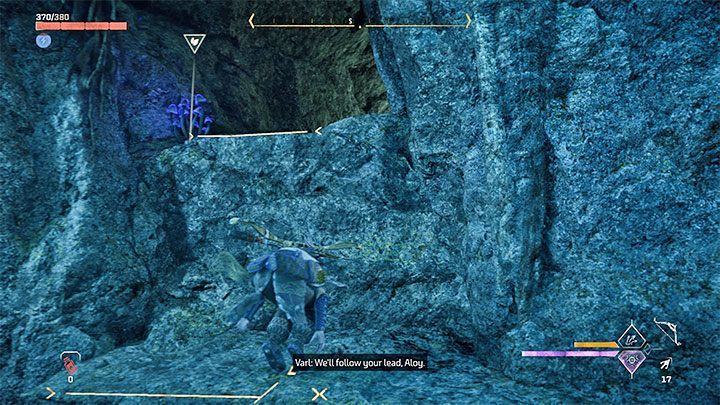
At the entrance to the cave you will find a lot of chests that could potentially contain lots of valuable loot. Head inside. You will come across a triangular passage with a blue force field blocking it, but there are interactive ledges nearby that you can climb on.
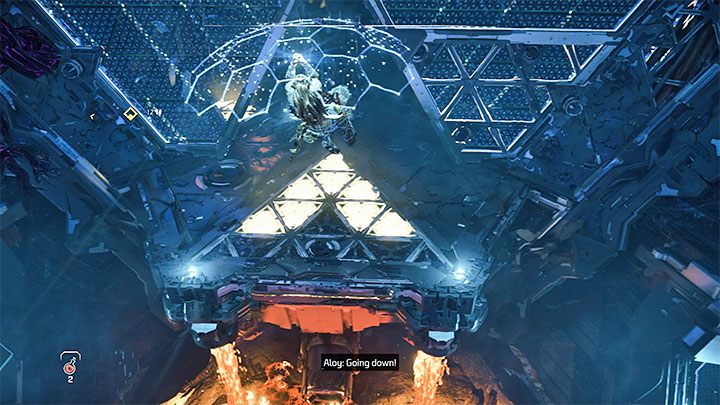
You will reach the entrance to the Repair Bay TAU, which is actually the Cauldron TAU, a large location used to manufacture machines. Walk up to the red cauldron door and interact with it to open it with the spear.
Go to the Repair Bay Core

Shortly after entering the Cauldron, you will need to face some machines in battle. Remember to keep them at a distance, use elemental attacks, and target their weak spots. After the battles, reach another gate that you need to dominate with your spear.
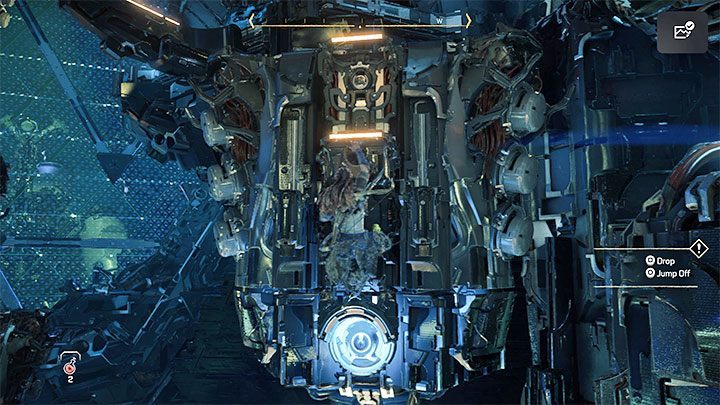
A lot of climbing and numerous small environmental puzzles await you while traversing the cauldron. The puzzles involve using pressure plates and Aloy can step on the first one (pictured above).
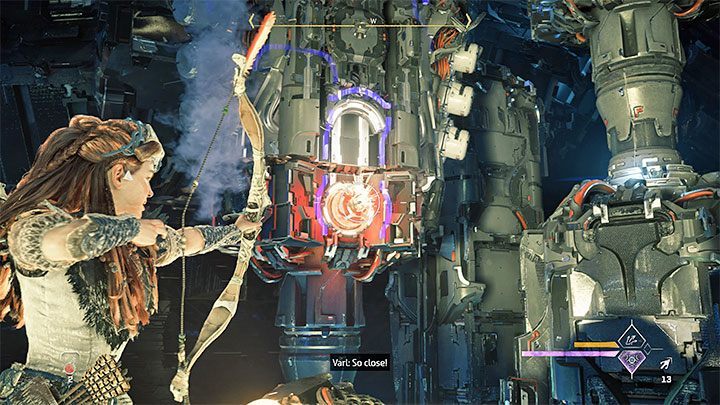
Stepping on the plate will slow down the big gears, allowing you to shoot the exposed parts with any bow. You will only succeed if the exposed element stops in the correct position and if you manage to shoot it in time (it's a good idea to aim ahead of where you need to hit and to slow down time).
Successful hits will allow you to climb the metal elements and head deeper into the structure.
Once you reach the higher platform, you will have to solve a puzzle that is exceedingly similar to the first one. Aloy will ask Zo to stand on the pressure plate downstairs. Again, this will slow down the gears and allow you to target the exposed parts. Just like before, make sure to wait for them to move into the correct positions.

When it comes to the new pressure plate, you will be required to complete a puzzle that involves placing a heavy object on it. Check out the cracked panel from the screenshot above - you can destroy it with a ranged attack and then head to the newly created passage.
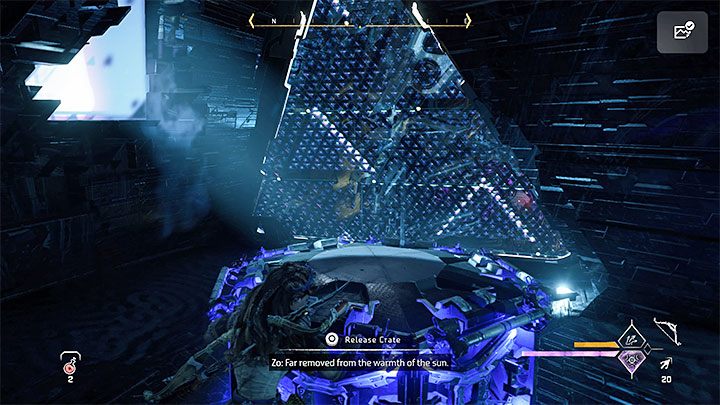
In the next room, you will find a crate and you need to push it to the energy barrier pictured in the screenshot. The crate will penetrate it and fall down. Reach the crate and finish pushing it over the pressure plate.
You will now be able to resume targeting the exposed parts of the slowed mechanism, just as before. This will allow you to reach the next section.

A linear travel route will lead you to the next pressure plate. Stand on it and keep on shooting.
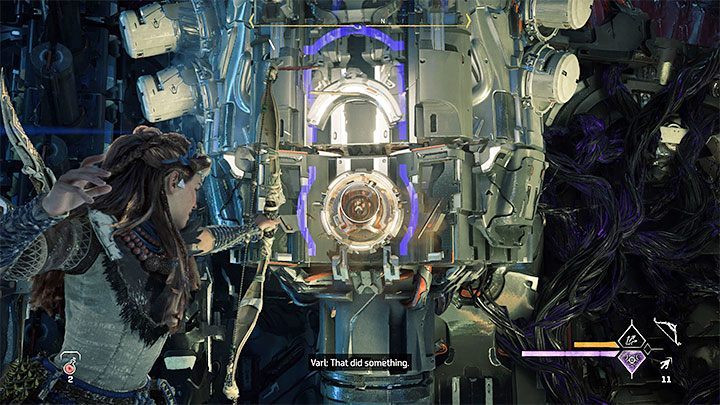
The main character will eventually be able to reach the new red Network Uplink slot, where you need to place the spear.
In the next part of the cauldron, you have to climb by using the yellow interactive elements in the area. Your goal is to reach the next network link and once again use the spear.
In the next section, use the Shieldwing to glide and land on a distant ledge. Locate the new yellow edges with the focus mode to easily determine the next climbing route.
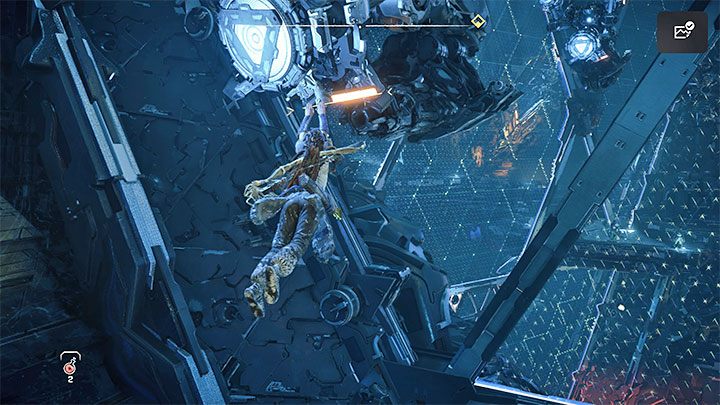
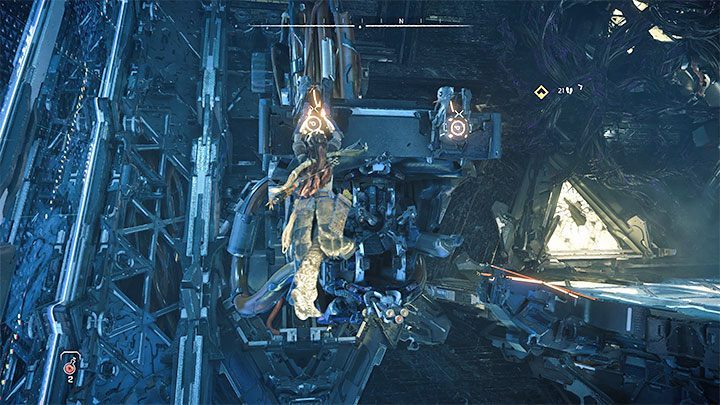
You will reach a location with flying machines. You have to jump to the yellow edge on the side of one of these machines to grab it and start riding it.
Once you have landed in a new area, once more use the shieldwing to glide down below. You will find a new network connection nearby. Set off down the long corridors to the new red gates.
Override the Network Uplink
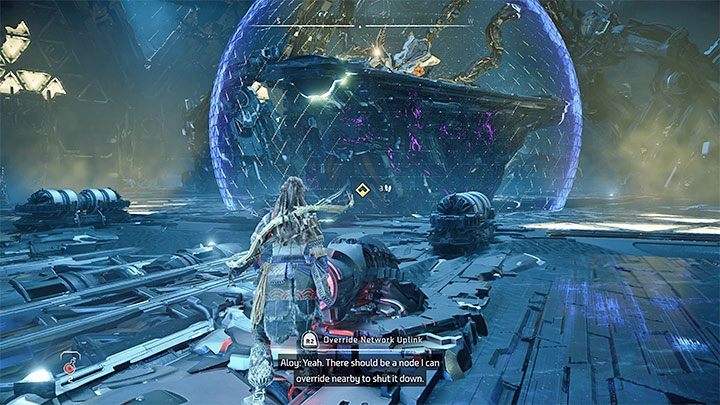
You will reach the main cauldron chamber with a large machine within the dome. This is a boss that you will soon have to face and if you wish, you can prepare for the battle by crafting supplies and placing traps in the area. Once you have completed the optional preparations, head to the link.
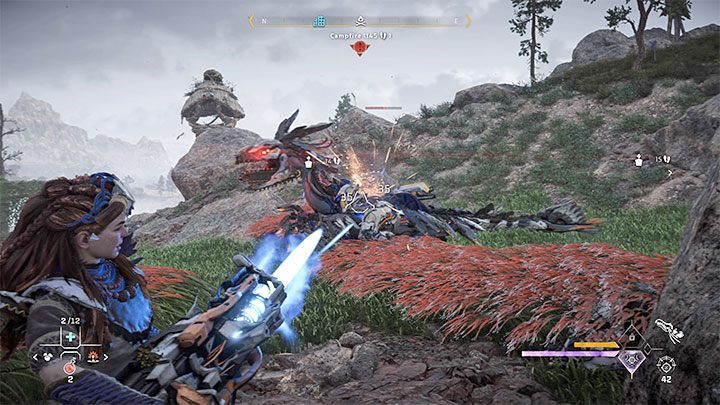
Kill the Grimhorn - boss fight
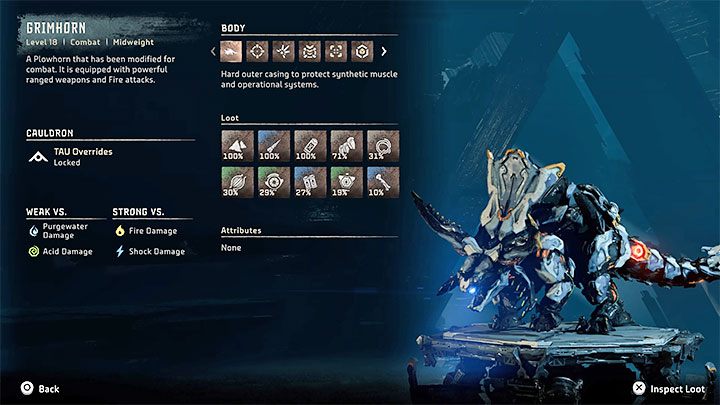
Once the battle starts, you should scan the boss and read through its detailed description in the machine catalogue. This will let you learn the boss' weaknesses - at this stage of the game you should already have access to acid damage (ranged weaponry and/or acid traps).
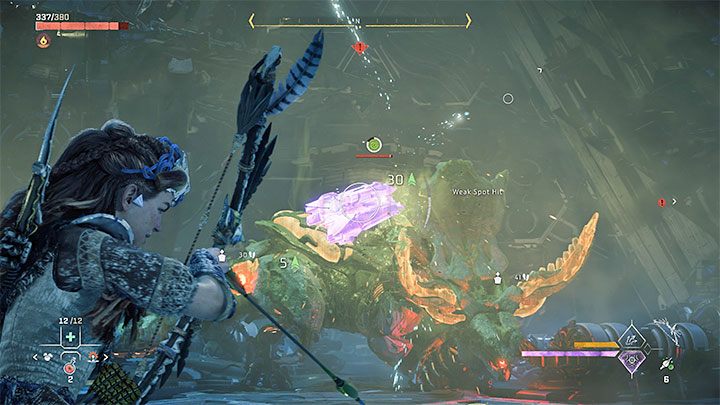
Reading the Grimhorn's entry will tell you of the boss' weak spots. Those are the horns, the tank on its back, the tail and the Cluster Launcher. If you attack the launcher you can eventually detach it, pick it up and use it as a heavy weapon.
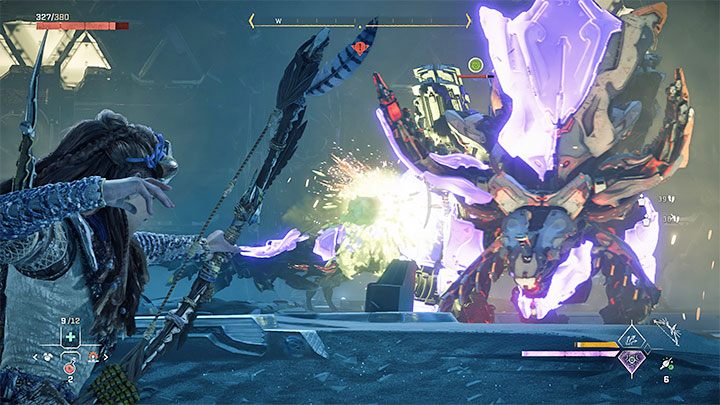
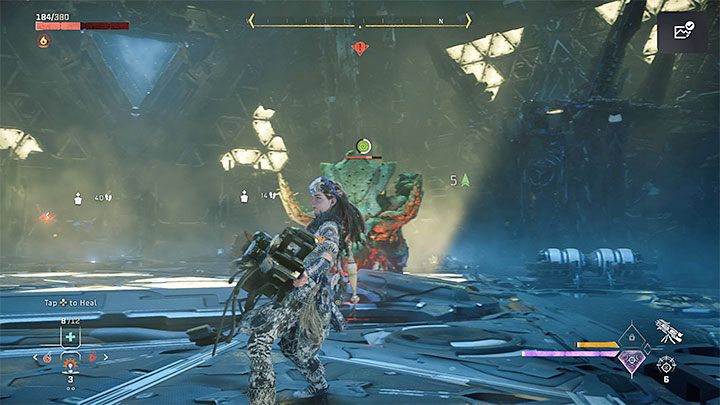
During the battle rely on elemental attacks and regular attacks aimed at the boss' weak spots. Try to be on the move at all times. This will help you avoid being damaged by the Grimhorn's melee and ranged fire attacks.
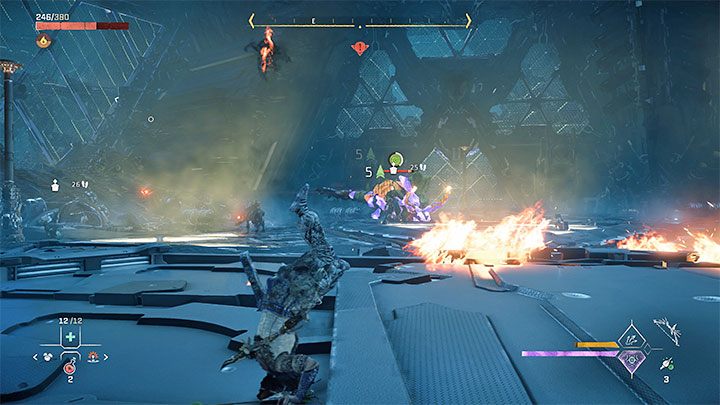
Smaller machines will join the fray, but you should try to save them for later. Prioritize destroying the boss while carefully watching the remaining machines so you can dodge their attacks. After defeating the Grimhorn deal with them as well.
Dominate the Repair Bay Core
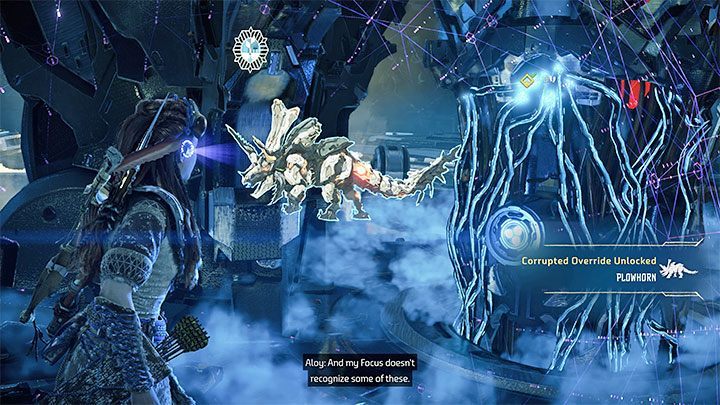
Once the battle is over, collect the loot dropped by the boss and the other machines. To finish the quest, head to the new red slot and place your spear in it. This will unlock the option to dominate several new machine species, which can be used when exploring the world later in the game.
You will immediately be forced to take care of the next main quest - The Eye of the Earth.