
Ghost of Tsushima: From the Darkness walkthrough, video guide Ghost of Tsushima guide, walkthrough
Last update: 20 July 2020
This page of our Ghost of Tsushima game guide contains a detailed walkthrough of From the Darkness main quest. It's a long mission that is largely based on sneaking around. Our walkthrough describes how to reach the first tower, how to silently kill important enemies, how to sneak into the area in which you have to poison the milk and how to win a definitive duel with the Ryuzo boss.
- Meet with Yuna
- Infiltrate the first keep of Castle Shimura
- Eliminate the Mongols in the first keep
- Survey the Mongol defenses
- Sneak through the garden
- Poison the Mongol's fermented milk
- Enter the main keep to confront the Khan
- Boss battle
Meet with Yuna

This mission will automatically start after completing The Fate of Tsushima main quest. In the meantime, you won't be able to return to the free exploration of the game world. You must first complete this task and the next main quest. Start the mission by meeting with Yuna.
Yuna will give you the Ghost armor, Ghost mask and Ghost headband. Of course, only the armor will be have some statistics. We strongly advise you to have it equipped during this mission. This armor has some important features, namely: it delays the time of being detected by enemies while sneaking around, it reduces the number of kills required to unlock the Ghost stance, and it increases the chance of causing fear among your enemies. In this quest, you'll only need the first bonus of this armor.
Infiltrate the first keep of Castle Shimura

The right task will start after dusk. You must remain stealth during this mission. If you get spotted, the mission will not fail immediately, but you need to get rid of the enemy quickly before they can trigger an alarm in the area.
Don't jump in the water, because it will automatically end the mission. Head right, that is, towards the bridge bombarded by Mongolian archers. You don't have to enter the bridge, but you'll have to walk near it. Make a jump and grab the first hook by using the grapple. Jump to the second hook. Swing on it too and jump on the rocks under the bridge.

Cross over the waterfall by walking on a fallen tree. You have to make a jump to the remote hook and press the catch (R2) button on the fly. This is shown in the attached picture. Climb the cliff to a higher rocky ledge.
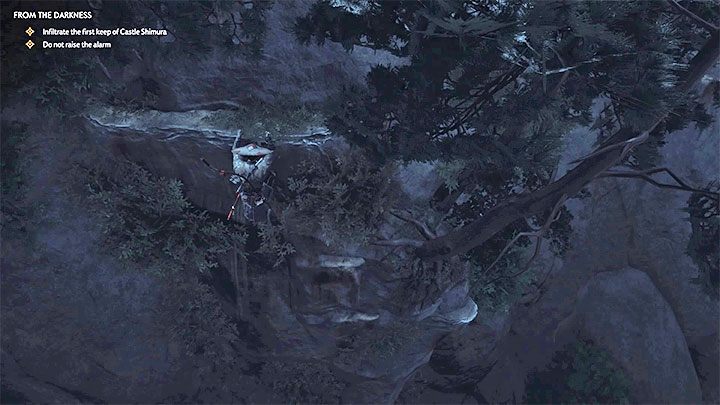
Next, you have to make a jump in order to reach the interactive edges visible in the distance. Start moving sideways on the cliff wall. Once you have reached the last edge, make an upward leap and grab a new hook. Use the grapple hook to reach the higher ledge.

At the very end of the climb you have to reach the place from the picture, make a jump while running towards the hook and grab it with grapple hook. Swing a bit and jump to the new ledge. You'll be right next to the open shutter of the first keep.
Eliminate the Mongols in the first keep

You have to eliminate Mongols located on three floors of the keep. There are two opponents on the ground floor. A safer option is to wait for them to go away and sneak in from behind to each one of them individually.
If you have an unlocked Chain Assassination skill, then you can wait for your opponents to stand next to each other, approach them and press the Triangle button two times in order to get rid of them both in two consecutive executions.

You will reach the first floor by a ladder and there is 1 enemy there. Help yourself with your focused hearing and start acting as soon as he goes in the opposite direction.
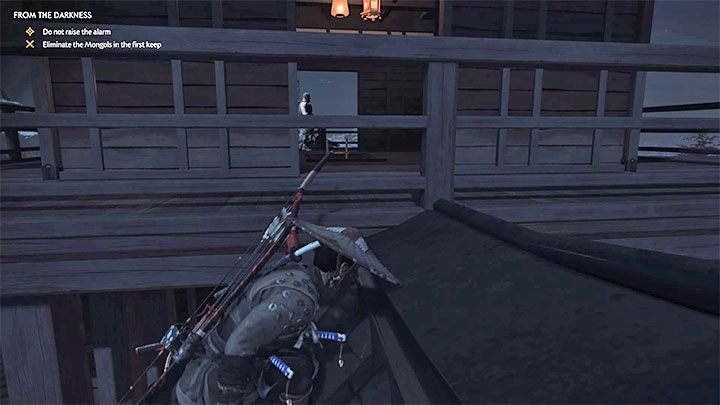
There are two Mongols on the second floor. Reaching them by using the ladder can be dangerous, because one of the opponents looks at the gap with the ladder from time to time.
The solution to this problem is to squeeze through the hole in the wall on the first floor and climb the lower parts of the keep's roof. As in the case of ground floor enemies, you can hide and wait until the Mongols will go away or sneak up on them quickly when they are close to each other to activate Chain Assassination.
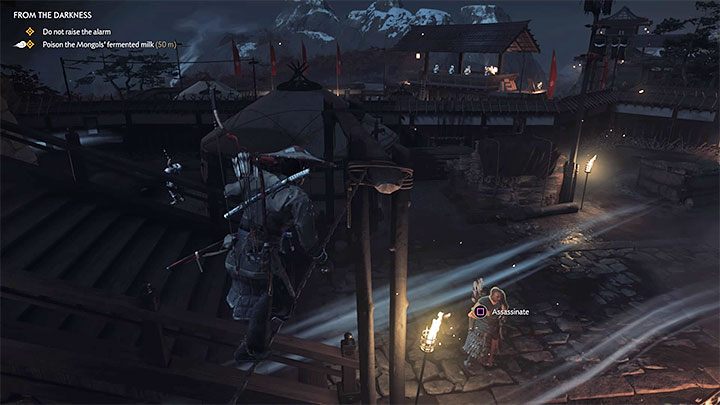
Survey the Mongol defenses
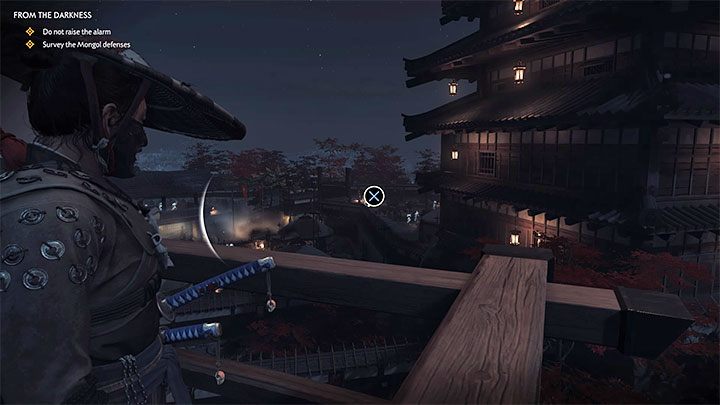
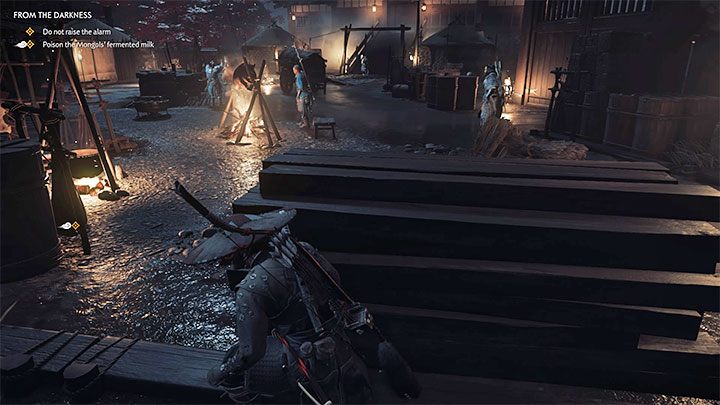
The reconnaissance site is located in one of the corners of the balcony on the second floor of the tower. Traditionally, there are several areas to discover and explore. The most important of these is shown in the picture - that's where you have to get to to add poison to the milk supplies. Besides, take a look at the path leading through the garden, the Straw Hats and the Mongol fortifications.
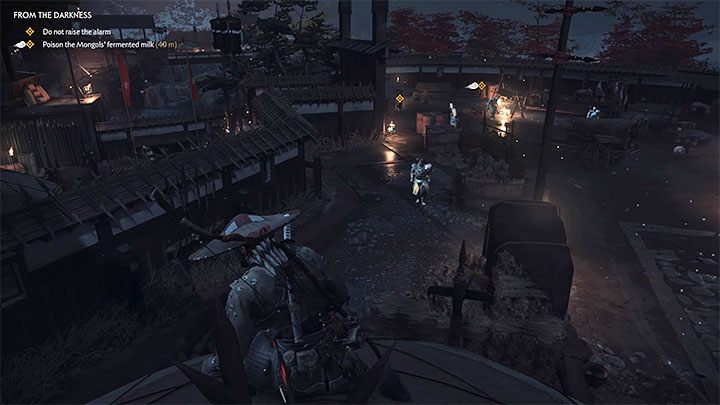
Sneak through the garden
Jump on the lower part of the roof, but don't jump all the way down. Instead, decide to cross over the first hanging rope. This will get you to the watchtower with the first archer you can easily kill. After a successful execution, walk over the second hanging rope.

Land in the back of the tent, so you'll get to a safe place. Turn on your focused hearing for a moment and make sure no one is looking at Jin. Go straight ahead and squeeze through the gap in the wall to reach the next area.
Poison the Mongol's fermented milk
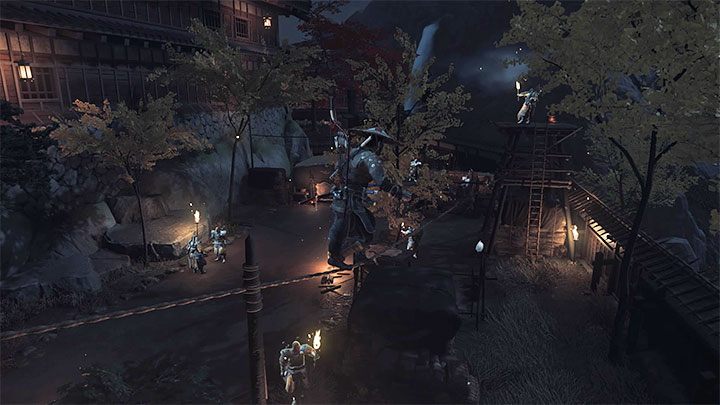
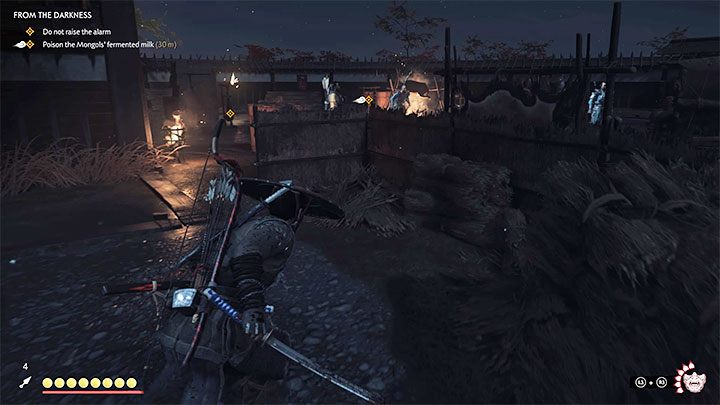
At the new location, climb onto the tent and take another opportunity to walk over the rope. This will allow you to bypass some guards without the need of attacking them.
After reaching the last tent, wait for a single guard to arrive (shown in the above picture) and jump on him. This way you can easily get rid of him.
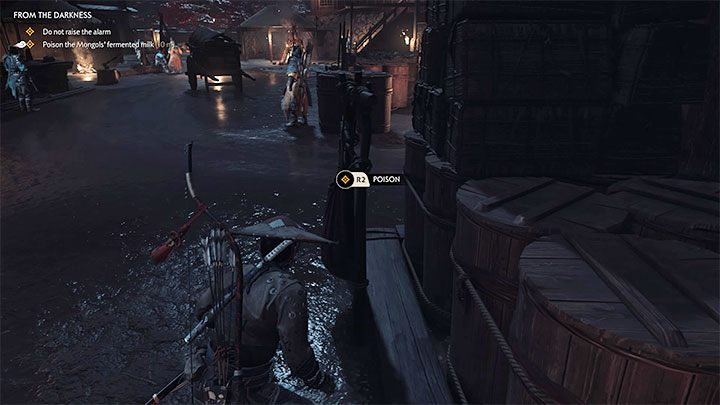
Start sneaking towards the left yellow point. You shouldn't get detected if you sneak behind the back of a traveling guard when he faces the other way. A successful action will allow you to poison the first supplies of milk.
Go around the main camp from the left, and try to remain in the shadows. Once again, wait for a good moment and get close to the second milk supplies. A cut-scene depicting the poisoning of Mongols will be displayed.
Enter the main keep to confront the Khan
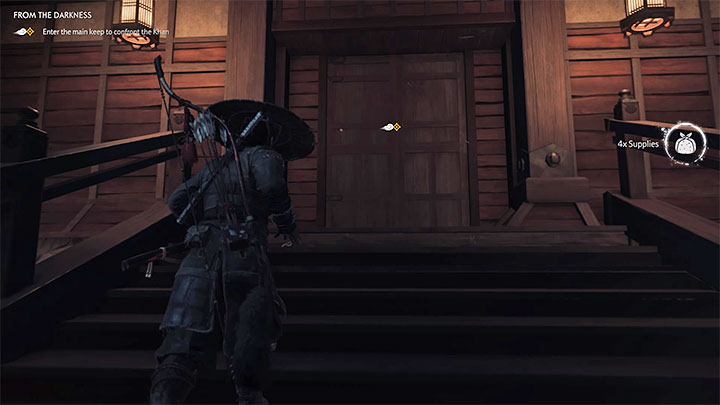
You don't have to sneak around anymore. Take the opportunity to kill a few opponents and renew your Resolve.
Before you enter the main keep, remember to put on a good armor for melee combat, because a new boss fight awaits you.
Boss battle
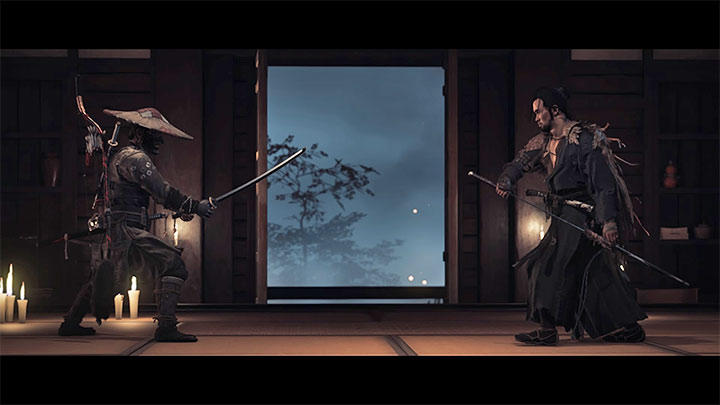
Instead of Khan, Ryuzo will be waiting for the hero in the main keep. You've already had a chance to confront this character in the first act of the story campaign. The main difference in this battle is the fact that this time you will be able to murder Ryuzo after winning the duel with him.
This duel will not surprise you with anything new compared to the previous battle against Ryuzo. What's more, you should be able to win with more ease, because you have been able to gain new skills and better equipment since the last fight.
Ryuzo may use the following strikes and attacks:
- Standard attacks - you can easily block or parry them.
- Red attacks - you have to use dodges or jump away to avoid getting hit. These attacks cannot be blocked or parried.
- Blue attacks - by default, you must behave in the same way as in case of the red attacks, that is, use dodges and jumps. The exception is the situation of having an unlocked Unyielding Sword Parry. Having it at your disposal will allow you to parry the blue attacks.
Ryuzo can use combo attacks. The most important of these are:
- Red attack combined with blue attack.
- A red attack followed by a kick and 1 or 2 blue attacks.
Always make sure that after correctly dodging the red attack, you are immediately ready to block or (better option) parry the next attack / wave of attacks.
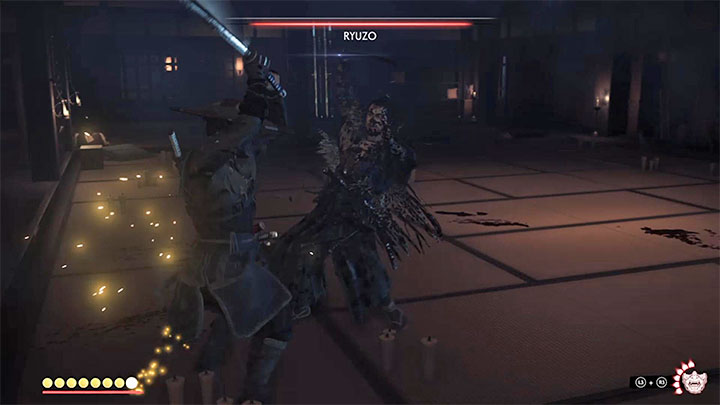
You can cause small amount of damage to Ryuzo by launching 2-3 attacks after each successful parry. The quickest way to weaken the boss is to rely on perfect sword parry and perfect dodges. Of course, you must have proper skills to use these moves.

After depriving Ryuzo of his entire health bar, you can watch a cut-scene during which Jin will kill his old friend. In a moment you'll watch another cut-scene that ends this quest.
Rewards for completing this quest: Increased legend (XP) - greater bonus, Ghost armor, Ghost mask, Ghost headband, unlocks Honor and Ash main quest.