
Walkthrough - Chapter XII | Walkthrough Final Fantasy XIII Guide
Last update: 11 May 2016
 | ![This chapter will start with a boss fight [1] in gestalt mode - Walkthrough - Chapter XII - Walkthrough - Final Fantasy XIII - Game Guide and Walkthrough](/finalfantasy13/gfx/word/577035796.jpg) |
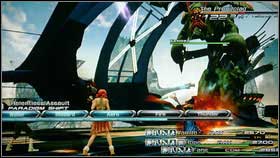
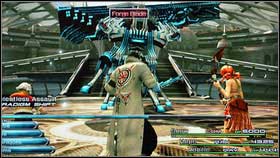
This chapter will start with a boss fight [1] in gestalt mode. The fastest way to defeat your opponent is to repeat attack: LEFT + RIGHT + A until he will be staggered. Then press Y to end the battle and watch the cut scene [2].
 |  |
Save the game after the movie and go ahead. This is a good moment to learn something about your new Crystarium circles. The most important thing is to develop Death in Saboteur's tree (Vanille). It will be very handy in the future. After few fight, you will find a round platform.
 |  |
Go south east and find a chest with a new weapon for Lightning - Lionheart. Take this sword and return to platform. Turn right and find another chest. This time it will contain 9240 gils [2]. Now you can return to the yellow point.
 | ![Save the game when you will be downstairs and start fighting with Cacoon army [2] - Walkthrough - Chapter XII - Walkthrough - Final Fantasy XIII - Game Guide and Walkthrough](/finalfantasy13/gfx/word/577035890.jpg) |
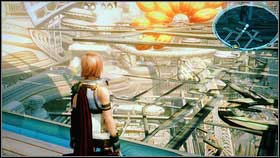
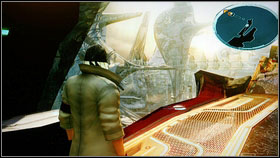
Save the game when you will be downstairs and start fighting with Cacoon army [2].
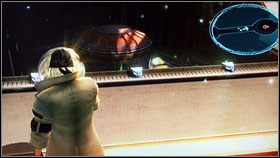
 | ![Your task is to get to the red elevators [1] guarded by some soldiers - Walkthrough - Chapter XII - Walkthrough - Final Fantasy XIII - Game Guide and Walkthrough](/finalfantasy13/gfx/word/577035921.jpg) |
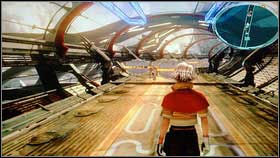
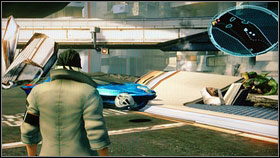
Your task is to get to the red elevators [1] guarded by some soldiers. Use them and go down where you will have to fight for another time. Now you will have to defeat the Behemoth King [2]. Kill him fast and move along.
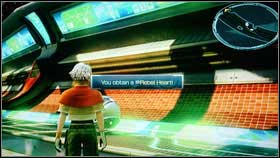 |  |
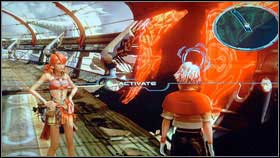
Keep to the right side. As a matter of fact you will find a chest with Rebel Hart [1] and then, the next one. This time with Otshirvani [2] - the best weapon for Hope. When you will be at the proper location. Another fight will start. This time with The Proudclad.
 |  |
This fight is very hard, so you have to be well prepared. I advise you to use Hope, Vanille and Snow. Remember that your enemy is immune to any debuffs so Saboteur is useless here.
 |  |
The most important ting here is to have a good tank (Sentinel). In my opinion, the best paradigm to start is Sentinel + Medic + Synergist. Buff your teammates and attack. Remember to cast new buffs when old one will disappear. Without them, even two medics won't be able to heal everything.
 | ![After the battle run to the elevator marked on the map and then go down to kill Adamanchelid [2] - Walkthrough - Chapter XII - Walkthrough - Final Fantasy XIII - Game Guide and Walkthrough](/finalfantasy13/gfx/word/577036046.jpg) |
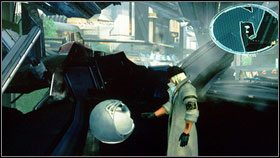
After the battle run to the elevator marked on the map and then go down to kill Adamanchelid [2]. This time you will be able to use Saboteur in your team.
 | ![When the turtle will be dead, run straight ahead and take the Punisher that is hidden in one chest [1] - Walkthrough - Chapter XII - Walkthrough - Final Fantasy XIII - Game Guide and Walkthrough](/finalfantasy13/gfx/word/577036078.jpg) |
When the turtle will be dead, run straight ahead and take the Punisher that is hidden in one chest [1]. Now you will have to walk for a long time. Be prepared to fight may times.
 |  |
After few minutes you will be near the yellow point. Before you will reach your destination, turn right. At the end of the road you will find a chest with 15000 gils [1]. Now you can continue your journey [2].
 |  |
Save the game on the other side and turn right. You will find a chest at the big square. Take 2x Blaze Ring [1]. When you will be near the yellow sign, turn left. On the crossroad turn left once again. Then open the chest with 6x Particle Accelerator [2].
 |  |
Return to the crossroad and go in opposite direction. It will lead you to another chest. This time you will find Librascope [1]. Soon, you will find another chest with Antares Deluxes [2]. Give this weapon to Sazh.
 | ![Save the game and fight with all Juggernauts [1] [2] - Walkthrough - Chapter XII - Walkthrough - Final Fantasy XIII - Game Guide and Walkthrough](/finalfantasy13/gfx/word/577036203.jpg) |
Save the game and fight with all Juggernauts [1] [2]. These battles are very easy if you have a spell that will raise your fire resistance. After some time, you will get to the next save point.
 |  |
Save the game and attack another huge turtle located on the left. Adamantortoise [1] [2] is very difficult so use the Death spell and summon one of your friends. While he will be lying on the ground use Vanille to finish him. Of course this fight will be very long but it is worth that. You will get many EXP. After the battle enter the building.
 |  |
At the lower level, you will find two chests. From one of them, you will take 6x Particle Accelerator and from the second one - Chocobo Plush [1]. Now, return to the entrance and use the stairs located on the left. You will get to the chest with 12x Helish Talon [2].
 | ![On the opposite side of the room you will find 17 Helish Talons [1] - Walkthrough - Chapter XII - Walkthrough - Final Fantasy XIII - Game Guide and Walkthrough](/finalfantasy13/gfx/word/577036296.jpg) |
On the opposite side of the room you will find 17 Helish Talons [1]. You may now follow the yellow arrow. Pass the door to get to the long corridor [2].
 | ![Run straight ahead and open the chest with Mistiltein - weapon for Vanille [1] - Walkthrough - Chapter XII - Walkthrough - Final Fantasy XIII - Game Guide and Walkthrough](/finalfantasy13/gfx/word/577036328.jpg) |
Run straight ahead and open the chest with Mistiltein - weapon for Vanille [1]. Soon, you will find yourself in a very difficult situation.
 | ![On the left, you will see Juggernaut, on the right you will find Tyrant [1] - Walkthrough - Chapter XII - Walkthrough - Final Fantasy XIII - Game Guide and Walkthrough](/finalfantasy13/gfx/word/577036359.jpg) |
On the left, you will see Juggernaut, on the right you will find Tyrant [1]. Defeat them one by one and run to the yellow marker [2].
 | ![You will find another chest near the next save point so take the Power Glove [1] - Walkthrough - Chapter XII - Walkthrough - Final Fantasy XIII - Game Guide and Walkthrough](/finalfantasy13/gfx/word/577036390.jpg) |
You will find another chest near the next save point so take the Power Glove [1]. Then you will have to fight with Sacrifice [2] - a new kind of Cie'th. Attack your enemies from surprise and finish one of them on the first stagger. Second one will be quite easy.
 | ![Few meters further, you will find a chest with Ethersol [1] - Walkthrough - Chapter XII - Walkthrough - Final Fantasy XIII - Game Guide and Walkthrough](/finalfantasy13/gfx/word/577036421.jpg) |
Few meters further, you will find a chest with Ethersol [1]. Take it and attack the boss called The Proudclad [2]. You tactic will be almost the same. As before, use Snow + Vanille + Hope but without Saboteur.
 |  |
Save the game after the fight. Now, it is a time to start the last chapter of the game.