Walkthrough - Chapter VII | Walkthrough Final Fantasy XIII Guide
Last update: 11 May 2016
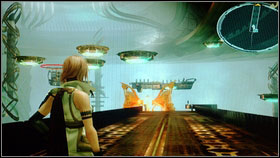
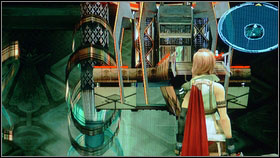
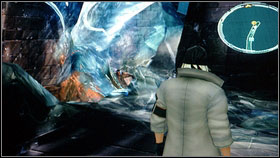
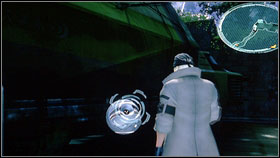
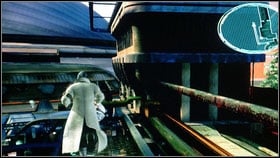
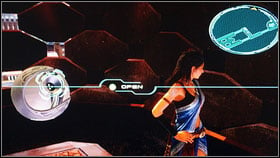
 | ![At the beginning you must follow Hope and try to avoid all patrols [2] - Walkthrough - Chapter VII - Walkthrough - Final Fantasy XIII - Game Guide and Walkthrough](/finalfantasy13/gfx/word/576717890.jpg) |
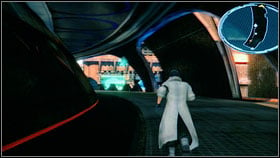
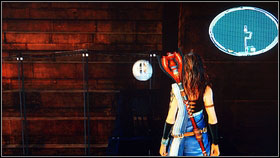
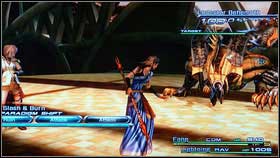
At the beginning you must follow Hope and try to avoid all patrols [2].
 |  |
Before the tunnel turn right and find the chest somewhere between cars. As a result you will get Fiber-optic Cable [1]. When you will be underground go to the crossroad and take the left path. At the end of it you will fins Holy Water. Now you can back to the min road. After few meters you will get outside so run fast to the next tunnel. As a matter of fact, you will pass some enemies.
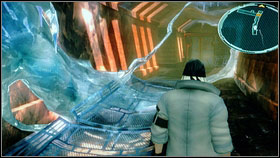
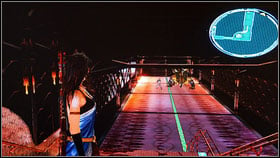
 | ![Exit the tunnel and follow Hope [1] - Walkthrough - Chapter VII - Walkthrough - Final Fantasy XIII - Game Guide and Walkthrough](/finalfantasy13/gfx/word/576717953.jpg) |
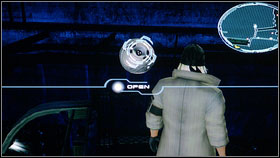
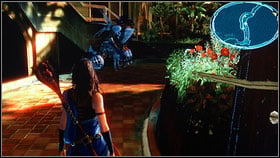
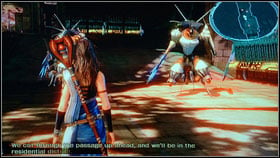
Exit the tunnel and follow Hope [1]. When you will get to the huge canal, turn right to take the Librascope [2].
 |  |
Go straight ahead and kill every enemy that you can find (Flanitory). Then use the elevator that will transport you over the cliff. Try to avoid Lucidons - the fight is very long and boring.
 | ![When you will get to the second elevator, use the mechanism on the left [1] - Walkthrough - Chapter VII - Walkthrough - Final Fantasy XIII - Game Guide and Walkthrough](/finalfantasy13/gfx/word/576718015.jpg) |
When you will get to the second elevator, use the mechanism on the left [1]. A platform will transport you to two chests guarded by some creatures [2].
 | ![It is worth fighting because you will get 2x Mobius Coils and Aqua Ring [1] - Walkthrough - Chapter VII - Walkthrough - Final Fantasy XIII - Game Guide and Walkthrough](/finalfantasy13/gfx/word/576718046.jpg) |
It is worth fighting because you will get 2x Mobius Coils and Aqua Ring [1]. After the fight return to the mechanism and the platform will go in another way. Then go straight ahead [2].
 | ![Now watch a short cut scene and kill all enemies [1] - Walkthrough - Chapter VII - Walkthrough - Final Fantasy XIII - Game Guide and Walkthrough](/finalfantasy13/gfx/word/576718078.jpg) |
Now watch a short cut scene and kill all enemies [1]. You will find a chest on your way. Open it and take Warding Talisman [2].
 | ![Just near the save point you will find another lift that will take you to the upper floor [1] - Walkthrough - Chapter VII - Walkthrough - Final Fantasy XIII - Game Guide and Walkthrough](/finalfantasy13/gfx/word/576718109.jpg) |
Just near the save point you will find another lift that will take you to the upper floor [1]. Then you will see a long film that will be ended with a fight - Snow against huge army [2]. When Shiva will disappear, summon her once again and finish the fight.
 | ![Save the game and go straight ahead [1] - Walkthrough - Chapter VII - Walkthrough - Final Fantasy XIII - Game Guide and Walkthrough](/finalfantasy13/gfx/word/576718140.jpg) |
Save the game and go straight ahead [1]. Kill all soldiers [2]. Enter the icy tunnel and kill another two groups of mobs.
 |  |
Few meters further you will get to the place where you can jump to the other mountain. Before you will do this, go straight ahead and open the chest that is guarded by some troops. Inside you will find Fortisol [1]. Now you can jump over the abyss [2].
 |  |
This path will lead you to the next group of enemies that will be easy to defeat. After the fight turn right and open the chest with Paladin [1]. It is a new weapon for Snow and it will improve his Mediguard and Steelguard abilities. Now, you can go back to the main path [2].
 |  |
After dealing with next opponents, jump down and open the chest located on the left. Take 4x Insulted Cabling and turn round. When you will pass the save point, jump down. Few steps away from this place you will see a cut scene and then you will take control over new character - Fang [2]. See her Crystarium and spend the rest of her points. Kill other soldiers and return to Snow.
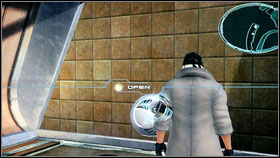
 | ![The first you have to do now is to open the chest with 4x Holy Water [1] - Walkthrough - Chapter VII - Walkthrough - Final Fantasy XIII - Game Guide and Walkthrough](/finalfantasy13/gfx/word/576718265.jpg) |
The first you have to do now is to open the chest with 4x Holy Water [1]. Now go straight ahead and kill your enemies. At the end of it, you will find 2x Incentive Chip [2]. Jump down and kill other opponents.
 | ![After few steps you get to the chest with Guardian Amulet [1] - Walkthrough - Chapter VII - Walkthrough - Final Fantasy XIII - Game Guide and Walkthrough](/finalfantasy13/gfx/word/576718296.jpg) |
After few steps you get to the chest with Guardian Amulet [1]. Take it, kill another two groups [2] and watch the film.
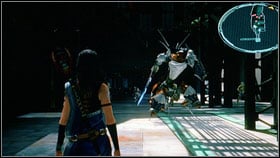
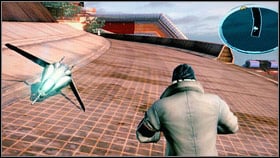
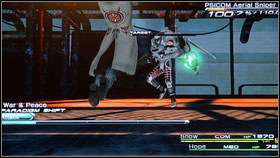
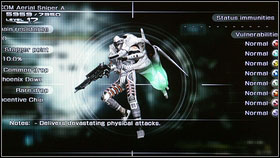
 | ![After the cut scene you will have to fight with PSICOM Aerial Snipers [1] - Walkthrough - Chapter VII - Walkthrough - Final Fantasy XIII - Game Guide and Walkthrough](/finalfantasy13/gfx/word/576718328.jpg) |
After the cut scene you will have to fight with PSICOM Aerial Snipers [1]. These units are not so powerful but the best thing is to kill one of them fast, because in large group they can be very harmful. After the fight go ahead and eliminate another snipers.
 | ![After the film you will find yourself on the top of the building [1] - Walkthrough - Chapter VII - Walkthrough - Final Fantasy XIII - Game Guide and Walkthrough](/finalfantasy13/gfx/word/576718359.jpg) |
After the film you will find yourself on the top of the building [1]. Another cut scene will start soon so watch it and then follow Hope.
 | ![Downstairs, turn round, open the chest and take Shaman's Mask [1] - Walkthrough - Chapter VII - Walkthrough - Final Fantasy XIII - Game Guide and Walkthrough](/finalfantasy13/gfx/word/576718390.jpg) |
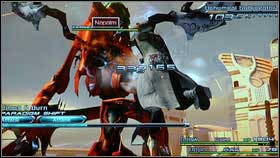
Downstairs, turn round, open the chest and take Shaman's Mask [1]. This is a very useful item for characters that are depending on magic. Unfortunately, when you will get to the chest, a Falco Velocycle [2] will attack you. You have to stagger him fast, because he will do a very powerful attack that can kill you.
 | ![After the fight go straight ahead [1] - Walkthrough - Chapter VII - Walkthrough - Final Fantasy XIII - Game Guide and Walkthrough](/finalfantasy13/gfx/word/576718421.jpg) |
After the fight go straight ahead [1]. At the end you will find that two roads are turning right. As a result, you will avoid some enemies and you will find 3x Thrust Bearings [2].
 |  |
After few meters turn right once again. You will find a chest and new weapon for Hope - Vidofnir [1]. Wear it and follow the road [2].
 | ![After destroying the next vehicle, you will get to the chest with Decptisolem inside [1] - Walkthrough - Chapter VII - Walkthrough - Final Fantasy XIII - Game Guide and Walkthrough](/finalfantasy13/gfx/word/576718484.jpg) |
After destroying the next vehicle, you will get to the chest with Decptisolem inside [1]. You may now jump upstairs where another fight is waiting for you. As before: first of all destroy the vehicle [2], then take care of the sniper.
 |  |
When the battle will be over, turn right. Inside the chest you will find 2 000 gils [1]. Return to the road and kill another enemies [2]. You can gave some problems with vehicle combined with two snipers. It is good to open your Crystarium and upgrade your characters abilities. Start the fight with paradigm Sentinel + Medic. Use Steelguard and wait until your enemy will use his most powerful attack. Then start the fight: change between Ravager + Commando and Ravager + Ravager. When the vehicle will be destroyed, end the fight fast.
 |  |
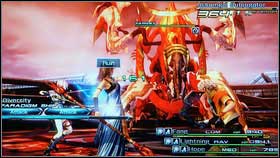
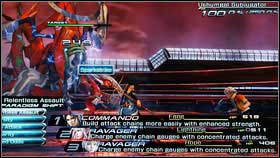
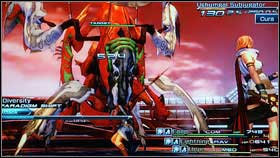
Few meters further you will get to the save point. Buy some necessary thing because now you will have to fight with boss - Ushumgal Subjugato [1]. At the beginning use Libra and then combination Synergist + Sentinel. When you will be buffed, you can start the attack. The best option is to use the same paradigms as in the previous fight. Stagger your enemy and defeat it. After the battle you will be transported to Fang and Lightning.
 |  |
At the beginning turn round and go to the nearest chest. Take 15x Bestial Claws [2]. Enter the Crystarium to upgrade your characters.
 |  |
Now return to the main path that will lead you to the save point. Then try to defeat one group of soldiers: the best option is to kill Bombardier [1] first because his rockets can be very harmful. When everybody will be dead, run ahead and kill Orion [2].
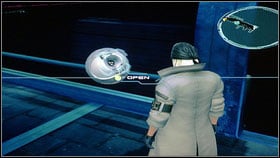
 | ![When you will get to the crossroad, take the right path [1] - Walkthrough - Chapter VII - Walkthrough - Final Fantasy XIII - Game Guide and Walkthrough](/finalfantasy13/gfx/word/576718640.jpg) |
When you will get to the crossroad, take the right path [1]. You will have to defeat many enemies but as a result you will get Gae Bolg - new weapon for Fang [2].
 | ![Now go straight ahead killing all enemies on your way [1] until the next film will start [2] - Walkthrough - Chapter VII - Walkthrough - Final Fantasy XIII - Game Guide and Walkthrough](/finalfantasy13/gfx/word/576718671.jpg) |
Now go straight ahead killing all enemies on your way [1] until the next film will start [2]. When it will end fight with soldiers.
 | ![After killing two Orions [1] open the door located on the right - Walkthrough - Chapter VII - Walkthrough - Final Fantasy XIII - Game Guide and Walkthrough](/finalfantasy13/gfx/word/576718703.jpg) |
After killing two Orions [1] open the door located on the right. You will find Axis Blade here for Lightning. Then watch a second cut scene [2].
 |  |
After the film use stairs to get above and then defeat another group of enemies that are located in the upper left corner of this area. In the chest you will find Tungsten Bangle [2]. Go through the corridor killing next opponents.
 |  |
When you will have to chose, take the path leading left. As a result, you will find the Black Belt [1] and a save point. One more fight and you will get to the place marked on the map. Then you will take control over Hope.
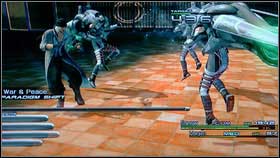
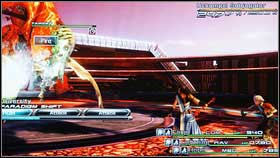
 | ![After a cut scene you will have to fight with boss [2] - Walkthrough - Chapter VII - Walkthrough - Final Fantasy XIII - Game Guide and Walkthrough](/finalfantasy13/gfx/word/576718796.jpg) |
After a cut scene you will have to fight with boss [2]. This time you will have to manage without Snow. You do not have a change alone so lose the battle as fast as you can.
 |  |
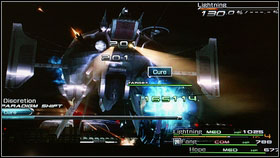
When you will do this, Lightning and Fang will try to help you. At the beginning the best option is to use paradigm called Evened Odds and then Diversity or Delta Attack.
 |  |
You will be able to stagger the boss very quickly and change to Relentless Assault. If you won't succeed then before the restart change paradigm to Discretion - with two Medics and one Commando. When the enemy will be staggered, you can kill him with easy.
 | ![After the fight go straight ahead and find another chest with Phoenix Down [1] - Walkthrough - Chapter VII - Walkthrough - Final Fantasy XIII - Game Guide and Walkthrough](/finalfantasy13/gfx/word/576718890.jpg) |
After the fight go straight ahead and find another chest with Phoenix Down [1]. Now you will meet Hope [2] father.
 | ![Save the game when you will be inside and turn on the TV [1] - Walkthrough - Chapter VII - Walkthrough - Final Fantasy XIII - Game Guide and Walkthrough](/finalfantasy13/gfx/word/576718921.jpg) |
Save the game when you will be inside and turn on the TV [1]. Now you can watch a longer movie [2].
 |  |
When it will end another fight will start. Enemies are very weak so you should defeat them very quickly. After the fight save the game and open the chest containing Ethersol. Few steps further you will have to fight once again. Then open the chest with Brawler's Wristband [2].
 | 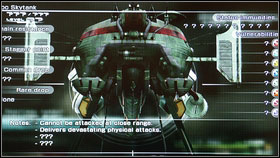 |
Take this item and go to the marked location. Another film will start [1] and then you will have to fight with Havoc Skytank [2].
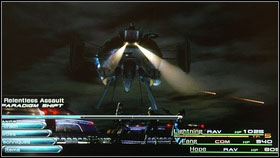 |  |
This is quite difficult battle so watch the HP of your characters. Paradigm with two Medics is very useful in this fight. First of all buff your party members and destroy the turrets. You have to do this to avoid some huge damage.
 |  |
When all parts will be destroyed you can take care of Havoc Skytank. This is the easiest part of the fight. Just change between Relentless Assault and a paradigm with two Medics. As a reward you will be able to upgrade your Crystarium trees.