
Walkthrough - Chapter IX | Walkthrough Final Fantasy XIII Guide
Last update: 11 May 2016
 |  |
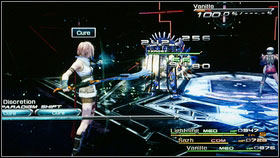
You will start this chapter as a Lightning. At the beginning you can save the game, do some shopping and use the Crystarium.
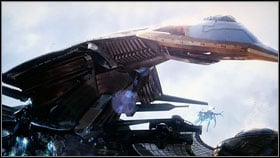
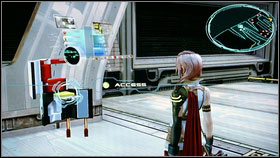
 | ![Then go ahead and speak with the marked soldier [1] - Walkthrough - Chapter IX - Walkthrough - Final Fantasy XIII - Game Guide and Walkthrough](/finalfantasy13/gfx/word/576801531.jpg) |
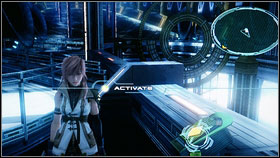
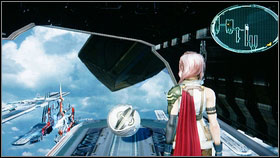
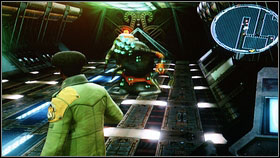
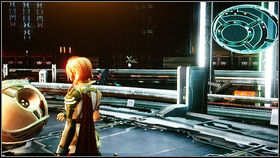
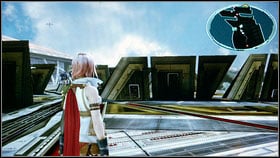
Then go ahead and speak with the marked soldier [1]. After a long film [2] you will be teleported to the ship called Cacoon where you will be attacked by some soldiers. They are very easy so finish them fast.
 |  |
After the fight go further and handle with another group. Then try to go upstairs.
 |  |
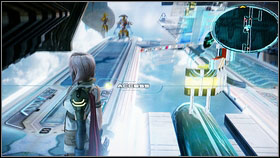
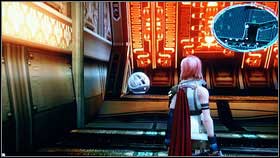
When you will be at the top, turn right. Open the chest with 4x Digital Circuits [2] and then go to the point marked on the map..
 | ![When you will be outside, save the game once again [1] - Walkthrough - Chapter IX - Walkthrough - Final Fantasy XIII - Game Guide and Walkthrough](/finalfantasy13/gfx/word/576801625.jpg) |
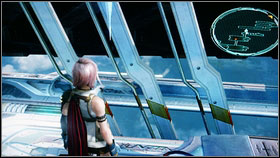
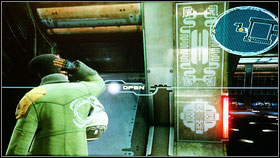
When you will be outside, save the game once again [1]. If you will go straight ahead, you will get to the vehicle. Use it to climb to another level of the ship. Then turn right and open the chest with 3x Incentive Chips [2]. Now you can move in another direction when you will meet many enemies. Kill them all to get to another ship.
 |  |
Jump above and open another chest. This you will get 4x Silicone Oil [2].
 |  |
Your trip should be safe now. At the end you will have to fight with some robots [1]. When you will won it, run back to the ship [2].
 | ![After another cut scene you can save the game and then fight with another enemies [2] - Walkthrough - Chapter IX - Walkthrough - Final Fantasy XIII - Game Guide and Walkthrough](/finalfantasy13/gfx/word/576801718.jpg) |
After another cut scene you can save the game and then fight with another enemies [2].
 | ![When you will pass the first turn, you will find a chest with a new weapon for Lightning - Lifesaber [1] - Walkthrough - Chapter IX - Walkthrough - Final Fantasy XIII - Game Guide and Walkthrough](/finalfantasy13/gfx/word/576801750.jpg) |
When you will pass the first turn, you will find a chest with a new weapon for Lightning - Lifesaber [1]. One more treasure can be found after the fight with Viking. This time you will get the Ember Ring [2]. Take this ring and go to the point marked on the map.
 | 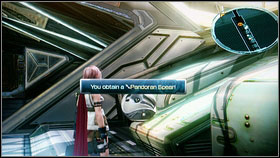 |
Soon, you will come across another save point and afterward the next chest will be waiting for you. Open it and take Pandoran Spear [2]. Now you will see another movie and then you will have to get back to Shaz and Vanille.
 | ![Go straight ahead and kill all maggots found on your way [1] - Walkthrough - Chapter IX - Walkthrough - Final Fantasy XIII - Game Guide and Walkthrough](/finalfantasy13/gfx/word/576801812.jpg) |
Go straight ahead and kill all maggots found on your way [1]. Then open the door with a nearby mechanism [2].
 | ![Turn right on the nearest crossroad and kill some monsters that are guarding the chest [1] - Walkthrough - Chapter IX - Walkthrough - Final Fantasy XIII - Game Guide and Walkthrough](/finalfantasy13/gfx/word/576801843.jpg) |
Turn right on the nearest crossroad and kill some monsters that are guarding the chest [1]. Take Royal Armlet [2]. Now you can go to the point marked on the map.
 |  |
You will see another chest near the last door. Open it and take 12x Murky Ooze [1]. Now go ahead and meet with the rest of your team [2].
 |  |
As a Lightning go straight ahead until you will get to the save point. If you have to gain many EXP then attack every enemy that is standing near a big chamber. You will also be able to find chests. They will contain: White Cape, Pain Dampener, Rhodochrosite and Perfect Conductor [1] [2].
 | ![Now go to the point marked on the map and after a short cut scene, you will take control over Shaz [1] - Walkthrough - Chapter IX - Walkthrough - Final Fantasy XIII - Game Guide and Walkthrough](/finalfantasy13/gfx/word/576801937.jpg) |
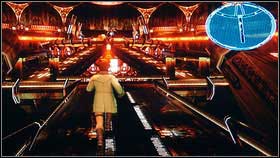
Now go to the point marked on the map and after a short cut scene, you will take control over Shaz [1]. Kill monsters located in this area [2] and take all treasures.
 | ![On the outer ring (on the right side) you will find 8x Segmented Carapace [1] and in the middle: Phoenix Down [2] - Walkthrough - Chapter IX - Walkthrough - Final Fantasy XIII - Game Guide and Walkthrough](/finalfantasy13/gfx/word/576801968.jpg) |
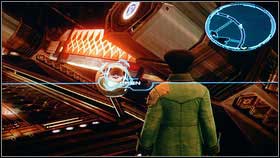
On the outer ring (on the right side) you will find 8x Segmented Carapace [1] and in the middle: Phoenix Down [2].
 | ![When you will collect everything go ahead and defeat another enemies [1] - Walkthrough - Chapter IX - Walkthrough - Final Fantasy XIII - Game Guide and Walkthrough](/finalfantasy13/gfx/word/576802000.jpg) |
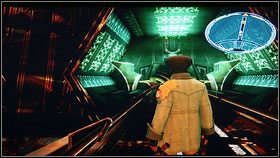
When you will collect everything go ahead and defeat another enemies [1]. After the fight you will get back to the Lightning [2].
 |  |
At the beginning turn round and go ahead to the chest guarded by two groups. Inside you will find the Whistlewind Scarf [2].
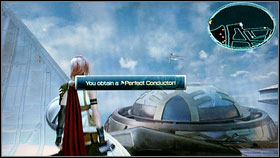 |  |
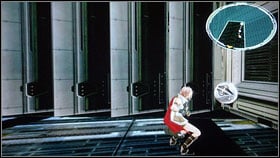
While going to the point marked on the map you will get outside. Unfortunately there is only one chest with Perfect Conductor [1]. Take it and go to the lower level to kill some hordes of enemy robots [2].
 |  |
If you have some problems with them, you can run fast to avoid the fight. Now you can save the game and use the Crystarium [2].
 | ![After applying all the necessary upgrades, turn right and open the chest with 13x Barbed Tails [2] - Walkthrough - Chapter IX - Walkthrough - Final Fantasy XIII - Game Guide and Walkthrough](/finalfantasy13/gfx/word/576802125.jpg) |
After applying all the necessary upgrades, turn right and open the chest with 13x Barbed Tails [2].
 | 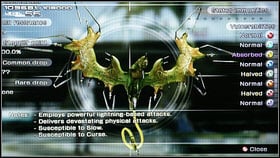 |
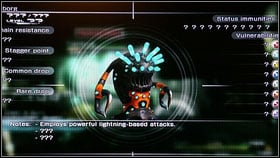
On the lower level of the ship you will find many enemies, but only one treasure - Spark Ring - in the upper right corner of the map. After few battles you will get to the point marked on the map. Here you will have to fight with new enemy - Kalavinka Striker [2].
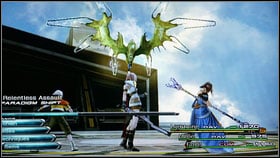 |  |
Libra, buffs, stagger and thats all. A very important ability is lighting resistance casted by Hope. Unfortunately, after a short cut scene, you will meet a brother of this creature. Repeat the same strategy and watch a beautiful movie [2].
 |  |
After the film you will have a chance to chose your team mates. The only thing that really matters is your own preferences. Try not to chose the same role too often. When you will do your task you will be able to use the nearby panel [1]. Go downstairs [2].
 |  |
Some soldiers will be waiting for you here but should be eliminated with easy. Use the panel located on the right and open the chest with Librascope [1]. Somewhere here you will find another mechanism that will lead you to the platform with some enemies [2]. This troop are not so easy. Use Deceptisol and attack them from surprise.
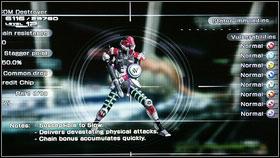 | ![A key to success is to eliminate the Destroyer [1] an the rest of the team - Walkthrough - Chapter IX - Walkthrough - Final Fantasy XIII - Game Guide and Walkthrough](/finalfantasy13/gfx/word/576802296.jpg) |
A key to success is to eliminate the Destroyer [1] an the rest of the team. Examine every platform marked on the map and collect all valuable items: Umbra, 2x Rune Bracelets, Pain Dampener, 3600 gils, Gold Bangle, Perfect Conductor [2].
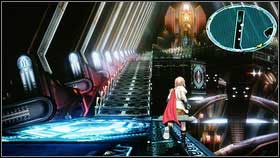 | 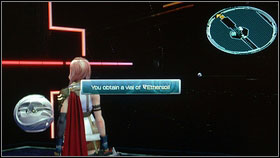 |
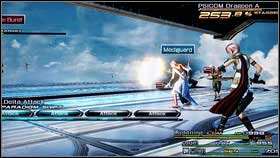
Now you will have to fight with another difficult group: PSICOM Beaver and Dragoons. In this case a Sentinel will be necessary. The best option is to use him along with the Medic and Synergist that will buff the whole team. Then finish the fight with Ravagers. I advise you to use Lightning, Hope and Snow in this fight. After the battle you can go in the direction of marked gates. You will find Ethersol [2] on your way.
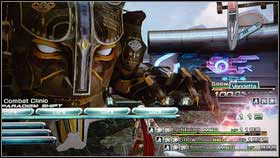
 | ![After the save point you will have to fight with Barthendelus [1] - Walkthrough - Chapter IX - Walkthrough - Final Fantasy XIII - Game Guide and Walkthrough](/finalfantasy13/gfx/word/576802359.jpg) |
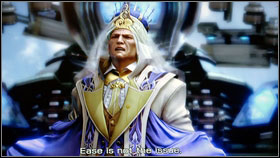
After the save point you will have to fight with Barthendelus [1]. This is quite difficult enemy so upgrade your characters before the fight.
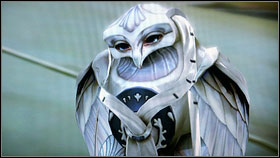
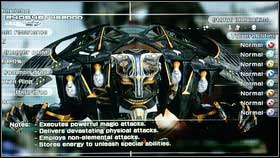
 | ![As in the previous bosses fight you will have to destroy particular parts of your enemy: Pauldron [1] and Alette - Walkthrough - Chapter IX - Walkthrough - Final Fantasy XIII - Game Guide and Walkthrough](/finalfantasy13/gfx/word/576802390.jpg) |
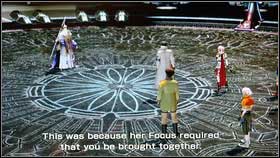
As in the previous bosses fight you will have to destroy particular parts of your enemy: Pauldron [1] and Alette. When they will disappear, take care of Barthendelus. You have to be well prepared to this fight. Buff, heal to the maximum and charge the stagger bar to the 90%. Then heal for the second time, stagger one part of the enemy and start the attack.
 | 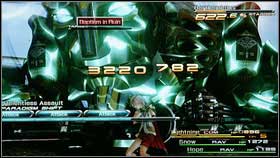 |
The most important thing is not to hurry. The fight is very long and you don't want to die just before the end. After destroying all parts a second phase of the battle will start. Now you have to stick to the tactic. Focus on staggering your enemy and watch when your enemy will be charging a weapon located on his back. If your characters have many HP then you can change your paradigm to Ravager + Ravager + Commando and after a short time to Ravager + Ravager + Ravager. Then you have to stagger your enemy as fast as possible. In other way he will do a very powerful attack that will take a lot of damage. Another thing is that it is the only possibility to hit him for a lot of DMG. If you won't be able to do that, the fight will last for too long and your character will be killed automatically.
 |  |
Repeat the same strategy to end. As a reward you will be able to upgrade your Crystarium and you will see a cut scene that will end the second CD.