
Walkthrough - Chapter X | Walkthrough Final Fantasy XIII Guide
Last update: 11 May 2016
 | ![At the beginning save the game and do some shopping in the nearest save point [1] - Walkthrough - Chapter X - Walkthrough - Final Fantasy XIII - Game Guide and Walkthrough](/finalfantasy13/gfx/word/576831859.jpg) |
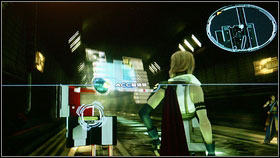
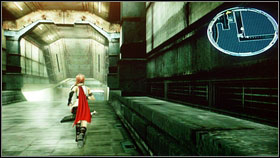
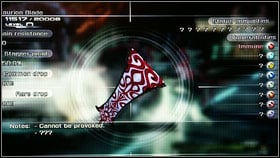
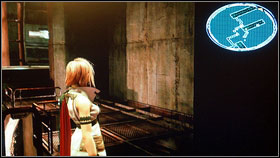
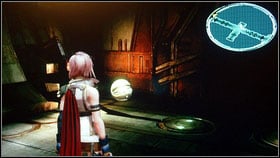
At the beginning save the game and do some shopping in the nearest save point [1]. Then you can go to the point marked on the map [2].
 | 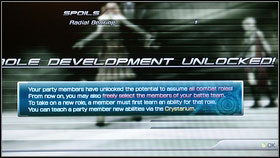 |
You will reach a strange room where you will be attacked by Pulsworker Knights. These enemies are quite simple so should handle with them very fast. As a reward our characters will be able to use every role that is available in the game [2]. You can change Lightning to Synergist and Fang can become a Ravager. All of this is up to you, but I advise you to focus on main trees.
 | ![After the movie go ahead and kill every enemy [2] - Walkthrough - Chapter X - Walkthrough - Final Fantasy XIII - Game Guide and Walkthrough](/finalfantasy13/gfx/word/576831921.jpg) |
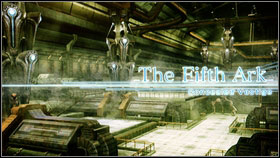
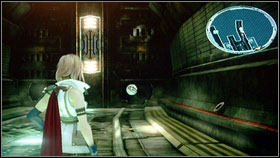
After the movie go ahead and kill every enemy [2].
 | ![On the right you will be able to find a chest with Heroe's Amulet [1] - Walkthrough - Chapter X - Walkthrough - Final Fantasy XIII - Game Guide and Walkthrough](/finalfantasy13/gfx/word/576831953.jpg) |
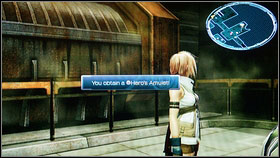
On the right you will be able to find a chest with Heroe's Amulet [1]. The next chest can be found after you will turn left on the stairs. It is guarded by some robots, but they are very easy to defeat. Inside the chest you will find 8x Bomb Shells [2].
 | ![Now you can return to the main path to the next point marked on the map [1] - Walkthrough - Chapter X - Walkthrough - Final Fantasy XIII - Game Guide and Walkthrough](/finalfantasy13/gfx/word/576831984.jpg) |
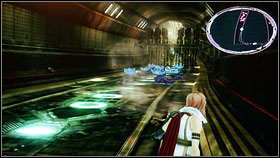
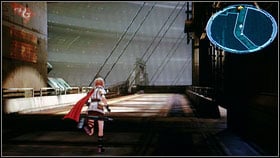
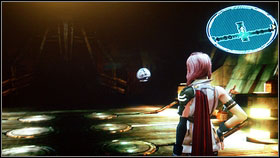
Now you can return to the main path to the next point marked on the map [1]. As a result you will get to the room with many weak monsters [2].
 | ![Kill them all and open the chest located on the left [1] - Walkthrough - Chapter X - Walkthrough - Final Fantasy XIII - Game Guide and Walkthrough](/finalfantasy13/gfx/word/576832015.jpg) |
Kill them all and open the chest located on the left [1]. Now run to the abyss and jump to the wall on the right.
 | ![The path will lead you to the tunnel [1] - Walkthrough - Chapter X - Walkthrough - Final Fantasy XIII - Game Guide and Walkthrough](/finalfantasy13/gfx/word/576832046.jpg) |
The path will lead you to the tunnel [1]. At the end you will find the next chest with 10x Medicinal Oil [2].
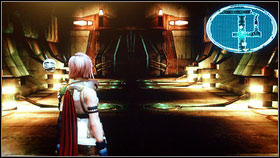 |  |
You may now return to the main road (follow the yellow arrow). After few seconds, you will get to the crossroad. Turn left to get another treasure - Rainbow Anklet [2].
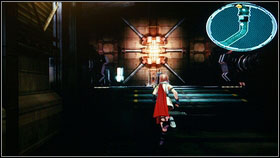
 | ![Enemies that can be found near the gate are called Skata'ne [1] [2] - Walkthrough - Chapter X - Walkthrough - Final Fantasy XIII - Game Guide and Walkthrough](/finalfantasy13/gfx/word/576832109.jpg) |
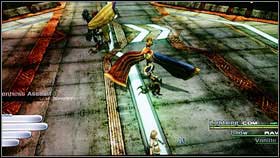
Enemies that can be found near the gate are called Skata'ne [1] [2]. They are not very difficult so kill them fast.
 |  |
After the fight jump down and fight with another opponents. Open the chest located here and take 600 gils [2].
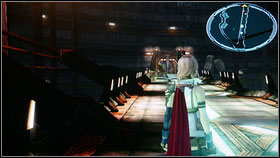 |  |
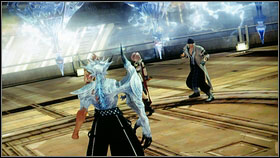
When you will get to the marked area a short cut scene will appear and then you will be transported to Hiberntorium. You will have to fight will some huge robots called Berserkers [2].
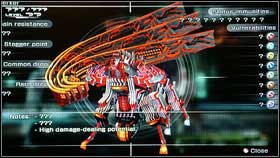
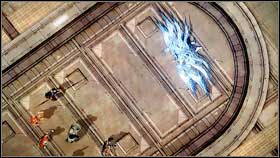
 | ![Your first target is to destroy Centurion Blade [1] - Walkthrough - Chapter X - Walkthrough - Final Fantasy XIII - Game Guide and Walkthrough](/finalfantasy13/gfx/word/576832203.jpg) |
Your first target is to destroy Centurion Blade [1]. When it will be destroyed you can attack the huge one. Battles are quite long but you will get many CP as a reward. When they will be dead use the nearby elevator [2].
 |  |
Downstairs turn right to get to the next chest. Inside, you will find Auric Amulet [2]. Now you may go in the marked direction.
 |  |
After a long trip, you will get to a huge room. In the chest located near the entrance you will find a new weapon for Hope - Alicantol. Take it and turn right. Few seconds later you will get to a chest guarded by a Behemoth [2]. Inside you will find 7x Gargantuan Claws.
 |  |
You can return to the main path now and it will lead you to the next tunnel full of monsters. Go to the upper right area of this location and open the chest with Metal Armband. Then save the game and get to the yellow point.
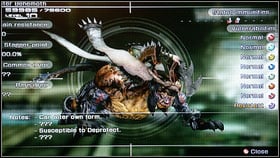
 | ![Now it time to fight with Cid Raines [1] [2] - Walkthrough - Chapter X - Walkthrough - Final Fantasy XIII - Game Guide and Walkthrough](/finalfantasy13/gfx/word/576832328.jpg) |
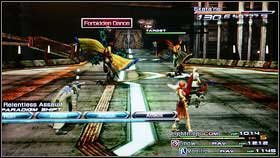
Now it time to fight with Cid Raines [1] [2]. Start with Libra and all necessary buffs.
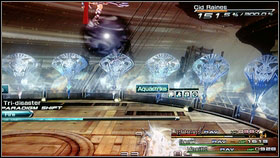 |  |
First staggering will can be processed in normal way. Charge the bar and start the fight. The second phase is more difficult. You enemy will be casting a lot of buffs and Saboteur is very important here. The most difficult thing is to hold the stagger bar on the same level and heal at the same time. Before the fight you have to change paradigm to Sentinel + Medic + Medic. Only now it will be possible to survive very strong attacks (Sentinel can be changed to Commando). The fight is very long so do not hurry. When the enemy will be staggered change paradigm to Commando + Ravager + Ravager. Now your opponent will be taking a lot of damage. After the fight you will be able to upgrade your Crystarium.
 |  |
After the cut scene, run ahead and save the game. The use the elevator to get downstairs [2].
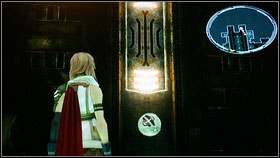
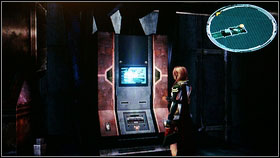
 | ![Then follow the yellow arrow and open the chest with Feymark [1] - Walkthrough - Chapter X - Walkthrough - Final Fantasy XIII - Game Guide and Walkthrough](/finalfantasy13/gfx/word/576832421.jpg) |
Then follow the yellow arrow and open the chest with Feymark [1]. Before the next elevator turn left to find another chest. Open it and take 3x Electrodes [2]. Take this items and go down.
 |  |
Soon, you will get to the crossroad. On the left you will find a chest with 2x Otherworldly Bone [2].
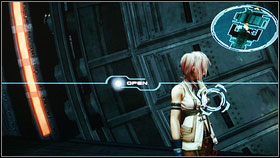 |  |
Now you can go ahead to fight with Berserkers. After the battles open the door[1] and watch the cut scene. Now this is time to fight with Bahamut [2].
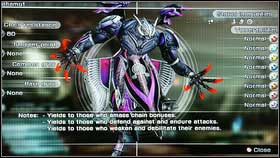 |  |
In this battle you have to use paradigm called Combat Clinic but the fight should be start with two Saboteurs and Medic. Debuff your enemy (Slow) and then change to Combat Clinic. While having the maximum HP you can change into paradigm with Ravagers but only for one round - two Eidolon attacks. As a reward you will get new summon and next ATB bar for Fang. After a short film go ahead and wait for a longer movie.