Guides & Walkthroughs New Guides Popular RPG Action Strategy Adventure YouTube Guides Mobile App

My Summer Car Guide by gamepressure.com

My Summer Car Guide

Table of Contents

Body and interior of the Satsuma car | My Summer Car My Summer Car guide, tips

Last update: 23 August 2019

This chapter of the guide to My Summer Car explains how to assembly the body of the Satsuma car. We will show you how to install the fenders, hood, bumpers, doors and bootlid. In addition, we explain how to install seats and auto upholstery elements.

Time to assembly the body elements, as well as to complete the interior of the car - Body and interior of the Satsuma car | My Summer Car - Assembling the Satsuma car - My Summer Car Guide

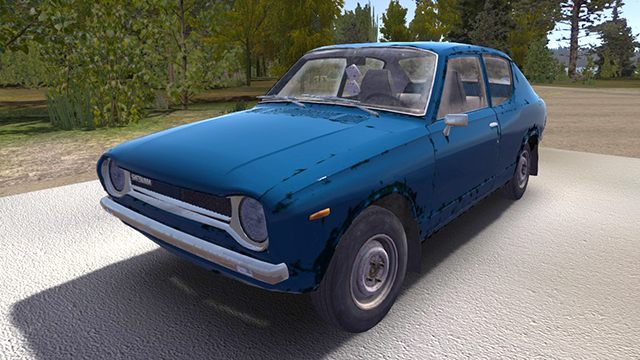
Time to assembly the body elements, as well as to complete the interior of the car. The order of installing parts doesn't matter. If you earned a large amount of money in the meantime, you can order sports parts in the workshop. If your wallet is empty, install what you have in the garage.

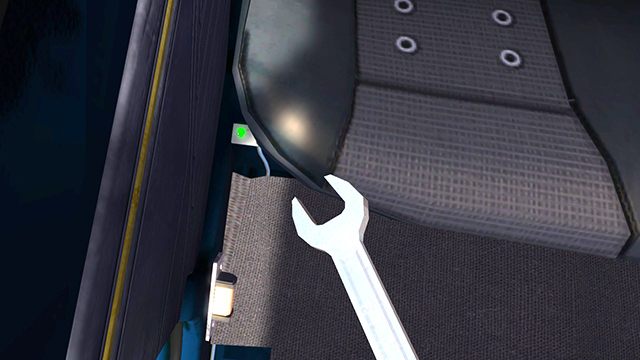
First, the SEAT REAR. It is near the entrance to the garage. The installation place is obvious. Tighten it with two 9mm bolts.

Now, two front seats - Body and interior of the Satsuma car | My Summer Car - Assembling the Satsuma car - My Summer Car Guide

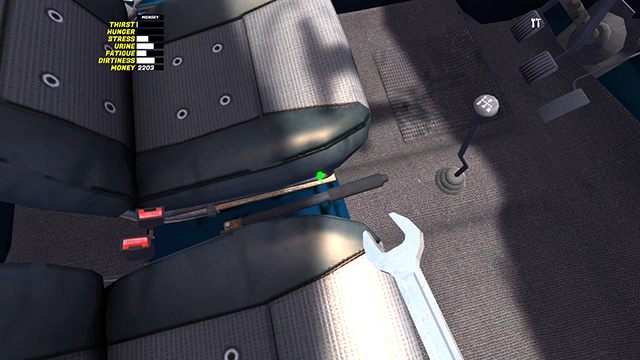
Now, two front seats. Each of them has a designated specific side, but instead of the standard left and right, we have SEAT PASSENGER and SEAT DRIVER. The one for a passenger can be reclined. They are attached with four 9mm bolts, approximately in the corners of the seat.

1 - Body and interior of the Satsuma car | My Summer Car - Assembling the Satsuma car - My Summer Car Guide
Front fenders are marked as FENDER LEFT and FENDER RIGHT - Body and interior of the Satsuma car | My Summer Car - Assembling the Satsuma car - My Summer Car Guide

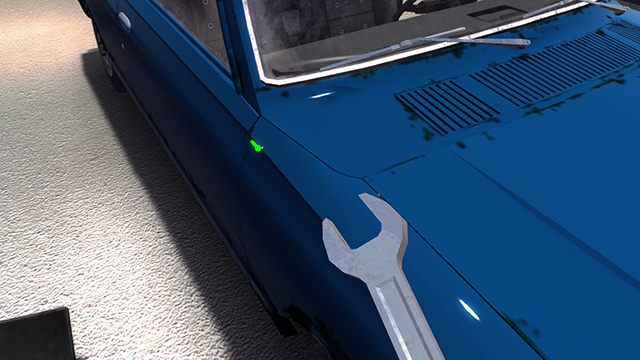
Front fenders are marked as FENDER LEFT and FENDER RIGHT. Look for five 5mm bolts near the headlight and on the top edge from the engine side.

HOOD is held by four 6mm bolts - Body and interior of the Satsuma car | My Summer Car - Assembling the Satsuma car - My Summer Car Guide

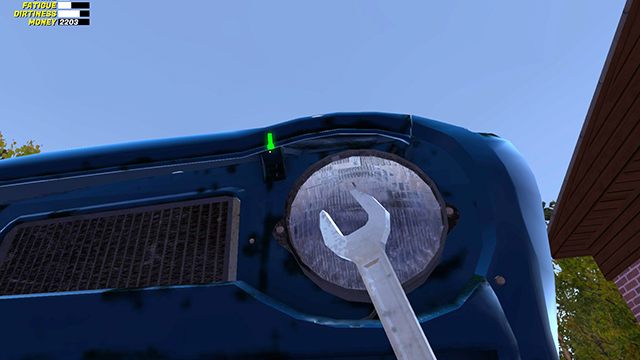
HOOD is held by four 6mm bolts. Search for them by looking from below at the front grille and headlights.

DOOR RIGHT and DOOR LEFT are attached with four 10mm bolts - Body and interior of the Satsuma car | My Summer Car - Assembling the Satsuma car - My Summer Car Guide

DOOR RIGHT and DOOR LEFT are attached with four 10mm bolts. Look for them on the hinges - they light up even when the doors are closed.

To find the BOOTLID bolts, you will have to press the Q key and go through the cars textures - Body and interior of the Satsuma car | My Summer Car - Assembling the Satsuma car - My Summer Car Guide

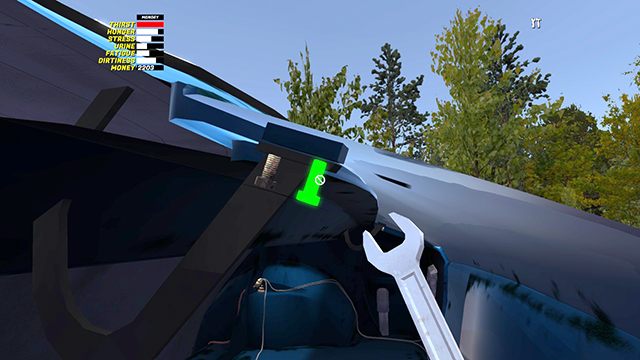
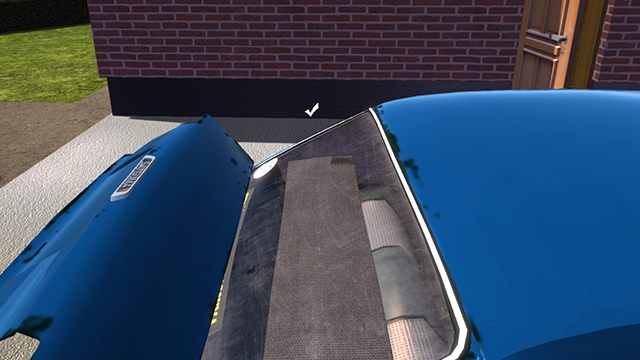
To find the BOOTLID bolts, you will have to press the Q key and go through the car's textures. The four 6mm bolts are directly under the rear glass, in the lid's hinges.

GRILLE is attached with two 6mm bolts right next to the headlights - Body and interior of the Satsuma car | My Summer Car - Assembling the Satsuma car - My Summer Car Guide

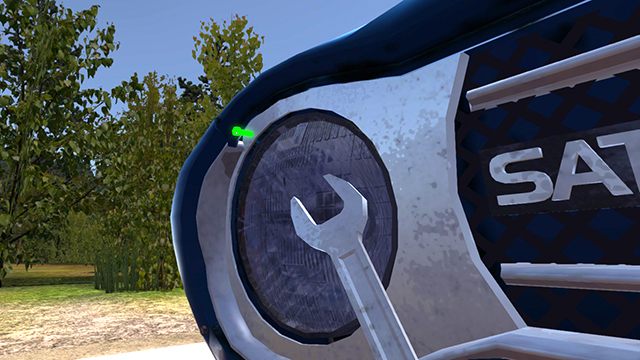
GRILLE is attached with two 6mm bolts right next to the headlights.

BUMPER FRONT and BUMPER BACK are attached with two 8mm bolts - Body and interior of the Satsuma car | My Summer Car - Assembling the Satsuma car - My Summer Car Guide

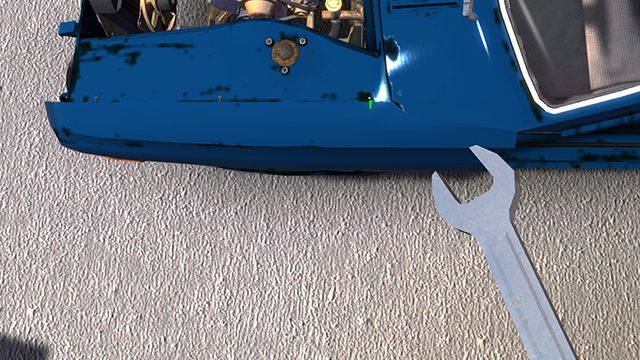
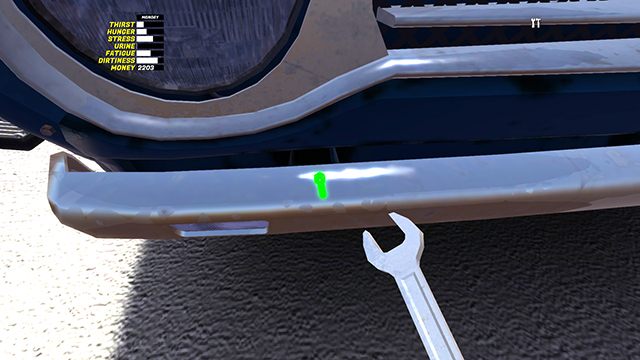
BUMPER FRONT and BUMPER BACK are attached with two 8mm bolts.

BACK PANEL is attached behind the back seats - you dont need any bolts here - Body and interior of the Satsuma car | My Summer Car - Assembling the Satsuma car - My Summer Car Guide

BACK PANEL is attached behind the back seats - you don't need any bolts here. If you haven't bought fancy speakers, choose one without holes.

Add MUDFLAPS - Body and interior of the Satsuma car | My Summer Car - Assembling the Satsuma car - My Summer Car Guide

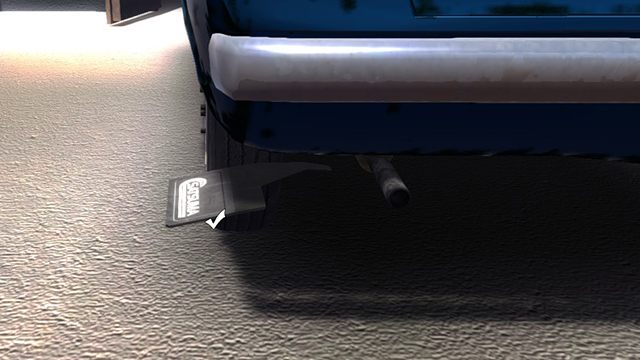
Add MUDFLAPS. They don't require any bolts but pay attention to the symbols FR (front right), FL (front left), RR (rear right), RL (rear left).

DICE are on the desk in your room - Body and interior of the Satsuma car | My Summer Car - Assembling the Satsuma car - My Summer Car Guide

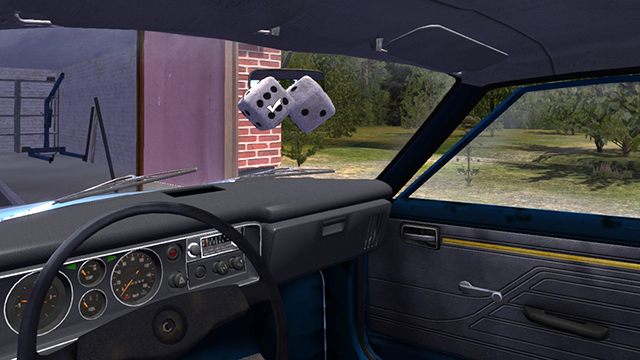
DICE are on the desk in your room. Hang them under the mirror if you like them.

2 - Body and interior of the Satsuma car | My Summer Car - Assembling the Satsuma car - My Summer Car Guide
See/Add Comments

You are not permitted to copy any image, text or info from this page.

This site is not associated with and/or endorsed by the Amistech Games or Amistech Games. All logos and images are copyrighted by their respective owners.

Copyright © 2000 - 2024 GRY-Online S.A. for gamepressure.com, unofficial game guides, walkthroughs, secrets, game tips, maps & strategies for top games.