Battery and electrical system installation of the Satsuma car | My Summer Car My Summer Car guide, tips
Last update: 23 August 2019
In this section of the guide to My Summer Car, you will find information about the battery and electrical system in the Satsuma car. We will tell you where to get the battery and how to lead the wires throughout the car. In addition, we show an accurate guide on how to connect the battery so that we don't get electrocuted.
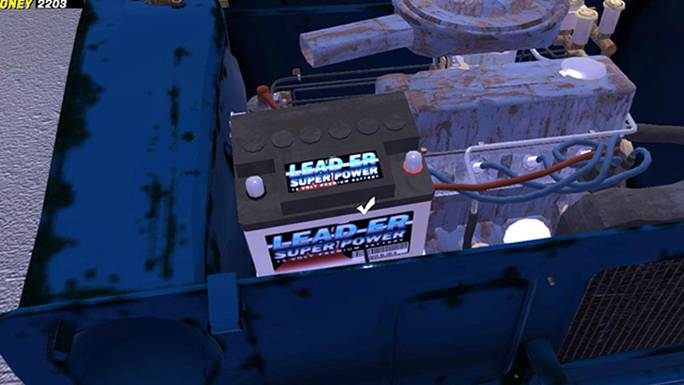
The installation of the electrical system in the car means that you are close to finishing the assembly of the car. Remember not to install the used battery from the garage. Go to the store and buy a new one. The entire installation is performed with a single WIRING MESS that you will find on the shelf in the garage.
To connect the items together, you keep moving the held wires over the desired location until you see its name. Then, you press the action key (F). You go to the second element, aim - the name and the OK symbol will appear. Press F and the connection is ready. The order doesn't matter, you can combine pairs in any order.

Note!
You can't make a bad connection. The game allows us to connect the elements only if we choose the right combination.
On this page, we provide only a list of the main elements of the car. In addition to them, there are additional tuning parts, which you can purchase during the game.
In the case of some objects, you will have to do a little bit of work to find the correct point - this means the installation may look a little different than in the picture below. For convenience, we also present a table with quick extraction of the required connections.
Main Harness Connector | <-> | Ignition Coil |
Main Harness Connector | <-> | Regulator |
Regulator | <-> | Alternator |
Main Harness Connector | <-> | Front Light Connector |
Main Harness Connector | <-> | Positive Terminal |
Positive Terminal | <-> | Starter |
Front Light Connector | <-> | Headlight Left |
Front Light Connector | <-> | Headlight Right |
First, unscrew the lower bolt of the starter with a 7mm wrench!!! | ||
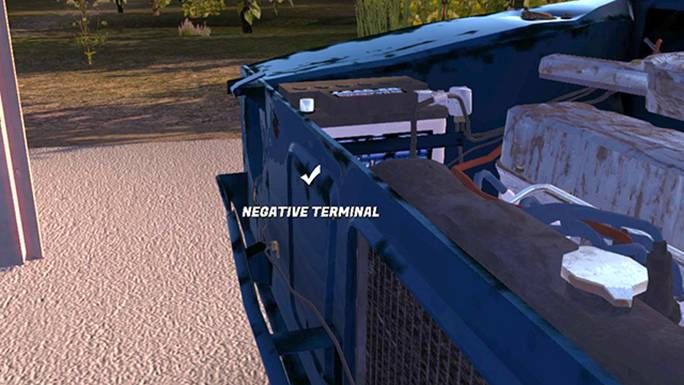
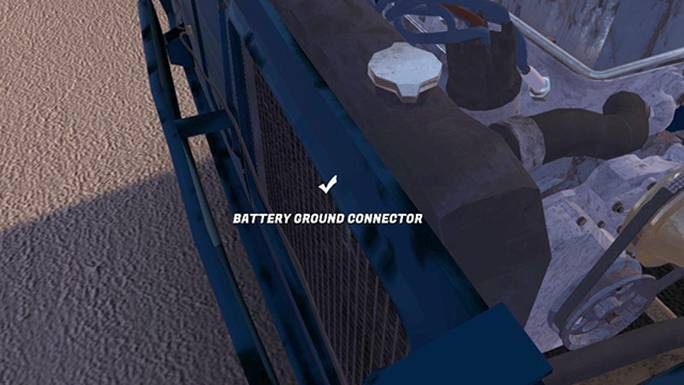
Battery Ground Connector | <-> | Negative Terminal |
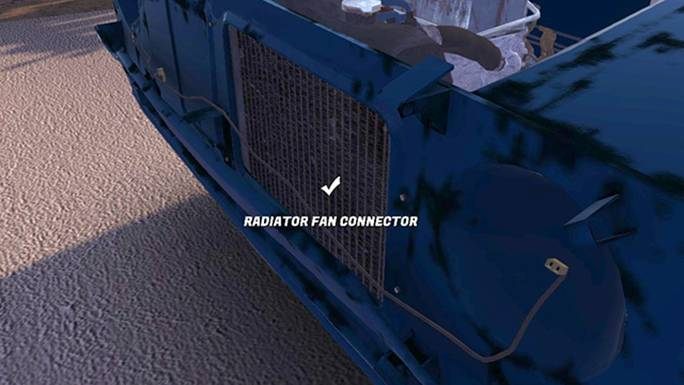
Main Harness Connector | <-> | Radiator Fan Connector |
You can already tighten the loosened 7mm bolt and a new connection near the starter - use a 5mm wrench | ||
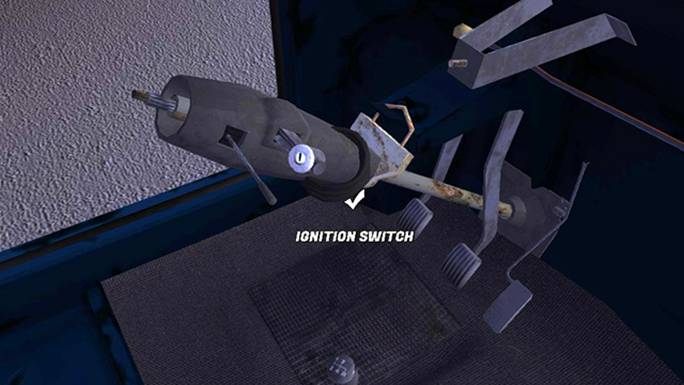
Ignition Switch | <-> | Fusebox |
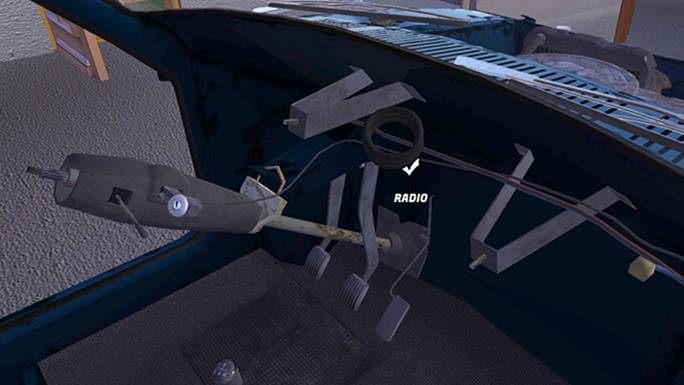
Radio Harness | <-> | Radio |
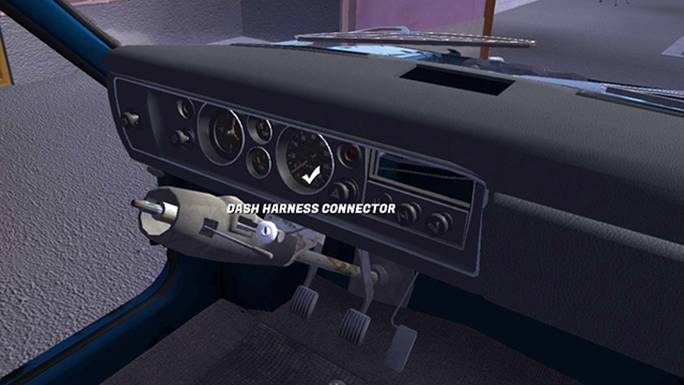
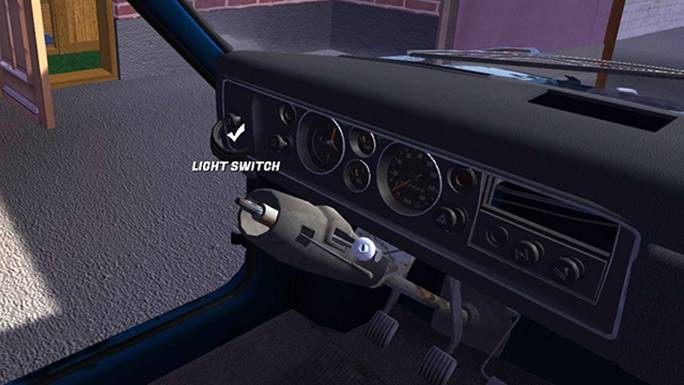
Dash Harness Connector | <-> | Light Switch |
Instrument Panel 1 | <-> | Fusebox |
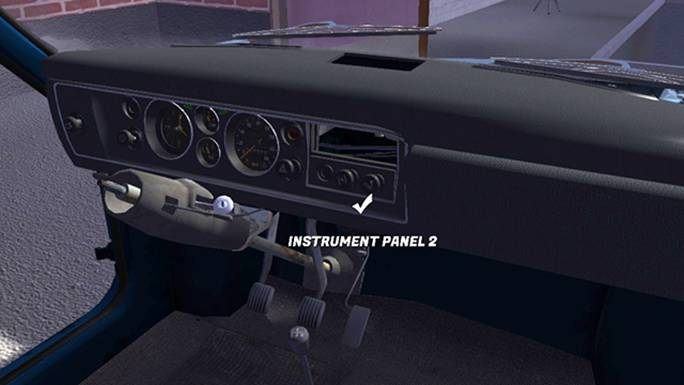
Instrument Panel 2 | <-> | Fusebox |
Rear Harness Connector | <-> | Rearlight Left |
Rear Harness Connector | <-> | Rearlight Right |
Rear Harness Connector | <-> | Fuel Tank |
First, install a new battery.
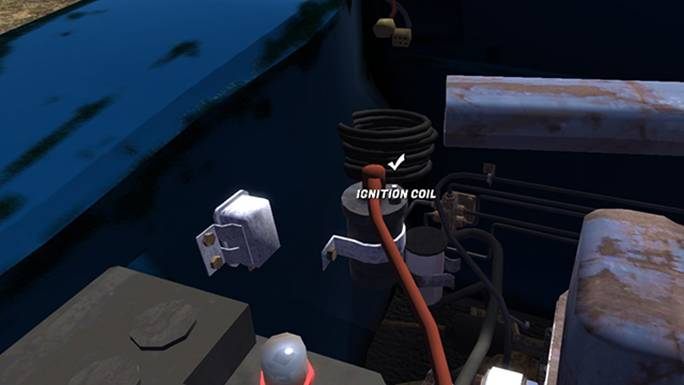
The MAIN HARNESS CONNECTOR can be found at the top of the engine compartment, on the left, when viewed from the front. The connections for other elements start here:
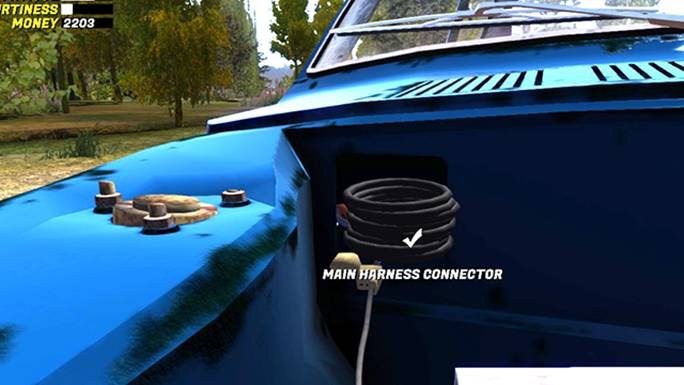
To IGNITION COIL.
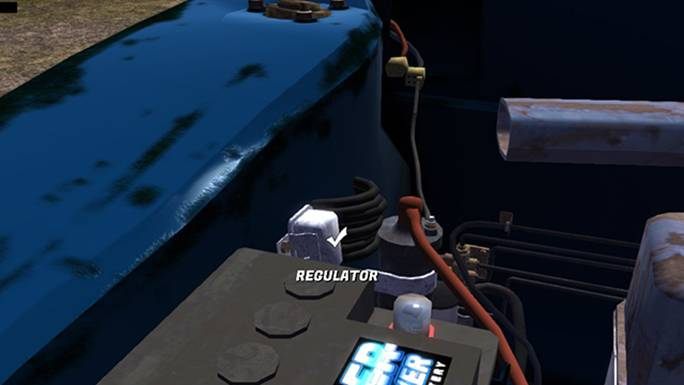
To REGULATOR.
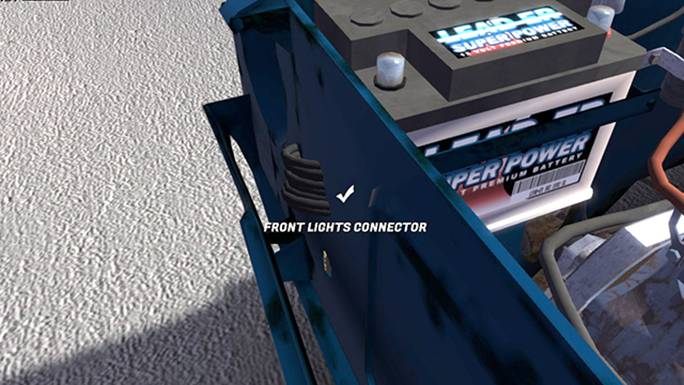
To FRONT LIGHTS CONNECTOR.
Now, connect the ALTERNATOR with the REGULATOR.

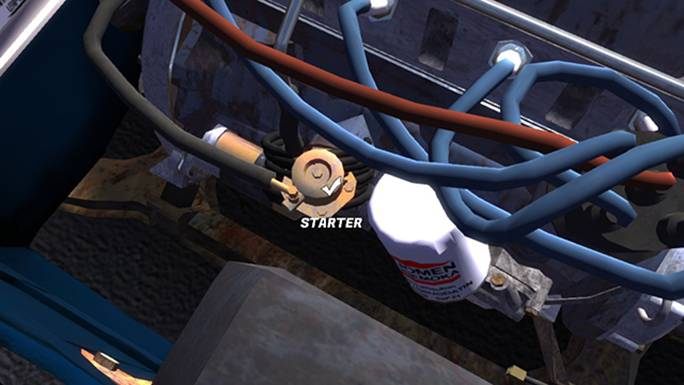
Again, start from the MAIN HARNESS CONNECTOR and go to the POSITIVE TERMINAL
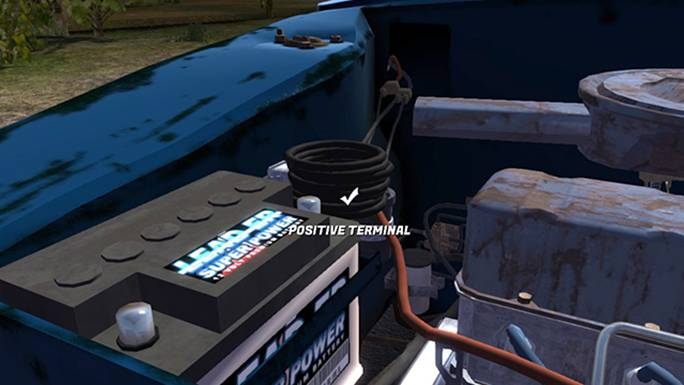
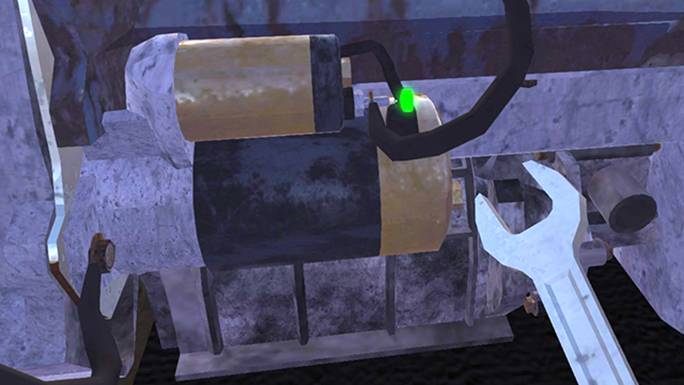
From the POSITIVE TERMINAL to the STARTER.
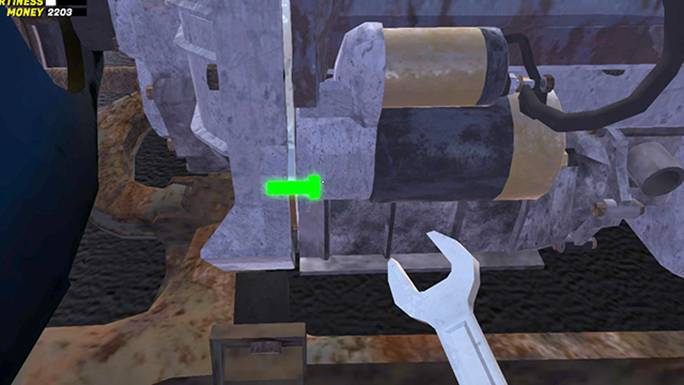
Leave the wires and take the size 7 wrench. Unscrew the two bolts of the STARTER with a few clicks of the mouse wheel.
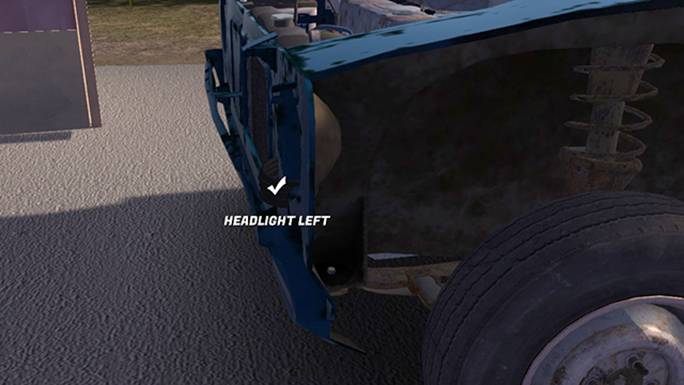
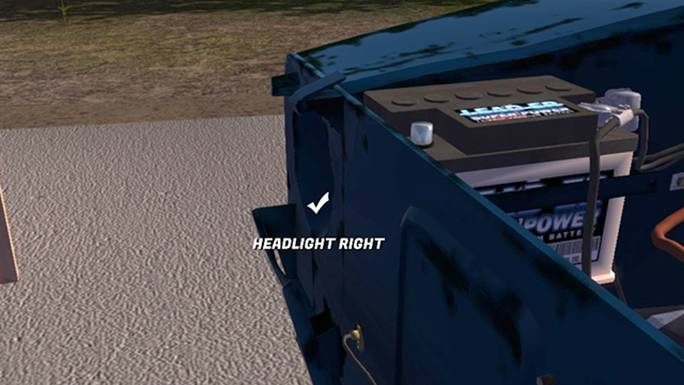
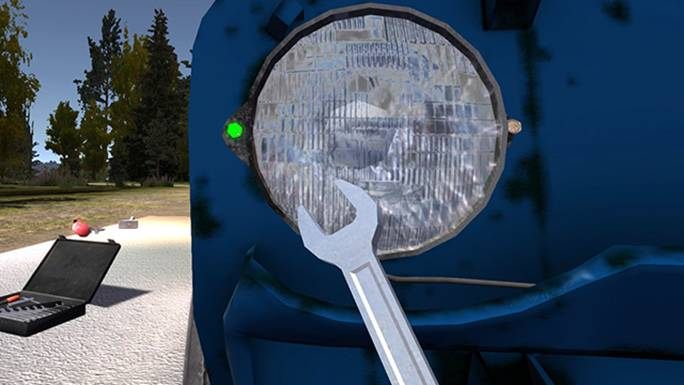
Connect FRONT LIGHTS CONNECTOR with HEADLIGHT LEFT and then with HEADLIGHT RIGHT. Lamps must be disassembled during the connection process!
Again, connect MAIN HARNESS CONNECTOR with the RADIATOR FAN.
Connect the NEGATIVE TERMINAL to the BATTERY GROUND CONNECTOR.
You can now tighten the bolts on the starter - the loosened 7mm and a new 5mm.

We are moving inside the car. There are several wires coming out of the FUSEBOX.
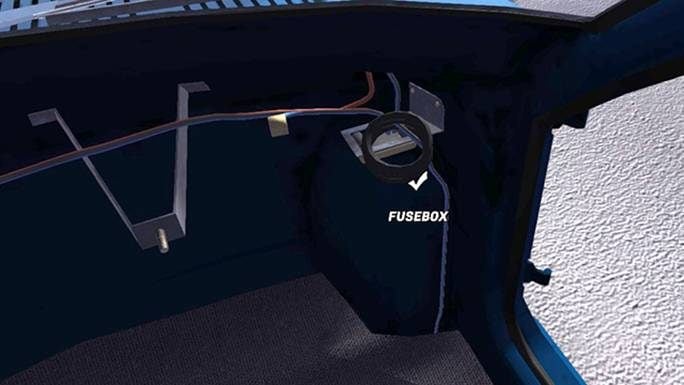
Connect them to the IGNITION SWITCH.
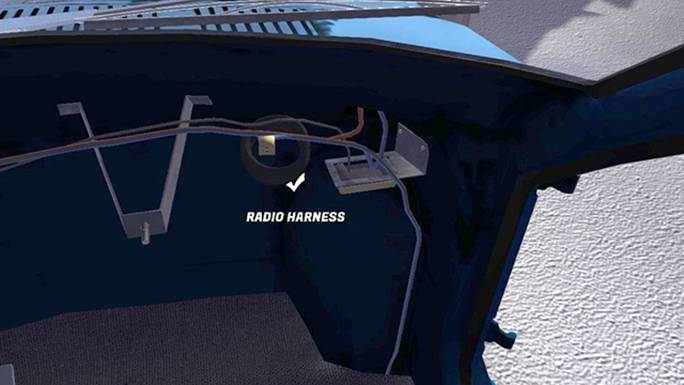
You will connect more parts to the Fusebox after mounting the dashboard. Now, connect the RADIO HARNESS with the RADIO.
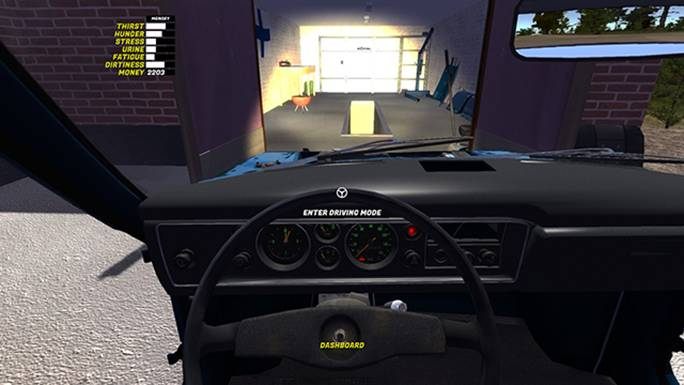
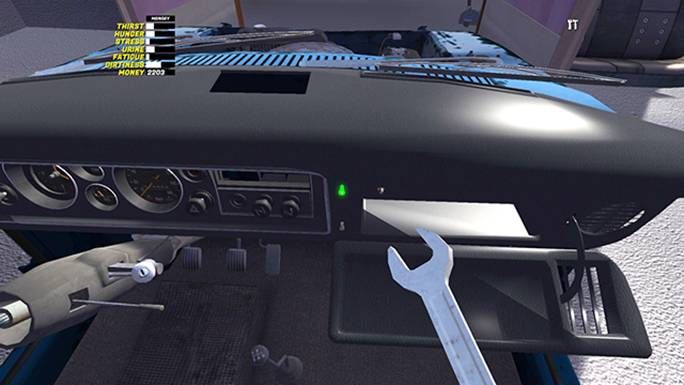
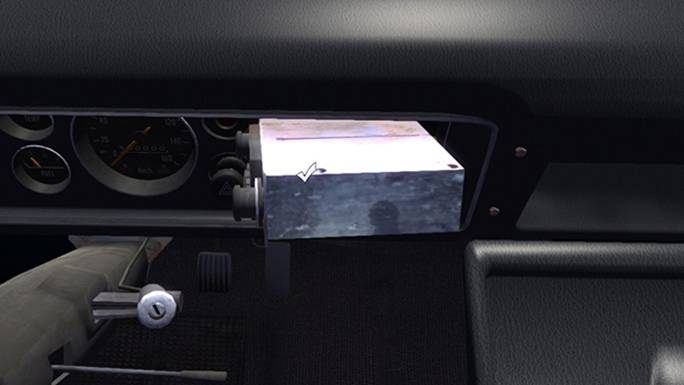
Install the DASHBOARD with two 10mm bolts. You will find another one when you open the cubby hole.
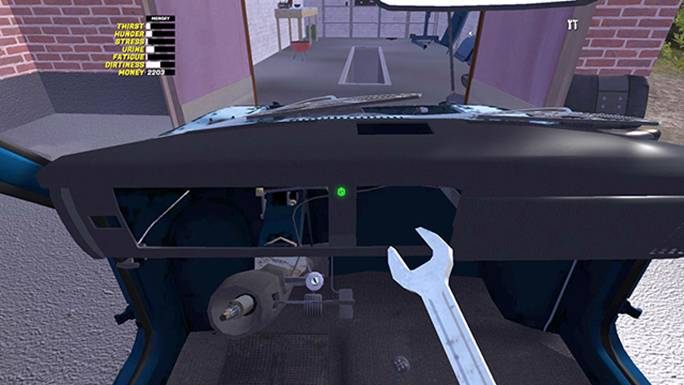
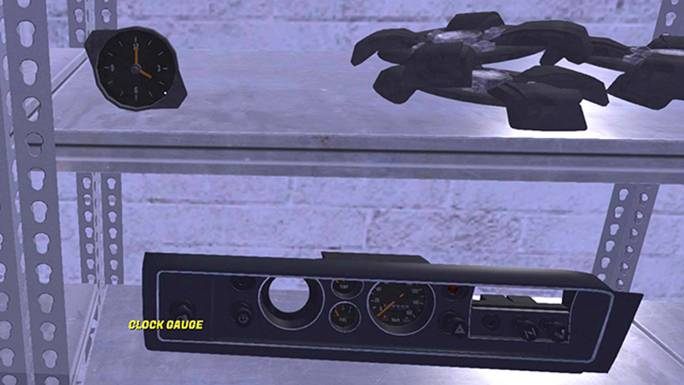
Connect the CLOCK GAUGE with the DASHBOARD METERS. Turn the set over and tighten the clock with two 7mm bolts.
Install DASHBOARD METERS in the DASHBOARD with two 6 mm bolts. You will find them in the open cubby hole.
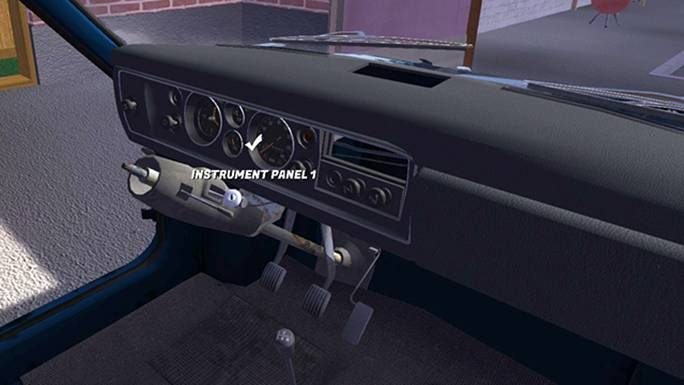
We go back to the WIRING MESS. Lead wires from the FUSEBOX to the INSTRUMENT PANEL 1 and INSTRUMENT PANEL 2.
Then, from the DASH HARNESS CONNECTOR to the LIGHT SWITCH.
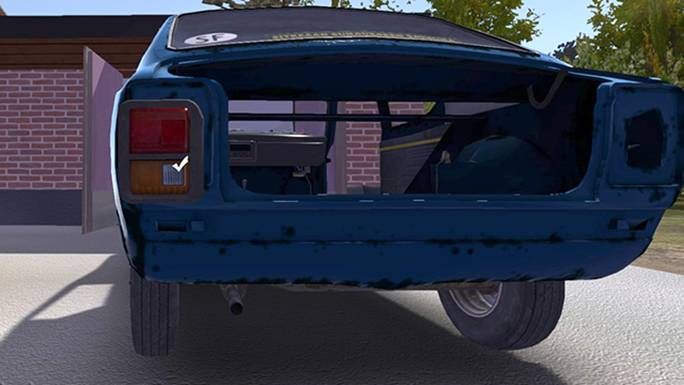
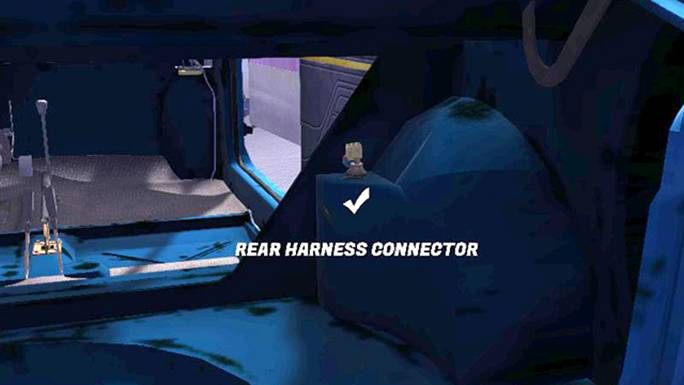
We are moving to the back. Unlike the front, we need to install the REARLIGHT before connecting the wires to them. However, you won't need any bolts. Pay attention only to the LEFT and RIGHT whether they are on the correct sides.
REAR HARNESS CONNECTOR is on the right.
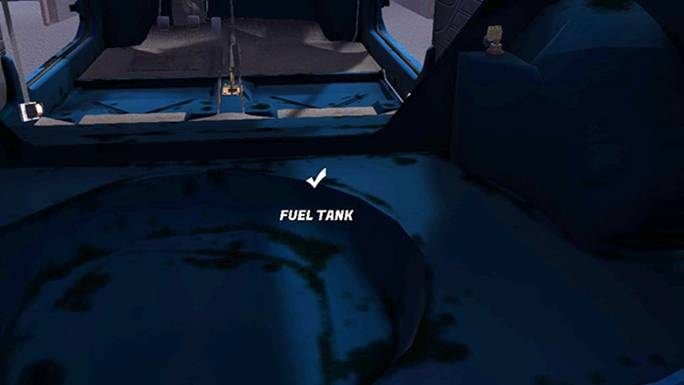
Connect it with the FUEL TANK
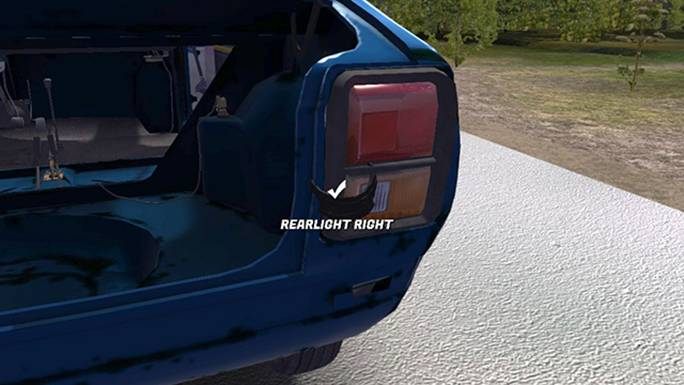
And the REARLIGHTS - left and right.
Tighten the front lights. Each of them has two 7mm bolts.
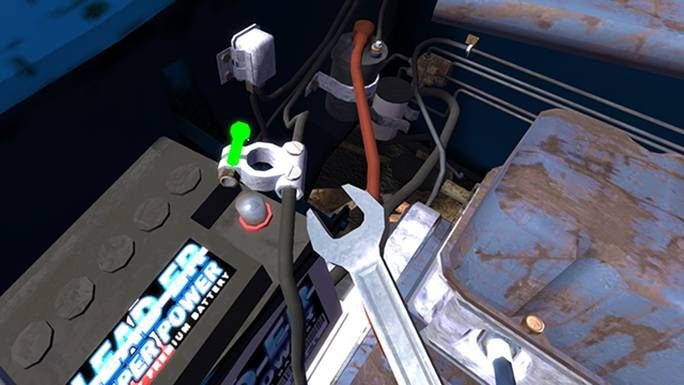
Time to connect the battery's clamp caps. First, you need to place them, and then tighten with the 8mm wrench. Remember that you always tighten the POSITIVE TERMINAL (top) as the first, and the NEGATIVE TERMINAL as the second (bottom). Otherwise, the installation can shoot sparkles or electrocute you.
Install the STEERING WHEEL with one 10mm bolt.

Lastly, install the radio (don't use any wrenches)!
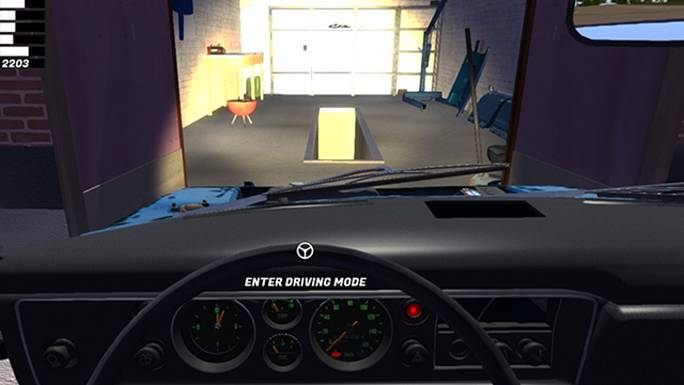
The electrical system is ready. You can ENTER DRIVING MODE and press the IGNITION once. We just want to check the electrical system - we don't have any liquid or fuel to start the engine yet. If everything is done well - the controls on the dashboard will lighten up. After switching once, the counters will start glowing. After the second switch, you will start dipped headlights. The wipers and radio will work, too.