
God of War Ragnarok: Reunion - walkthrough God of War Ragnarok guide
Reunion is the main quest in the game God of War Ragnarok, where you search for the wolf Garm. Our solo describes the crossing of Helheim - eliminating Hel warriors, puzzles with locked gates, chase scenes and escape from Garm.
Last update: 02 December 2022
Your second visit to Helheim in God of War Ragnarok takes place during the Reunion main quest. Our walkthrough explains how to find and chase Garm. You'll also learn how to solve four puzzles, during which you must open the way forward.
- Approach Ratatoskr
- Find Garm in Helheim
- Pursue Garm
- Leave Helheim
- Run!
- Return to the Mystic Gateway
- Return home to Sindri's
- Reach Freyr's Camp
Approach Ratatoskr
You'll start this quest after closing the first Hel tear and regaining control over Kratos.
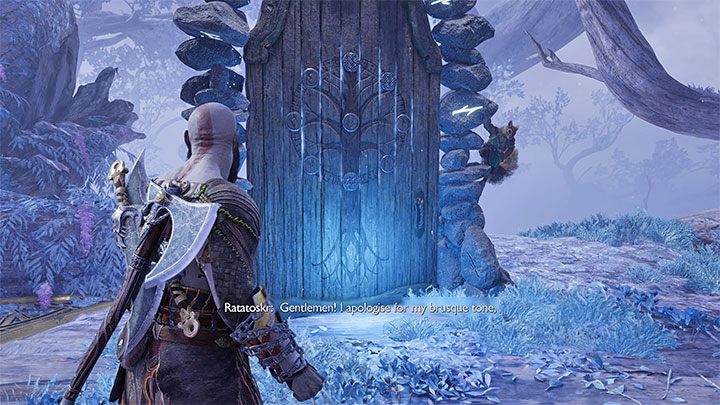
Ratatoskr is a talking squirrel you'll meet by the mystic gateway next to Sindri's Home. Listen to the conversation and use the gateway. You'll end up in the Helgrind region in Helheim.
Find Garm in Helheim
Garm will appear as soon as you reach Helheim and flee - you must reach his lair.
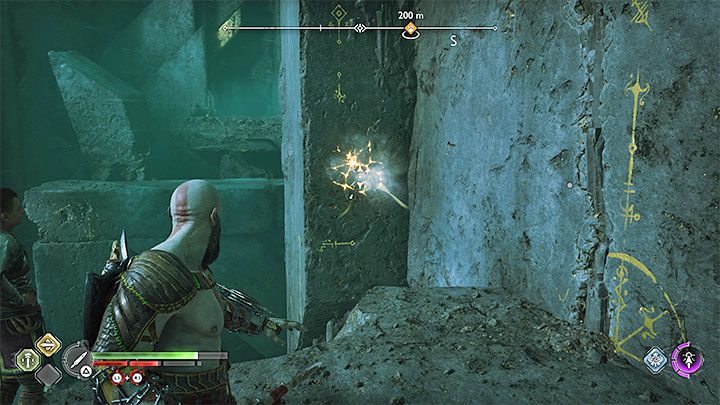
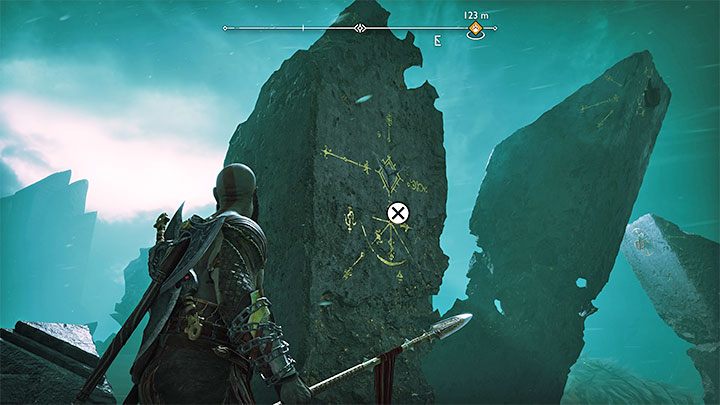
Get to where you must use the spear - throw it at a weak point in the wall and detonate it. You can now climb up. Keep reaching the subsequent ledges (one of them underneath Kratos).
When facing denizens of Hel, prioritize killing archers first (attack them from range or quickly close distance).
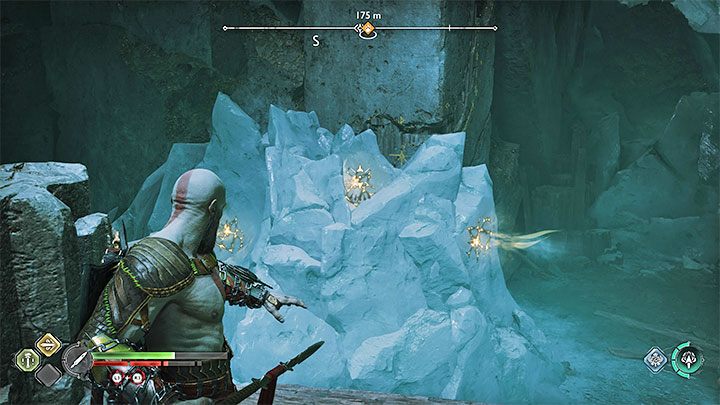
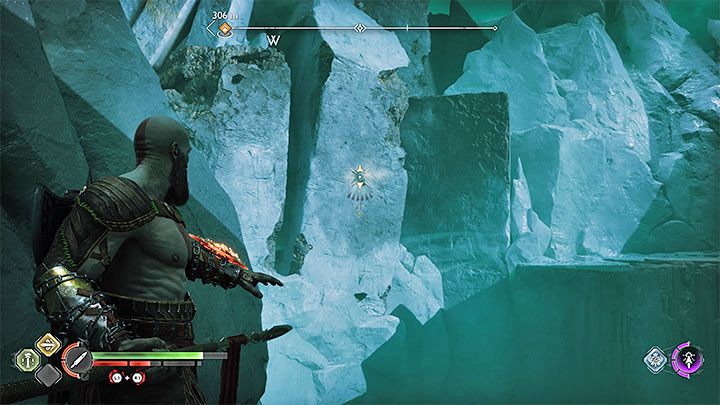
The encountered ice block is covered with weak spots (pictured above) - thrust a spear into every hole, then detonate them. You can now start climbing again.
You'll reach the Gleaming Bale region, where you'll find a new Hel tear to close.
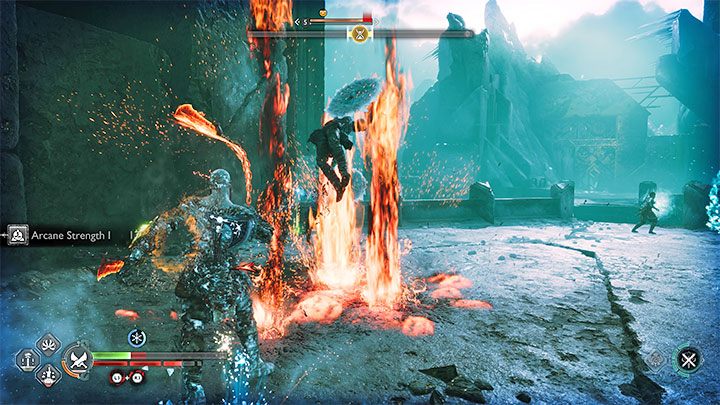
Press Square to trigger a challenging battle - AoE attacks will come in handy, as you'll be facing hordes of weaker undead.
Closing the tear unlocks the Hel to Pay favour - you must find and close five other tears.
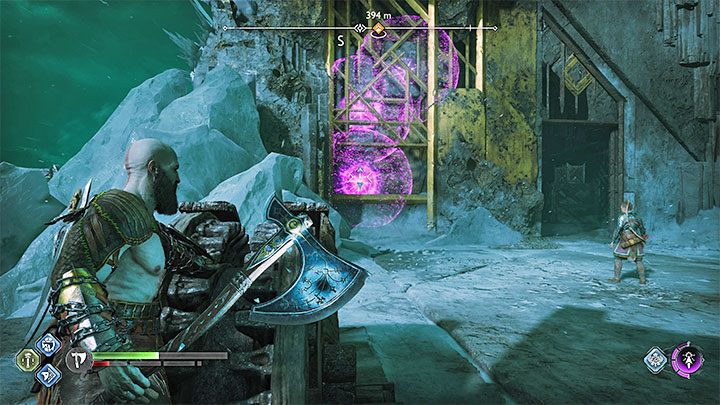
Reach the next ledge and move sideways while hanging off the edge. You'll reach the first seal puzzle:
Here's the solution:
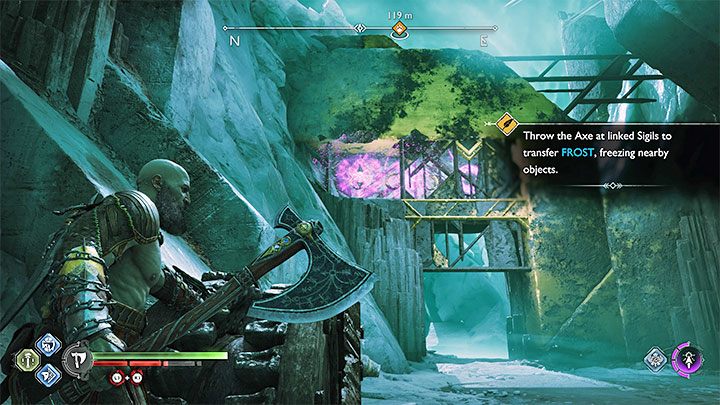
- Ask Atreus to create three seals over the gate, right next to each other, then use the mechanism to lift the gate.
- Don't let go of the mechanism - instead throw your axe at the left seal (pictured above). You'll ensure the gate will stay up.
Keep following the parth and defeat more monsters on the way. After reaching a large chasm head right. Eliminate the Hel warriors and throw your spear at the hole marked in the picture. This turns the spear into a makeshift handlebar - return to the chasm, jump across, grab the spear and swing onto the next platform from it.
Pursue Garm
Wait for Atreus to follow you and unlock an interactive hook for Kratos. After a while Garm will briefly show up at the top, while you'll have to face more undead.
Make your way through in-between some rocks and grab the upper hook. Use Blades of Chaos against blue-armored enemies to break their armor.
You'll soon encounter a mini-boss - the Hel Traveller. His attacks are sluggish, but powerful - try not to make any mistakes, you can only parry yellow attacks, red ones can only be dodged.

Stun the Traveler, then finish him off (R3). He'll leave behind a new amulet enchantment and a Chaos Flame you can use to upgrade your weapon.
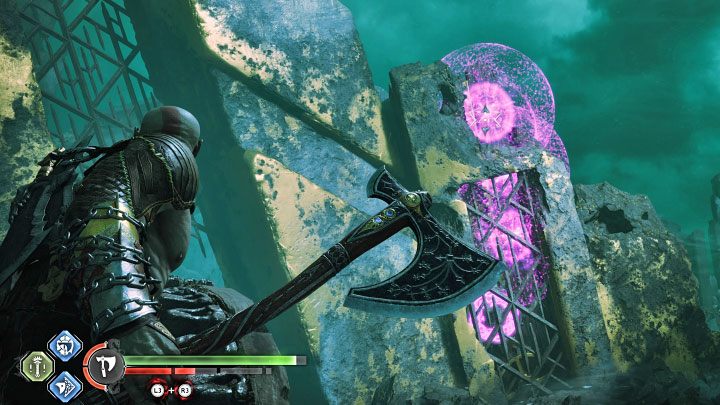
After defeating the Traveler you must solve a second seal puzzle:
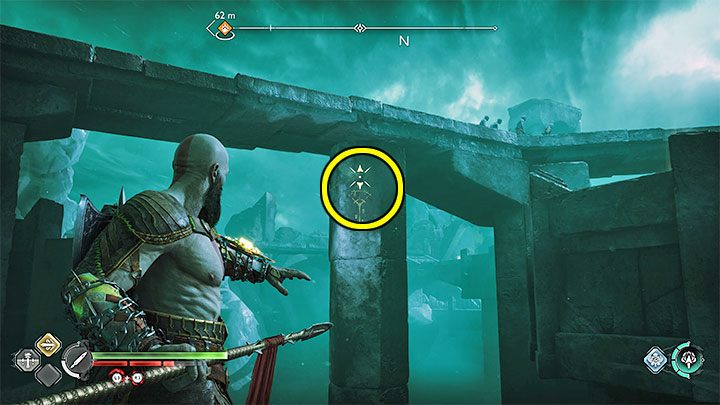
- Create three seals on the protruding object to the right (picture 1);
- Use the mechanism to the left - you'll start lowering the object to the right.
- Throw Leviathan at the top seal (picture 2) - it has to be sticking out for you to be successful (if you fail, ask Atreus to set up the seals again).
This permanently unlocks a new way forward.
Follow Atreus and defeat more enemies on the way (once again, use the Blades of Chaos to break blue armour).
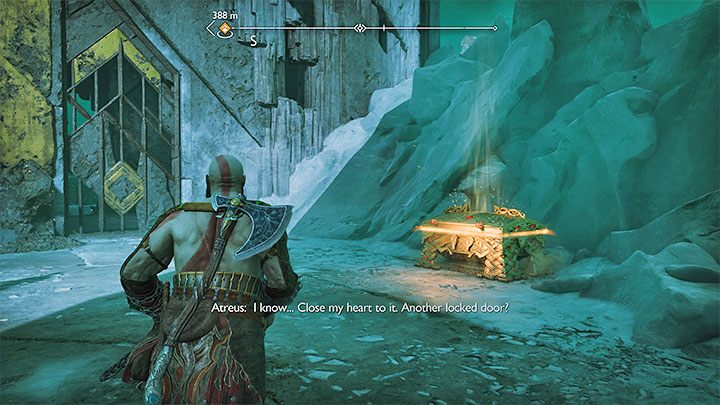
Go through a small tunnel and position yourself correctly, then throw a spear into the hole to create a handlebar. Now jump across. Loot the legendary chest and go down the narrow passage by the wall.
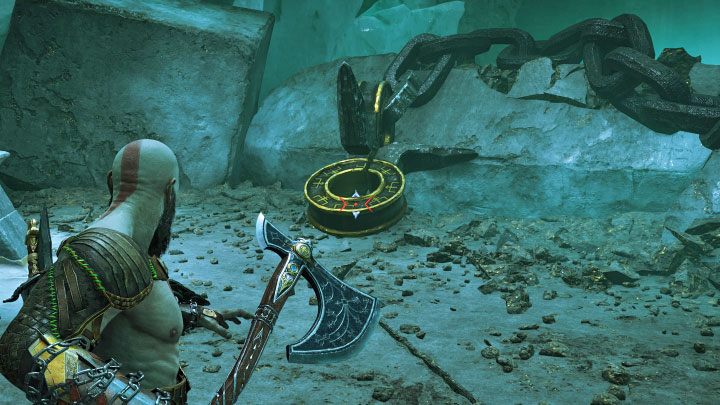
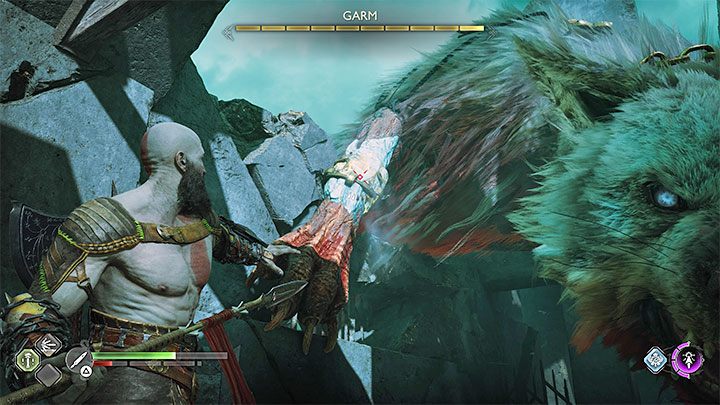
Defeat the new enemies and approach Garm. Throw the Leviathan Axe at the shackles (pictured above) to freeze them, then grab the wolf's chain (turn towards it and press X).
After the cutscene ends, keep going. Open the gate and defeat more monsters. Soon you'll have to throw the spear into a hole again. Use the newly created handlebar. At the top dispatch a large group of enemies.
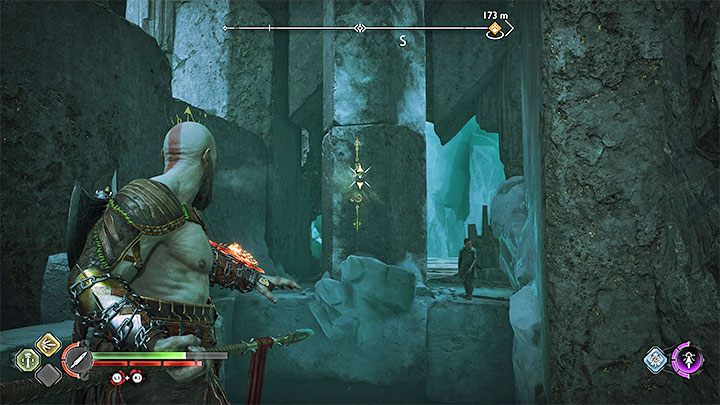
You'll reach the Silent Clearing - jump towards subsequent ledges (first one was pictured above) until you land on the boss' back.
It's time to face Garm - we've described this encounter in detail on a separate page, Garm (first battle) in the Bosses chapter.
Leave Helheim
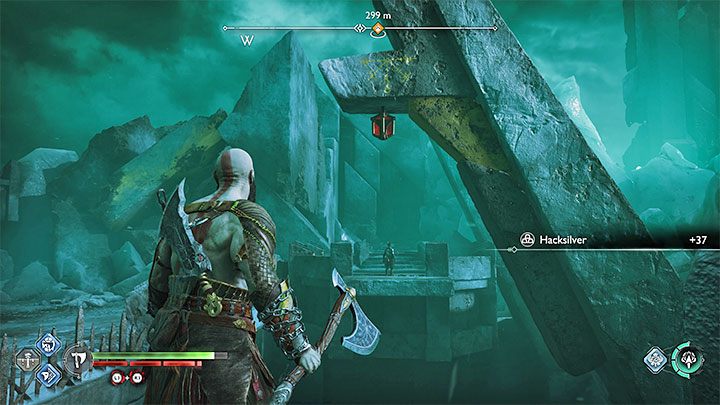
Climb the tall ledge to the south to leave the arena. We recommend looting the legendary chest on the way - it contains the Onslaught Shield (you can also buy it later at any shop for 7,500 hacksilver if you miss it here).
You must solve the third seal puzzle:
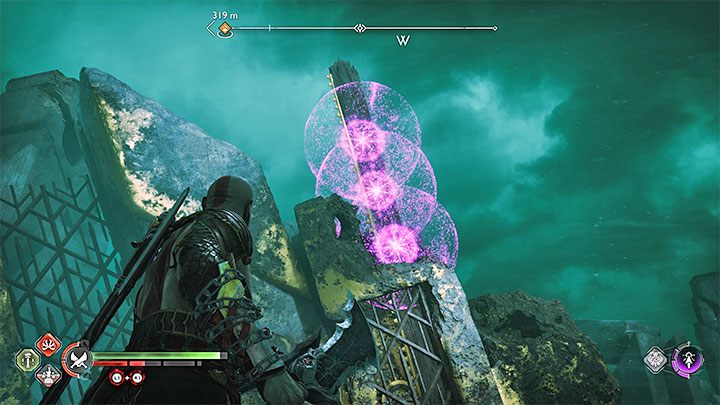
- Atreus must create three seals total on the left. Operate the mechanism while creating the seals, move it up and down, making sure the seals are away from each other.
- Throw the axe at the lowest seal (pictured above) without letting go of the mechanism.
This permanently unlocks a new way forward.
Run!
Reach the gate to the right - Garm will attack you when you try to open it, triggering a chase scene. Keep going down the only available path. We recommend ignoring the monsters you'll pass by on the way - you don't need to fight them. Remember to dodge, otherwise the legion monsters may lunge at Kratos.
You'll eventually run into the boss.Throw a spear at Garm's left shackle, then detonate it. This will get the boss off your back for a moment.

Keep running, avoiding unnecessary encounters on the way. You'll eventually reach an arena where you'll face Garm again - we've described this fight in more detail on a separate page, Garm (chase and second battle) in the Bosses chapter.
After the battle, go through a small hole to leave the arena and climb up a wall. You'll find Garm again, no longer hostile and quite friendly.
Return to the Mystic Gateway
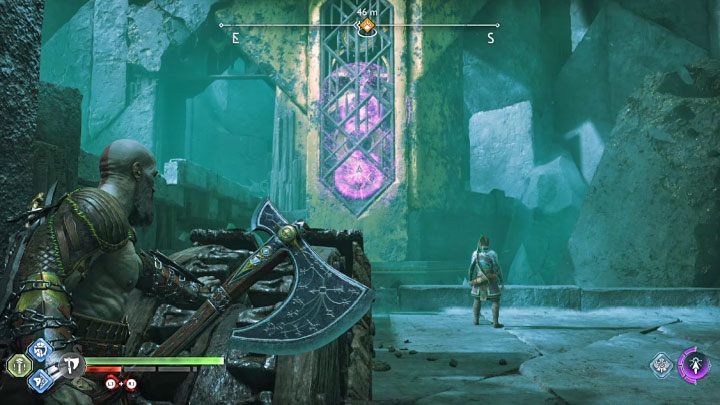
Grab onto the upper edge on the arena. You'll reach the final, fourth seal puzzle:
- Use the gate mechanism - it rotates the rings to the right as well. Ask Atreus to create new seals.
- Finally, throw the axe at the lower seal (pictured above). This should cause a chain reaction, block the mechanism and keep the gate open.
Shortly after you'll reach the mystic gateway. Remove the ice blocks by the gateway (R2).
Return home to Sindri's
Choose Sindri's Home as your destination and listen to the meeting.
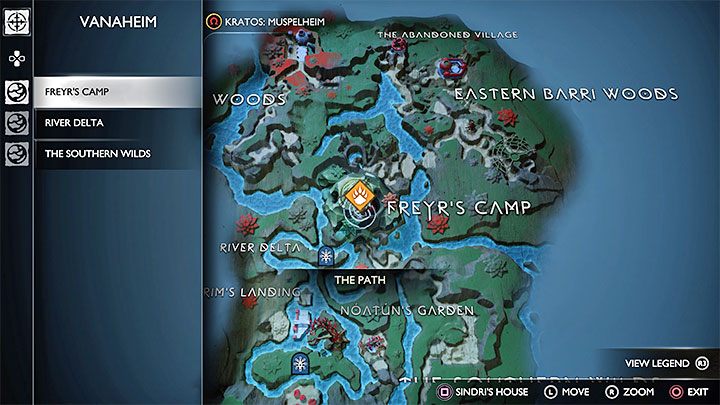
You must now use the mystic gateway again. Choose Freyr's Camp in Vanaheim as your destination.
Reach Freyr's Camp
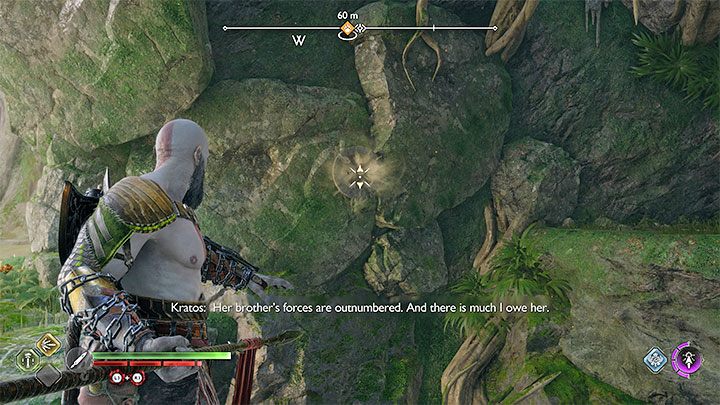
The gateway doesn't lead to the camp proper. You still have to reach it - take a boat north-east.
After reaching the shore, set out towards the camp on foot. Inside the cave thrust the spear into the hole in the wall to create a handlebar. Do the same with the next hole. Inside the camp examine the fireplace to trigger Hildisvini's appearance. Leave the camp through the north-eastern exit. Shortly after you'll unlock a new main quest - Creatures of Prophecy.