
God of War Ragnarok: The Reckoning - walkthrough God of War Ragnarok guide
The Reckoning is a main quest taking place in Vanaheim in God of War Ragnarok. Our walkthrough explains how to solve the puzzles with the damaged bridge and the seals, how to reach the source of the curse and how to cooperate with Freya.
Last update: 08 November 2022
On this page of our guide you can find a walkthrough for The Reckoning story mission of God of War Ragnarok. Our guide explains where to find the entrance to Vanaheim, where to find the source of Freya's curse, how to solve the puzzle with the broken bridge, how to solve the puzzles involving sigil arrows, how to return to Freyr's camp, and how to leave Vanaheim.
- Meet Brok At The Mystic Gateway
- Locate the source of Freya's curse, and destroy it
- Continue to seek the source of Freya's binding curse
- Cross the valley to reach the watchtower
- Find A Way To Cross The Broken Bridge
- Press Onward In Search Of The Binding Curse
- Return to Freyr's camp
- Depart Freyr's camp when ready
- Check on Atreus
Meet Brok At The Mystic Gateway
This mission starts after winning the Vanadis boss encounter, which took place in the final phase of The Lost Sanctuary story mission in Midgard.
Return to the Mystic Gateway next to Kratos and Atreus' hut. Kratos, Brok, and Freya embark on a journey to Vanaheim - a newly visited world.
Locate the source of Freya's curse, and destroy it
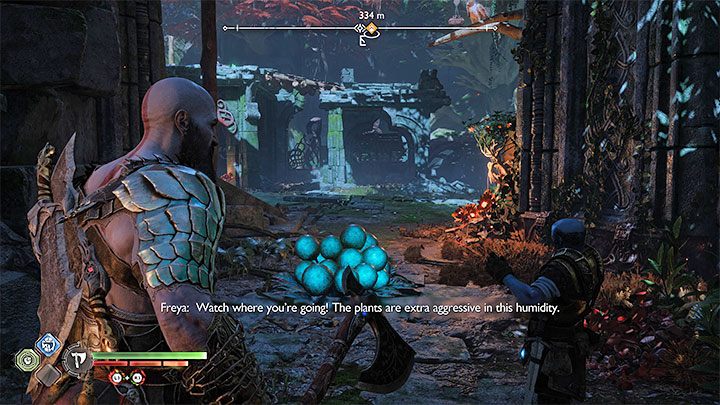
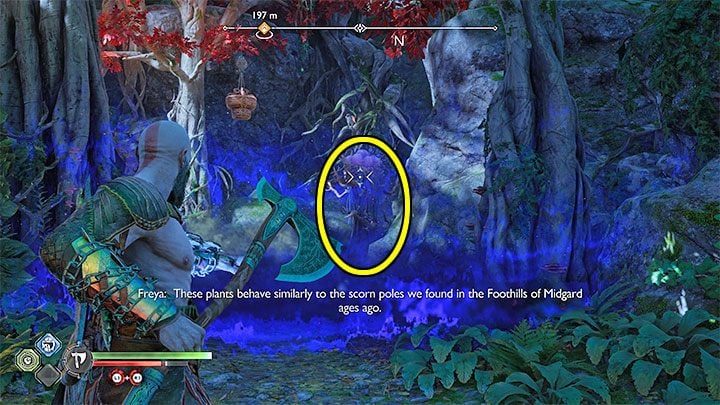
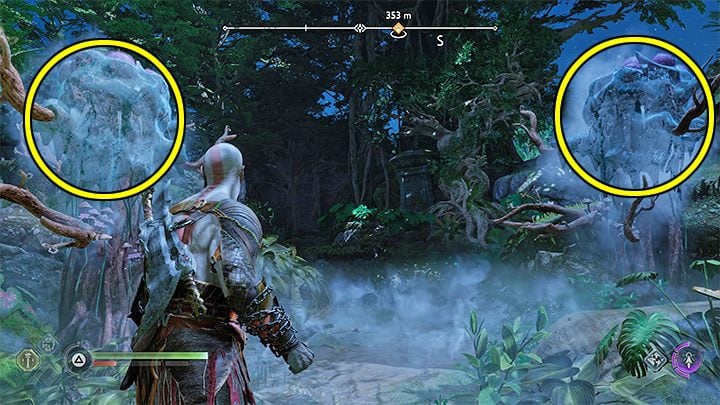
You start in The Southern Wilds region. As you explore this new area, you must watch out for round blue plants (screenshot above). Getting close to them will cause them to explode and place a negative effect on Kratos that deals damage over time.
Make sure to destroy them from a distance and explore carefully, as they are easily overlooked (they may appear on walls or ceilings).
During the first and subsequent combat sections in which Legion monsters appear (make sure to keep your distance from them) you can ask Brok for help - single press of the Square button points him to an opponent, while holding Square will stun the target.
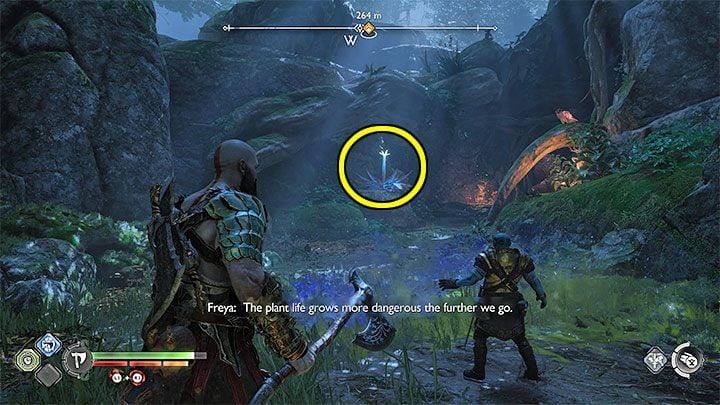
Further along the way, you'll also encounter projectile-firing plants - the first we've marked in the screenshot above. To avoid the projectile, simply dodge to a side. You can throw the axe to hit and destroy them, but this is only possible when they are open.

Along the way, the heroes will encounter Wulvers. In addition to standard attacks, be ready to quickly press X if the beast bits and starts wrestling with Kratos.
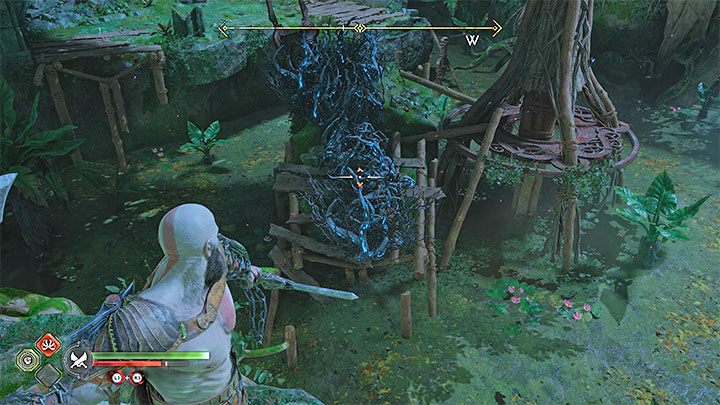
Once you reach the spiked barricade, throw the Leviathan Axe at the hook in the middle (screenshot above). Continue and you should finally reach Freyr's Camp, which is a safe location with additional allies camping there. Explore the camp (you'll also be back here later in the mission), or if you want to continue with the quest, talk to Freyr right away.
Continue to seek the source of Freya's binding curse
The exit from the camp will be marked - Kratos and Freya will embark on a new excursion.
Watch out for new exploding plants along the way forward. Further along the way, you'll encounter a mini-boss - Forest Ancient. The strategy for this confrontation can be found on a dedicated page - Forest Ancient in the Bosses chapter.
Once defeated, the Forest Ancient will leave behind a Chaos Flame, an item that can be used to upgrade Blades of Chaos.

In the next area, use the Blades of Chaos to set blackberries on fire. During the next combat sequence, you can grab trees and throw them at opponents. You will finally reach Eastern Barri Woods. Watch out for both types of plants here.
When facing Einherjar warriors, make use of the shield strike (2xL1). Moreover, avoid bifrost negative effect and take care of the archers in the battle area quickly. Here you'll also have to face the Gradungr beast, and its unique trait is that it has an orange armor bar. This means that you need to take care of its armor first - Leviathan's Axe ice attacks work best here. Only when the armor is taken care of, you can switch weapons and continue with the carnage. During the battle, try to avoid the burning effect placed by the Gradungr
Cross the valley to reach the watchtower

Follow the path laid out by the rocks and jump to nearby ledges. One of them is under Kratos (point the camera to it so that you see it) and then you have to turn the other way and grab a hanging hook (screenshot above).
In the next battle, you'll have to face Cursed Nokken for the first time - an enemy characteristic of her ability to heal allies. Pursue Nokken as she will try to hide and escape - you'll have an easier time locating her through partially visible green connections. Once Nokken is taken care of, you can go deal with the remaining monsters, who are now without healing.
Throw the Axe at the round crane button to change its position. This will allow you to use the interactive hitch. You'll reach The Abandoned Village.
During the next clash with Einherjar warriors, make use of the Death From Above attack which can be activated when hanging from hitches. Once the battle is won, find the chain and pull it until the gate is fully open (letting go of it earlier will shut down the gate).
The next area is filled with poisonous blue air - do not enter the fumes, as Kratos will quickly lose health and die. To clear the area, you need to throw the axe at the plant that emits the poison - we've marked it in the screenshot. Run to the other side and only then call the Leviathan. Pull the encountered chain to unfurl the rope and use it to descend. Follow the path laid out by the ledges - grab them with blades if needed.
Find A Way To Cross The Broken Bridge
There is a broken bridge ahead, and unlocking the way forward involves a puzzle - your task is to reach the path seen in the distance.
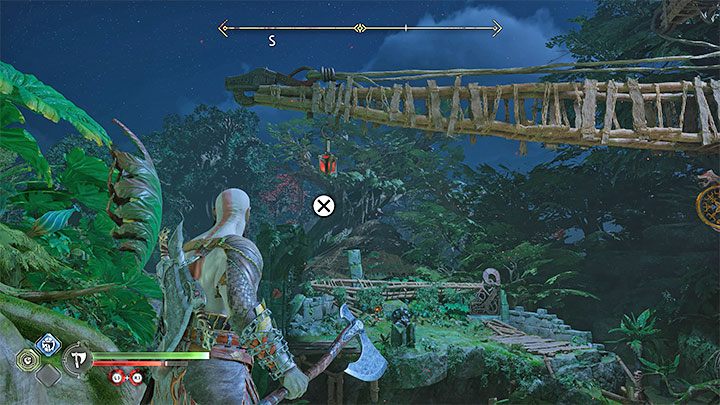
Go to the left, look down, and set the vines on fire using Blades of Chaos (screenshot above). This will unlock a burning hanging basket.
Turn towards the crane's mechanism and throw the axe at the shield on the right. This will rotate it by 90 degrees. An interactive hitch (screenshot above) will appear in front of you, and you can use it to reach a distant ledge.
After landing on the shelf, turn towards the crane again. Once again, throw the axe at the shield on the right.
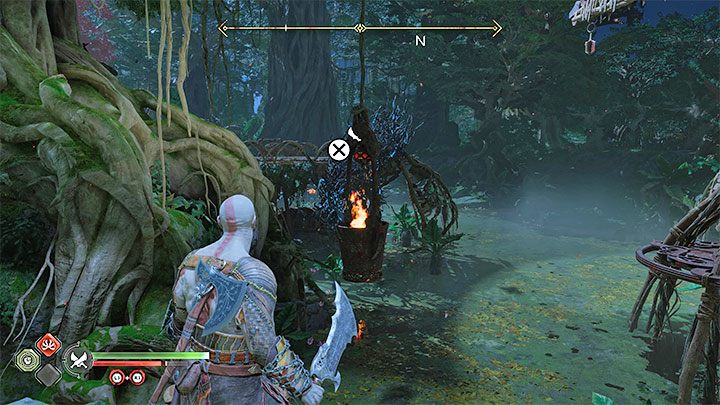
Wait until the crane stops - you should see a burning basket in front of you, and vines behind it. Grab the basket with Blades of Chaos (screenshot above) and rock it so the nearby vines are set on fire.
Time to wrap up - hit the shield on the left with the axe so that an interactive hook appears in front of you. Return to the starting point and throw the axe at the shield on the right. The hitch will appear in front of you - use it to reach a new path.
Press Onward In Search Of The Binding Curse
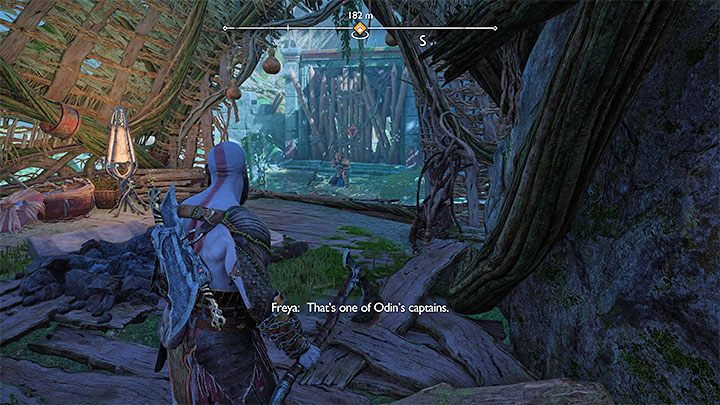
You'll reach a narrrow pathway. Behind it you'll come across Fiske - a boss who is one of Odin's captains. We described the fight with this elite enemy in detail on the Fiske page in the Bosses chapter.
Once defeated, the boss leaves behind, among others, a relic. Use Blades of Chaos to destroy the gate and unlock a way out from the boss arena.
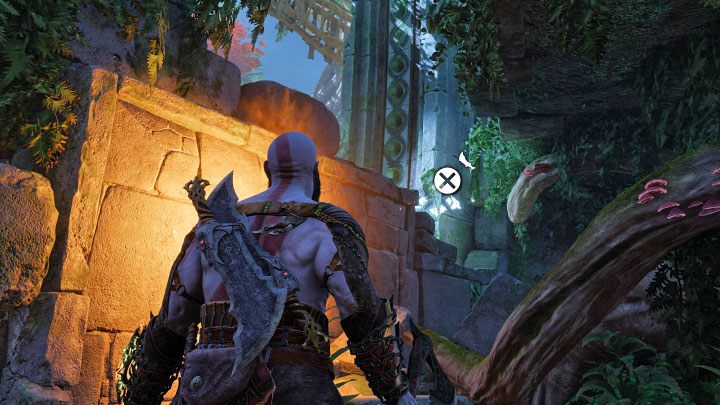
On the way to the ruins, watch out for additional plants. You can use the Blades of Chaos at the spot in the picture, and this will unlock access to shields that you can throw the Leviathan at. Use the hitch and complete a climbing sequence.

Reach the gate. Behind it a boss battle against Nidhogg the giant snake awaits you. We described the fight with this creature in more detail on the Nidhogg page in the Bosses chapter.
The defeated Nidhogg leaves behind, among other things, a Frozen Flame, an item that can be used to upgrade the Leviathan Axe. Another major reward is a special amulet. You can store spells in it that offer various bonuses to Kratos' stats (the first received spell improves ranged damage). By default, the amulet only has 2 spell slots, but as you progress through the game, you can buy additional ones from shops (special unique reagents are needed that are found as loot).
Return to Freyr's camp

From now on, Freya will switch to human form and accompany you during battles and puzzles.
First opportunity to use Freya's help appears instantly, as you need to destroy Red Heavy Vines shown in the screenshot. You need to ask her to use a sigil arrow. It must hit the vines. Use the Blades of Chaos on the revealed seal to make it explode, destroying the vines.
You can now use sigil arrows in combat - the damage they deal increases if the targeted opponent is frozen or set on fire.
You'll enter Western Barri Woods.
The path forward is blocked by poisonous mist caused by 2 plants. This is a problem, as hitting one plant won't disperse the fog. Ask Freya to hit the plants with sigil arrows, and finish them up with a Leviathan axe throw. Unfortunately, the plants are disabled only for a while - use the opportunity and continue forward.
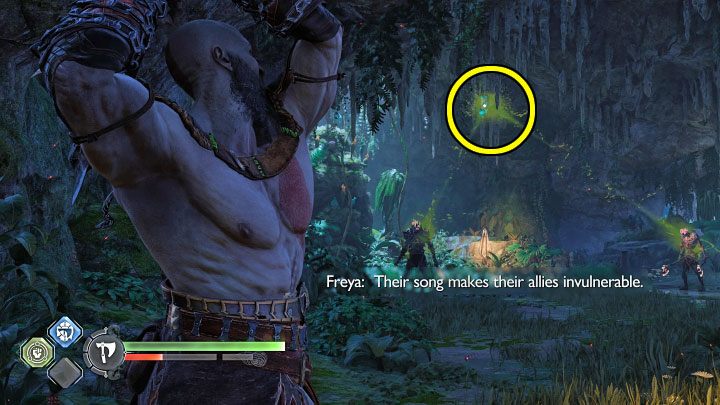
Along the way forward, you'll encounter Wisps - initially, they are immune to Kratos' attacks. You have to ask Freya to fire an arrow - this results in instant kill or sometimes you need to finish them up.
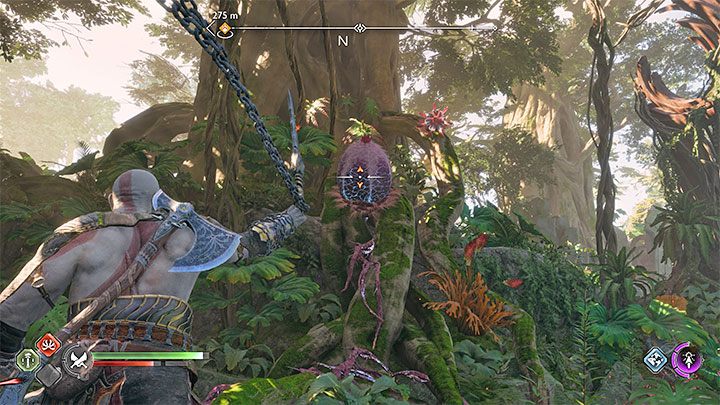
The time of day will change during the trek. This is automatic the first time it happens, but later on, there will be an option to change the time of day at will. Further ahead, you'll encounter indestructible plants - to get forward, you need to find a central egg-shaped plant and destroy it with Blades of Chaos.
During the next combat sequence, you'll learn of an ability to remove enemy shields with sigil arrows - you need to choose targets for Freya. Struck opponents are also vulnerable to elemental attacks.
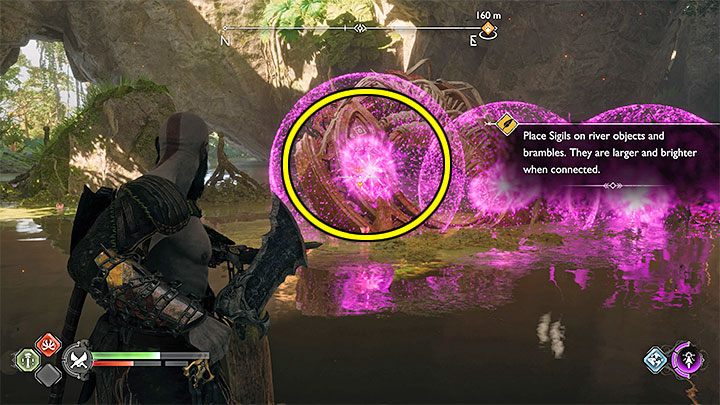
You'll come across a puzzle involving combining seals to create chain reactions.
You now need to destroy the red vines, but they are out of reach of Blades of Chaos.
Ask Freya to form 3 seals (as seen in the screenshot above) - they must interlock so that a chain reaction can take place. Hit the left seal marked in the picture with the blades . They should explode from left to right and set the vines on fire. You can now grab the hitch and reach the other side.
During the next battle, you'll learn that you can poison opponents - with sigil arrows selected, hold Square (alternative command for Freya).
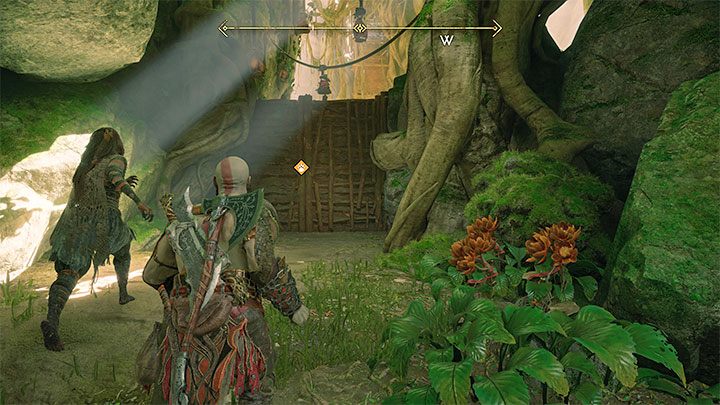
Complete a clmbing sequence. The heroes are back to Freyr's camp (screenshot above). Make sure that Mimir accompanies you. You can unlock new side quests by talking to Lunda and Byggvir.
Depart Freyr's camp when ready
The new destination leads through a tight passage near the rocks. Along the way to the Mystic Gateway, you'll receive a tutorial on managing Freya's equipment and skills. You can switch between Kratos and Freya in the inventory window (L1 and R1 buttons). She also has her own skill tree.
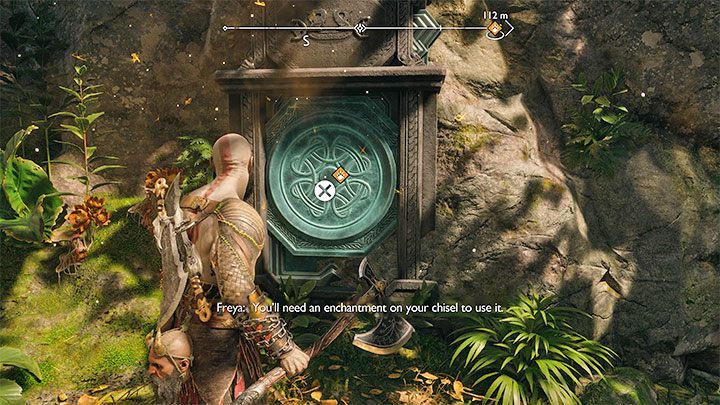
You'll reach a secret passage shown in the screenshot - now that you're with Freya, you can interact with it. Create a runic inscription and ask Freya to interact (Square).
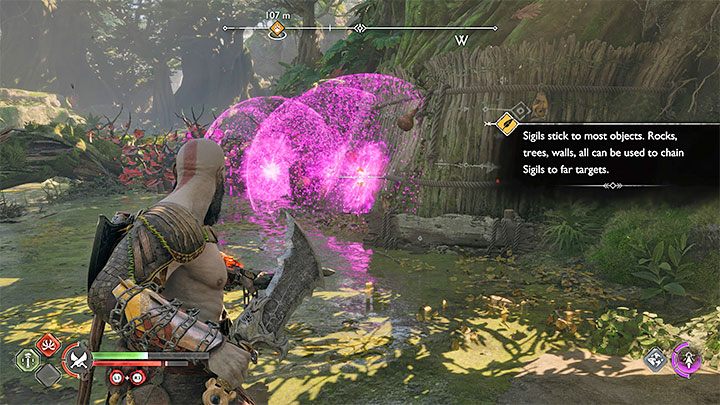
A little further down the road, you have to create a chain reaction again. Place several seals next to each other - you need to hit the nearest seal with Blades of Chaos and make them explode one by one so that the explosion reaches red vines.
Command Freya to switch to sonic arrows (directional button up). They must hit the newly revealed green object.
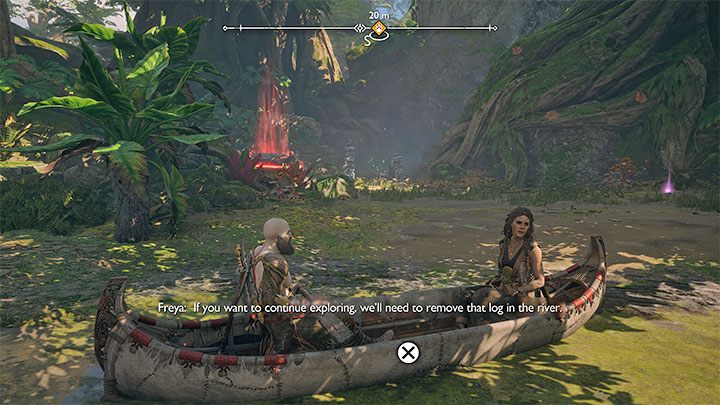
You now can use a boat. Sail to reach an area with the Mystic Gateway (screenshot) and a shop. You now have a choice:
- Go straight to the Mystic Gateway - this way you'll leave Vanaheim and return to Sindri's House and can continue with the main story.
- Continue to explore Vanaheim - you can now destroy an obstacle on the river with a sonic arrow.
Optional exploration of Vanaheim can yield more loot and unlock additional side quests (including Freya's personal quest) but you won't be able to visit all locations, and some of the monsters you'll encounter may prove difficult to defeat.
Check on Atreus
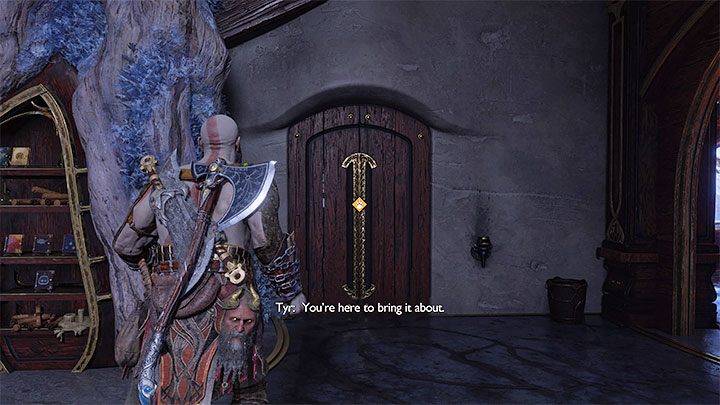
Enter Sindri's House. Go to Atreus' room (the door is marked).
After the cut-scene, you'll assume control of Atreus, beginning a new story mission - The Runaway.