
Hitman 3: Eliminate Agent Montgomery (The Leader) - Berlin, walkthrough Hitman 3 guide, walkthrough
Last update: 11 February 2021
Key points of Hitman 3 - Berlin - Important locations
Important locations
This page of the Hitman 3 game guide describes the whereabouts of Agent Montgomery - The Leader - on the map in Berlin (his identity is initially hidden). We have also provided some examples of how to assassinate Agent Montgomery.
- Agent Montgomery - where to find him?
- Light Rig (How the Turntables)
- Gun (Straight Shot)
- Meeting with the club owner (There Was a Fire Fight!)
Agent Montgomery - where to find him?
Agent Montgomery is the head of the leader of ICA agents residing on the map, although the game does not force you to kill him during every playthrough of this mission. It's just that killing him may be a little more difficult than most other agents.
Montgomery travels around the various floors of the club. You can recognize him by the fact that a "regular" security guard is following him. The latter is not an ICA agent, yet his presence makes it difficult to kill Montgomery. The target meets from time to time with agents Banner(37 on the map) and Chamberlin(47 on the map), as well as the club owner (49 on the map).
Light Rig (How the Turntables)

Agent Montgomery may die in tandem with Agent Banner in the explosion of the light rig hanging over the main hall. This is the most impressive assassination in this mission, but it also requires a lot of preparation.
Reach the central area on level -1 of the club(37 on the map). Agent Banner is there, but focus on the two technicians standing nearby(39 on the map). Use a throwable item or sabotage the fuse box to distract one of them (it should be a man). Strangle him, hide his body, put on a technician outfit, and pick up the screwdriver that the technician left behind.

With the screwdriver, go to the Light Rig Installation located next to the balcony. You can sabotage it - you will see the effect of this action only after a few minutes.

Your next task is to reach the area behind the DJ booth on level -2 (point 50 on the map). One of the DJs is staying there, and you need to get him poisoned. You can:
- Find any rat poison on the map and pour it into the food.
- Use the key you find here to open the cabinet on the wall - there will be a syringe with a sedative in it. The downside is that the DJ will lose consciousness next to other people who may notice the body.
Option 1 of the above is better, as the poisoned DJ will start to move away from the other people and can be easily killed when there is nobody around. Wear a DJ disguise.
There is also an alternative option - in case you start the mission disguised as a DJ. This way, you skip obtaining the disguise.
Enter the DJ booth (point 51 on the map) and send back the DJ who is entertaining the party guests. Interact with the console.
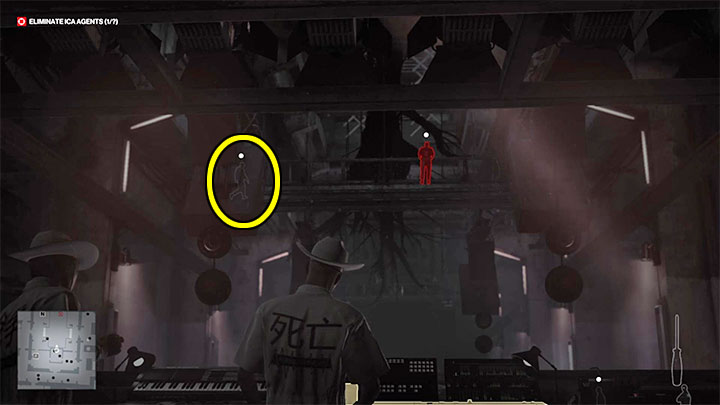
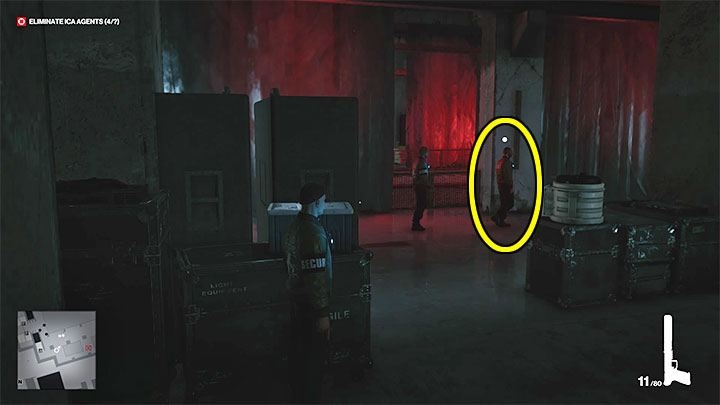
Do not use the console right away, because as a result of the sabotage, only Agent Banner would die. Observe the upper balcony. Agent Montgomery needs to get here, and unfortunately it may take a few minutes because Montgomery is patrolling a large part of the club and also has other meetings on the way. You can check the current status by turning on your instinct - Montgomery will come from the left (image above).
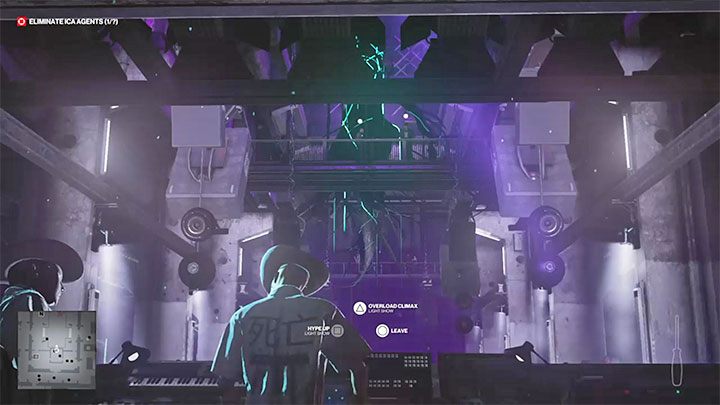
Quickly press the Hype Up Light Show key. After a moment, the second act of the Overload Climax Light Show will become available.
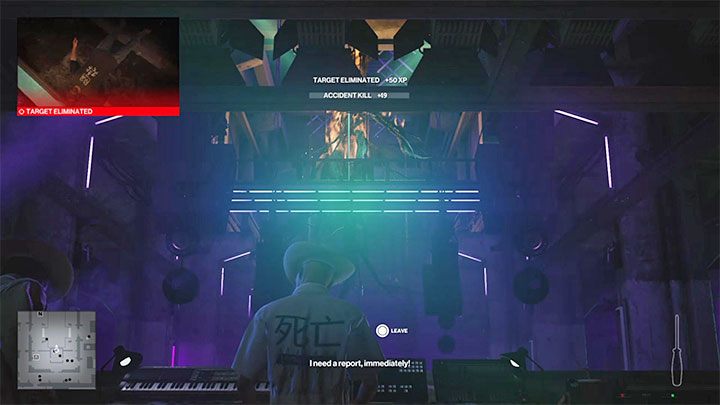
If you correctly sabotaged the light rig, it will now explode and kill Agents Montgomery and Banner. This will be classified as an accident.
Gun (Straight Shot)
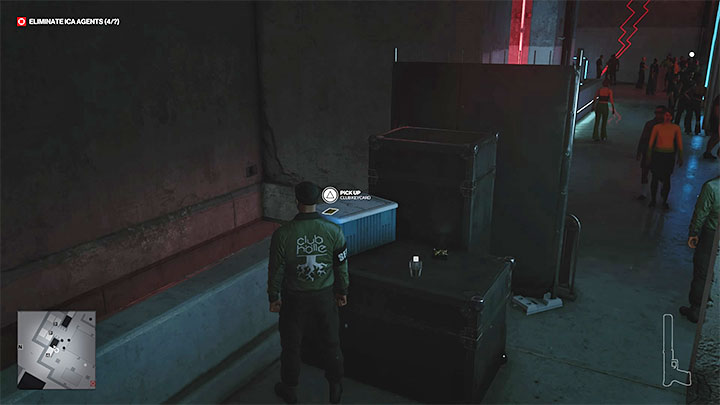
This assassination variant involves disposing of Agents Montgomery and Chamberlin in a single action. You must obtain a Club Keycard first, which will allow you to open doors with electronic locks.
Explore the area around the stairs on level -1 (point 36 on the map). A guard secures this inaccessible for the guests part of the club, so it is worth using a disguise. You will find the access card in the place as shown on the picture.
Go to the boiler room on level -2(point 47 on the map). The western door is locked, and that's where the access card comes in handy; alternatively, you can get there from the north, bypassing the surveillance room).
You have to wait until Montgomery and Chamberlin get here. Take advantage of Montgomery's bodyguard not attending the meeting and kill both agents with the pistol.
You can also use other methods, such as using a silenced machine gun taken from one of the other agents or tossing any explosive trap into the meeting place.
Meeting with the club owner (There Was a Fire Fight!)
This option is only of interest for completing one of the mission challenges. It is not very "practical" as Agent 47 will be forced to enter into direct gunfights with ICA agents. This will mean putting Agent 47 in danger and receiving a lower score at the end of the mission.
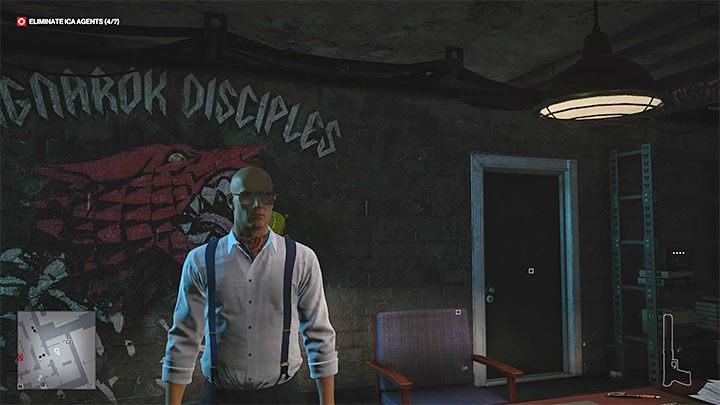
You need to infiltrate Hirschmuller's office, who is the owner of the Holle club. It is located on level -2 of the map, which is in the basement of the Holle club(49 on the map). The easiest way to get inside is from the northeast stairwell of the club (22 on the map). Just go down the stairs to the very bottom, turn right and open the right door. This will also allow you to avoid the motorcyclists guarding the nearby corridor (46 on the map). However, watch out for the camera above the door - sneak by the right wall or sabotage the surveillance beforehand (e.g. in the adjacent security room - 48 on the map).
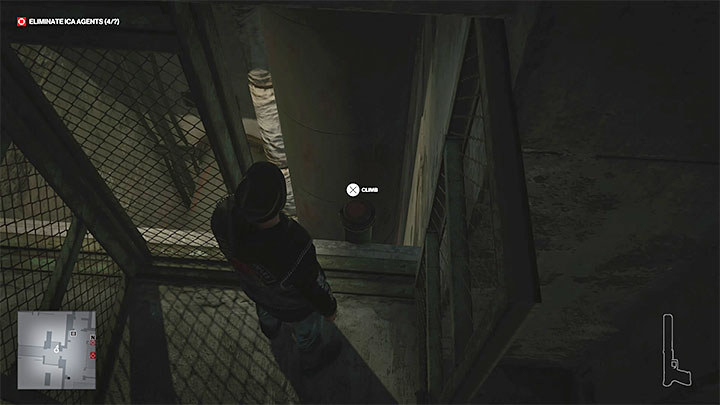
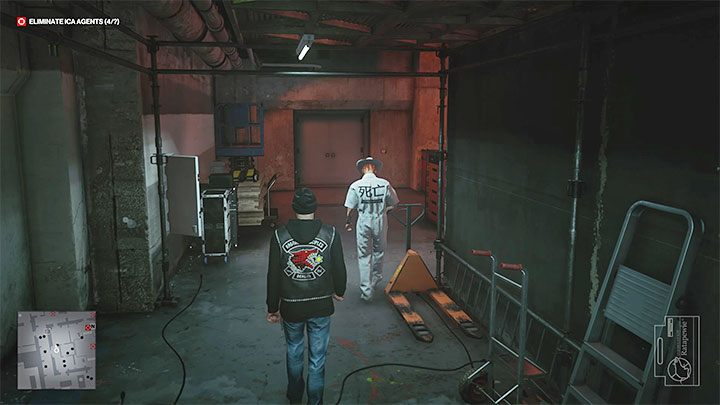
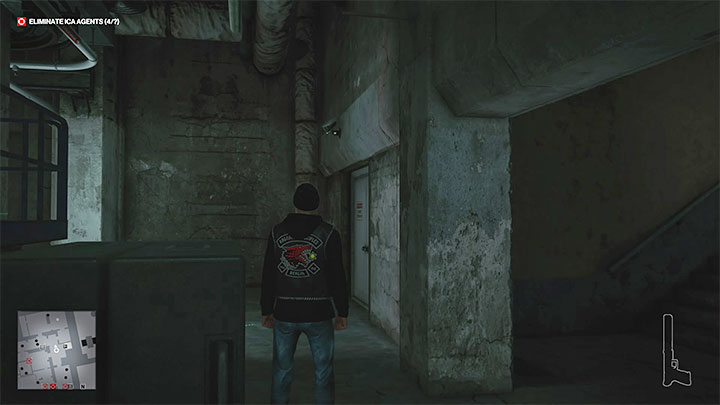
Alternatively, you can sneak into Hirschmuller's office from the tunnel on level -1 connecting the club to the biker building (38 on the map). In the location in the above picture you will find a shaft where you can go down on the pipe. You will reach a small storage room at the back of the owner's office.
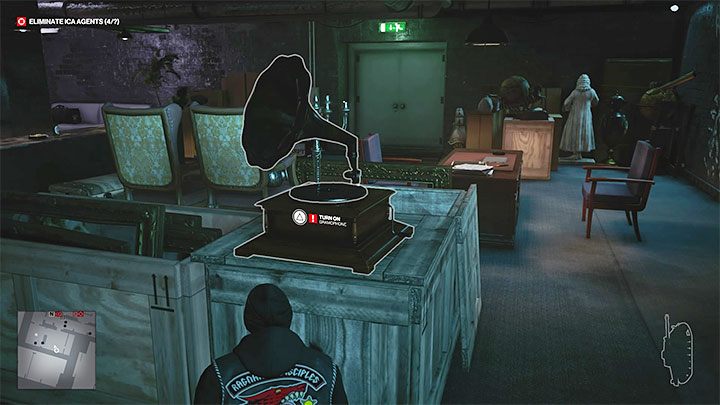
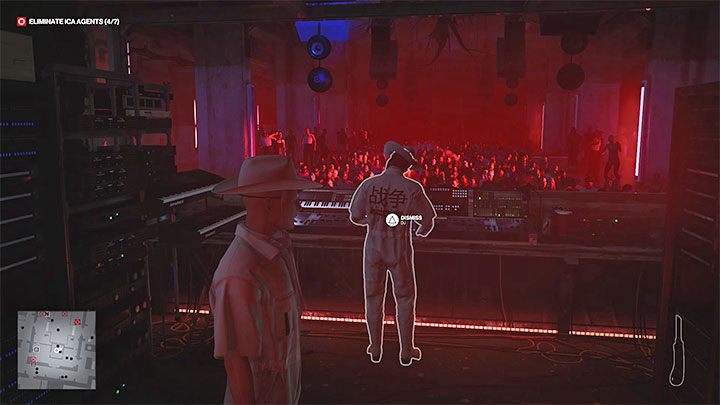
Your job is to take the identity of the club's owner in order to meet with Montgomery. The plan is to draw Hirschmuller away from the remaining opponents in the room. Locate the gramophone shown in the attached image and turn it on. After Hirschmuller enters the room, sneak attack him from behind.
Put on Hirschmuller's outfit.
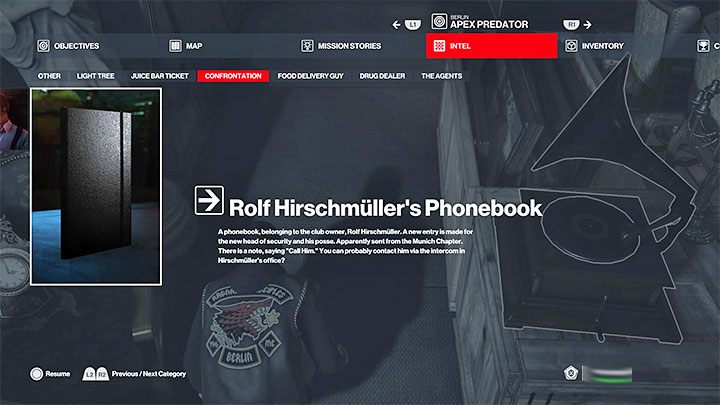
Additionally, inspect the area where you assaulted the club owner to find Rolf Hirschmuller's Phonebook. You may read its description in the inventory screen.
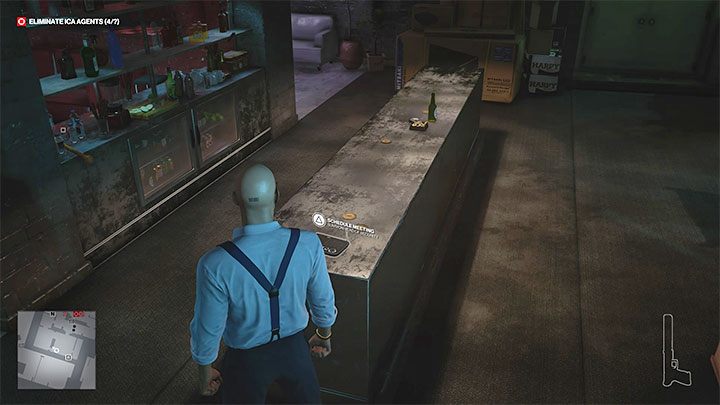
Use the office phone to call Agent Montgomery and arrange a meeting with him. You should also save your game in case the ICA agents realise that Agent 47 is pretending to be Hirschmuller.
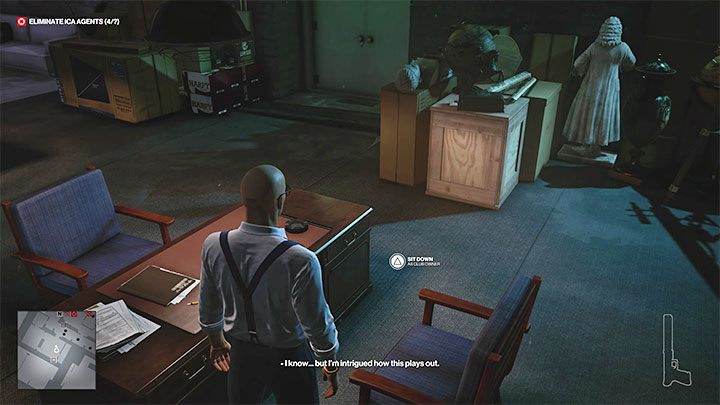
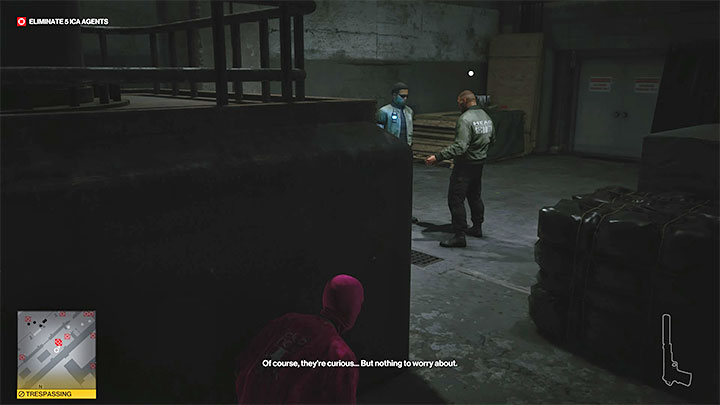
Sit in the armchair and wait for Montgomery to arrive. Other ICA agents will be on standby in the area.
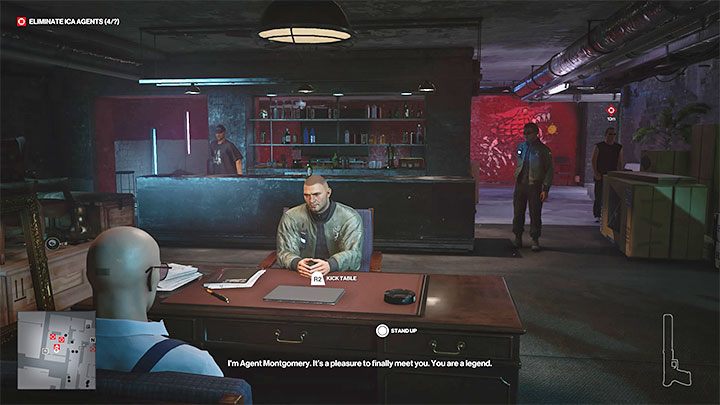
Once the conversation begins, Montgomery immediately reveals that he knows he is talking to Agent 47. Press the button to kick the table over (R2 / the right trigger on the controller).
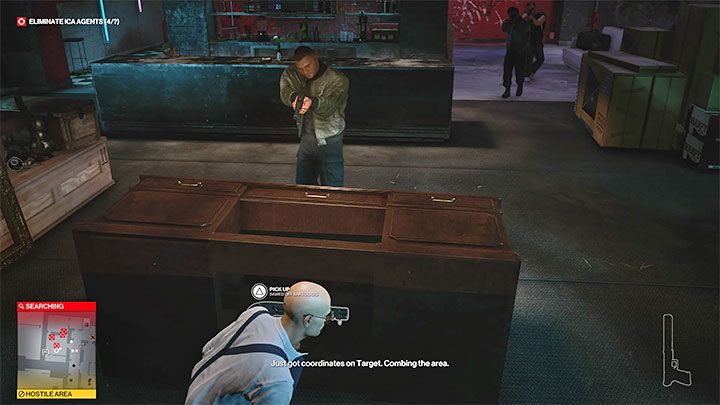
Under the desk, you'll find a hidden sawed off bartoli 12- it's worth taking it.
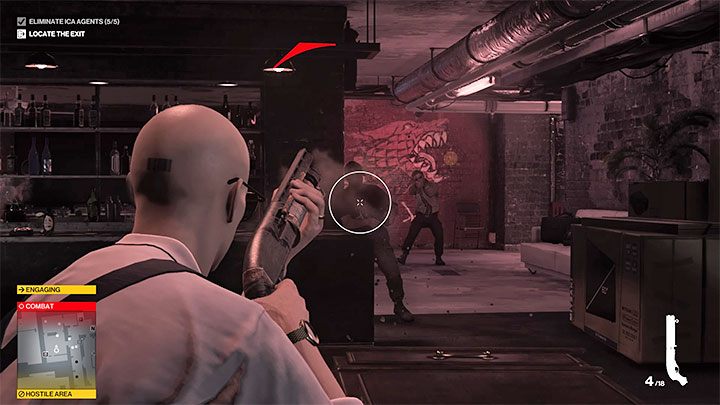
Now, you must shoot all the ICA agents. Briefly peek from behind the table to shoot. If Agent 47 is injured, remain hidden until you regenerate some health. Be on your guard as occasionally one of the agents might approach you from the flank. If necessary, you can also escape to the back storeroom and quickly exit through the pipe to level -1.
An additional hint - you can make your fight with Montgomery easier if you quietly dispose of the other ICA agents in the club before reaching Hirschmuller's office and taking his identity. Montgomery can then appear in the office alone.