

Hitman 3: Best disguises, Dartmoor Hitman 3 guide, walkthrough
Last update: 29 January 2021
Key points of Hitman 3 - Dartmoor - Important locations
Important locations
This page of the Hitman 3 game guide lists the best disguises you can get in Dartmoor during the Death in the Family mission. Using the recommended outfits can help you eliminate the mission's objectives and/or explore the map easier.
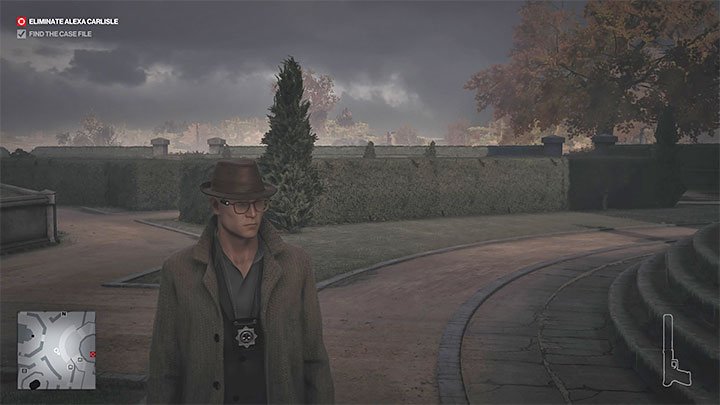
Private Investigator
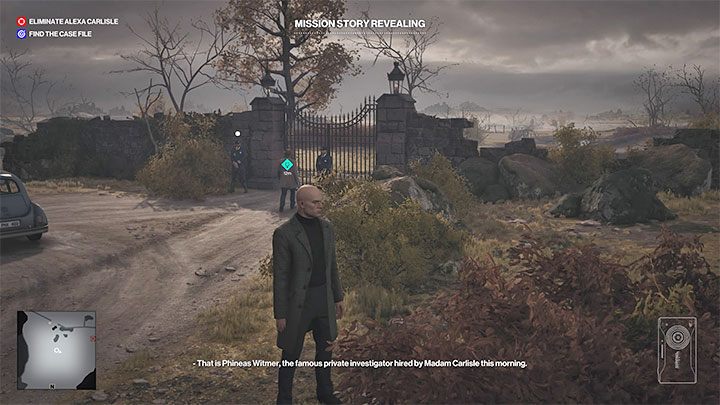
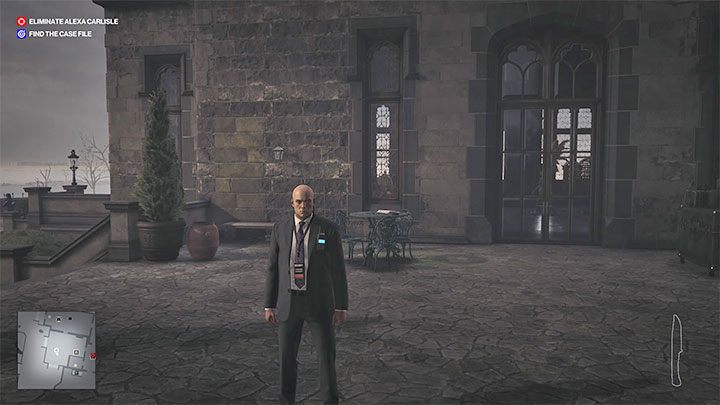
Only one private investigator is on the map - Phineas Witmer. He has an appointment with Alexa, and Agent 47 can steal his identity. This will allow you to move around the mansion as a guest and also meet Alexa and use this opportunity to kill her.
Phineas appears near Agent 47 at the beginning of the mission, at the gate leading to the mansion grounds(point 2 on the map). Don't attack him at first, or you'll get into an unnecessary fight with the gate guards.
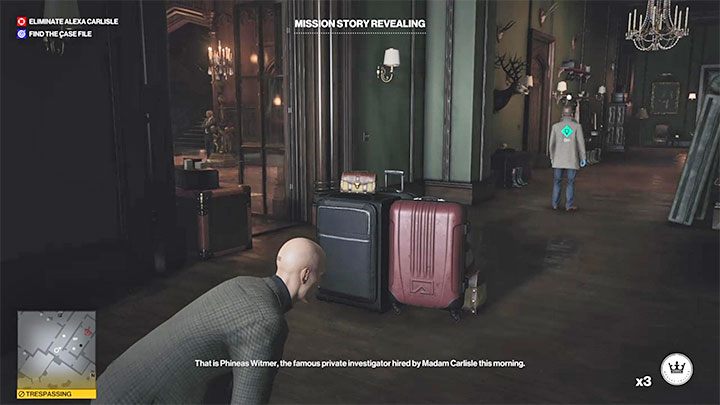
Sneak into the mansion's grounds and reach the side corridor on the first floor of the building - the one with the weapon showcases(point 21 on the map).
Wait for Witmer there, and take advantage of that you can easily eliminate him in a secluded area. In the same hallway, there are several closets where you can hide the body.
Two important notes:
- The opportunity to meet with Alexa as a private investigator is time-limited. It is best to use this method at the beginning of the mission. Fortunately, even if you are "late," you can still find the detective on the map. It should be somewhere near the north living room and the way to the gardens.
- Once you have gained at least level 16 of mastery in Dartmoor, you can unlock a new starting point in Zachary's bedroom. Agent 47 will immediately have an investigator outfit, and you won't have to take it away from Witmer.
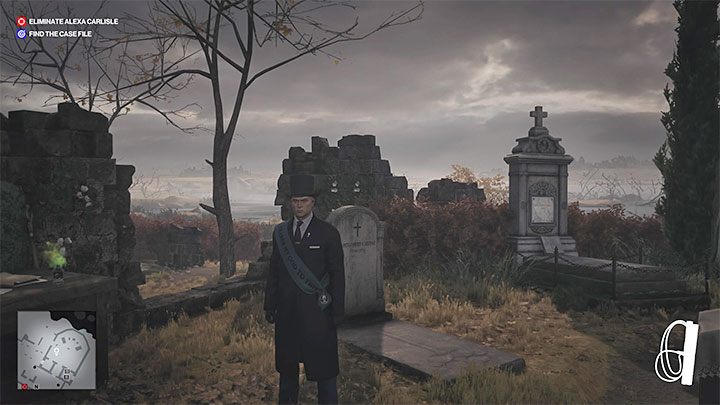
Undertaker
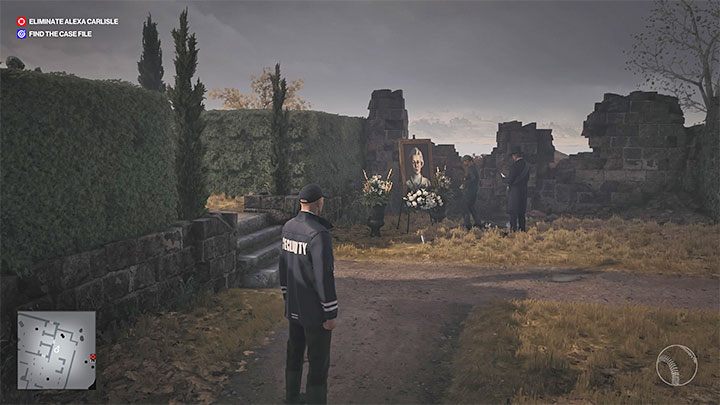
There is only one undertaker on the map. The place to find it is quite obvious - it is a graveyard located at the western end of the map(point 4 on the map). One of the story quests to eliminate Alexa is related to the graveyard but she won't appear there until you destroy the birds' nests.
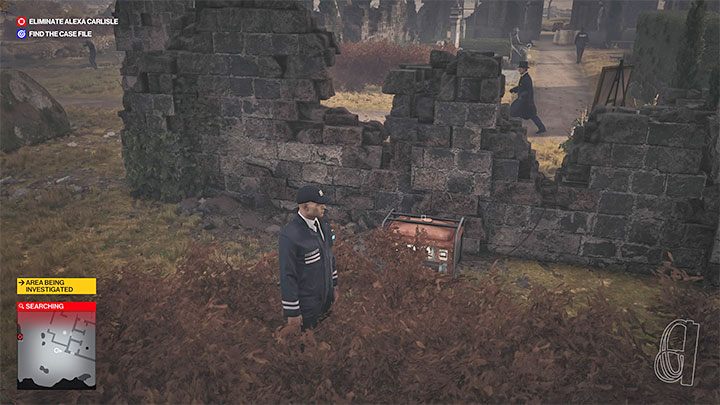
You can obtain the undertaker outfit in various ways, and one of them is to sabotage the generator shown in the attached image. Wait for a woman to appear in this area - attack her and hide her body in the bushes a good distance from the generator. Then wait for the undertaker to appear and attack him in an identical manner.
Additional note - the undertaker is carrying the keys to the hearse(point 13 on the map). You can use them at the end of the mission to leave the mansion in an alternative way.
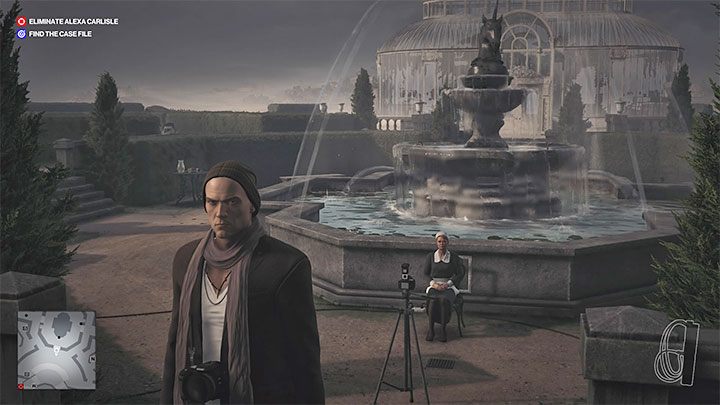
Photographer
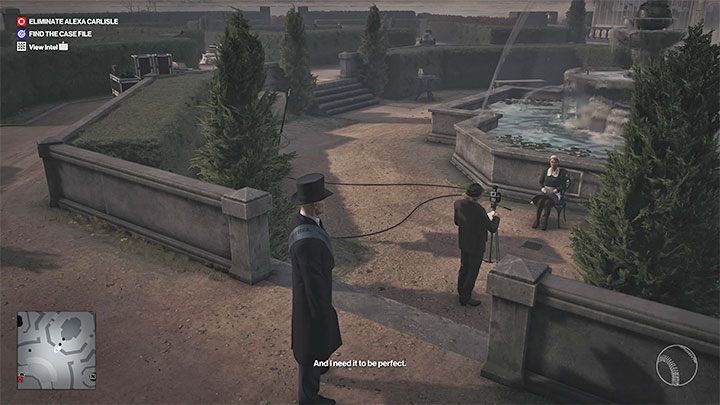
There is only one photographer on the map and taking over his identity will allow you to eliminate Alexa in a unique way. Additionally, by wearing a photographer's outfit, you will be able to move freely around the areas around the property and those areas of the building that are accessible to guests.
The photographer is in the garden (point 6 on the map) at the back of the mansion where he waits for a link replacement to set up a photoshoot. Alexa will not appear until you provide it yourself and place it on the appropriate device.

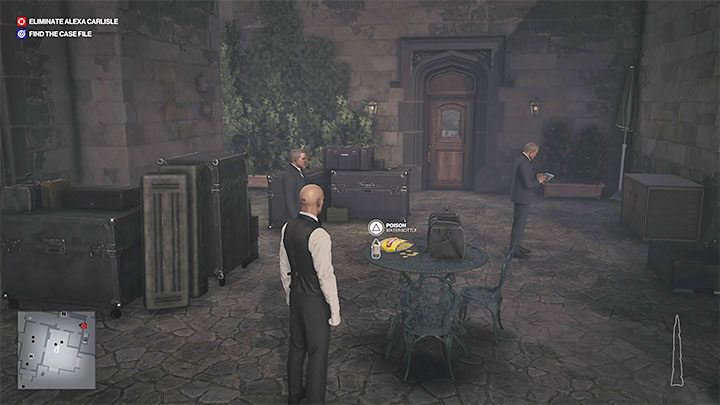
You should eliminate the worker standing behind the photographer first - hide his body in the bushes and make sure no limbs stick out.
It is best to use the radio to distract the photographer. Hide and wait until he appears to turn it off. You can then easily attack him and drag his body to a nearby container.
Bodyguard
This is the disguise that will make it easiest for you to move around and explore the map. Bodyguards have more powers than the mansion guards, and by using a bodyguard outfit, there is less risk of detection - there will be a few individuals on the map who can unmask Agent 47 in such a disguise. In most cases, they can be easily bypassed or distracted.
You can obtain a bodyguard outfit from many different places. An excellent location is near the west wall of the property(point 14 on the map). Two security guards are there. For example, you can drag one of them away with a coin or pour poison into a bottle (he will go to the toilet - point 18 on the map). You can also easily hide your body(s) in the same place.