
Ghostwire Tokyo: The Crimson Moon - walkthrough Ghostwire Tokyo guide, walkthrough
This page of the guide to Ghostwire Tokyo contains a walkthrough of the side quest The Crimson Moon - climb 3 skyscrapers.
Last update: 28 March 2022
This page of the Ghostwire Tokyo game guide contains a walkthrough of The Crimson Moon side quest. From our guide, you will learn how to reach the roofs of the 3 marked buildings, how to properly scan the Moon using the observation device, and more.
- Quest rewards
- Unlocking the quest
- Pick up the observation device from the locker
- Acquire lunar analysis data
- Send Ed the lunar analysis data
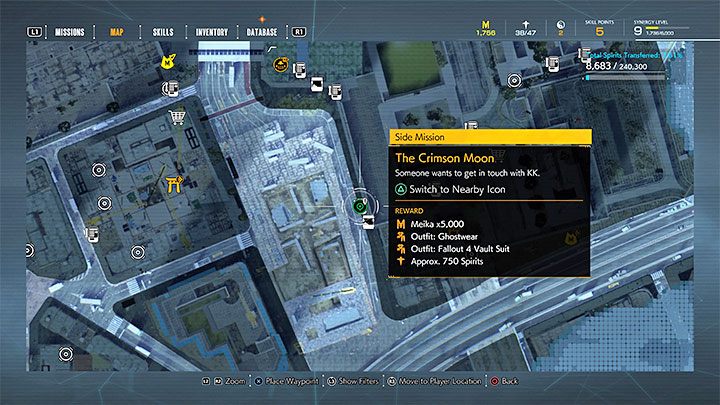
Quest rewards
- 5000 Meika
- Ghostwear outfit
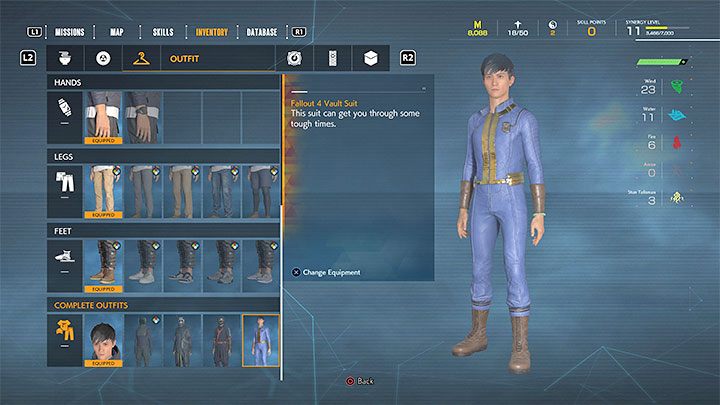
- Fallout 4 Vault Suit outfit - pictured above
- about 750 spirits
Unlocking the quest
You can start this quest shortly after cleansing the Kuo Shrine and visiting the observation deck in the A Maze of Death main quest during the campaign's 2nd chapter. A quest marker should automatically appear on the map.
The quest giver is Ed and you have to reach the indicated telephone booth to listen to the voice log he has prepared.
Pick up the observation device from the locker

Once the quest begins, turn towards the nearby lockers. Walk up to the one that's marked. The main character will automatically enter the correct code - 252. This way, you will get the lunar observation device.
Acquire lunar analysis data

Your task is to reach the rooftops of 3 different buildings in order to use the newly acquired device to scan the Moon from there.
These locations are marked on the map and can be visited in any order. In our walkthrough, we described the rooftops in the order pictured above, i.e. starting from the northernmost roof and ending with the southernmost one.

Roof no. 1 can be accessed by examining the building's western wall. There you will find the staircase from the screenshot. Use the stairs and then the elevator to which they lead.

After you reach the roof, head towards the marked spot. Hold the aim button and target the moon - it needs to be within the circle, as pictured in the screenshot above. Wait until the analysis is complete.

You will reach roof no. 2 after a long climbing section involving stairs and the grappling hook to latch onto the tengus (search the western part of the marked area).

Upon approaching your destination, you'll need to use the ladder and then make a running jump to reach the elevator pictured above.
On the roof, start by eliminating the flying enemies. Once you have secured the area, stand on the right spot to scan the Moon.
Accessing roof no. 3 may end up being the most difficult of all three. Start at the northern end of the green area marked by the game.

Locate the tengu pictured above - it's flying over the building adjacent to the quest objective. It can be recognized by the large, yellow crane from the construction site. Latch onto the tengu to land on the roof.

You will land next to the ladder that leads to a higher roof. Turn towards the section of the construction site from the picture. Glide towards it to get closer to the building connected with the quest.

Once you have landed successfully, the first elevator should be right in front of you (pictured in the screenshot above). You will need to glide once more to safely reach it and use it.

The first elevator will take you to the higher balconies. From there, you can reach the second elevator from the screenshot. Putting it in motion will allow you to reach the very top of the building.

Expect to encounter more flying enemies on the roof, as well as the warped structure from the picture - use spectral vision to discover its weak point and dispose of it.
Once you arrive at the indicated location, take out Ed's gadget from your inventory and face the Moon for the last time.
Send Ed the lunar analysis data

To finish this quest, you have to reach the marked telephone booth. Interacting with it will allow you to send the data you've collected.