
Tactical Command | Challenges SC II: WoL Guide
Last update: 11 May 2016

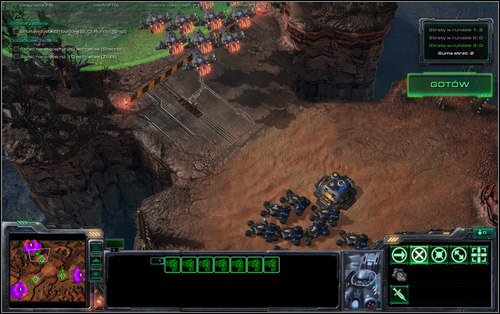
I'll start off by letting you know that the screenshots attached to the descriptions you can see a suggested formation before going into action and an example screen from the fight itself. A similar pattern has been used in two further challenges, where the overall principles are the same and only the race you're controlling changes.
Round 1
Location 1
Units used: Hellions
Predicted number of units lost: 0
Once the Zerglings approach, use a tactic of retreating and using an area attack (don't attack a single unit).


Location 2
Units used: Siege Tank
Predicted number of units lost: 0
The tank placed as shown on the screen will shoot twice. It won't kill all the Banelings, but enough for the warehouse not to get destroyed completely. Alternatively you can just move in front of the warehouse, shoot the Banelings and then let them attack you - you'll also survive.


Location 3
Units used: Ghost, Marines, Medivac Dropships
Predicted number of units lost: 0-5
A bit harder here, you can lose a few men. Set the Ghost in cloaking mode right before the green field and be ready for some sniper attacks (use the button shortcut, R). Marines placed in a line will deal with the threat faster. The transporters stationed in front of the soldiers will draw attention, but that's information for perfectionists.


Round 2
Location 1
Units used: Marauders, Medivac Dropships
Predicted number of units lost: 0
Hellions again. Attack and retreat with the Marauders and repeat this until you succeed. It might take a while, so you might want to move round the warehouse to gain some advantage over the Roaches. Medics from the Dropship will surely help if needed.


Location 2
Units used: Marines, Ghost
Predicted number of units lost: 0-2
The trick is using the Ghost's special bullets on the charging Ultralisk. It won't destroy, but will surely seriously weaken it. Once it reaches the Marines, start running away with them, around the shooting Ghost and the warehouse. The Ultralisk is a bit quicker, so you have to predict its movements. Try to change to the Ghost sometimes to use the sniper rifle, but don't focus on it too much.


Location 3
Units used: Siege Tanks
Predicted number of units lost: 0-1
Set the tanks in something resembling a straight line. Whether you manage to keep all of them alive or lose one is purely random.


Round 3
Location 1
Units used: Vikings, Hellions
Predicted number of units lost: 0
Place the Vikings right by the orb, thanks to which your units will have enough time to deal with the Brood Lords. Have the Hellions stationed by the warehouse, they will easily burn the Zerglings while not being disturbed by anyone else.

Location 2
Units used: Siege Tanks, Marauders, Ghost
Predicted number of units lost: 0-2
Place the tanks in siege mode and send the Ghost to the border. Marauders should wait somewhere on the side. Firstly shoot the freed Hydralisks and Roaches with the Ghost's precise shots and move the Marauders into action once the survivors get nearby the tanks. Keep an eye on their health and retreat any badly hurt unit.


Location 3
Units used: Thors
Predicted number of units lost: 0-1
Assemble a group of Thors and get ready for confronting the Mutalisks. They enemies are difficult in a group, so keep an eye on the first unit to get attacked and retreat it when it gets hot. The Mutalisks will then switch to a different Thor, the health of which you should also look after.

