
Resident Evil 3: Police station walkthrough Resident Evil 3 guide, walkthrough
Last update: 09 April 2020
This page of the guide to Resident Evil 3 Remake has a walkthrough for the visit to Raccoon City's police station. You will play as Carlos. The main objective is to investigate the S.T.A.R.S. office and locate Dr. Bard. Carlos will have to deal with regular zombies and Lickers.
Our walkthrough focuses solely on describing the steps required to advance in the main storyline. We highly recommend exploring the entire police station. It isn't as extensive as in Resident Evil 2, but you can still find a lot of loot here. Check out the Secrets section of our guide - you will find a list of items and combinations for the safe and two lockers.
Find Dr. Bard
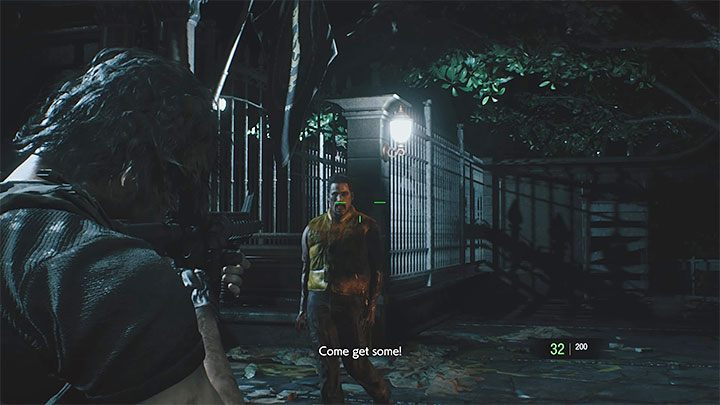
Walk towards the police station. Watch the cut-scene and defeat zombified Brad. He is a "regular" zombie, though he is a little more durable. Kill him with the assault rifle. Kill Brad to unlock An Unfortunate End trophy/achievement.
After killing Brad, search his body - you will find an ID Card that allows you to open chests with an electronic lock.

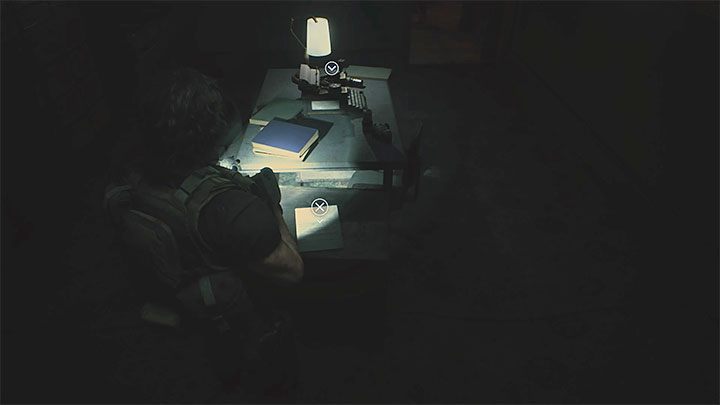
Enter the police station - you are in the main hall. Go to the computer - your new objective is to investigate the S.T.A.R.S. office. You can also save the game here and use the item box. Note - Carlos' items are separate from Jill's. When you get back to Jill, you will be able to access items from her chests.
Select the newly unlocked left passage to the reception and then the corridor leading to the Operations Room. Expect to encounter single zombies along the way. Look around a lot and light up the corridors - it is very dark here.
In the Operations Room, you will find a flash grenade. It is worth looking for these types of items and leaving them for later - they are very useful during fights with Lickers. Be careful when you reach the main corridor - you will encounter a large group of zombies. It is best to attack them one at a time by staying in the room.
Exploration of the West Office is optional (you can find e.g. a safe with a hip bag and a case with an assault rifle upgrade). You can't enter the Safety Deposit yet. Head for the stairs, but before you go to the upper floors, stop in the Dark-room - you will find e.g. a typewriter.

Go up the stairs to the second floor and investigate the shower room. You can read the note lying on the bench. Walk up to the damaged wall next to the showers and take the Electronic Gadget. Unfortunately, you can't use it now because it has no batteries.
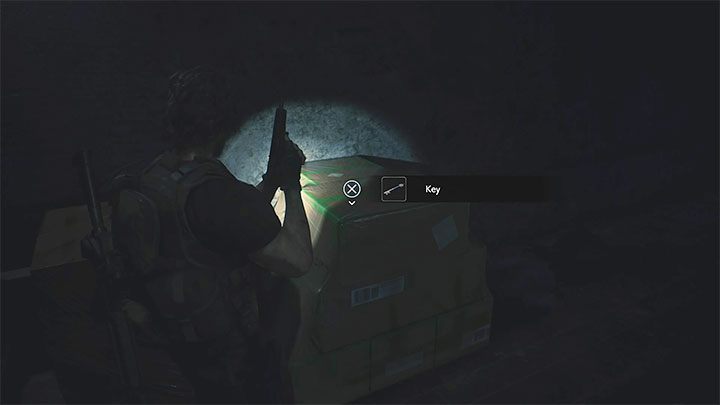
Now go up the stairs to the third floor. The only mandatory reason for visiting this floor is to take the key shown in the image - you will need it to open the Security Deposit Room on the first floor.
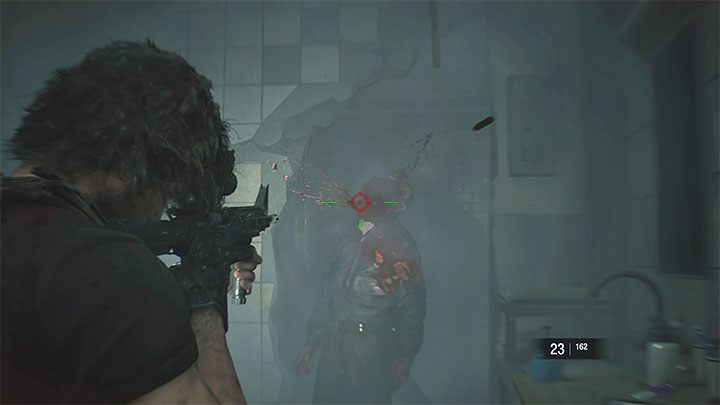
Be careful, because there is a Licker lurking at the entrance to the Security Deposit Room. The best tactic is to quickly use a flash grenade to blind Licker. Then switch to the assault rifle and keep shooting the monster. If Licker is still alive, try to move away from it quickly to avoid being attacked.
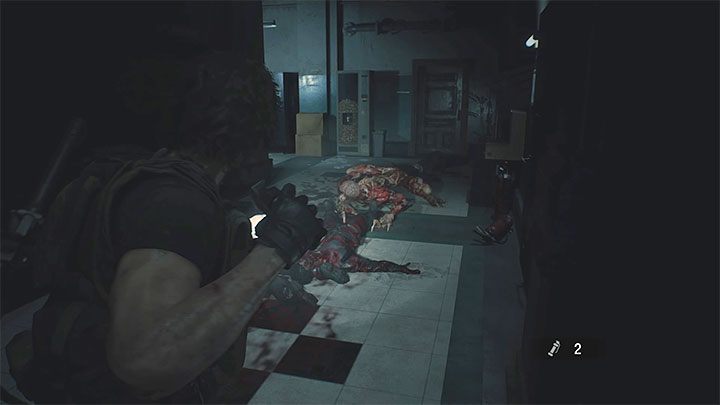
Kill the enemy and use the key from the third floor to open the Safety Deposit Room. Kill a single zombie inside.
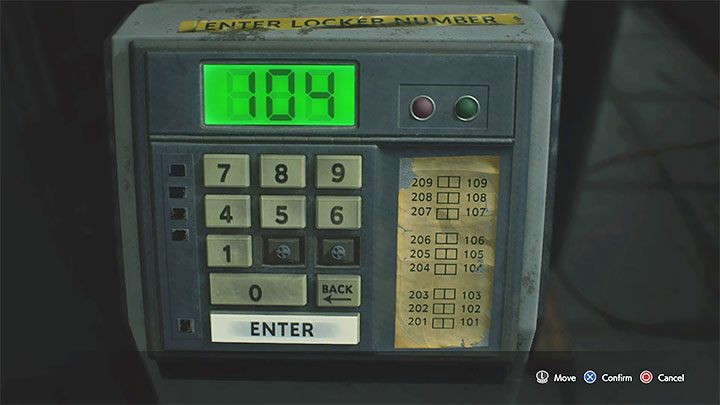

You have to solve a mini-puzzle by opening the correct box. The battery is located in box 104 - use the keypad to enter this code. You can also optionally open other boxes to get loot.
Open inventory - combine Electronic Gadget and battery. You will get a detonator.
Return to the shower room, interact with the weakened wall and place the detonator on it.
After the explosion, be ready to fight a large group of zombies. Don't try to retreat - there's hot steam coming out behind Carlos. If the monsters get too close, you can kill the entire group with a single grenade.
Zombies aren't the only threat here - another Licker will appear in the next corridor. Use a flash grenade and then shoot the monster with the assault rifle without giving it a chance to counterattack.
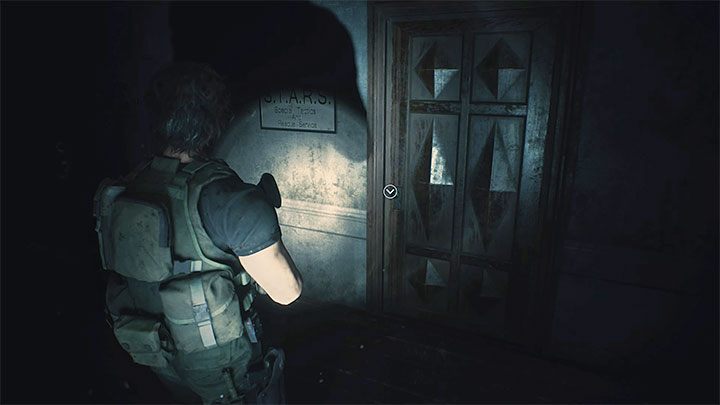
You need to get to the entrance to the S.T.A.R.S. Office. Carlos will automatically check a message stored on one of the computers.
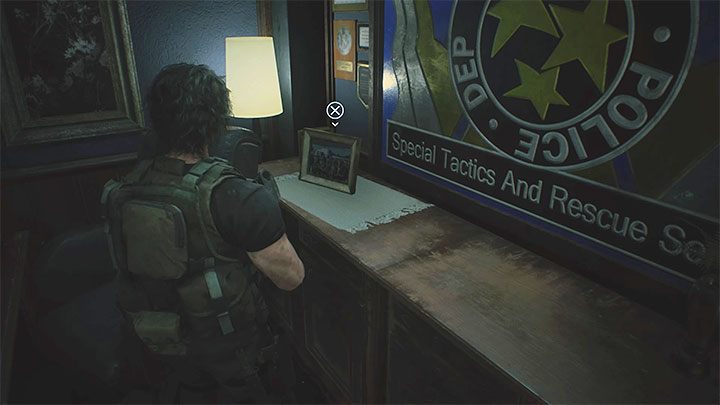
Collect as many items as possible from the office. Don't forget to check the room with a large American flag. There is also an interactive photo frame in this office.
You can now leave the office. After watching the cut-scenes, you will return to Jill, who managed to survive a subway car derailment. You will also unlock The Carlos Express trophy/achievement.