Schematics locations (1-8) | Middle Earth - Schematics LEGO The Hobbit Guide
Last update: 11 May 2016
Schematic 1
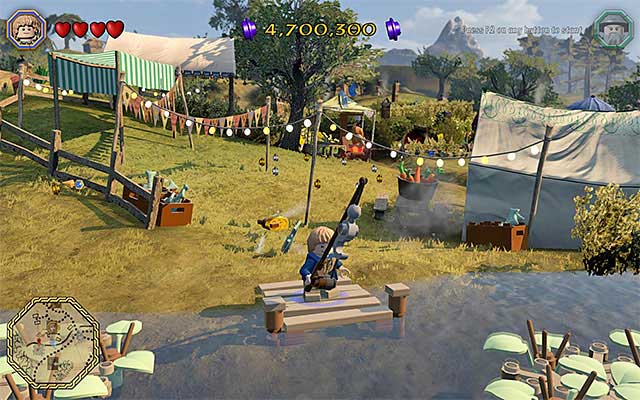
Location: Hobbiton
Description: This schematic is in a seemingly inaccessible storage. Take a look around near this collectible and locate the spot where you can start the fishing minigame (requires the fishing rod, which e.g. Bilbo has on him). Thanks to finishing this minigame, you will obtain the crank. return with this crank to the area, where the schematic is and use it on the mechanism here.
Schematic type: Mithril Stud Spade
Schematic 2

Location: Hobbiton
Description: This schematic is in a small cave. Start a bit to the South of the marker and locate three interactive targets. Switch to a character with slingshot (e.g. Ori) and start shooting pebbles at the targets. The solution to this puzzle has been shown in the above screenshot - above the target on the left, there should be a green circle, blue above the middle one and a red above the target on the right. You can now enter the cave and smash all of the interactive objects, thanks to which you will find the schematic inside one of the chests.
Schematic type: Mithril Megapult
Schematic 3

Location: Bree
Description: The schematic is inside a big cave with a gate to. After you reach the cave, examine its middle part and smash all of the interactive objects in the area overgrown with flowers. Thanks to this, you will gain access to the manhole here. After you cross the tunnel (best with a hobbit or with a dwarf) you will reach the ledge above on the right. On the ledge, there is a key, which you need to collect.
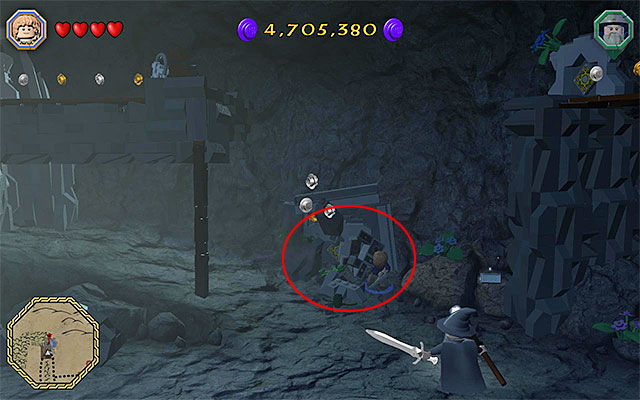
Now, locate the rocks marked in the above screenshot. You need to smash them, using any ranged or melee weapon. Destroying the rocks will reveal the access to a shaft, which you need to approach with the character that collected the key. By following the shaft, you will reach the upper-left ledge. Approach the locked chest and use the key on it, thanks to which you will be able to collect the schematic.
Schematic type: Mithril Mushroom Crown
Schematic 4
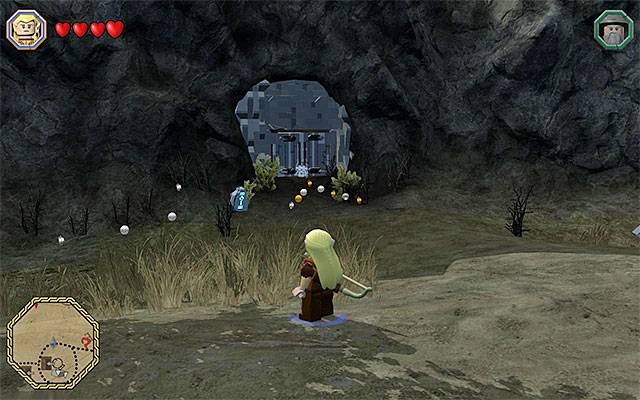
Location: Weathertop
Description: The best way to start is to the North of the location of the marker that marks the location of this schematic, at best somewhere near the Weathertop. Go South and find the big gate shown in the above screenshot Hit the plate with the question mark on the left, thanks to which you will start the first puzzle.
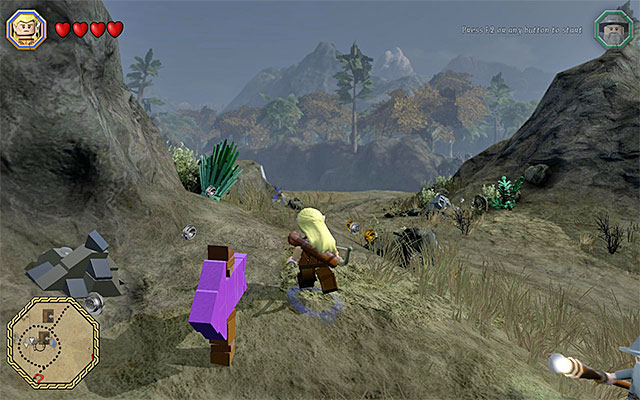
The abovementioned puzzle consists in following the in the direction in which the signs, which appear from under the ground, point. Yellow means that you need to go in the direction that the arrow points towards. Violet, on the other hand, means that you need to go THE OPPOSITE DIRECTION, than the one that the arrow points towards. This way, walk around the entire area, which will take you back to the locked gate.
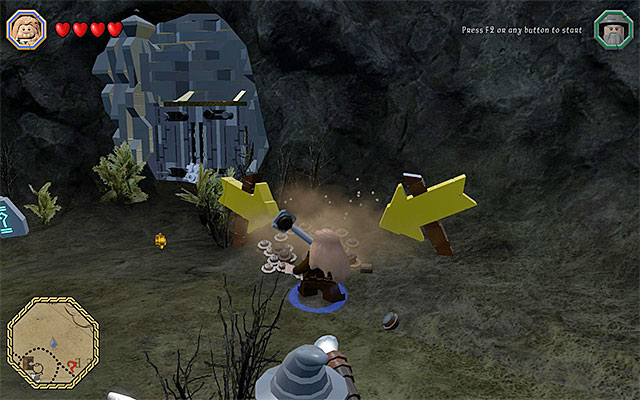
Note that this activated a fragment of the ground so, you need to switch to the character with spade (e.g. Sam or Fili). Dig up the key from the ground. You can now enter the next area and walk over towards the collectible. Here, you will have to solve two more puzzles.

Start by switching to the character with bow (e.g. Kili or any other elf) and fire arrows towards the three nearby targets. Doing this will result in emerging of three small platforms from under the water. You need to reach the ledge with three statues. The final puzzle is about making an offering at each one of the statues. You need to spend 20 rubies this way 20 Sapphire and 20 Emerald. wait to the schematic to be revealed and collect it.
Note - if you do not have enough gems on you, use the pickaxe on the nearby interactive points, or visit any cave or mine. Apart from that, you can barter with the character staying here and exchange some of the supplies for gems.
Schematic type: Mithril Shadow Blade
Schematic 5

Location: Troll Dwellings
Description: Start to the South-West of the marker that points you to the schematic, thanks to which you will find a big locked gate. Start by switching to any wizard and using the staff on the big blue heap of bricks. After you smash this obstacle, walk onto the pressure plate, thanks to which several ledge will slide out, from the wall.

Switch to any other character (I recommend the elf), start climbing and jump to reach the successive interactive ledges. Eventually, you will reach the top ledge and you need to use the interactive mechanism here.
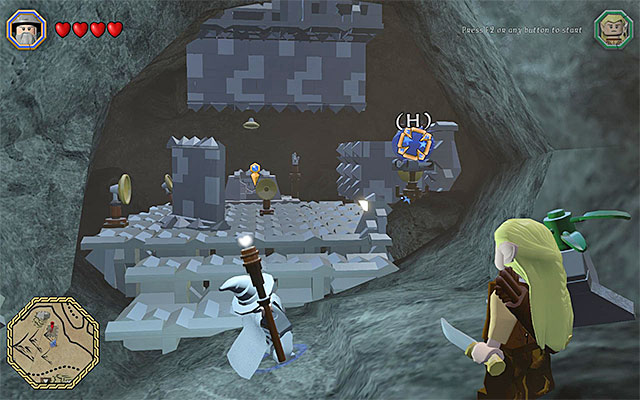
You can now walk into the cave, Also in this case, you need to use the wizard. You need to reach the last chamber in the cave and use the staff again. This time around, aim at the blue spheres underneath the ceiling. After you hit all the spheres with the magic bolt (the successive ones will be revealed as you perform this task), you will be able to collect the schematic.
Schematic type: Mithril Skull Cap
Schematic 6

Location: Rivendell
Description: Follow the trail of yellow studs (you need to set the schematic as your destination, of course), thanks to which you will reach the pier to the North-West of the collectible. There is a boat here and you need to jump inside (the character swap key). Use the boat, now, to reach a small stone ledge.

Jump out of the boat and switch to Saruman, because he is the only one capable of smashing the mithril chest. You can now collect the schematic.
Schematic type: Mithril Rhythm Stick
Schematic 7

Location: Rivendell
Description: Start by locating a small door to another, separate location in Rivendell. Here, there are three interactive levers that you need to reach (the order, in which you do that is purely up to you). Start with exploring the right side of this location. Switch to an elf and use bow to hit the interactive slot. After you do that, jump towards the arrow stuck in the vertical pole. Jump towards the successive bars and after the last jump, grab on to the lever and give it a pull.

On the left side of this area, there are several ropes. As the elf, jump towards the first one and start climbing. Jump from rope to rope, to reach the second lever.

Remain in the spot, in which you grabbed on to the second lever, move a bit to the right and jump towards the next rope. Here, you need to climb again. Finally, walk over the narrow beam and interact with the last lever. You can now jump down and claim your reward.
Schematic type: Mithril Dance Boots
Schematic 8

Location: Rivendell
Description: Start at the water, a bit to the West of the marker of the schematic's location. Turn Southwards and jump over the three platforms shown in the above screenshot. Thanks to this, you will reach a gate to a separate location.

Here, you need to solve one long puzzle. First of all, approach the big clock on the floor. The first part of the puzzle is about hitting the stone slabs with question marks, in the predetermined order (use any melee weapon). Start by hitting the slab at twelve o'clock (XII). Then, knock the slabs at four (IV) and six (VI) o'clock.

Go into the background and hit the slab with the question mark, located behind the tree. Go right now and jump onto the big rock and hit the slab atop the block. Jump down, walk even farther to the right and hit the slab in the thickets.
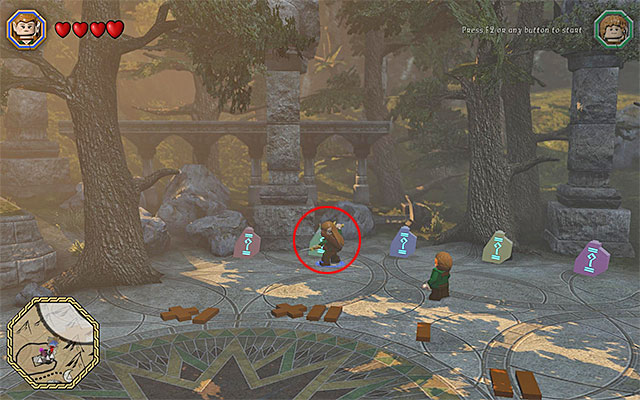
Finally, return to the central part of this location. You need to hit the second slab on the left, which has been marked in the above screenshot. If you have performed all the actions correctly, you will receive the schematic.
Schematic type: Mithril Horse Shoes
