
Stage 14 (The Necromancer): The keep's exterior | Walkthrough LEGO The Hobbit Guide
Last update: 11 May 2016
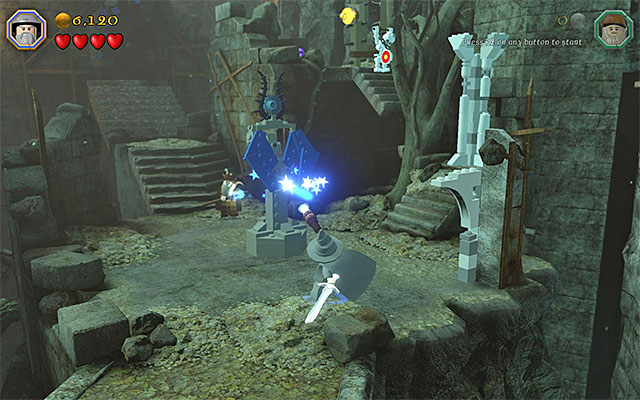
Start the exploration of the vicinities of the keep and, as always, try to spend some time smashing the objects in the area. To leave the bridge, you need to use the staff of one of the wizards, on the blue barricade. After you reach a new location, demolish the main square and hold down the building key/button, thanks to which you will build a short tower. Stand in front of the tower and fire a magic projectile towards it.

If you have performed the most recent action correctly, the stream of light will be sent towards the nearby target, thanks to which the passage at the stairs will unlock. Walk into a much larger location, where you will have to activate three new towers. First of all, I recommend that you explore the left side of the yard. Use the staff of one of the wizards, on the cage with the skeleton in it (the above screenshot).

Wait for the cage to smash and approach it. You can now start bouncing off the roof of the cage, which will allow you to land on the balcony on the left. Approach the interactive objects here and hold down the building key/button to build another tower. You now need to use the tower's rotary mechanism to turn it in the correct direction (turn it in the counterclockwise direction). Finally, fire the magic projectile towards the tower, thanks to which, the energy stream will reach one of the three targets.

Jump down and go to the right part of the yard. Destroying the objects here will allow you to build a ladder and reach the balcony on the right. Smash the objects in the dimly-lit corner and build another tower. You do not need to spin it so, use the staff immediately to charge it and hit another target.

Switch to Radagast now and explore the central part of the yard. There are two wounded birds here (one of them on the elevation on the right and one next to the balcony on the right). You need to stand at each of the birds and hold down the hold down the appropriate key/button to heal it.

After being healed, the birds will grab the huge grate in the central part of the yard and fly away. Approach there and hold down the building key/button to build the last tower. You can now use the staff on the tower. After the third stream hits the target, the entrance to the keep will be open for you.