
Assassins Creed Valhalla: Walls and Shadows Assassin's Creed Valhalla guide, walkthrough
This page of the guide to AC Valhalla contains a walkthrough of the main story mission Walls and Shadows. During it you will reach Lunden and investigate the murder of Tryggr.
Last update: 12 January 2024
On this page of the Assassin's Creed Valhalla guide, you will find a detailed walkthrough for the Walls and Shadows quest.
Eivor goes to Lunden in search of allies. However, it turns out that the town is in chaos.
Rewards: 5100 XP.

Travel to Lunden

Go to the Beggars' Gate in Lunden in search of an official who can give you information about the current situation in the town. There you will meet a man named Stowe (sheriff of West Lunden) who will say that the city is ruled by Tryggr.

After a while, warriors sent by Avgos will appear. You will have to fight with your fist. After the cut-scene, follow Stowe to the town's ruler.

When you get there, you will notice signs of a fight. The people in power and their ruler were assaulted and massacred – Eivor must discover what has really happened here.
Investigate Tryggr's murder
It is time to look around the estate and find out what really happened to Tryggr. You also need to determine who might have wanted him dead.

The first clue is a letter nailed to Tryggr's corpse, which warns against three pagans who sneaked into town.

The second clue is the footprints in front of the entrance to the property. Three unknown people entered the inside – two had a regular body build and one was rather large.

The third clue, barber's tools, can be found after breaking wooden crates in the corner of the room. They were most likely used to separate Tryggr's head from his body.

The last and most well-hidden clue is on the ceiling – a corpse of a hanged man. The man holds a Roman seal in his hand.
Once you've gathered all the clues, you will see a cut-scene in which Eivor explains exactly what has really happened in the mansion.
The letter left on Tryggr's corpse mentions three heretics but only by their nicknames: The Leech, The Arrow, and The Compass. The letter was signed by a man who describes himself as the Poor Fellow-Soldier of Christ.
Find the entrance to the Temple
One of Lunden's sheriffs tells Eivor that the seal the deceased guard was holding comes most likely from the Mithraic Temple.

The temple's ruins lie to the east of the mansion. Interestingly, they are very well guarded, but you don't have to fight the guards – they won't follow you into the ruins.

The entrance to the Mithraic Temple leads deep into the ground and then goes through a narrow gap in the wall on the left side.
Investigate the Temple
You will have to conduct another investigation and find out who is behind the Order.
The first clue is the letter from which it is clear that The Compass led the other two intruders. He ordered The Arrow to place archers in the West Marketplace. Eivor decides to go there after exploring the temple;

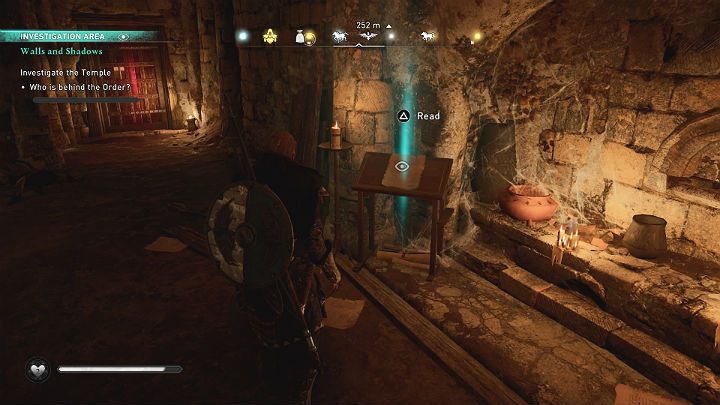
Another clue is the surgical tools lying on the wooden table – the same as the ones Eivor found at the crime scene. There is also a letter about the planned payment for the blacksmith.

You will find the last clue behind the barricaded door. However, you can't get in from this side.

Go up to the wall where you found the surgical instruments and move the rack with the packages further down the underground complex.

Then head down and right. You will notice a makeshift wooden wall – break it and jump into the room.

The clue lies on the table. This is a letter in which The Compass and The Leech are exchanging messages.

You have all the necessary clues. It is time to return to Stowe and Erke to report them what you have found in the Mithraic Temple. You will receive 5100 XP.