
Callisto Protocol: Habitat The Callisto Protocol guide
This page of the walkthrough for Callisto Protocol is about Chapter 3 - Habitat. From the guide you will learn, among other things, how to get access codes from guards, how to get to the dome, how to survive the pipe descent scene and how to kill monsters with tentacles.
Last update: 05 December 2022
On this page of The Callisto Protocol guide, we have included a walkthrough for the third stage - Habitat. We explain, among other things: how to follow the red pipe, how to get the console code in Water Control, how to defeat the tentacle monsters, how to empty the tank, how to slide down the drainage pipe, how to reach the biodome, where is the code for the oxygen control console and how to reach the utility hatch.
- Follow the red pipe
- Get code from guard
- Purge Tank Six
- Survive the pipeslide
- Reach the biodome
- Reach Oxygen Control Room
- Get code from guard
- Reach the utility hatch
- Look for the fallen walkway
Follow the red pipe
After the chapter starts, use the next ladders and the spiral stairs. Watch the hologram - you will receive a task related to the red pipe.
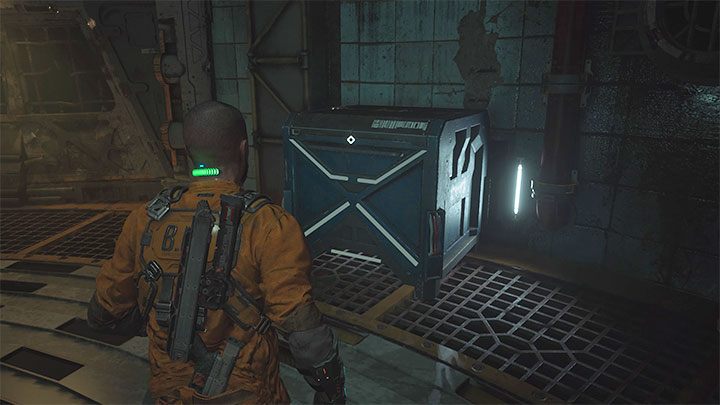
You have to grab the interactive chest from the picture and move it to reveal the entrance to the ventilation shaft.
You will reach a room with rotating mechanisms. Stay away from them and watch out for the monster hiding under the water. Reach the valve and interact - a new shaft will be unlocked next to it.
Keep going. The passage to the next section is the ventilation shaft next to the locked Purification B H207 door.
In the new room, you need to find 2 gate fuses. Be careful, because Jacob can suddenly be attacked by a bigger monster - you have to knock it off you (press Y/Triangle rapidly) and then shoot it. As for other creatures, it's easiest to grab them with the GRP glove and throw them off the balconies to kill immediately.
With fuses, reach 2 boxes in the same room. You will unlock the Access Hall H271 exit.
Reach the new ladder and the entrance to the new ventilation shaft. You will find the Reforge. Follow the linear route to the larger hall. Remember that you can grab enemies and knock them off the footbridges. You can also find an explosive container along the way and throw it at enemies.
One of the side balconies leads to a ladder. Above, you will find a box with a gate fuse (picture). Take it and go to the other end of the room (watch out for new monsters). Use the fuse to open the Access Hall H206 gate.

Jacob will reach the fork:
- The path down the corridor leads to Storage Hall H239. After using the knife to open the door, you can explore the optional rooms (you will need to move the fuse to another box).
- If you want to continue the main passage, you have to open the right Water Control gate.
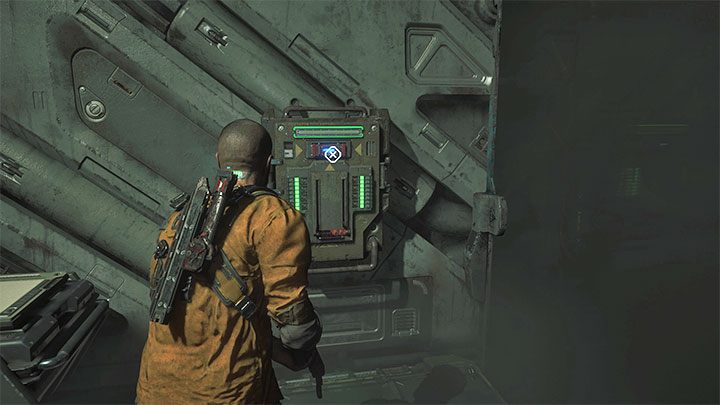
Approach the large console in Water Control and a hologram will activate.
Get code from guard
Go through Maintenance Hall F263 and follow the corridors to Lounge F231. There is a new Reforge inside.
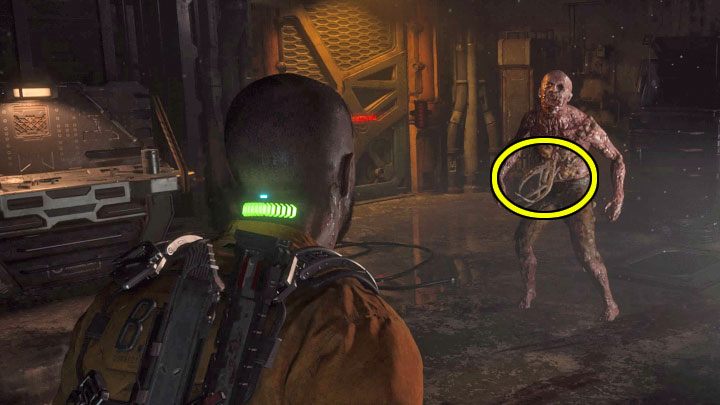
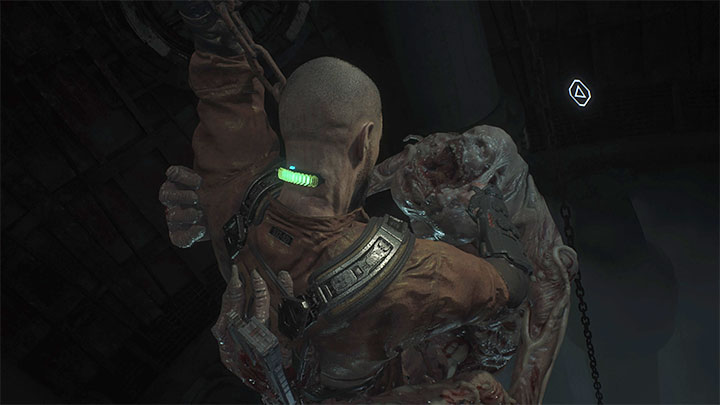
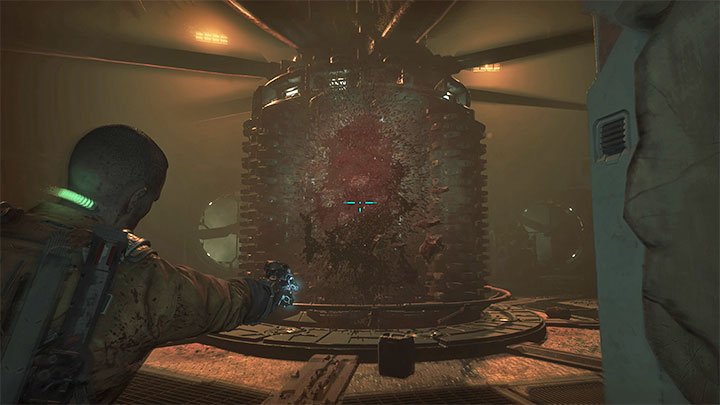
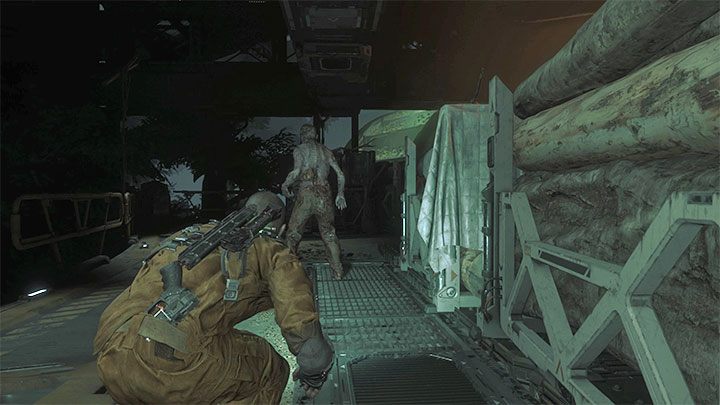
Take the narrow passage to Utility F265. You will meet the first monster with tentacles. These types of monsters can transform (the first one from the tutorial is forced) and become stronger. You must try to stop the transformations by attacking the exposed tentacles (marked in the picture) - shoot them with firearms and stomp the tentacle monster.
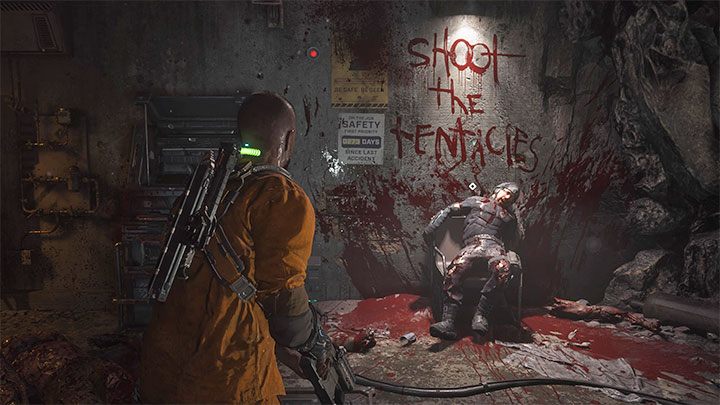
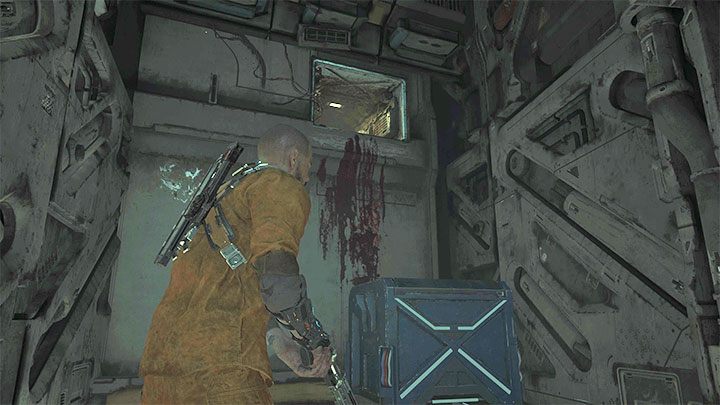
After the fight, examine the corpse of the guard under the red Shoot the Tentacles text. You will get a Keycode.
Purge Tank Six
Return to the central hall with the large console and kill regular monsters. You will start emptying the tank (Initiate Purge Cycle message).
You have to defend yourself against the attacks of larger monsters. They like using surprise attacks - you have to look around you a lot. Use firearms and the GRP glove. If Jacob is knocked down, you must free yourself (press Triangle/Y rapidly).
After the battle, use the console to create a bridge. Cross it to the ladder and reach the hatch.
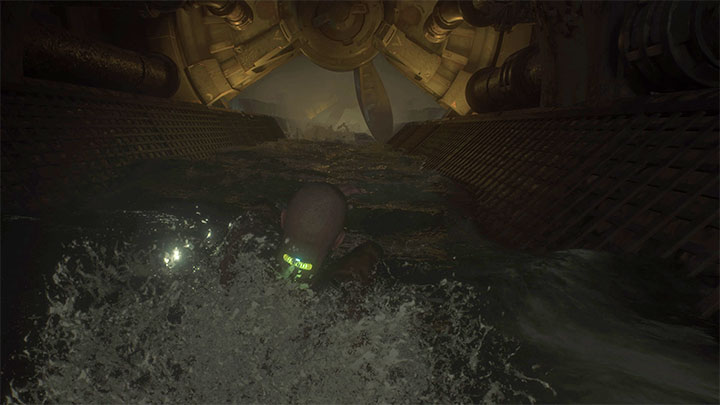
Survive the pipeslide
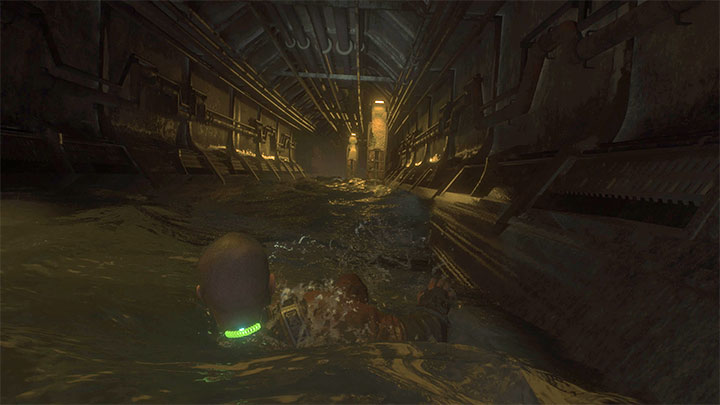
You will reach the sewers - a large drainage pipe. Go straight ahead - the water will be drained and you will start sliding down the pipe.
You have to move sideways (left or right) to avoid colliding with obstacles.
The next part is more difficult, because you have to avoid the blades of large fans. Watch their movements and anticipate where there is a safe place to go between the blades.
In the final part of the sequence, a large monster will appear and you have to complete the QTE - press Triangle/Y when the message appears on the screen.
At the very end, you have to climb the chain to the very top. You will reach a new part of the sewers.
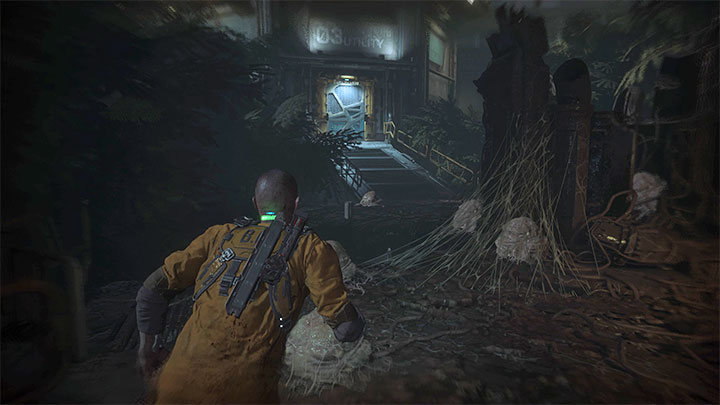
Reach the biodome
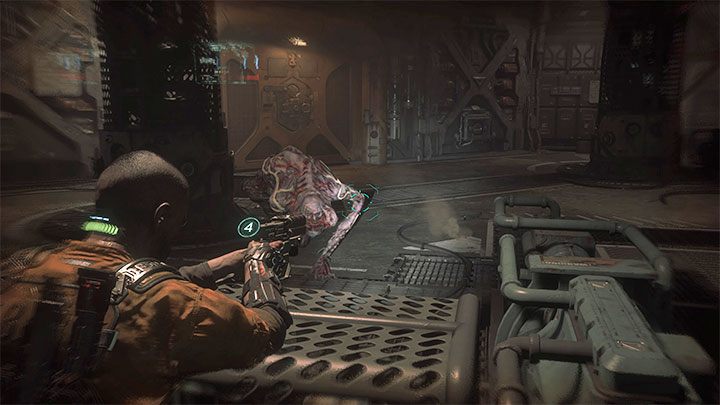
Collect the loot from the area and reach Access Hall F813. You will start encountering more monsters with tentacles - remember to shoot the tentacles right away and stomp on the fallen enemies to prevent the beasts from transforming.
Ultimately, you will reach a new fork:
- Opening Maintenance F815's door with the knife will allow you to explore optional locations.
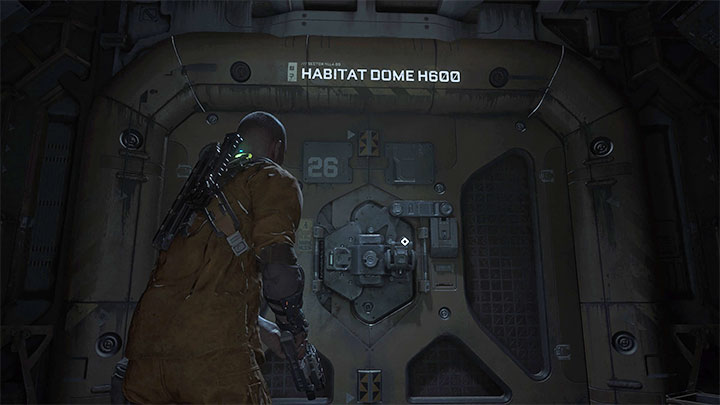
- A large ramp leads down to the Habitat Dome H600 gate - this will allow you to continue the main story by reaching the dome.
Reach Oxygen Control Room
Take the small elevator to the main part of the dome and use the panel to open the bridge. The area is patrolled by a new security robot - you can destroy it (aim at its head) or sneak past the machine (wait until the robot goes to the right).
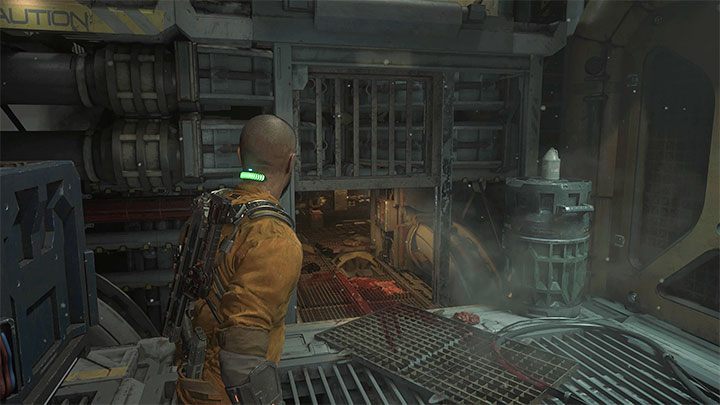
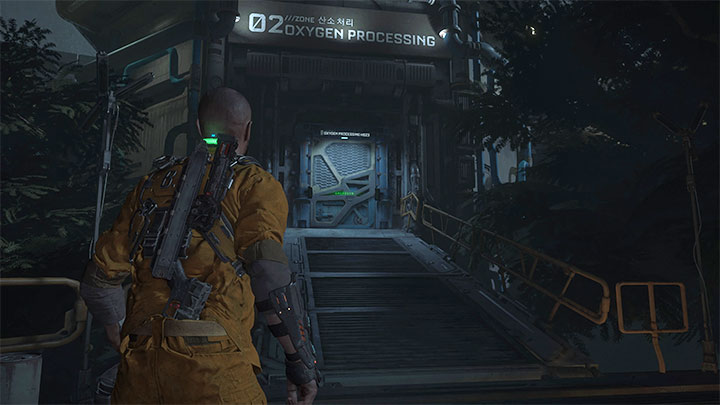
You have to reach the left passage - Oxygen Processing H623 (picture). Watch the hologram. You will learn that you need to obtain a new access code.
Get code from guard
There is a Reforge and 2 passages in this room:
- The Botanical H624 passage leads to optional locations (e.g. a large chest and a collectible).
- The Oxygen Processing H625 passage leads to a guard's corpse . After selecting it, watch out for the monsters that will be hiding in the fog - you can retreat and wait for them to get closer to you.
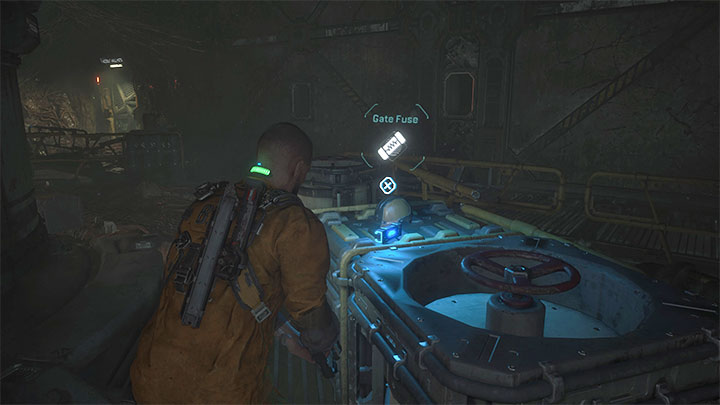
Defeat the monsters and reach the area with the mist. You need to find the gate fuse box (picture). Take it to the second box next to the Oxygen Processing H627 passage.
You can now climb up the chest to the upper hatch shown in the picture. Crawl to the place where you will find a corpse with a Keycode.
Go to the central hall and use the access code on the control panel.
Reach the utility hatch
Return to the central dome. This time, instead of a security robot, you have to watch out for large monsters that attack by surprise (there's an explosive container in the area that you can grab with the gauntlet).
Head to the opposite end of the dome - the Utility H630 door has been unlocked and you can reach it by taking the narrow passage near the cocoons. In the new location you can:
- Use the knife to unlock the Hall H631 door - this is an optional area.
- Go right and use the hatch - you will advance in the story.
Look for the fallen walkway
You will approach a group of enemies and running machines. This is a great opportunity to grab monsters with the GRP glove and throw them at the traps - they will die instantly.
Alternatively, you can sneak up on monsters and eliminate them with stealth attacks.
Regardless of the tactic you choose, get rid of all the enemies and find a narrow passage near the wall, thanks to which you will leave this location.

Reach Elias - perform the jump and watch the escape scene.
At the end of this stage, Jacob will automatically put on the security armor. It has 2 unique features:
- increased inventory capacity - from now on there will be 12 slots for loot;
- extended health bar - the bar on the hero's neck will be longer.
You advance to the Lost chapter.