
Callisto Protocol: Lost The Callisto Protocol guide
Our walkthrough describes Chapter 4 of Lost from the game Callisto Protocol. Our guide will allow you to learn, among other things, how to find Elias, how to defend yourself in the location with the trapped worker, how to go through the tunnels, what to do when following Dani and how to avoid death during the descent.
Last update: 05 December 2022
This page of The Callisto Protocol guide contains a walkthrough for the fourth chapter - Lost. You will learn, among others: how to reach Elias on the surface of Callisto, how to defend yourself in the location with a trapped worker, how to get through the tunnels to the garage, how to get to the control room, how to reach Dani in the courtyard and how to avoid dying during the descend sequence.
- Find Elias
- Find shelter in the outpost
- Keep moving to the hangar
- Try to help the trapped worker
- Enter the tunnels to the garage
- Reach Control Room
- Unlock the Security Room with a fuse
- Explore the Power Station
- Find Dani in the courtyard
- Follow Dani
Find Elias
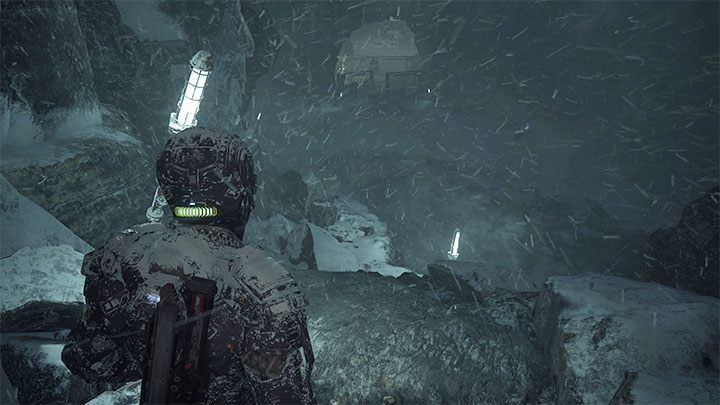
You will start this stage on the surface of the moon Callisto and you will travel through icy locations. Head towards the buildings on the horizon.
You will encounter a snow storm - the white lamps will help you navigate your path. Reach the place where you have to squeeze between the rocks. You will encounter Elias.
Find shelter in the outpost
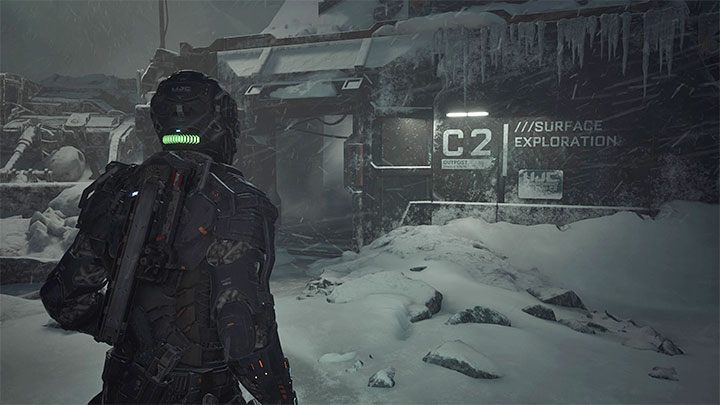
Use the lever to open the large outpost gates. Exploring the entire outpost is optional, but you can find loot and collectibles. Ultimately, reach the C2 Surface Exploration building.
Squeeze past the partially opened gate - you'll find a new Reforge. Take the stairs to the lower level. Be careful while exploring - some monsters only pretend to be frozen. You can defeat them in close combat or, for example, quickly grab them with the GRP and impale them on spikes.
Keep moving to the hangar
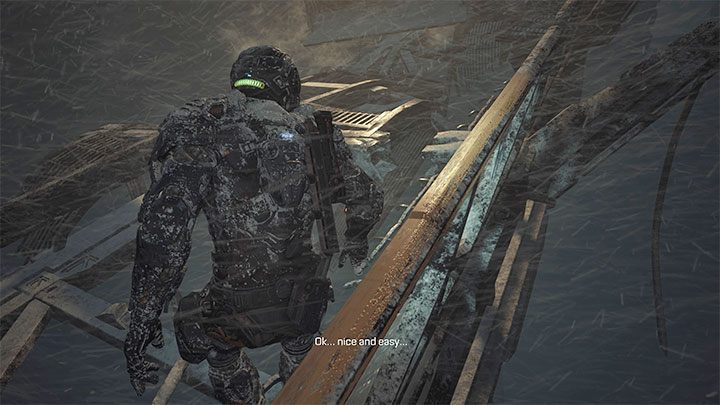
Head towards the bridge and watch out for more surprise attacks. You have to cross the damaged bridge. Take the narrow passage by the right railing.
Defeat more monsters and reach a new lever.
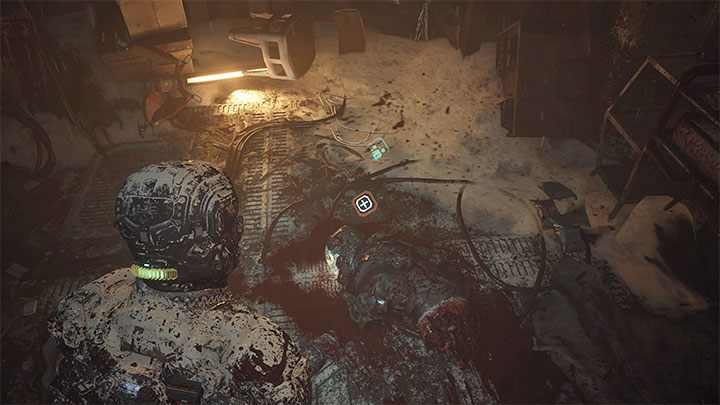
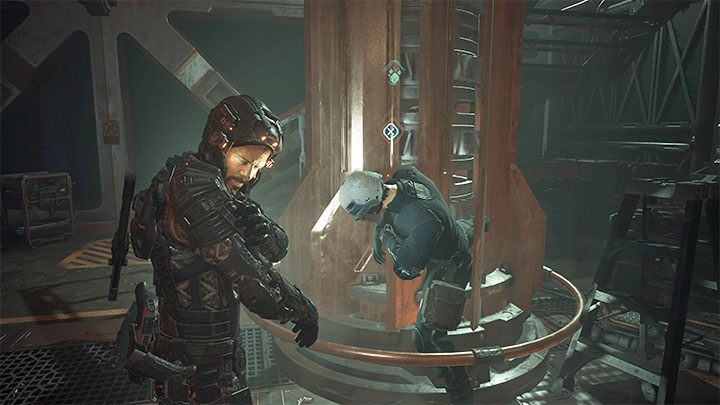
Try to help the trapped worker
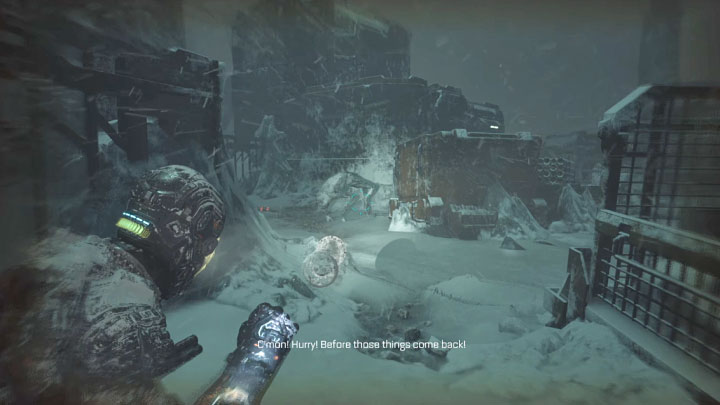
In the new location, you will hear an employee's voice through the megaphone. Contrary to what the mission objective shows, you don't have to save the imprisoned person - focus on defending yourself from monsters.
A good tactic is to pick up explosive canisters with GRP and throw them at the monsters. Do this mainly to kill the largest creatures that are more resistant to normal attacks.
Enter the tunnels to the garage
During the fights, entrances to 2 buildings will be unlocked. First, look into the building where the monsters killed the employee. Take out his implant to get the Keycode.
Reach the second building that has the entrance to the Tunnels.

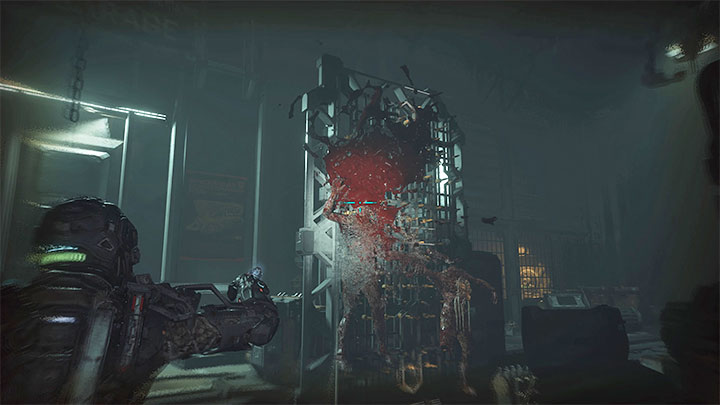
Go down the long stairs to the tunnels and go through the corridors and rooms. You will start encountering explosive crawling monsters - be sure to kill them from a distance since they can explode when approaching Jacob and deal a lot of damage or even kill you.

After reaching the fork, take the right path and again watch out for crawling monsters - don't miss any of them. You will eventually reach the exit to the surface.
Head towards Garage Airlock N107. Go through the airlock - you will find yourself in the garage.
You have to fight more monsters. There are a lot of spikes here, so grab the monsters with your gauntlet and throw them at the spikes to kill the monsters instantly.
After the fights, collect the loot from the area and go up the stairs to the room on the upper floor to meet with Dani. You will get the second shotgun - Riot Gun. This item will immediately appear in Jacob's inventory.
Reach Control Room
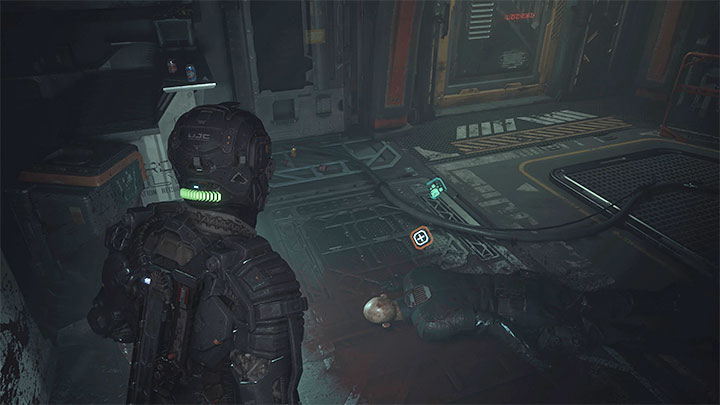
Go to the room on the upper floor and get the Keycode by cutting the implant out from the guard's corpse. Use the code on the console and unlock the nearby passage. Behind it you will find a Reforge.
Go down the stairs and go through the new airlock. Reach the next airlock - Power Station Airlock S105. Behind it is the Power Station Lift S107 (watch out for the monster that will jump out of it).
Unlock the Security Room with a fuse
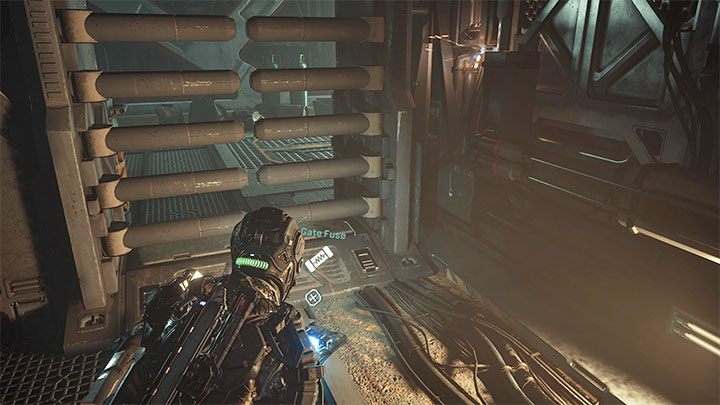
On the new floor, pass under the partially raised door of Prisoner Transfer S408. You will reach the locked Security Control S411 passage.
Explore the adjacent area - you can climb on the chest and find a gate fuse. Return with it to the locked gate. Inside, you can use the console - a passage in the room where the fuse was located will unlock. Reach Prisoner Transfer S408 gate.
Explore the Power Station
You can first collect the loot from the area or head immediately to the imprisoned dead guard from the picture. The machine will start but you will get the Keycode.
Monsters will appear in the area and it is best to grab them and throw at the working machines. After the fights, go upstairs. There's a Reforge there and you can use the code on the control panel.
Find Dani in the courtyard
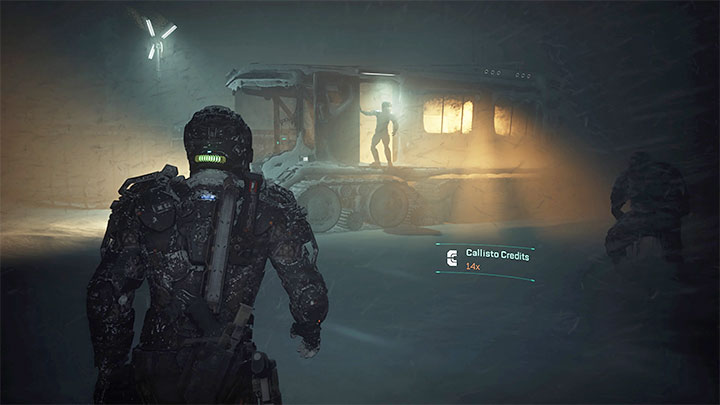
Choose Courtyard Access S502 and go down the stairs to the very bottom. You'll reach Courtyard Airlock S106 (there's also a loot chest inside).
You will find yourself in a location with many frozen characters. Some of them are monsters - be ready to fight. You don't have to defeat all the creatures - just reach Dani's vehicle.
Follow Dani
After exiting the vehicle, go to the place where Jacob's ship crashed. You can check out the cabins again (e.g. new collectible) or choose the back passage right away.
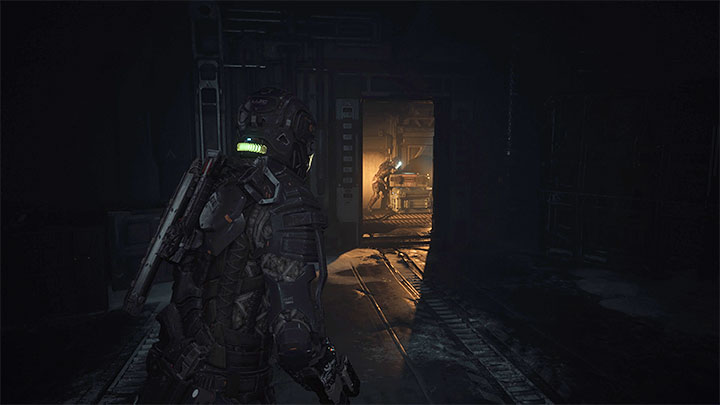
Go down to the lower deck and reach the chests where Dani will be standing. You will move to a new place - follow Dani. Squeeze through the large gate and reach the next airlock. In the new control room, you can pick up loot or move on right away. Reach the elevator.
You will reach the Hangar Flight Deck.
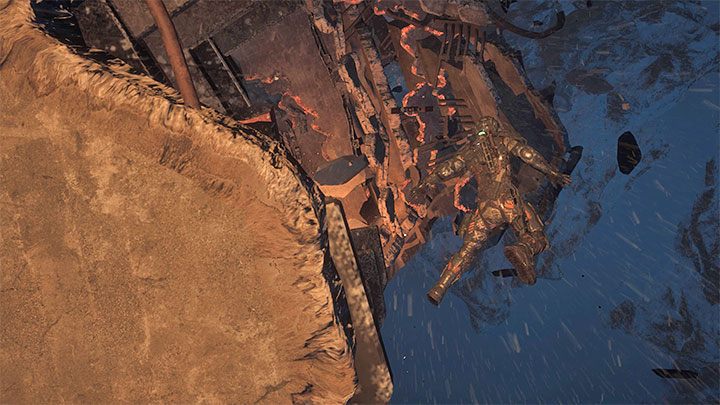
After failing to call the spaceship, you will start falling down - avoid hitting obstacles. Use the left analog stick to fly through various holes and openings.
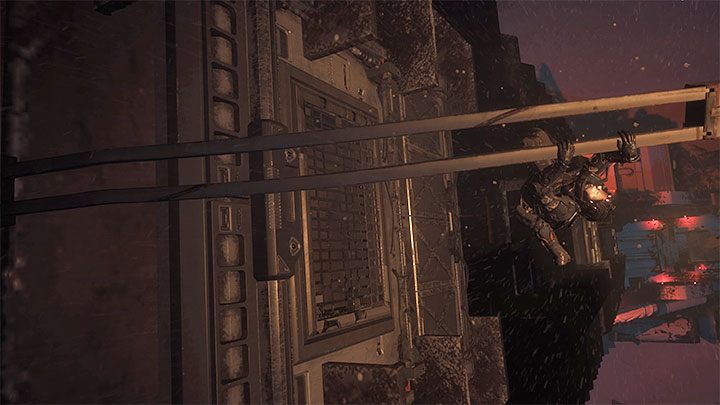
While falling down, press the interaction button (X/A on the controller) as soon as the icon appears. Jacob will grab onto one of the protruding elements.
After the cut-scene, approach Dani to end the chapter and advance the next called Below.