
Callisto Protocol: Aftermath The Callisto Protocol guide
This guide page describes Chapter 2 of the Callisto Protocol game - Aftermath. Our guide explains, among other things, how to get the pistol, Skunk gun and GRP glove, how to reach the medical unit, how to survive the battle in the SHU, how to get out of the basement and how to avoid the blade trap.
Last update: 06 December 2022
On this page of the Callisto Protocol guide, you will find a walkthrough for the second chapter - Aftermath . Thanks to our walkthrough, you'll learn, among others, how to print the BI-55 pistol in the ReForge, how to get the Skunk Gun schematic, where is the medical facility, how to use the GRP on enemies, how to escape the basement, how to survive the battle near SHU control room, how to defeat the security robot, and how to avoid the blade trap along the way to the exit.
- Find Elias in security
- Print a weapon at the ReForge
- Locate the Medical Facility
- Find a guard's corpse
- Reach the back exit
- Look for an elevator
- Find a way out of the basement
- Reunite with Elias
- Restore power
- Survive until SHU Control Door opens
- Locate the SHU Control Room
- Take elevator down to the cell
- Reach the Tram Station
- Exit the station
Find Elias in security
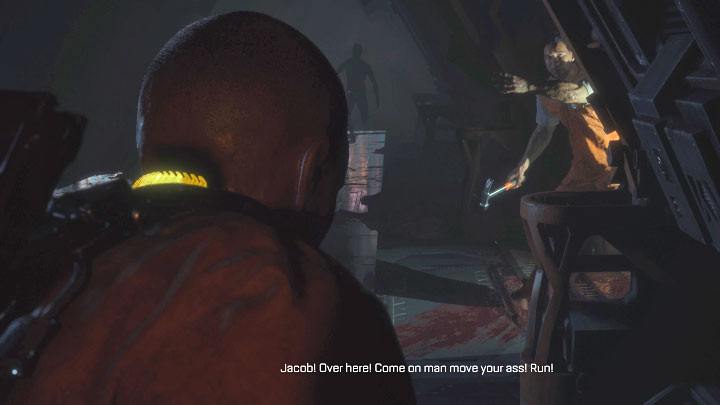
The second chapter begins shortly after the confrontation with Captain Ferris in the watchtower building. Follow the corridor to Overbridge D503.
Watch out for the jump scare - there is a monster to defeat here. Once it's defeated, open the door to Checkpoint D521 and squeeze through to Access Hall D573. A cutscene involving escape from monsters and meeting Elias will begin.
Print a weapon at the ReForge
Search the area (there is optional loot in cabinets and drawers) or follow Elias right away. In the security room you will receive a weapon fragment from Elias.
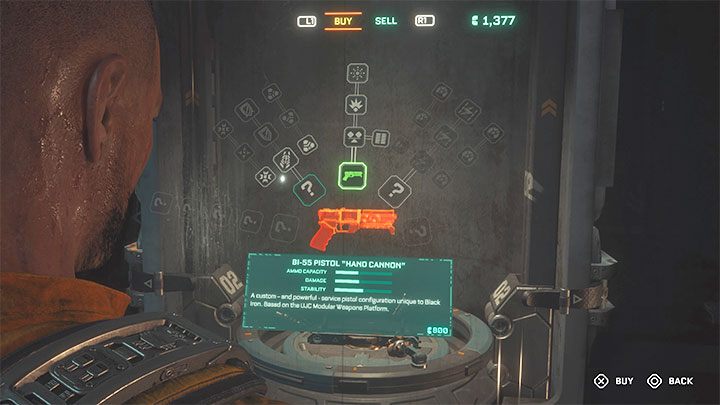
You can use the first Reforge . Paying for the BI-55 pistol is mandatory - you'll spend 800 credits, which are found in a large chest next to the ReForge.
In this and subsequent Reforges you can also:
- sell the accumulated loot - this rids you of unnecessary items and frees up inventory slots;
- upgrade your equipment - you can buy upgrades for melee and ranged weapons, bought for credits;
- buy supplies - this should be a last resort, as there are plenty of them to find in the world.
Locate the Medical Facility
Choose Access Hall D571. Upon reaching Access Hall D554 you will encounter a monster and you can try out your new firearm. Reach Lift D513.
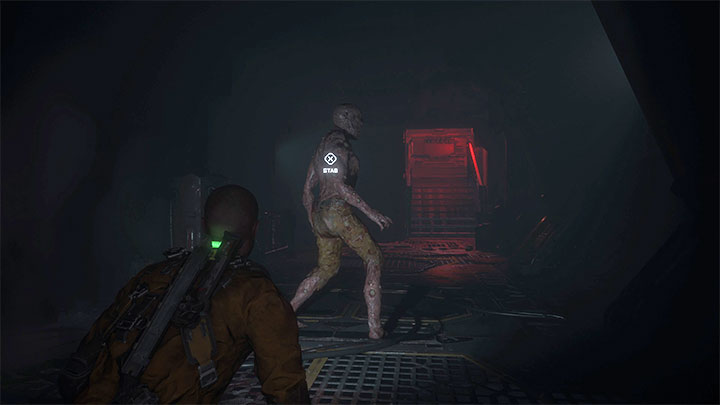
On the new floor, there is an opportunity for a stealth attack - crouch, approach the monster from behind and stab it with the shiv. Once the monster is out of the way, climb the stairs.
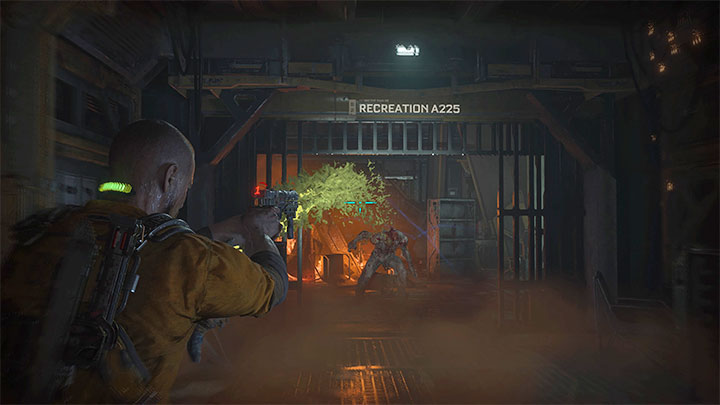
Upstairs, you'll encounter your first acid-spitting monster. Strafe left and right to not get hit. If it comes to melee combat, you can fire your pistol between baton attacks - simply quickly aim and fire after the blue icon appears.
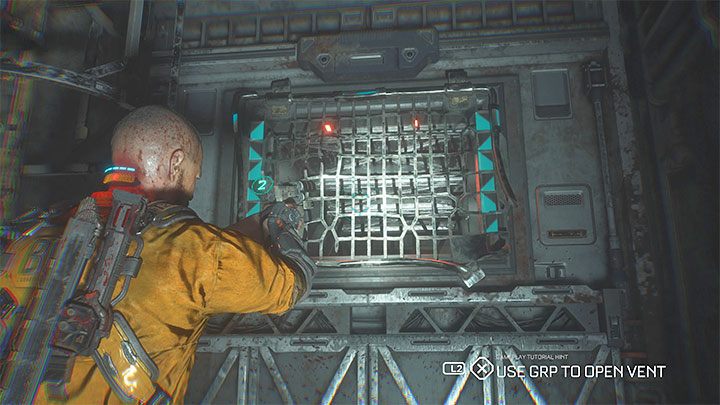
Choose Recreation A225 and reach the entrance to the ventilation shaft. You'll find yourself next to 2 monsters and you can eliminate them with stealth attacks. If it comes to open combat, kill them one by one.
Find a guard's corpse
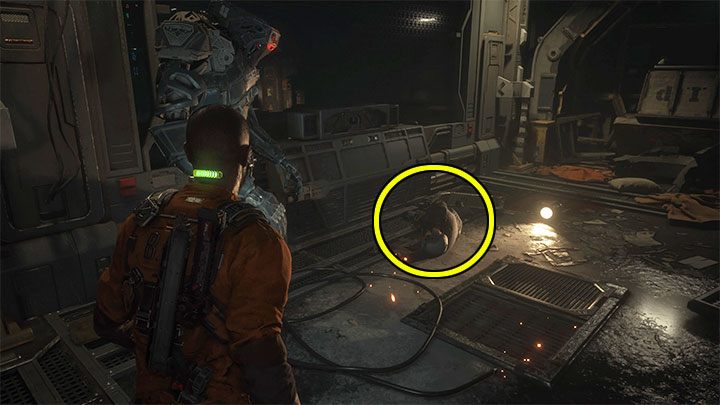
To access Laundry B202, you need a Keycode . Go back to the area where you've encountered the damaged robot. There is an interactive corpse here -your hero will cut the implant out of it and obtain the access code. This unlocks the way to Laundry B202.
Implants are also collectibles. You can optionally rip them out of the encountered bodies.
Be careful, as one of the monsters is playing dead - attack it from a distance or press the button in quick succession when wrestling.
There is a fork in the road:
- The right passage (B2 Laundry) leads to optional areas with collectibles and loot.
- The left passage (B3 Maintenance) is the main one and choosing it continues your journey.
Another fork:
- Workshop B415 can be opened with the shiv and leads to new optional areas.
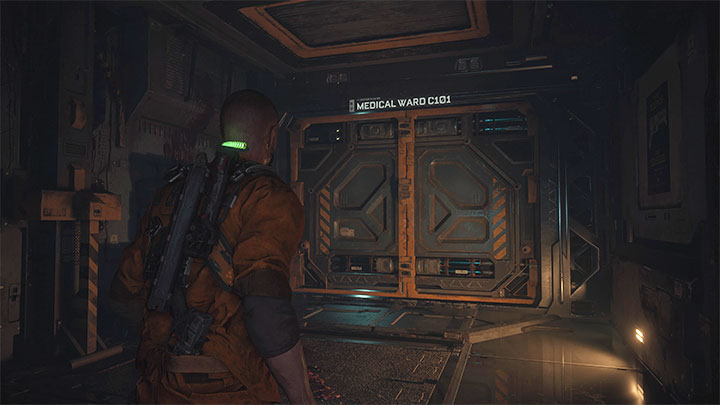
- Maintenance B414 is the path you choose when you want to continue forward. You've arrived at your destination - Medical Ward C101. Slide the door open.
Reach the back exit
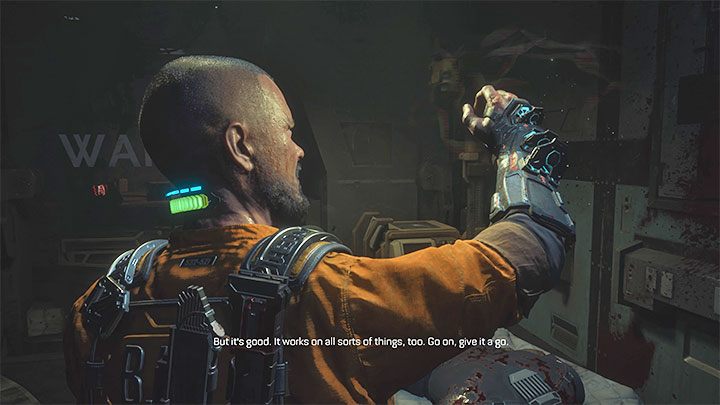
You'll reach Operating C104 - here you can find the GRP - a glove that allows you to grab objects and enemies (hold down the aim button and press X/A on the gamepad). The principle behind it is similar to telekinesis.
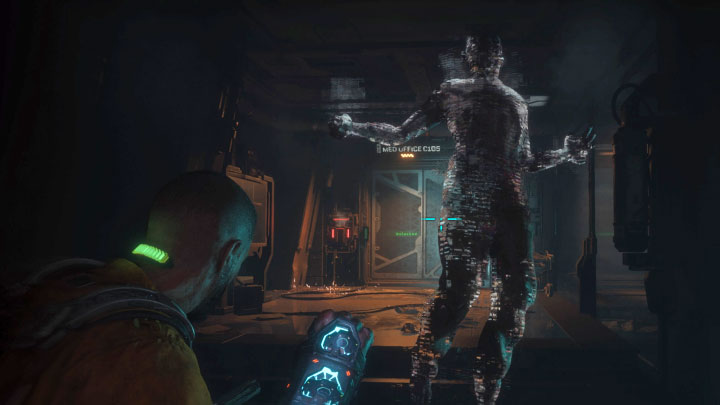
Take the Gate Fuse from the fusebox on the left. Along the way, you'll watch a hologram and meet new monsters. You can:
- grab objects and throw them at enemies - this will be useful in the future, e.g. you can throw exploding canisters;
- grab opponents and throw them back - the best outcome is in locations where you can shove the opponent at spikes, traps, or chasms.
GRP consumes energy (blue bar on the back of Jacob's neck). From now on, you'll encounter GRP Battery Packs which allow quick replenishment of energy. Energy can also replenish on its own, albeit slowly.
After defeating encountered monsters, reach the other end of the room and place the Gate Fuse in the new fusebox - the passage to Med Office C105 will be unlocked.
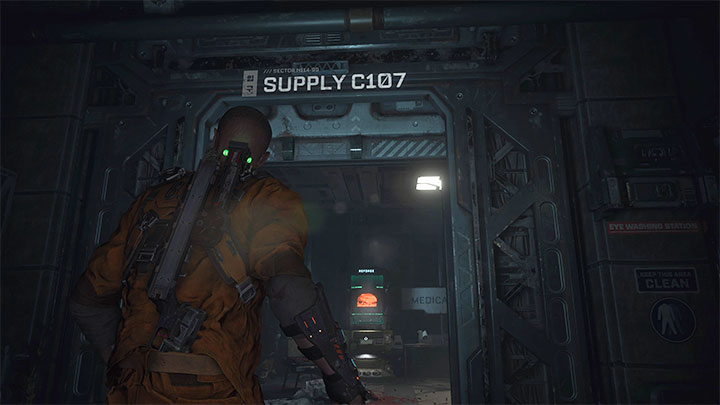
You can take a detour and explore adjacent rooms - Supply C107 hides a ReForge where you can buy your first GRP upgrade. To continue, choose Med Observation C108. Continue to Maintenance C110 and slide the door open.
Look for an elevator
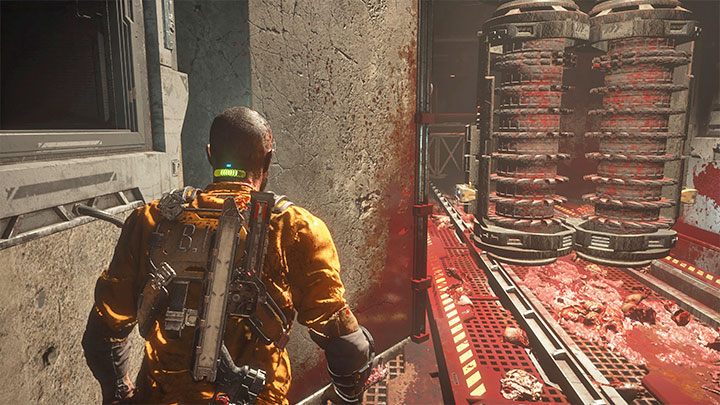
Get past the hanging corpse and reach Maintenance Lift C108. You'll be taken to the basement.
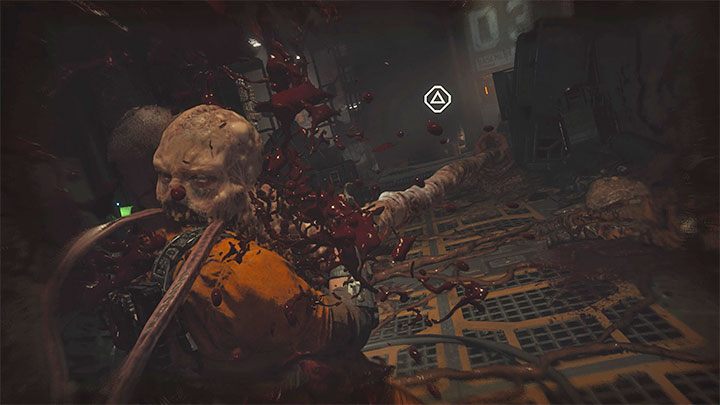
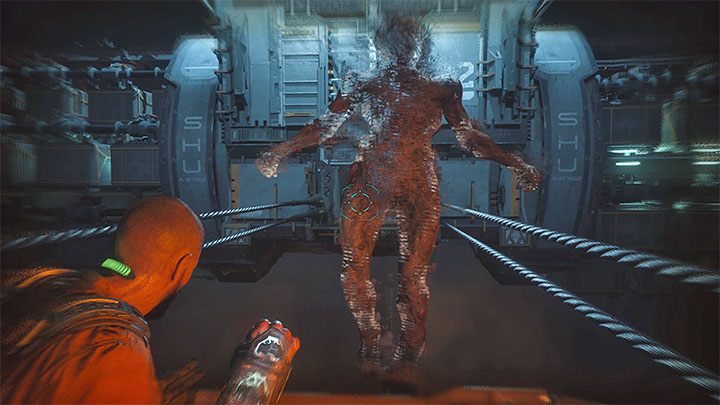
From here on, watch out for monsters that pop out of cocoons.
- If you get grabbed (example in the screenshot), quickly press the indicated button (Triangle/Y on consoles).
- If you encounter a cocoon, make sure to destroy it from a distance - this way you'll avoid the wrestling scene and the risk of losing health or dying.
Find a way out of the basement
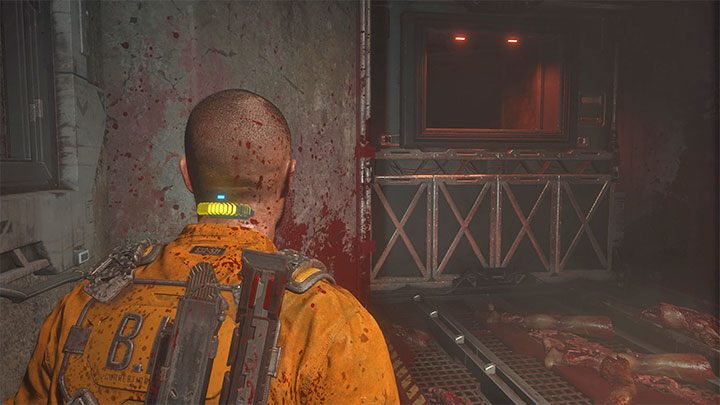
There is a locked pathway (D3 Basement) here that requires a Gate Fuse - remember it as you'll be back here.
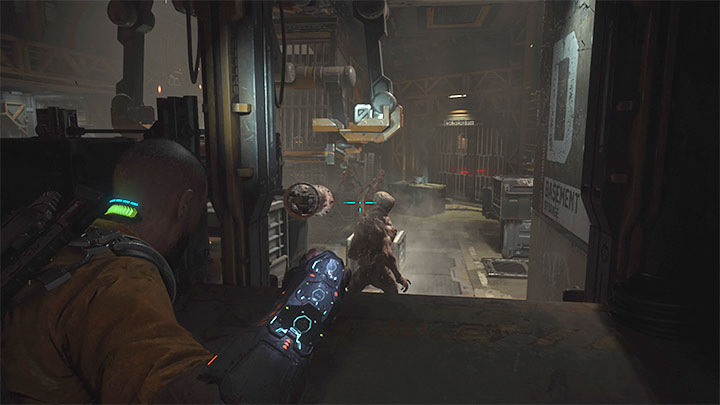
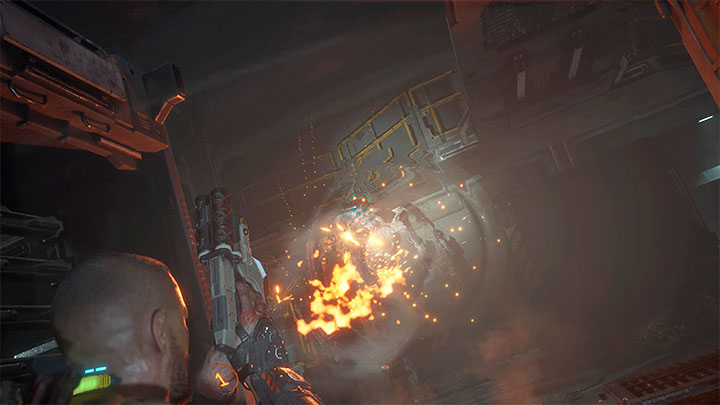
Along the way, destroy further cocoons and kill big monsters. You'll encounter a group of monsters - use GRP to grab an explosive canister. Hurl it at at least two creatures to make matters easier.
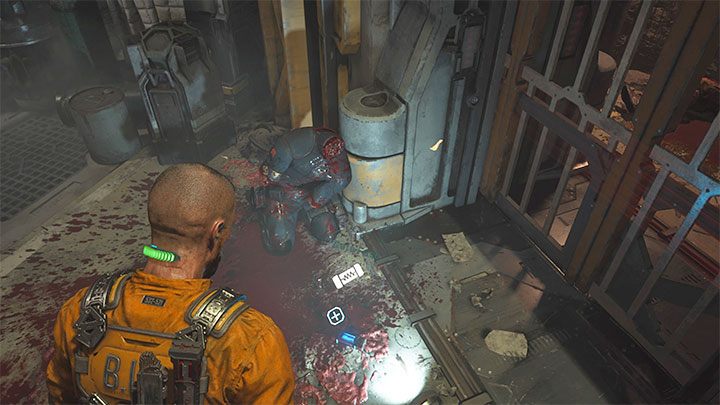
You'll find the Gate Fuse in the same area. Pick it up and return to D3 Basement - you can place the Fuse in the box.
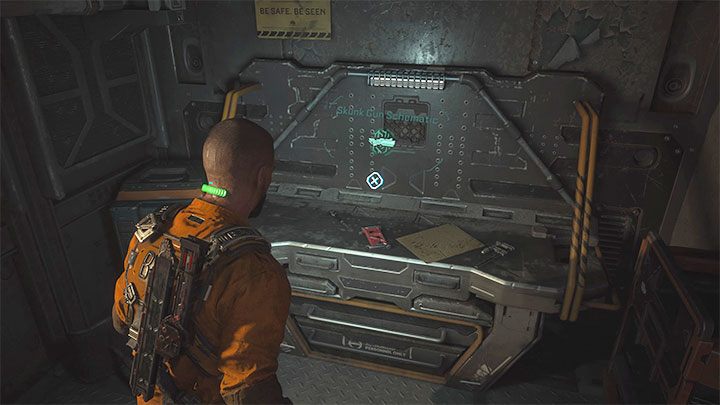
An optional area will be unlocked, and after getting through the ventilation shaft, you'll find the Skunk Gun schematic (requires 1 inventory slot). You can use it at the next ReForge. This one unlocks the Skunk Gun (provided you pay 800 credits).
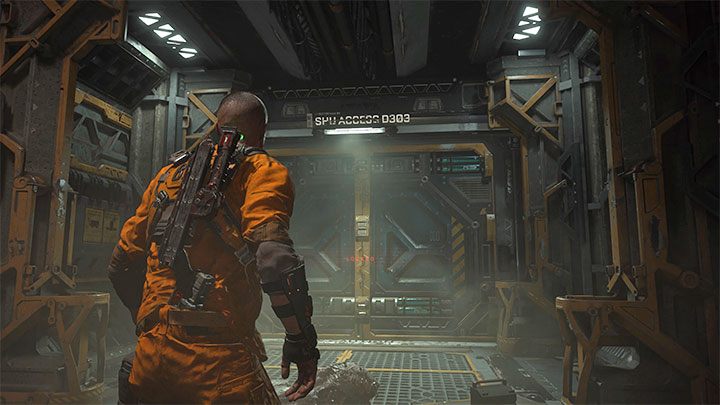
Take the Fuse, travel to the place where you've found it, and only then use it to open SHU Access D303. A new elevator will be unlocked, thanks to which you can leave the basement.
Reunite with Elias
After arriving, follow the balconies to reach SHU Command D701. Head towards the gondola - along the way you'll find a new ReForge - this is your opportunity to buy the Skunk Gun.
Get into the gondola and activate it. A group of monsters will appear in front of you - either grab them with the GRP and throw them into the chasm or kill them with firearms.
Restore power
Start by gathering what you can from nearby areas (especially ammunition and GRP batteries), as a large battle awaits you.
Once you're ready, pick up 2 Gate Fuses from the lower boxes and place them in the 2 boxes on the upper balconies.
Survive until SHU Control Door opens
Nearby machines will spring back to life. You need to defeat a few waves of monsters - only after defeating them the door below will open.

Make sure to use the GRP to grab enemies and throw them at working machines that serve as traps. Each contact with the machine will end in the monster's death. The more energy you have at your disposal, the more monsters you can kill that way.
Jacob can die just as easily after contact with working machines. Watch out for them.
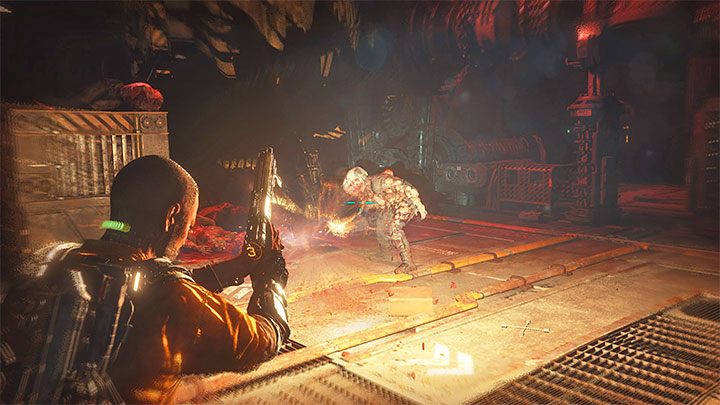
After the GRP's energy is depleted, finish up with firearms. This is a way of dealing with larger monsters and acid-spitting ones. You can also combine various attack methods e.g. knock down monsters with knee shots and finish them up with melee weapons.
Locate the SHU Control Room
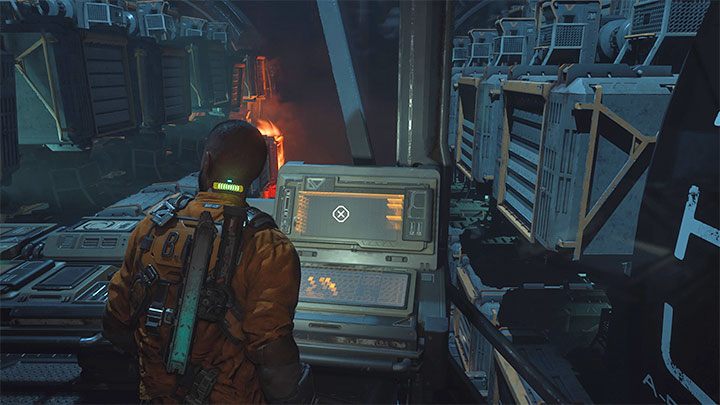
Once all monsters are defeated, the machines will turn off and a door on the ground floor leading to SHU Control D705 will be unlocked. After opening the door, quickly kill the crawling beast.
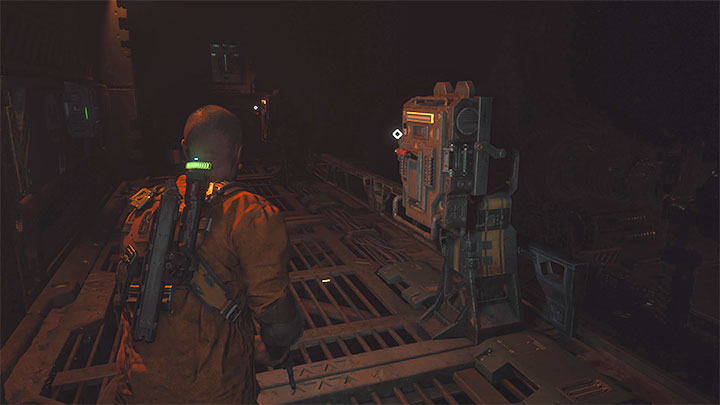
Upstairs, you can optionally use a Reforge. Ultimately, you have to examine the interactive console in the picture.
Take elevator down to the cell
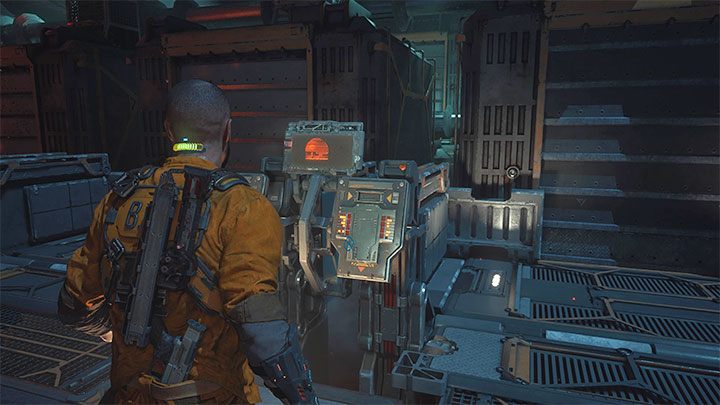
Return to the lower level and open SHU Cell Wing A. A group of monsters will appear once you use the elevator. You can try to make a sneak attack on one of the monsters or use the GRP to throw the enemies into chasms.
Once the fighting concludes, find an interactive console near one of the cells (screenshot). Activate it to start a cut-scene. There is a collectible waiting for you on the table. Use the Shiv to escape the cell.
Reach the Tram Station
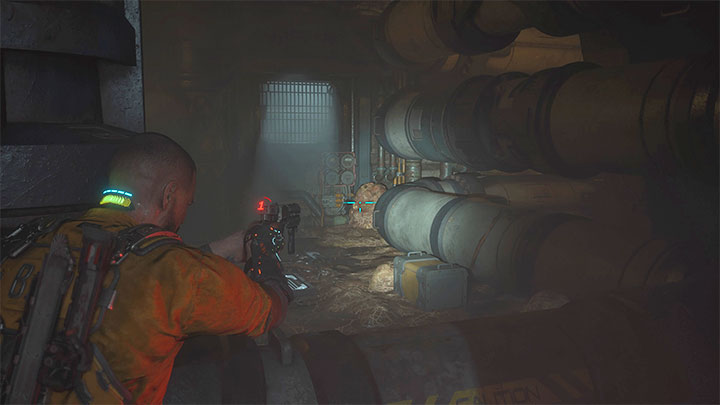
After going through the ventilation shaft, you will reach a new location - start by defeating the monster. Continue following the narrow pathways between pipes.
Watch out for cocoons (exemplary cocoon in the screenshot - best to destroy them from a distance) and small monsters - kill them quickly with melee attacks or throw them off you (quickly press Triangle/Y) Reach the ladder and go down.
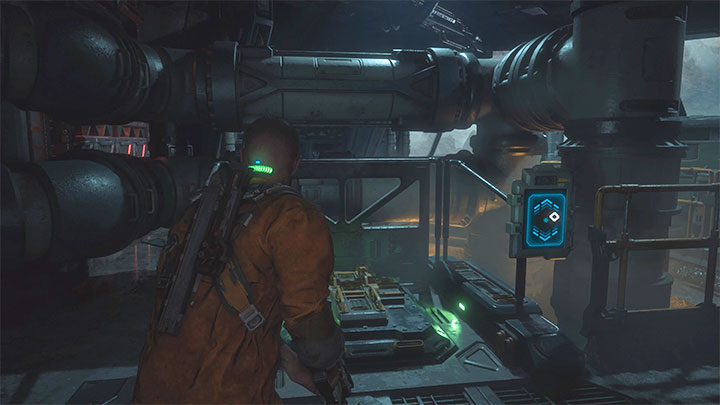
Use GRP to rip out the bar from the screenshot. This way you can access a new ventilation shaft. Once you reach the other side, defeat the monster and go right.
This area is patrolled by a security robot - start sneaking and follow the linear path.
There are two ways of proceeding:
- Destroying the robot - hide behind cover, leave it at an opportune moment, and fire at the robot's head. Best use the Skunk Gun - 2 hits should be enough. The robot will drop a decoder (you can sell it for 500 credits at the nearest ReForge).
- Sneaking past the robot - take a moment to observe the robot's route and sneak behind it. Keep going straight after the robot turns left.
Exit the station
Get rid of the new monster (quickly, if the robot is still active) and reach the ventilation tunnel.
The path will lead you to a corridor with a bladed trap . The plan here is as follows:
- After the trap starts moving, hide in the side area .
- If any monster starts approaching you, hit him with the pistol to stop him for a while. The trap can easily kill all monsters here.
- In the final side area, activate the trap, hide, and quickly run up to the ventilation shaft.
After leaving the shaft, approach the large window - in the distance, you will notice a residential habitat, which will become your new destination.
In the same room you can use the panel to open the hatch . Go down the ladder to complete this chapter and proceed to the new one - Habitat.