

Sniper Elite 5: Mission 3 (Spy Academy) map and description of the location Sniper Elite 5 guide, walkthrough
Beaumont Saint Denis Monastery is the central location of mission 3 of Sniper Elite 5. The map from our guide shows the most important locations and secrets from the monastery and surrounding areas.
Last update: 03 June 2022
Key points of Sniper Elite 5 - Mission 3
Main locations on the map
Kill List target
Secrets and collectibles
The map of mission 3 (Spy Academy) of our Sniper Elite 5 guide is a great introduction to the main walkthrough. Before starting the mission, we recommend you get to know the monastery and the surrounding buildings. On the map, we have marked the most important locations and secrets and collectibles to unlock - there are 19 to collect.
The most important locations of the Beaumont Saint Denis map
- Viewpoint - point 1 on the map
You will reach the viewpoint immediately after starting the mission (in its default starting point). It is a great place to take long shots and get rid of Nazis (including enemy snipers) from a distance of several hundred meters. Thanks to this, you do not have to worry that someone will hear the shots.

- Checkpoint - point 6 on the map
It is located on the main road leading towards the monastery's central building. This is an obvious path to the main mission objective. Alternatively, you can look for the passage at the back of the church located northeast of the outpost.
- Church - point 8 on the map
The smaller church is in the eastern part of the town, and on your way there, you have to avoid being detected by snipers. Officer Bruhl is at the top of the church tower with a letter containing information on the meeting place. In addition, at the back of the church, you can find an alternative path to the monastery.

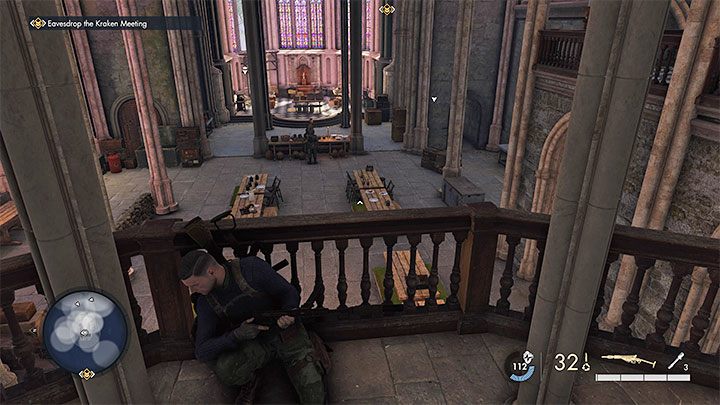
- Monastery - point 9 on the map
It is the main building on the map and one of the mandatory mission objectives. You can enter the huge building from several different sides and expect to encounter numerous guards. Ultimately, the character has to get to the tower to eavesdrop the conversation and obtain intel.
- Spy Academy - point 12 on the map
The Spy Academy building is located north of the main monastery building. Investigating this place will allow you to unlock the only side objective of the mission - murdering the instructor. This task is initially hidden. There are many soldiers on the academy's grounds, but you don't have to deal with them all.

- Evacuation point - point 13 on the map
The evacuation point is located at the northern end of the map, and it is a very tricky area because many snipers in this area can effectively prevent exfiltration. A good tactic is to place yourself where you can see smaller islands to kill enemies with long-distance shots.
Mission 3 – general information

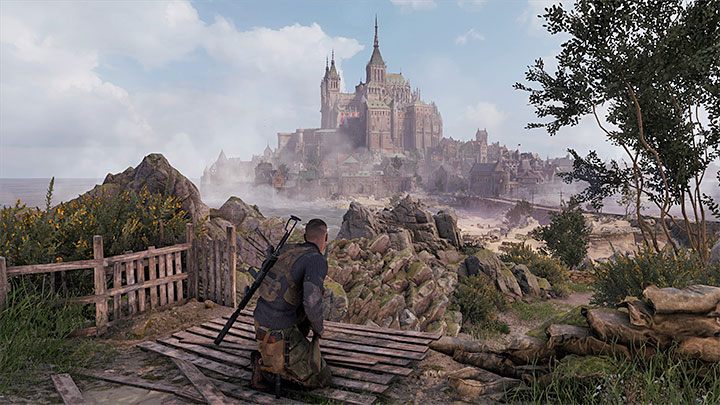
The Beaumont-Saint-Denis Monastery on the island is the most important place in the third mission of Sniper Elite 5. In addition to the multi-level main building of the monastery, you will also have the opportunity to explore the surrounding roads and buildings. This map may look like a maze because it is multi-level, and there are a lot of more and less obvious passages to find. We advise you to explore the map thoroughly to discover as many optimal paths and tracks as possible.
You will start the mission at the southern end of the map, and your first task will be to cross the beach to the monastery. In its initial phase, you will be able to effectively eliminate some enemies from long distances. The situation will change drastically after reaching the residential areas, where you will mainly eliminate the enemies at short and medium distances.
Enemy snipers are a serious complication in this mission. Due to the very dense buildings, locating them can be quite a challenge, and they have a good field of view. First of all, you have to carefully check the area with your binoculars and react quickly to rays of light reflecting off the sniper rifle scope, which warns you.
When completing the mission for the first time, the starting point is predetermined. However, you can unlock two more and thus have 3 possible starting points. The western one (Smugglers Landing) may be of particular appeal, as you will be close to the road leading to the hill on which the monastery is located.
Mission 3 has various main and side quests. We discussed them on the following pages:
- Finding the meeting location - You have to reach the main part of the island first and then find out about the planned meeting in the monastery. It is possible thanks to collecting documents or eavesdropping a conversation.
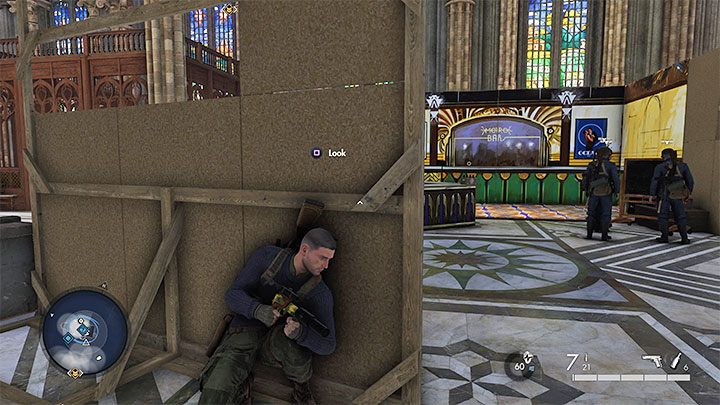
- Eavesdropping on the meeting and obtaining data on Kraken - Karl has to get to one of the higher levels of the monastery to eavesdrop on the enemy officers and get the files of Operation Kraken.
- Side quest - In mission 3, you only can complete 1 side quest in which you have to get rid of the officer responsible for training new spies.
- Fabian Richter - He is one of the targets on the list, and by default, he takes part in the meeting of the main mission objective. Our walkthrough describes how takedown Richter by surprise.
- Evacuation - Reaching the boat at the northern end of the map is the last step and not an easy one. Our walkthrough offers an optimal escape route and tips on how to avoid the snipers.
Mission 3 allows you to obtain 19 secrets and collectibles. These are 3 workbenches, and various types of notes or memorial items. We have marked their locations on the map.