
Observation: Center - walkthrough, level 4 Observation guide, walkthrough
Last update: 25 June 2020
In part IV of the walkthrough to Observation, you will learn how to activate COOLANT NETWORK HUB and how to gain access to the CREW TRACKER.
Together with Emma, you will go to module UN-01 and you will gain access to another system function - STATION ALERT. Press space bar and then E to look inside.
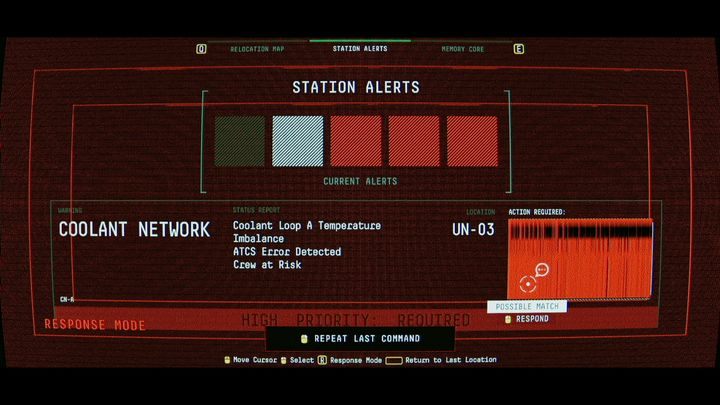
Click on the first red square. Then, while holding R, inform Emma about the problem in module UN-03.
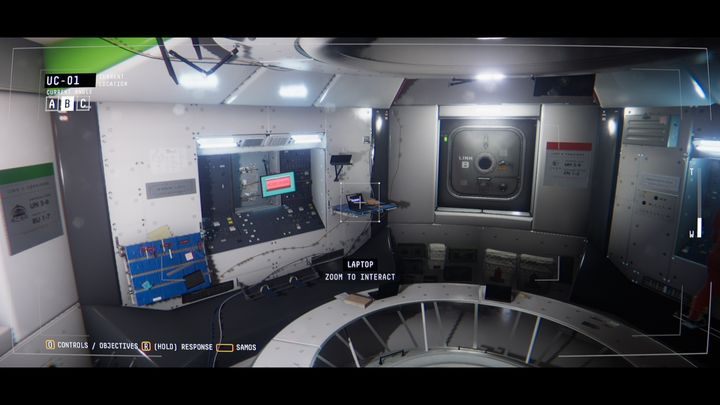
Now you can search the station. Go to station map and connect to cameras in UC-01. There you will find a computer. In it there will be three files to restore, UN HATCH SCHEMATIC, a message from Jim (JE-ALL - ALMOST THERE) and a document titled DECRYPTION PROTOCOL.
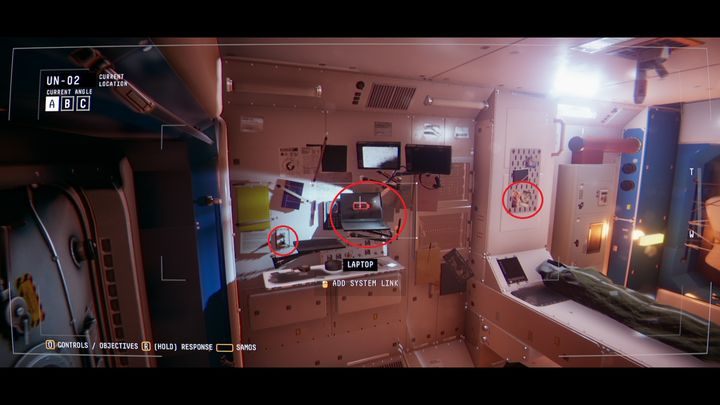
In UN-02, connect the laptop to the power. On it you will find a message from Mae (MM-JE - UNNECESSARY ROTATIONS). Above the bed you will find a photo (MAE SPACEWALK PHOTOGRAPH).
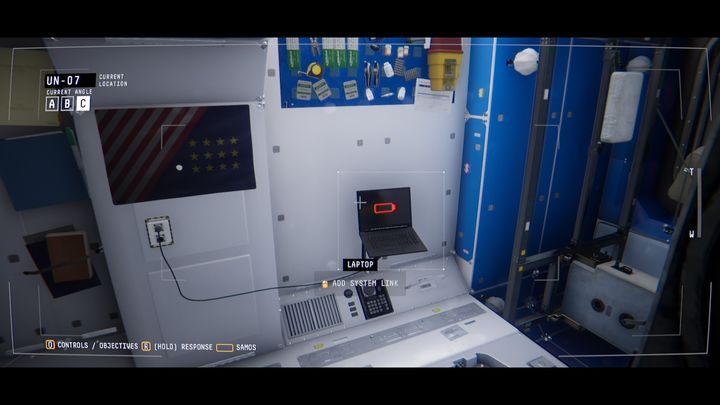
In UN-07, you will find a laptop. This one must be first connected to a power source as well. On it you will find Jim's message (JE-GC - EVENT MARKER APPROACH). On the wall you will find a document titled BIOMEDICAL RESULTS: JIM ELIAS.

In the module ULA you will find a laptop with a message from Mae (MM-SL & AY - EMMA & JOSH).
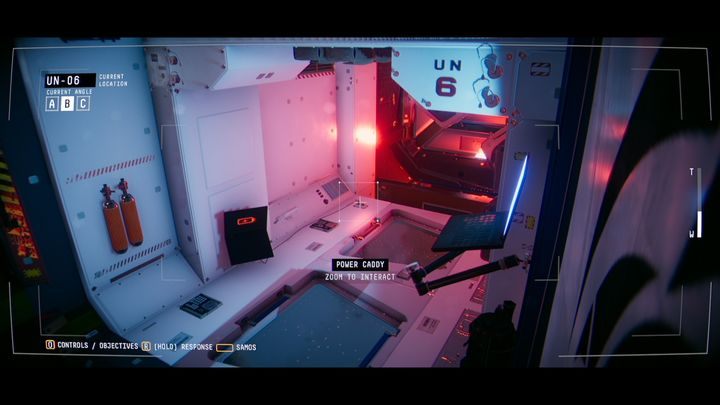
In UN-06, you will find a laptop disconnected from a power source. In it you will find a message from Josh (JR-JE - RACTOR ON STANDBY).

In UN-05, scan the document that is on the box with the SPHERE EXPERIMENTAL NOTES documents.
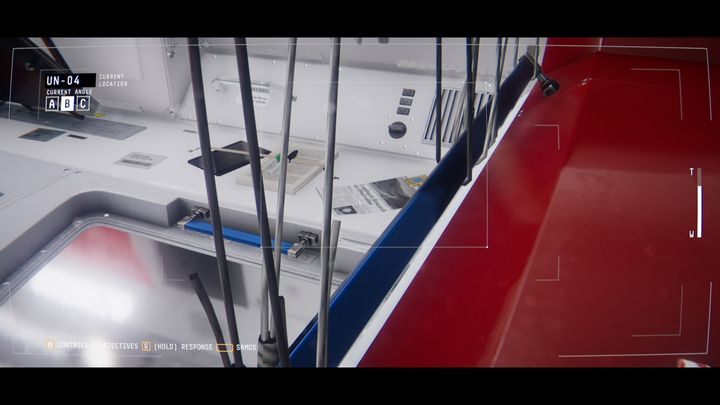
UN-04 contains a laptop (the pin is 2491) with a message from Ailsa (AY-HOME - BAD DAY). On the wall you will find a piece of a newspaper (LANDMARK REASERCH ON OBSERVATION).

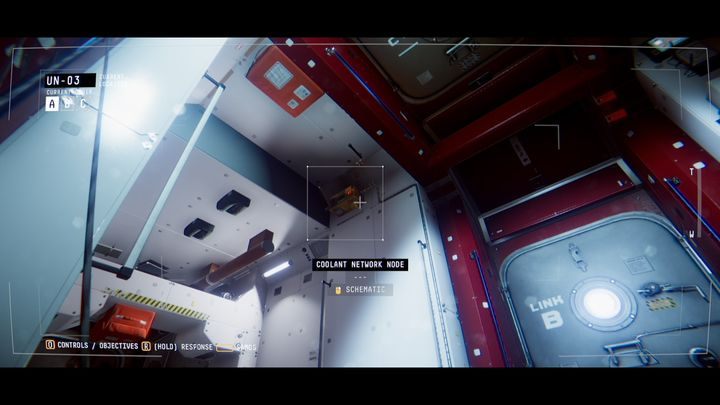
Move to cameras in UN-03. First, connect the laptop to the power source and read two files in it. There you will find a message from Josh (JR-EF - DATE NIGHT) and a damaged COOLANT NETWORK SCHEMATIC. You will find the remaining part of the schematic on a piece of paper hanging next to the computer (COOLANT NETWORK SCHEMATIC).
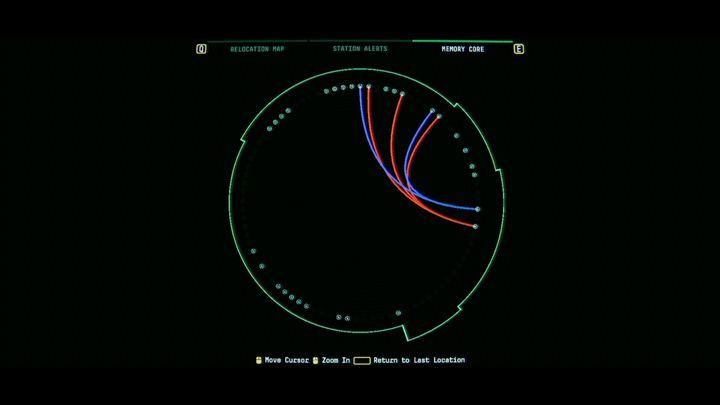
Combine these files in SAM's memory core.
In the same room, you will find three devices called COOLANT NETWORK NODE. Each of them has a three-digit number. In the document COOLANT NETWORK SCHEMATIC, you will find formulas for the four devices with the three-digit number assigned to them. Connect to the device and enter the proper formula.
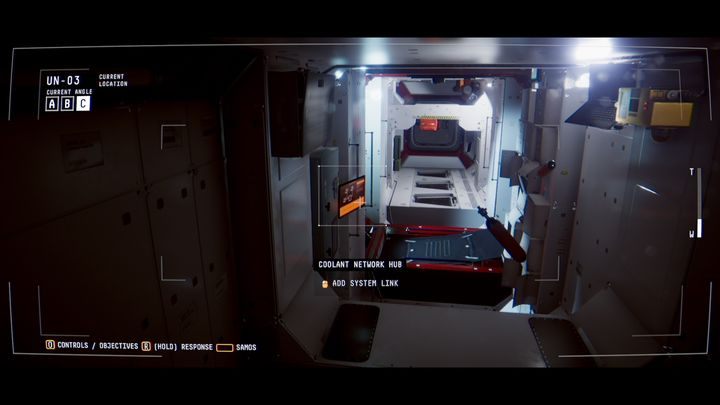
Once you do it with all devices, connect to the screen called COOLANT NETWORK HUB. Click on start, then on COOLANT NETWORK NODE, on number 186, and on CONFIRM. The first cooling system will turn on. Do the same with the other two cooling systems. Then, click on INITIATE, on HUB CONTROLLER, and on CONFIRM. The whole cooling system on the station will start working.
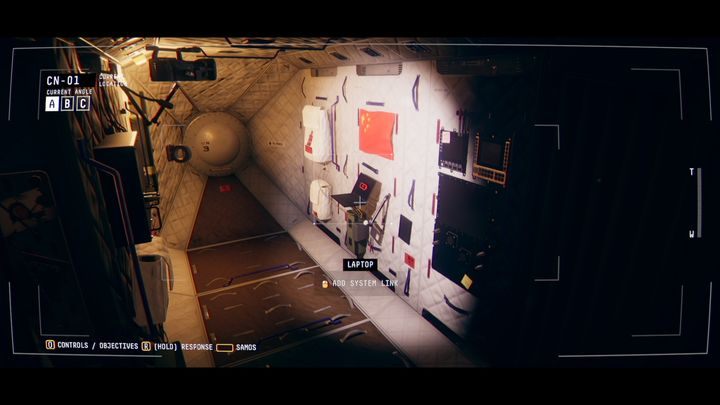
You will get access to the Chinese space station modules. In the CN-01, you will find a computer on the wall. Before you use it, first connect its power supply. You will read a message (AY-CCI - DATA DROP UPLOADED).
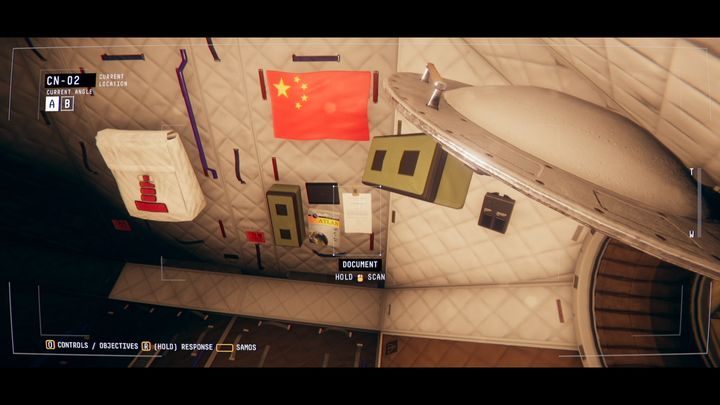
In CN-02, you will find a document to scan (CLIMATOLOGY THESIS). Switch to camera B to scan schematics for Chinese modules on the wall (CN HATCH SCHEMATIC). Log into SAM's memory and combine these pieces of data.

Go to system alerts. Click on the next one. Hold R and inform Emma about the lack of access to the device that tracks station's crew. You must repair three sensors located in modules UN-01, UN-03, and UN-06.
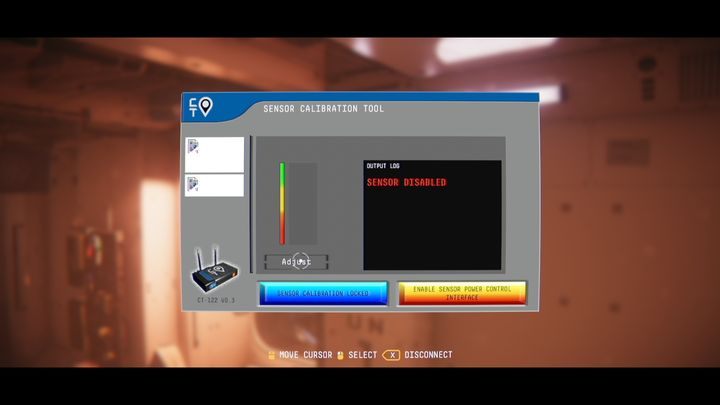
Connect to the device on the wall called CREW TRACKING SENSOR. Click on ENABLE SENSOR POWER CONTROL, then on ADJUST. Keep pressing W until the bar is filled. Click on ENABLE SENSOR CALIBRATION TEST.
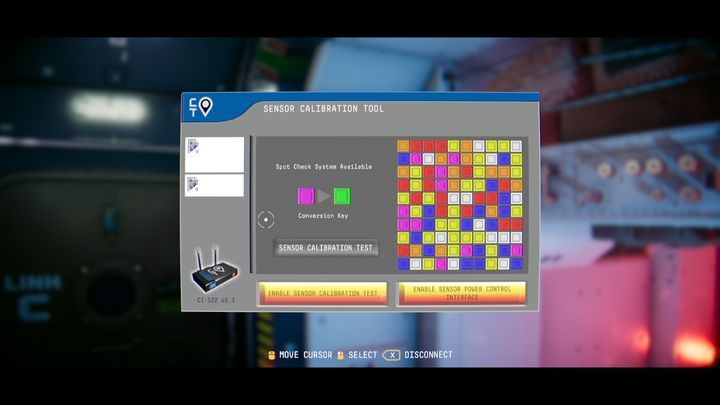
Click on SENSOR CALIBRATION TEST. On the left side of the green square you will see a square of random color generated. Mark all squares that have the same color in the nearby picture. You will change their color to green. The sensor will start working correctly. Do the same with the other two sensors in the UN-03 and UN-06 modules.
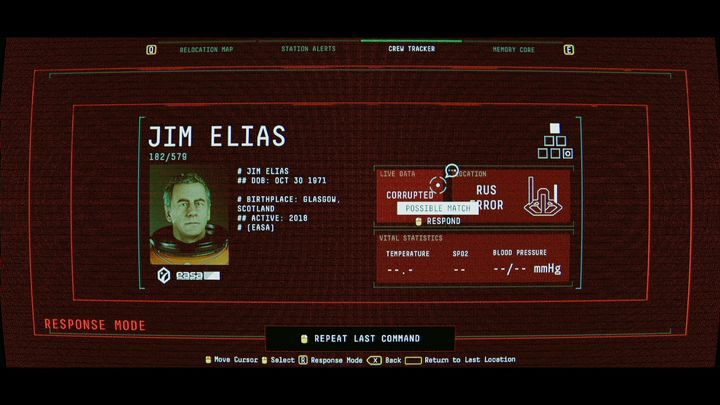
Use space bar to enter the system. Go to CREW TRACKER. Click on Jim Elias. Hold R and deliver LIVE DATA to EMMA. Give her the LOCATION and VITAL STATISTICS. Press space bar to get back to the crew list and deliver information about Josh to Emma.
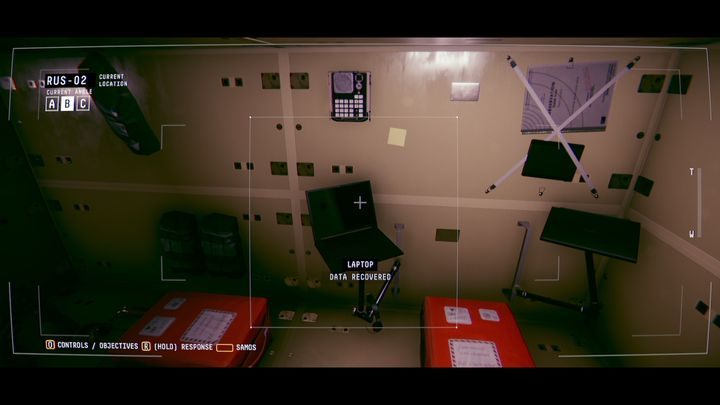
You will gain access to cameras in Russian modules. In RUS-02 you will find a laptop with a message from Stanislav (SL-AY - SURVEY DATA) and a document on the wall (STANISLAV SKETCH).
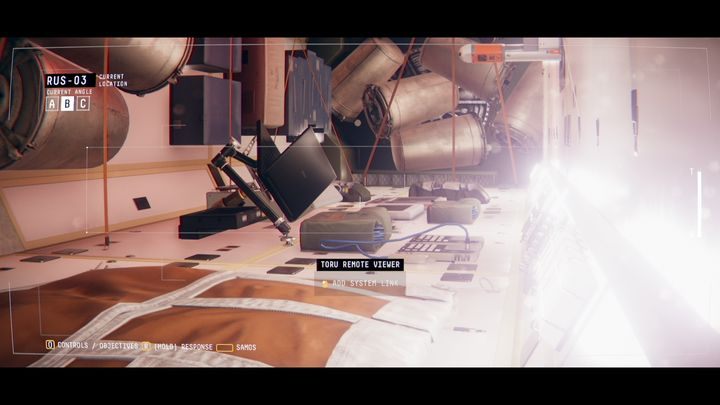
In RUS-03, you must connect to TORU EMOTE VIEWER and read the data you can find there (TORU DATA LOG). Switch to camera B. You will see a laptop attached to the wall. In order to connect it to the power supply, you must turn the camera to the left until you find a power socket. On the laptop, you will find a message from Stanislav (SL-EF - NEW ORBITAL PATH?).
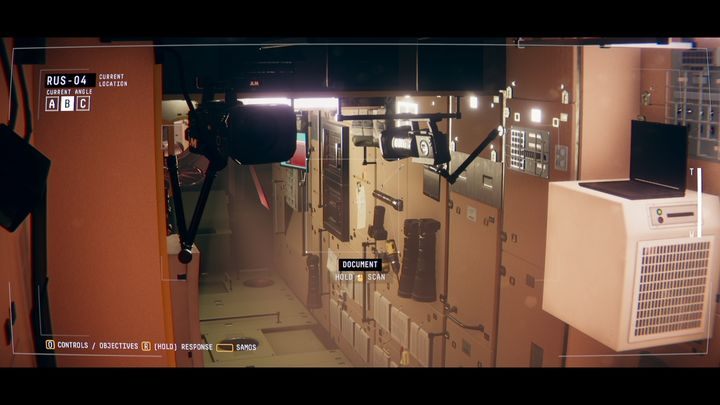
In RUS-04, you will find a document on the wall (STATION FUNCTIONALITY REVIEW).
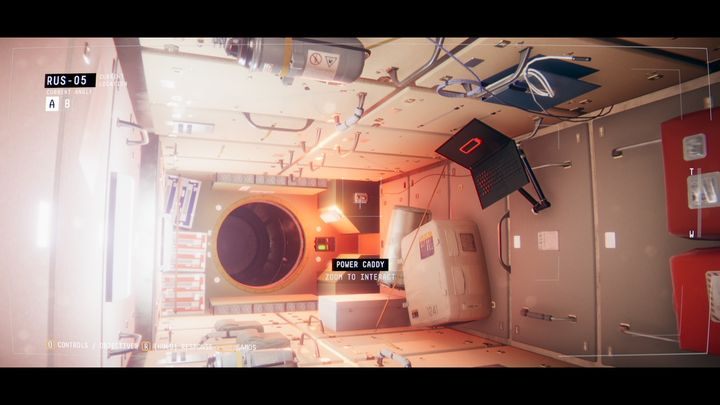
In RUS-05, there is a computer. Connect it to the power supply and read the message from Mae (MM-JE - EMIGRATION TO CHINA).
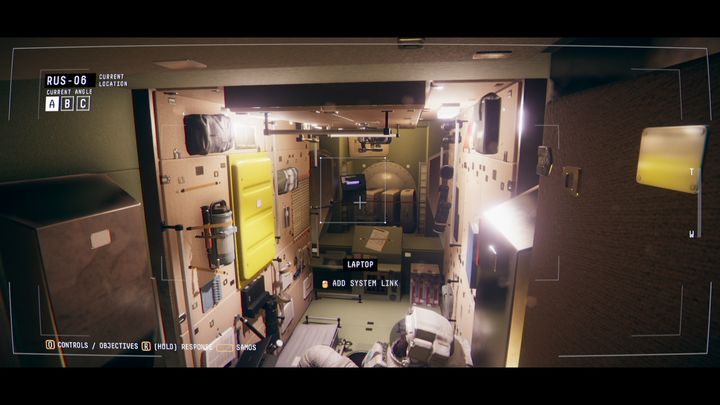
Go to alerts, click on the first red square and inform Emma about the malfunctioning cameras in module RUS-06. Emma will give you access to them. A laptop is attached to the wall there. You will find the pin written on the yellow paper on the casing - it's 9338. On the laptop, you will find a message from Jim (JE-ALL - THANK YOU) and RU HATCH SCHEMATIC.
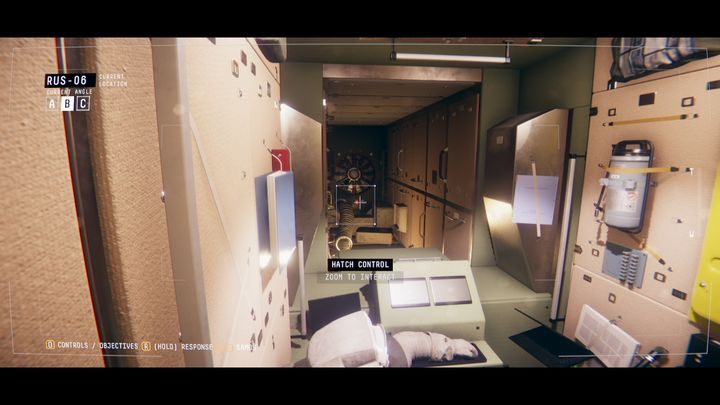
Hold R, hover on Jim and click on him. This will inform Emma about his location. She will ask you to open the hatch. Login to the control near the hatch, open the schematic with the right mouse button and enter the correct diagram (L3).