Guides & Walkthroughs New Guides Popular RPG Action Strategy Adventure YouTube Guides Mobile App

Observation Guide by gamepressure.com

Observation Guide

Table of Contents

Observation: Second station - walkthrough, level 6 Observation guide, walkthrough

Last update: 25 June 2020

In part VI of the walkthrough to Observation you will find detailed information how to move through another station and where to find all messages hidden within it.

Drive forward - Observation: Second station - walkthrough, level 6 - Walkthrough - Observation Guide

Drive forward. Hold R and inform Emma about the closed hatch. When Emma opens it, move forward. You won't have access to the maps, but the station is similar to the previous one - the layout of the modules is same as before.

You will find yourself in module CN-02 - Observation: Second station - walkthrough, level 6 - Walkthrough - Observation Guide

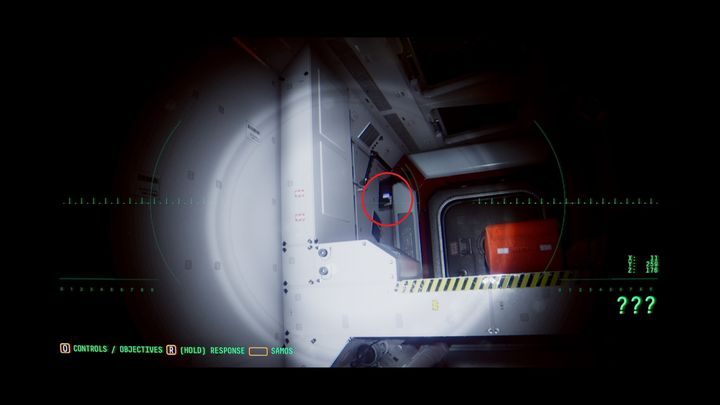
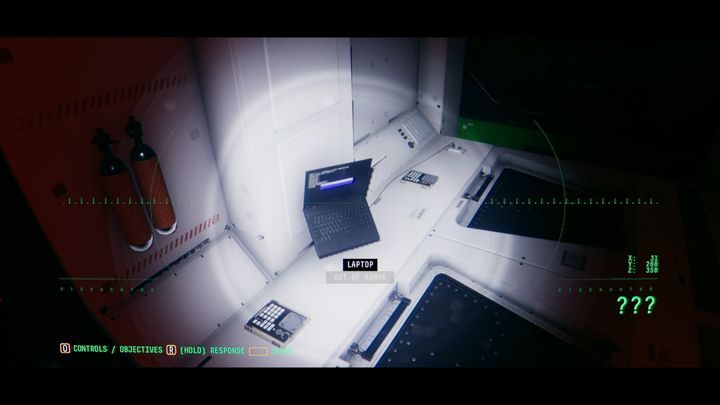
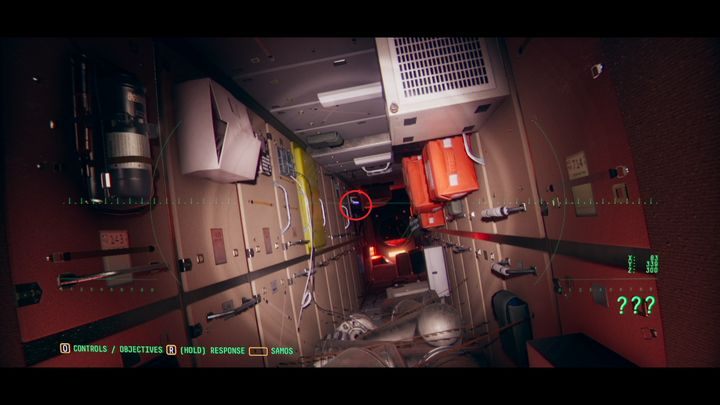
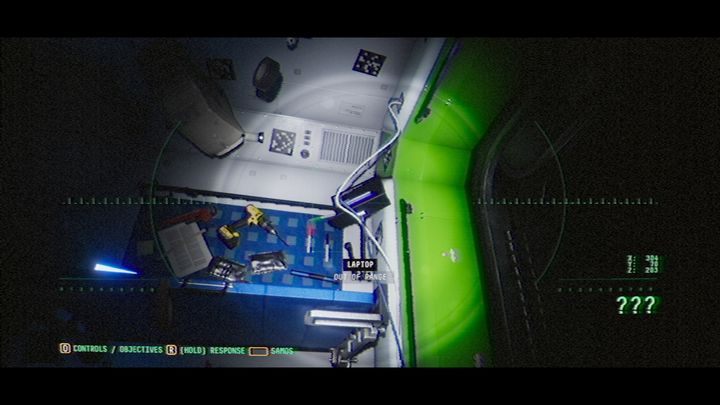
You will find yourself in module CN-02. On the right side you will see a laptop with a message from Jim (JE-ALL - GET ON WITH IT).

Move through the corridor - Observation: Second station - walkthrough, level 6 - Walkthrough - Observation Guide

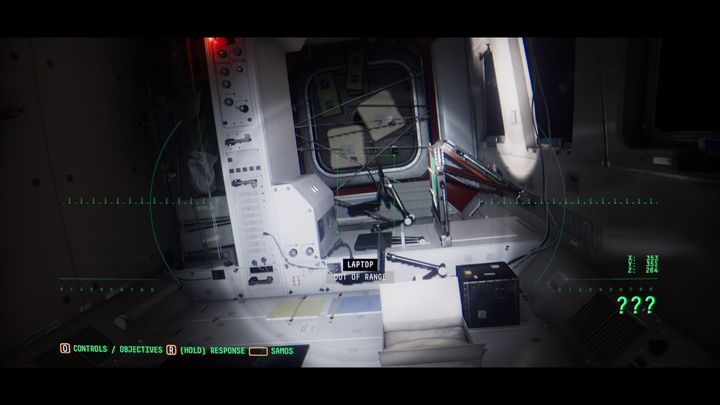
Move through the corridor. Soon you will find another computer. The pin code is 1942. On the computer you will find a message from Ailsa (AY-JR - I'M STUCK).

Find the hatch named LINK B (its close to the helmet drifting in the space) - Observation: Second station - walkthrough, level 6 - Walkthrough - Observation Guide

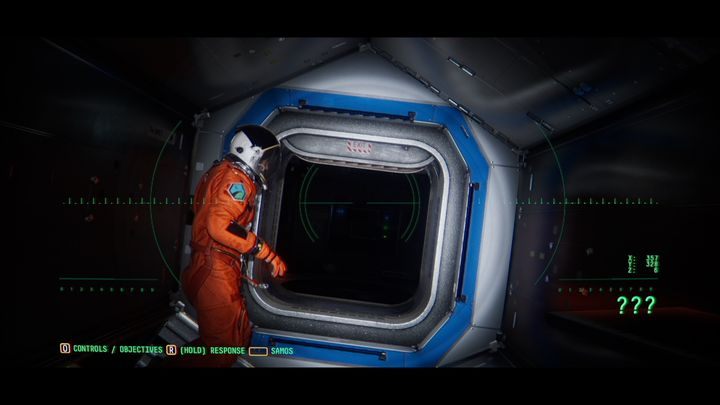
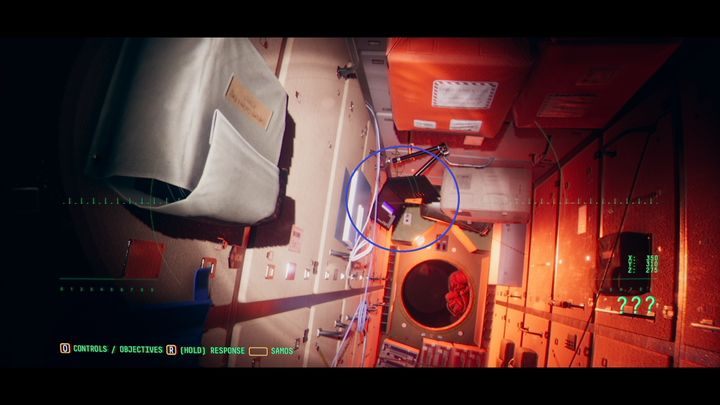
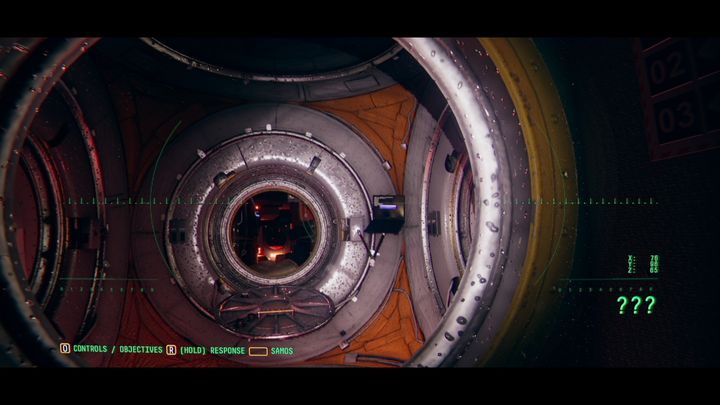
Find the hatch named LINK B (it's close to the helmet drifting in the space). Hold R and ask Emma to open it. Enter the central module.

Emma will ask you whats on the laptop - Observation: Second station - walkthrough, level 6 - Walkthrough - Observation Guide

Emma will ask you what's on the laptop. Drive towards it, hold R and answer her. After reading the message Emma will see Josh. She will start pursuing him. Follow her.

While on the way, stop in order to read Emmas message on the encountered laptop (EF-JR - GET SAM ONLINE) - Observation: Second station - walkthrough, level 6 - Walkthrough - Observation Guide

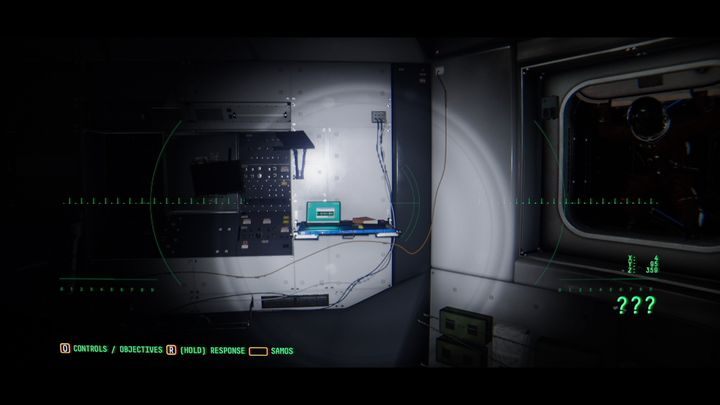
While on the way, stop in order to read Emma's message on the encountered laptop (EF-JR - GET SAM ONLINE).

In the next corridor, you will find a computer with a message from Mae (MM-M- STORM ON SATURN) - Observation: Second station - walkthrough, level 6 - Walkthrough - Observation Guide

In the next corridor, you will find a computer with a message from Mae (MM-M- STORM ON SATURN). Drive close to Emma so that she can catch you and gain some light. After a short conversation with Jim, doctor Fisher will tell you to find Josh.

Go back through the same way - Observation: Second station - walkthrough, level 6 - Walkthrough - Observation Guide

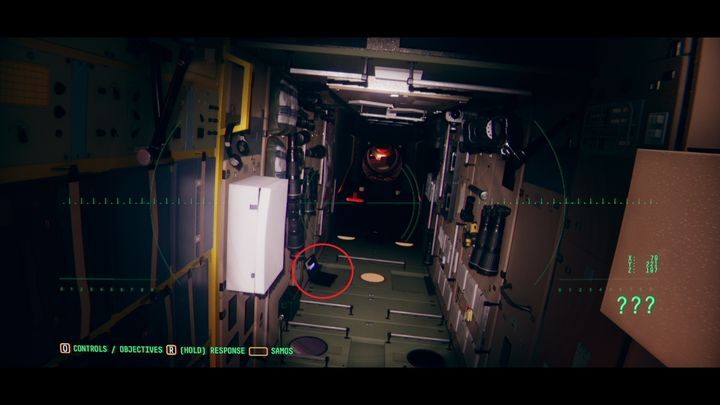
Go back through the same way. You will find a laptop with a message from Stanislav on the floor (SL-GC - EMERGENCY).

Go to SAMs memory - Observation: Second station - walkthrough, level 6 - Walkthrough - Observation Guide

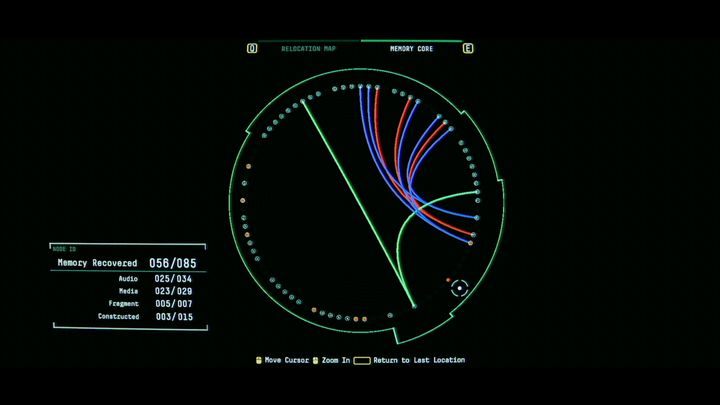
Go to SAM's memory. Click on the blinking point and then click on it again - this time with the right mouse button. Connect it with five files and you will create MAE MORGAN BIO.

Keep moving until you encounter another computer with a message from Josh (JR-ALL - ANYONE SEEN JIM - Observation: Second station - walkthrough, level 6 - Walkthrough - Observation Guide

Keep moving until you encounter another computer with a message from Josh (JR-ALL - ANYONE SEEN JIM?).

On the left from the computer, on the RUS 3 hatch, you will find a document to scan (TORU DATA LOG) - Observation: Second station - walkthrough, level 6 - Walkthrough - Observation Guide

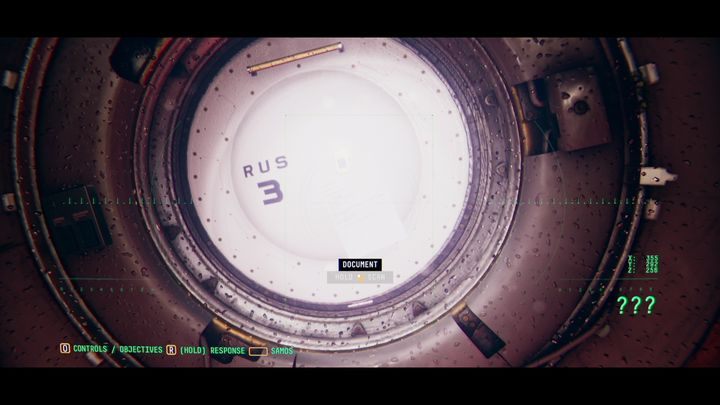
On the left from the computer, on the RUS 3 hatch, you will find a document to scan (TORU DATA LOG).

Further you will find another computer - this time with a message from Stanislav (SL-ALL - JOSH INJURED - Observation: Second station - walkthrough, level 6 - Walkthrough - Observation Guide

Further you will find another computer - this time with a message from Stanislav (SL-ALL - JOSH INJURED?).

You will reach a hatch - Observation: Second station - walkthrough, level 6 - Walkthrough - Observation Guide

You will reach a hatch. Hold R and inform Emma that it is closed.

You will find another closed hatch with UN 5 designation - Observation: Second station - walkthrough, level 6 - Walkthrough - Observation Guide

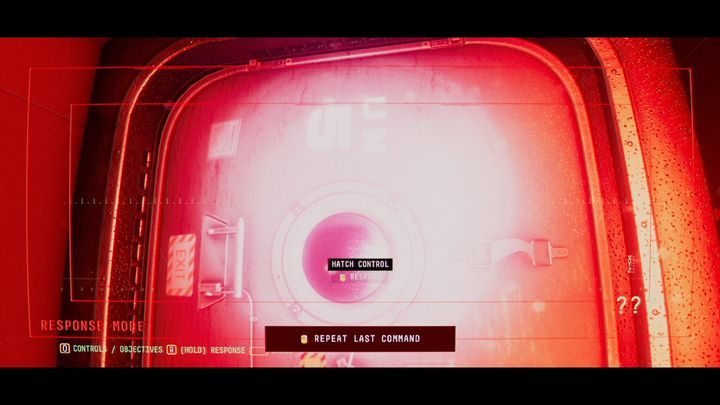
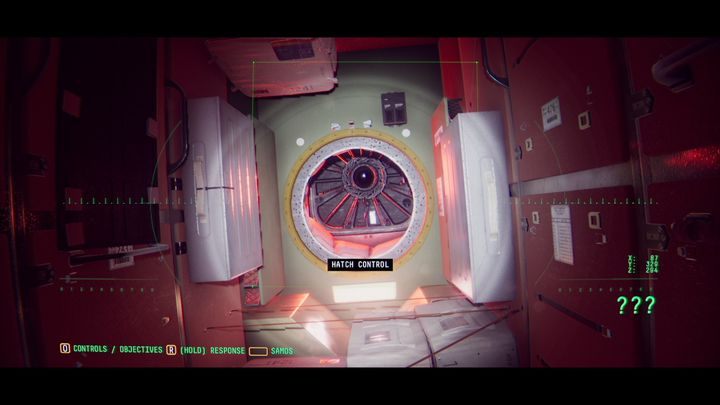
You will find another closed hatch with UN 5 designation. Hold R and ask Emma for help.

In the next room, you will find a computer with a message from Jim (JE-ALL - SUGGESTION WELCOME) - Observation: Second station - walkthrough, level 6 - Walkthrough - Observation Guide

In the next room, you will find a computer with a message from Jim (JE-ALL - SUGGESTION WELCOME).

Go back to the central module and inform Emma about the closed hatch with UC-01/02 designation - Observation: Second station - walkthrough, level 6 - Walkthrough - Observation Guide

Go back to the central module and inform Emma about the closed hatch with UC-01/02 designation. It is located up, above the round desk.

Inside it, you will find Emmas body - Observation: Second station - walkthrough, level 6 - Walkthrough - Observation Guide

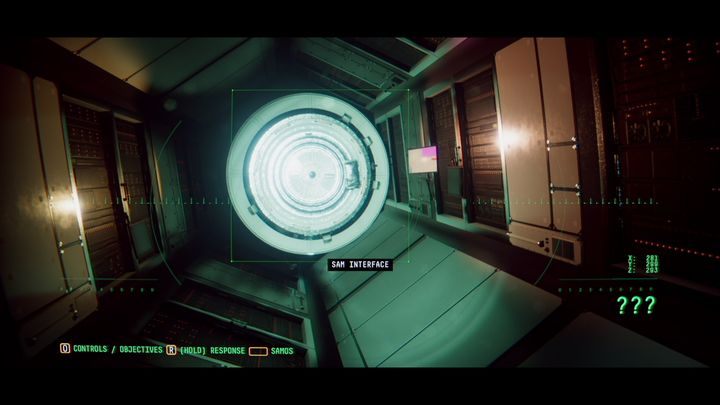
Inside it, you will find Emma's body. Press R and inform doctor Fischer about it. Turn on the panel POWER MANAGEMENT TERMINAL. Login to SAM INTERFACE.

Hold R and listen to all statuses - Observation: Second station - walkthrough, level 6 - Walkthrough - Observation Guide

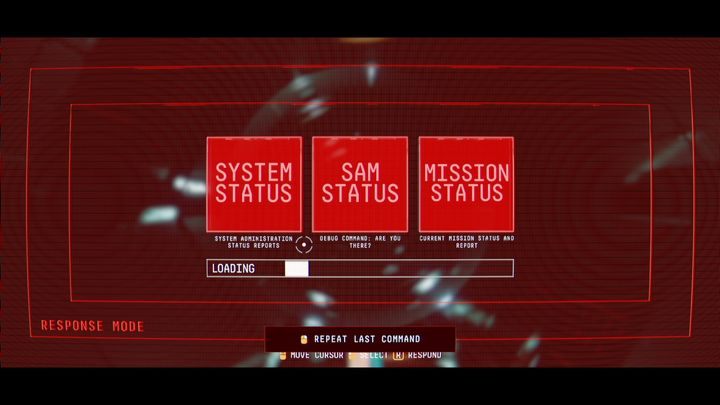
Hold R and listen to all statuses. Click on the MEMORY CORE. Hold R and click on PRECURSOR-1.

Select the white file - Observation: Second station - walkthrough, level 6 - Walkthrough - Observation Guide

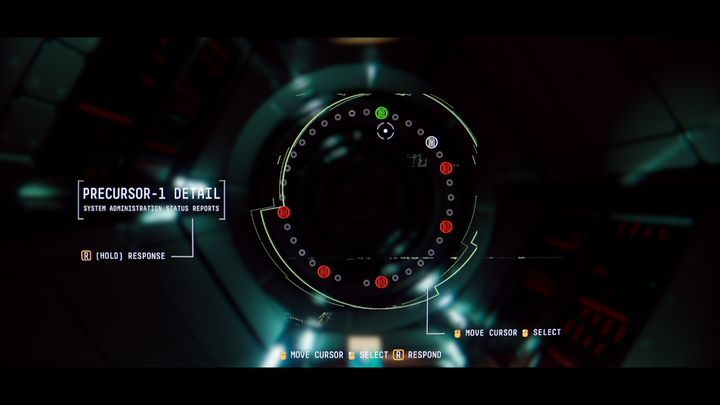
Select the white file. Hold R and check what's inside it. Do the same with the second white file. Three red documents will turn white, check what is written on them. Two more documents will change their color to white. Check what they contain.

Return to the central module - Observation: Second station - walkthrough, level 6 - Walkthrough - Observation Guide

Return to the central module. Find the corridor named LINK A with the passage to UN 1, 2, 7, and to EAS 1-12. Connect to the laptop and read Josh's message (JR-ALL - BRING HER?!). Go to SAM's memory and combine the restored files. You should have recreated the documentation of Jim and Josh. Go down the corridor until you find Josh.

See/Add Comments

You are not permitted to copy any image, text or info from this page.

This site is not associated with and/or endorsed by the Devolver Digital or No Code. All logos and images are copyrighted by their respective owners.

Copyright © 2000 - 2024 GRY-Online S.A. for gamepressure.com, unofficial game guides, walkthroughs, secrets, game tips, maps & strategies for top games.