
Nier Automata: Flooded City - walkthrough, side missions NieR Automata guide, tips
NieR Automata: On this page you will find the Flooded City side quest walkthrough
Last update: 30 August 2021
This page of the guide to NieR Automata describes the walkthrough of side quests in Flooded City. You will find out when you can start the side quests in Flooded City, how to complete them, and what important choices you need to make. Moreover, we describe rewards for completing missions in Flooded City.
Unlock Flooded City
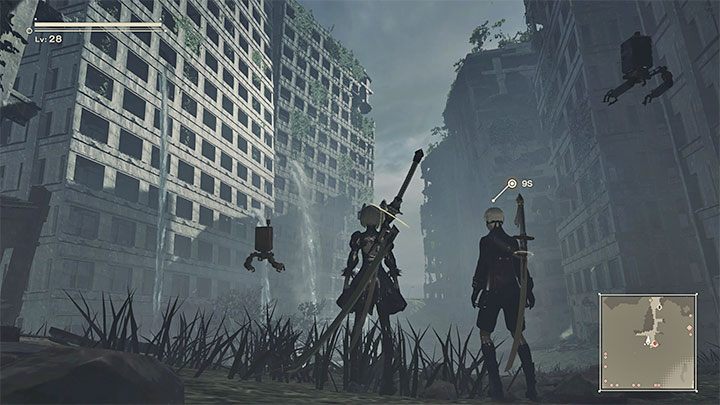
Flooded City is not available from the very beginning of the game. You can access this location for the first time when you reach Chapter 7 of the campaign. One of the main objectives of the mission is then to go to Flooded City. This location can be reached via a tunnel from City Ruins.
Gambler's Colosseum (DLC)

Quest giver: unlocking the quest Mysterious Letter - you will get the letter during your visit to the Bunker
You have to install the 3C3C1D119440927 DLC. You need to buy it separately if you have the basic version of NieR Automata. The DLC comes with the Game of the YoRHa Edition. Even if you bought the GotY edition, you will probably need to install this DLC separately. We described this in more detail on the page Game of the Yorha Edition in the appendix to our guide.
As a reminder, you may have received an anonymous letter when you were in the bunker at the beginning of Chapter 6. From the moment you find Flooded City on the map, there will be a new marker to explore. For the first time you will be able to examine it in Chapter 7.
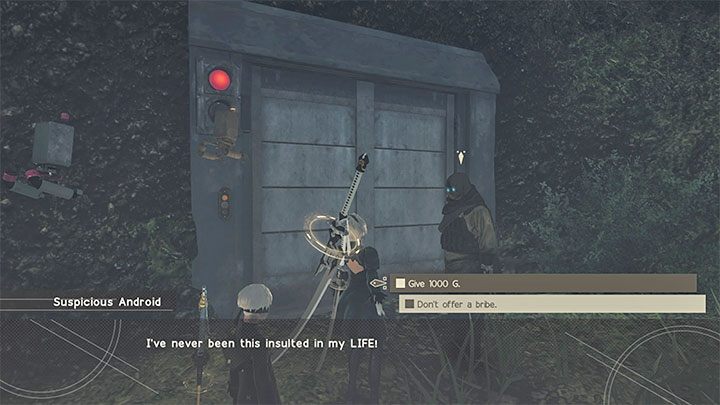
Quest description: The entrance to the underground colosseum is hidden behind one of the partially flooded buildings. A Suspicious Android is guarding it. Initially, he won't be willing to let you in. Select the top dialogue option to start negotiations. You have to give Android 1000G a bribe, but fortunately, on subsequent visits to the arena he will not demand more money. Consider it a one-time fee.
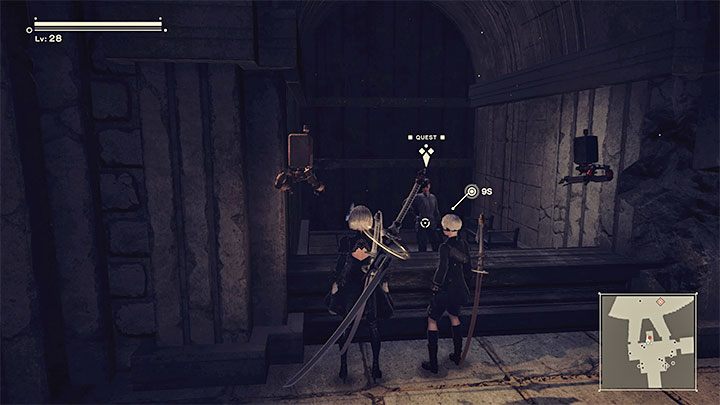
In the underground arena fights are organized. You can join them one by one. Talk to the Receptionist about this.
Each battle has the recommended level of experience and as you can continue this quest also in subsequent routes, you should never rush to start fights with a character who's too weak. In addition, try to get your hands on the best weapons (preferably those for which you have purchased a higher level) and the best chips (they must include those that enable some form of automatic healing). Also remember that you can lower the difficulty level in the options for the battles in the arena.
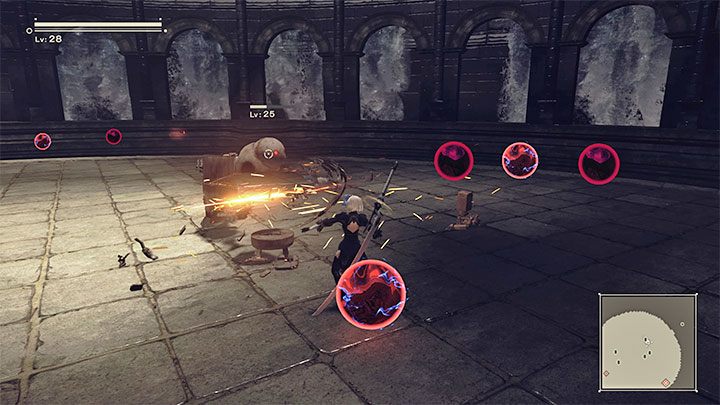
Below you will find a list of battles to play in the Colosseum. In subsequent battles (with the exception of the one with bosses), your task is to eliminate groups of increasingly powerful opponents.
- Rank E - recommended level 25 - this is by far the easiest battle. The reward comprises cosmetic items - different hair colors.
- D-Rank - Recommended Level 35 - the rewards are Desert Rose (can be useful in Find a Present quest) and Machine Core.
- Rank C - recommended level 50 - rewards are Charge Attack, Counter and Quality 6 Taunt Up chips.
- Rank B - recommended level 60 - the reward comprises more cosmetic items - other hair colors.
- Rank A - recommended level 70 - rewards are quality 6 Down-Attack Up, Last Stand and Weapon Attack chips.
- S-Rank - recommended level 80 - the reward is a unique Revealing Outfit available only for 2B.
- CEO's bosses - recommended level 85 - in this battle you fight with bosses instead of standard opponents. The rewards comprise cosmetic items, such as CEO Bullets, Matsuda Mask and Sato Mask, as well as Record CEO to play in the jukebox in the Resistance Camp.
- Special Rank - the recommended level 99 - it is extremely difficult battle and in order to complete it you have to win it in less than 50 minutes. The prize is neon hair colors (cosmetic items).