
NieR Automata: Chapter 1, Route A - walkthrough NieR Automata guide, tips
NieR Automata: on this page you will find walkthrough for the 1st chapter of Route A - Prologue and Factory
Last update: 19 August 2021
This page of the guide to NieR Automata has a walkthrough of the prologue and the Abandoned Factory. You will learn, e.g. how to win the first battles in the game, how to defeat the bosses Buzzsaw and Goliath (a giant machine from the factory), as well as what you have to do during your first visit to the Bunker.
Additional note - The recommended difficulty level and information about the main differences between them can be found on the Difficulty levels page. Fortunately, you can change the difficulty level freely in the game options.
- Prologue - Flight Suit
- Buzzsaw mini-boss
- Factory Recon - going through the factory
- Buzzsaw mini-boss - second fight
- Goliath boss - first phase of the fight
- Goliath boss - second phase of the fight
- Reboot - first visit to the Bunker
Prologue - Flight Suit
The game opens with a flight sequence that resembles bullet hell titles - you need to shoot down other enemy machines.
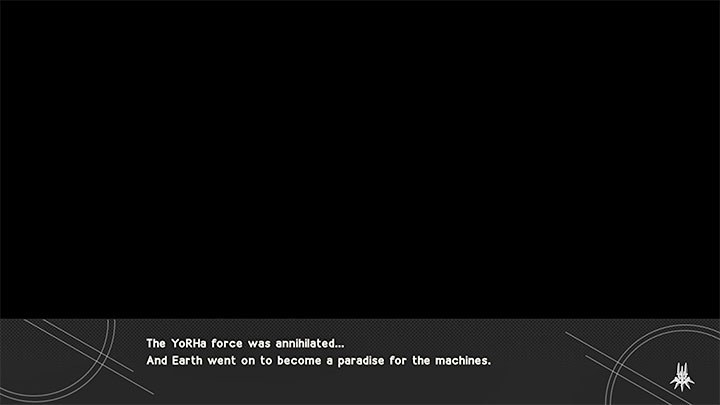
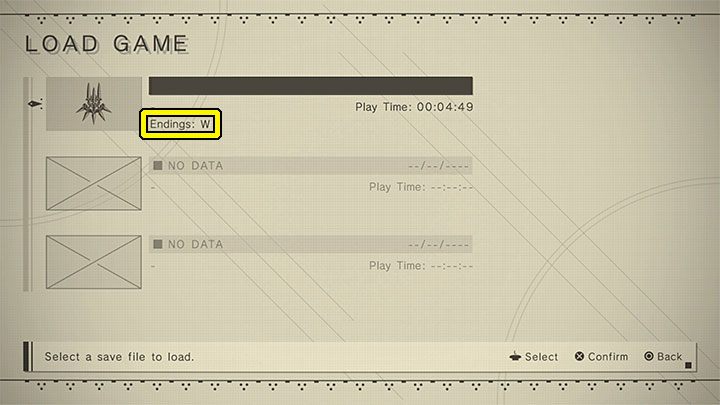
The interesting thing is that at the very beginning of the game you can unlock the hidden W ending. You must let the enemies destroy your flying machine - let yourself be hit and fly towards the laser's line of fire. After you die, you will be shown the speed-up end credits and the game will show a confirmation that you have watched the Broken Wings ending. All additional endings are automatically saved and will be displayed in the descriptions of the saves you create.
After you restart the game, you can start attacking enemy machines and avoiding their attacks:
- Use the left stick to move around.
- To fire, press R1.
- Heavy attack is activated with the Triangle.
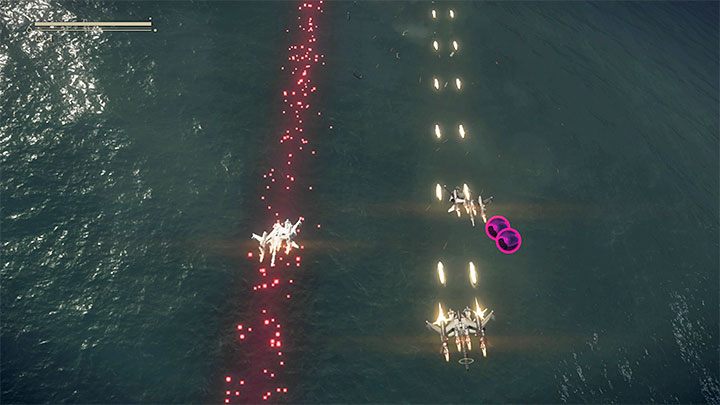
- Use R2 to avoid enemy attacks - watch out for the large laser. This attack is telegraphed by red dots (example in the picture) - you may have to escape to the side.

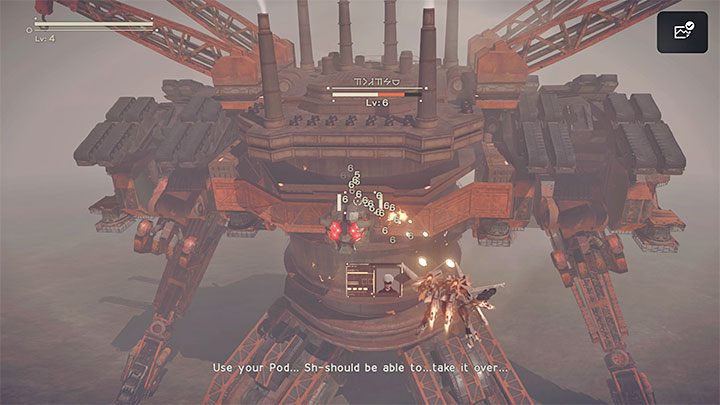
In the second part of the flight, the perspective will change slightly. In this part of the battle, you must use the right stick to determine the direction of the missiles. Try to move a lot and use dodges to avoid bullets.

After defeating the enemy machines, you will begin the final section of the flight towards the factory. Use the left stick to avoid hitting the obstacles. You now have to fight while the camera changes its perspective.
A bigger flying machine will appear. Shoot its weak points and keep the enemy at a distance. Use dodge if the enemy gets too close. The heroes will reach the Abandoned Factory. From now on, you'll be moving around on foot.
Buzzsaw mini-boss

Before you confront the first boss, you will learn the basics of combat during battles with standard opponents - small machines:
- Light attack is done by pressing Square. You can also perform combos (several attacks in a row).
- Heavy attack is done by pressing Triangle. These attacks can be chained into combos, too.
- Dodge by pressing R2.
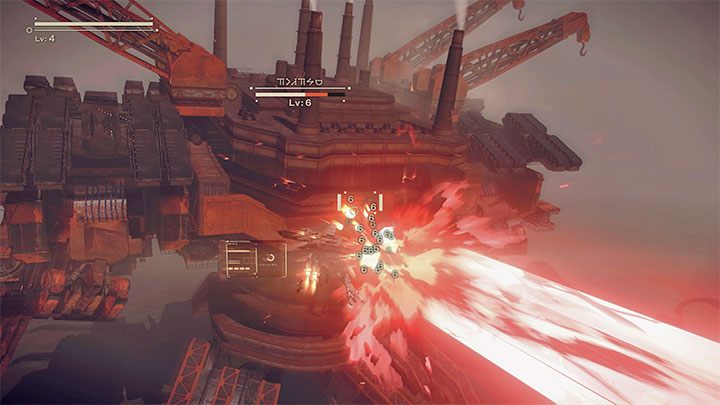
- Ranged attacks are activated with R1. Use ranged attacks as often as possible, especially since the Pod (the flying robot) has unlimited ammunition.
- Pod's program is activated with L1. This is a special skill - the starting ability is a powerful laser. Use it to deal massive damage.
- Locking the camera on the opponent is done by pressing R3 (right stick). This option is not available at higher difficulty levels. It makes it easier to track enemies and shoot them.
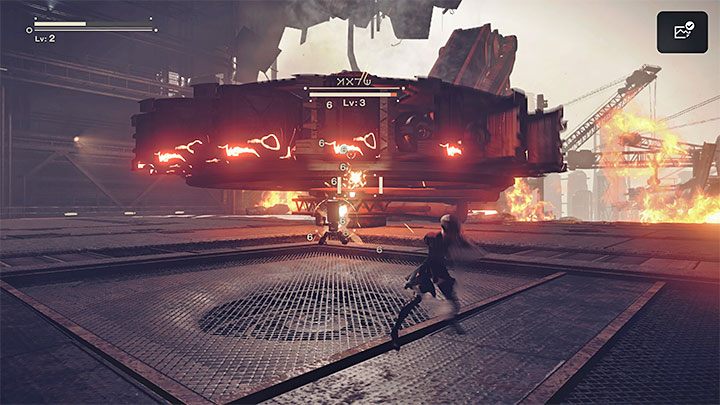
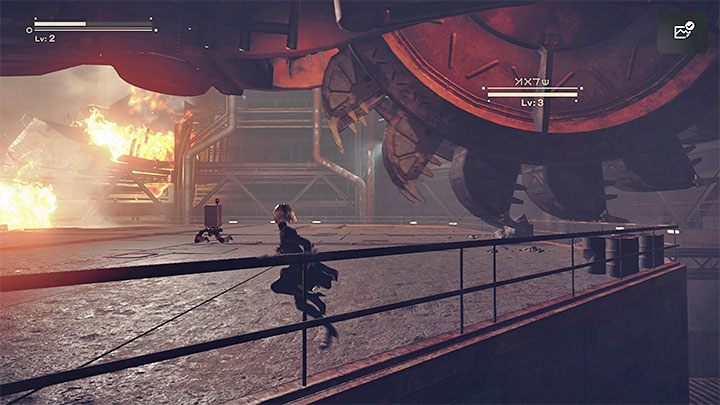
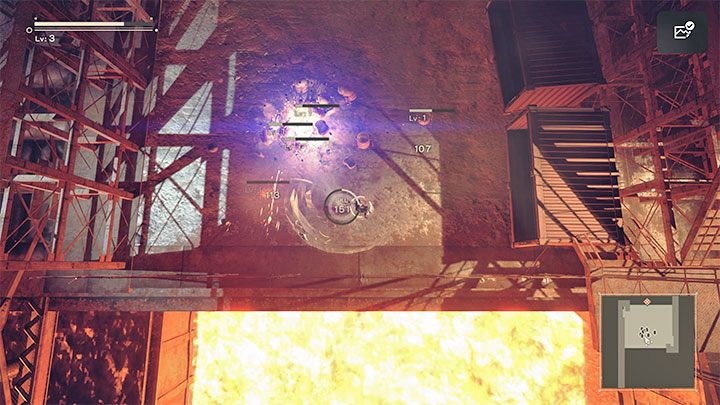
Soon the wall will be destroyed by a mini-boss, Buzzsaw - a big saw that can deal huge damage with its melee attacks. This is not a difficult fight, but you should remember to dodge the enemy's attacks. Buzzsaw can attack:
- horizontally (example in picture 1) - move quickly away; if necessary, you can also use the dodge,
- vertically (example in picture 2) - react quickly when you notice that the boss is planning a vertical attack; use a dodge to move sideways.
If you can, lock the camera on the mini-boss to have easier time attacking it. Use ranged attacks to deplete Buzzsaw's health bar faster- both standard (R1) and strong laser attacks (L1), which have a cooldown.
9S will appear after you defeat the mini-boss. The second Android will accompany you throughout the game and help you in battles. You can't give 9S specific commands, but you can influence his style of play. His default style is balanced - it will work perfectly. Talk to 9S to change his style.
Factory Recon - going through the factory
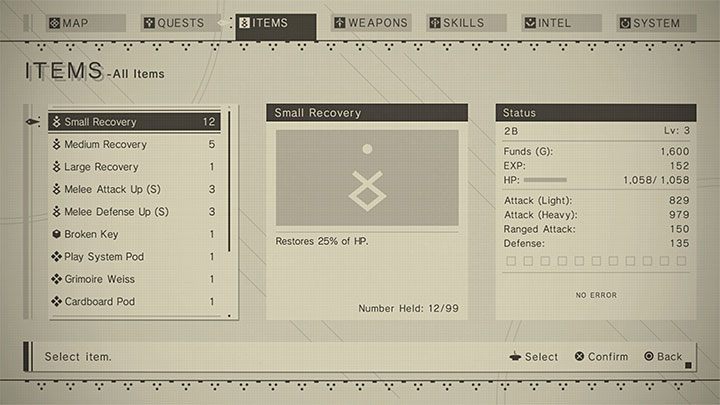
You will receive a new mission objective to find the enemy Goliath-class unit. The game will also unlock the system menu. Not all of its options are available yet, but you can, e.g. check the map, select items from inventory, set active weapons, set installed chips, or browse intel data.
Pay special attention to Recovery items, thanks to which you can heal yourself after receiving damage. We discussed this process in more detail on the Healing - how to improve health? page.
You cannot save the game during the prologue. You must complete the entire stage without saving. Learn when you can save by reading the Saving - how to save? page.
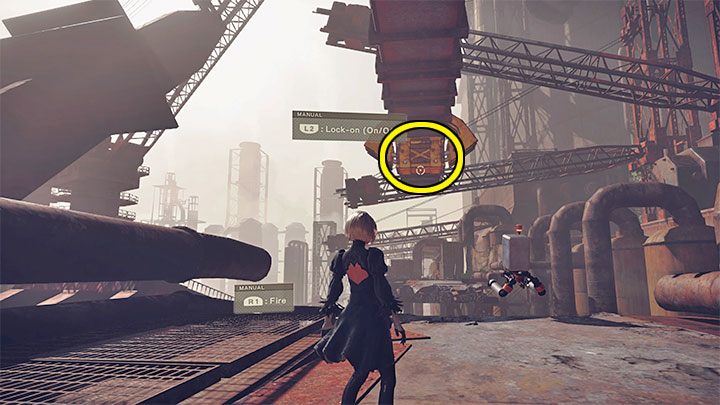
After the start of the next sequence, you need to shoot the yellow upper fragment (we marked it in the picture) to bring the whole structure down and unlock the passage. You can optionally lock the camera on the target.
Expect to encounter new enemy machines along the way. Eliminate the flying opponents by using ranged attacks (including the laser attack). You can also jump towards them (use double jump) and attack with a melee weapon.
The path leading through the factory is linear. Interact with the glowing points and open chests to collect loot. Remember also that you can destroy projectiles flying towards you, or you can simply dodge them.
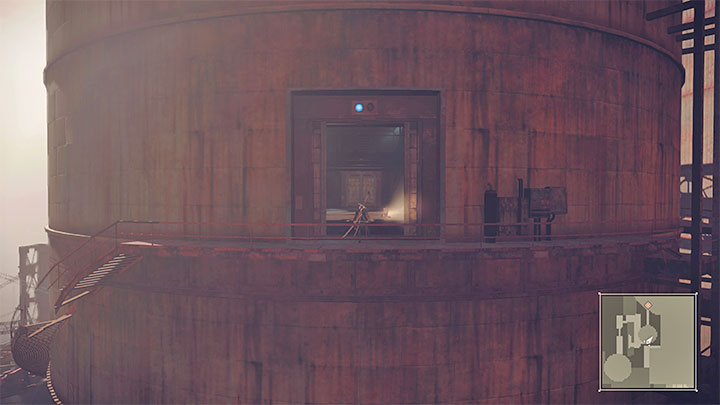
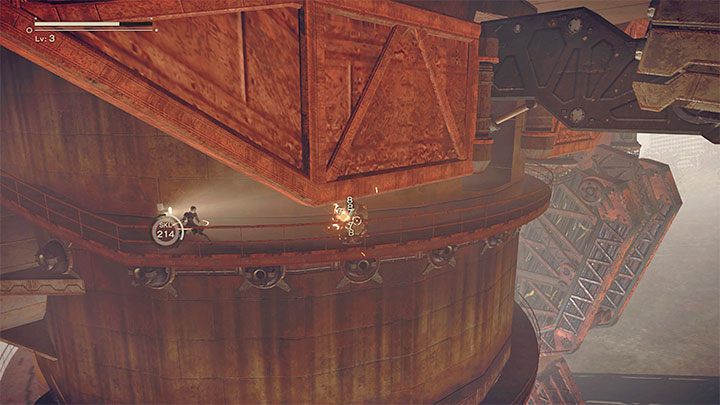
In some locations, the game will present the action from the side - you won't be able to freely change the position of the camera. Remember that you can jump over bullets and opponents. Use the entrance to the silo shown in the picture and prepare for more fights. After the battle, choose the passage with a blue light above it.
The game will switch to a top-down perspective in one of the next areas. Remember to use the right stick to point where you want to shoot.
In the area from the picture, deal with the machines coming out of the containers. Next, jump on the container and use the staircase. Later, you will encounter larger machines - try to dodge their attacks.
Buzzsaw mini-boss - second fight

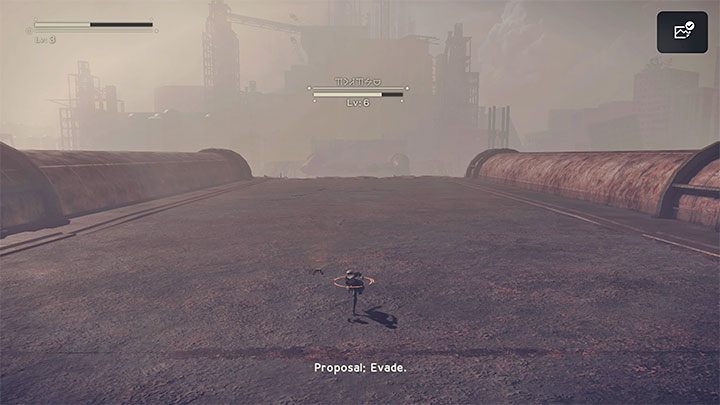
The linear path will lead you to a large open space. Two Buzzsaw machines will appear when you try to cross the large bridge.
The machines do not have any new skills, but since there are two of them, you will need to pay more attention when dodging vertical and horizontal attacks. Focus on using Pod's attacks (both regular bullets and strong laser attacks whenever they are ready). The fight will end when the mini-bosses lose about half of their health.
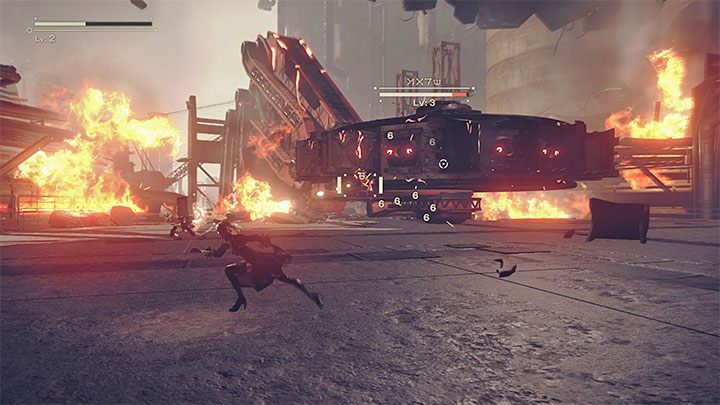
Goliath boss - first phase of the fight
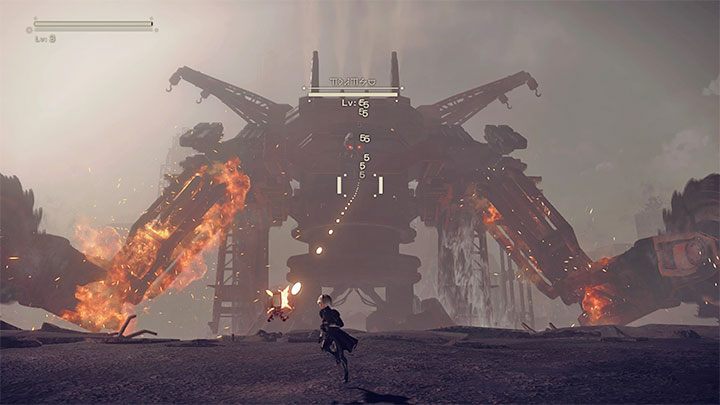
Goliath is the prologue's main boss. The duel with him will be longer and more demanding than the previously described mini-bosses.
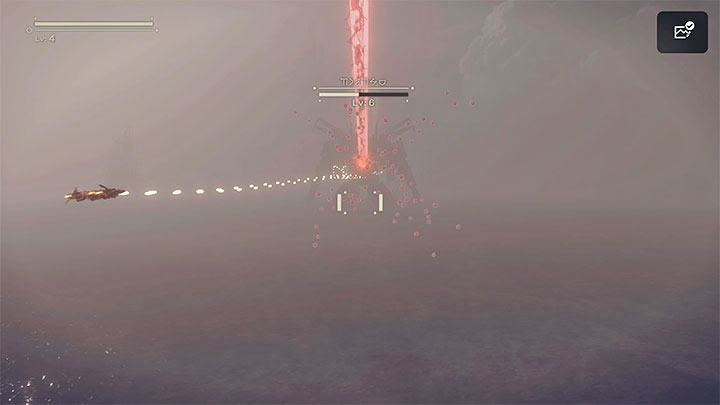
Attack Goliath with Pod - standard bullets and the laser. Locking the camera on the boss (if available in your difficulty level) can increase their accuracy. Goliath can shoot missiles - run away from where they will land or shoot them down.
The boss attacks a lot with its large saws that are similar to the ones used by the mini-bosses. Goliath can perform single stabs with saws and use both arms at the same time to crush you. You have to avoid these attacks. You can also avoid getting crushed by standing in the middle, i.e. between the saws.
If you don't mind taking an extra risk, you can attack the saws with melee weapons. This will help you to weaken the boss faster.
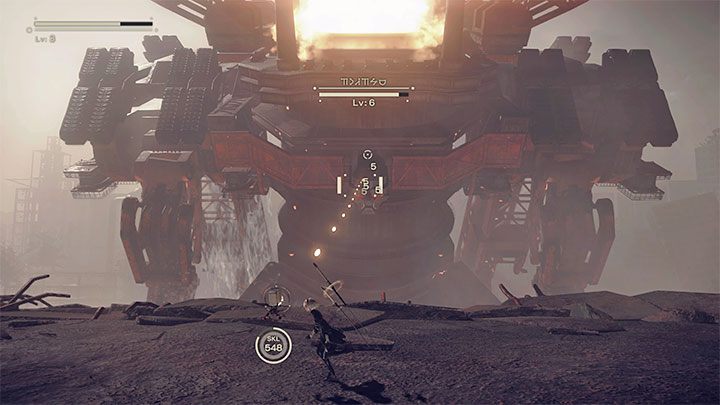
Goliath shoots rockets from time to time. Pay attention to red circles appearing on the ground - that's where the rockets will land. Use sprint and dodges to get away from these places quickly.
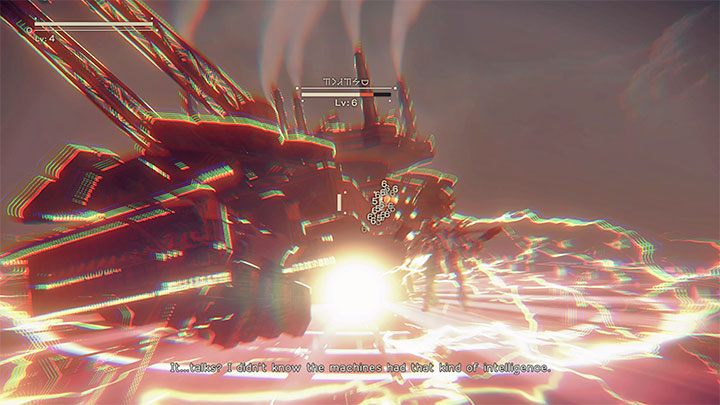
9S will appear at some point - keep fighting Goliath.
React quickly when the boss disappears under the water. Start sprinting towards the bottom of the screen, i.e. moving away from the place where Goliath was. The machine, as it re-emerges from the water, will destroy a section of the bridge - you could have been hit if you hadn't backed out earlier.
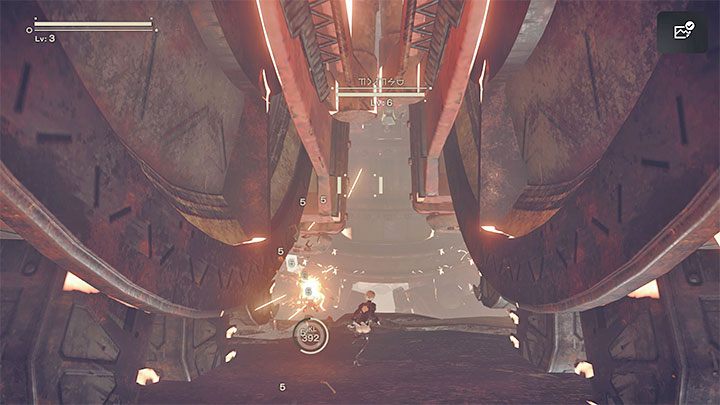
Keep fighting until you trigger a cut-scene. After watching it, you will have to start climbing the Goliath. Run towards the screen on the small curvy balconies.
On the way, deal with regular machines, and then climb the ladder. Watch the short cut-scene and fight more regular enemies. Some of them can hide behind small shields - destroy them with melee attacks.
Goliath boss - second phase of the fight
After the next cut-scene, you will proceed to the second part of the fight with Goliath - 2B will be using a Flight Suit. This means that the fight will take place in the air. Attack the boss from a distance.
During the second fight, the boss will rely primarily on powerful horizontal area attacks. The move is telegraphed - you need to move up to get out of its range.
The boss will shoot homing rockets. You can try to destroy them in flight or quickly move to the sides, so they completely miss 2B (and do not turn around).
Goliath can also perform horizontal limb swings (those with saws installed on them). They are relatively slow, so you can easily avoid them. Remember though that you can dodge.
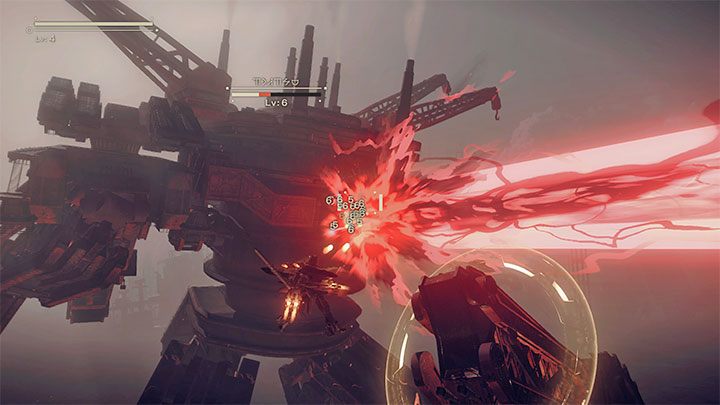
The boss can shoot a large laser beam. This attack deals huge damage and isn't telegraphed very well. Be ready to dodge at any moment. A big help is that the beam does not change its direction drastically, and you can attack Goliath while he tries to use this attack.
At some point, the boss will hit you with a limb and throw you away - you can't dodge this attack. You will have to start flying towards the boss.
During the flight, be prepared to avoid projectiles and laser attacks. It is best to just move around the screen a lot and dodge a lot.
The boss will lose one of his limbs and you can use it to weaken him effectively (press the melee button). You can also use ranged attacks, although they will not be as effective.
Avoid the last laser attacks and keep fighting until Goliath loses all health. Watch the cut-scene. After it, you will reach the Bunker, i.e. a large space station drifting in orbit.
Reboot - first visit to the Bunker
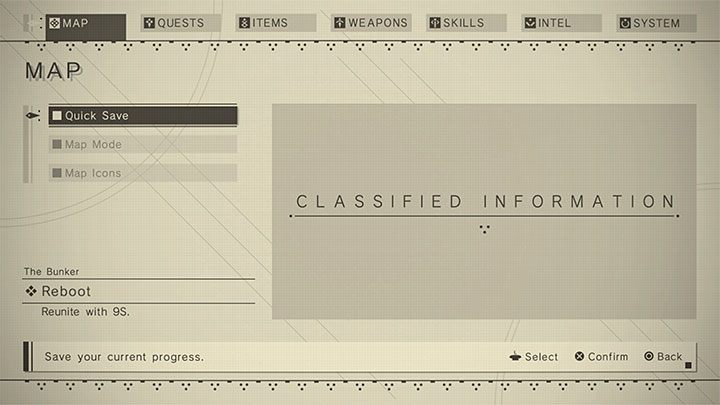
After you regain control of 2B, save the game for the first time. You can make a quick save (the Map tab) or a manual save (the System tab).
The game does not have autosaves - you need to remember to save the game yourself (when it is allowed).
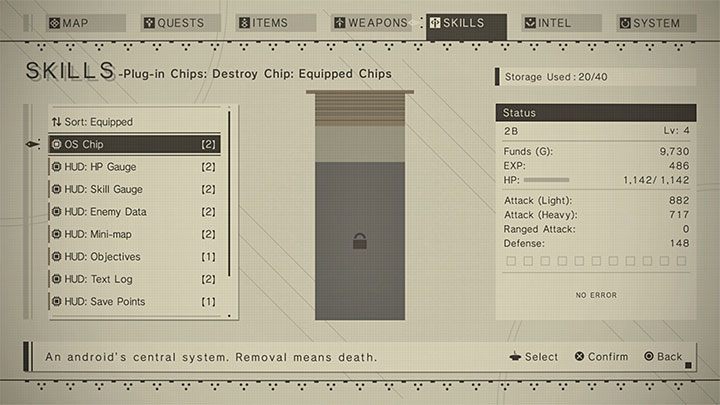
After you save the game, you can unlock hidden ending T. Go to the system menu, the Skills tab, select Plug-in Chips and then select the Destroy Chip option. Next, select the OS Chip. After the game displays and saves the ending, you will again appear in the Bunker.
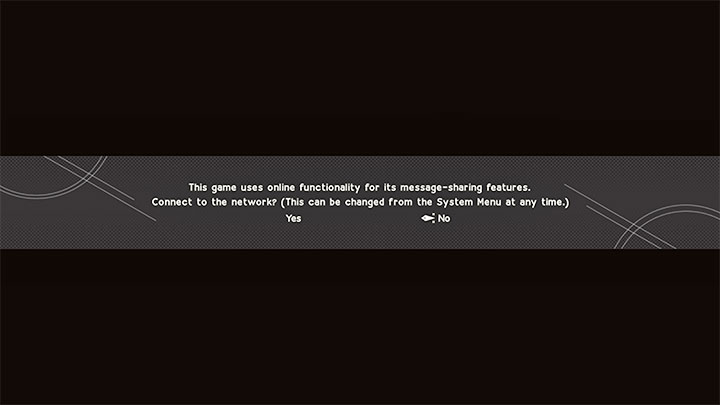
Follow the main path of the station - you will meet 9S. The game in the course of this conversation can suggest enabling Network Features. We described them in more detail on the Social elements page. In short - you will be able to use them to find the bodies of other players in the world and collect loot. We recommend enabling the online option.
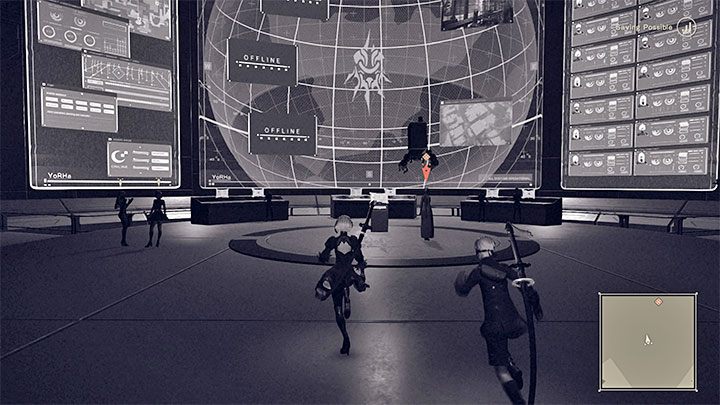
You will see an introduction to the events of the game, and make adjustments to several settings in the system menu.

Note that one of the steps in the system menu was to enable the Self-Destruct function. Save the game, and then hold L3+R3 to make 2B self-destruct. This will unlock the hidden ending U.
After you are "reborn" again, you can continue to explore the Bunker. You can perform various optional actions:
- check the other rooms and find loot,
- interact with the terminals,
- interact with the Access Point and read the first email (more messages are received as the game progresses),
- use the bed to rest (it is not necessary since your health is full),
- shop for the first time.
The main objective of the mission is to meet with Commander. Find the passage marked on the mini-map to reach the command center. Listen to the briefing.
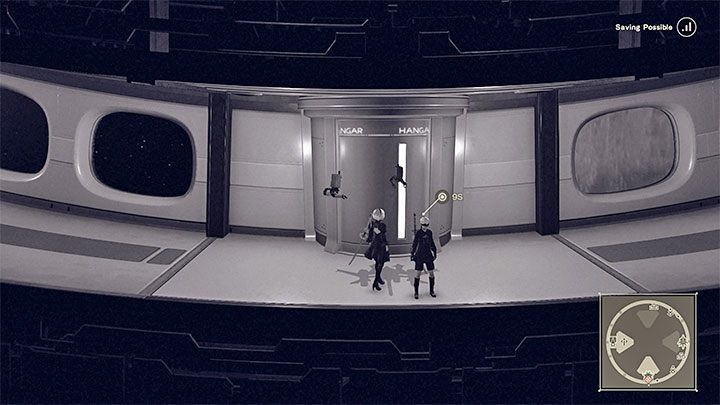
Return to the main corridor and reach the elevator to the hangar. Go right. After approaching the Flight Suits, the heroes will go back to the Earth.