
NieR Automata: Chapter 3, Route A - walkthrough NieR Automata guide, tips
NieR Automata: on this page you will find walkthrough for the 3rd chapter of Route A - The Desert
Last update: 19 August 2021
This page of the guide to NieR Automata contains a walkthrough of Chapter 3 which is a part of Route A and features the first visit to the Desert Zone . From the walkthrough, you will learn e.g. what awaits you in the Desert Zone and the Desert Housing, as well as how to defeat Adam in the boss fight and how to successfully escape.
- The Machine Surge - eliminate the machines from desert areas
- The boss fight with Adam
- Escape and return to the Resistance Camp
The Machine Surge - eliminate the machines from desert areas

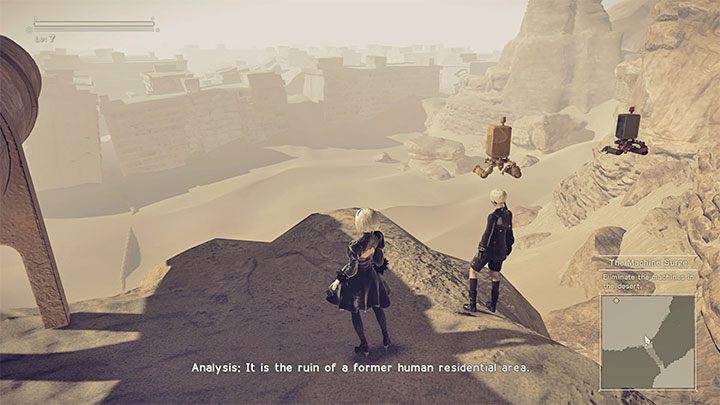
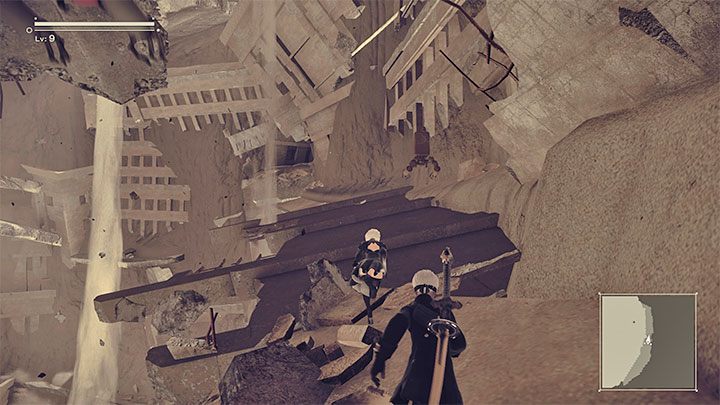
You will arrive at the Desert Zone from the City Ruins, and to get there, you will have to use the narrow passage beneath the crooked skyscrapers.
The Desert Zone consists of several areas, the first of which is quite small. While exploring the area, you will come across new machines, but you don't have to fight them yet. In the end, you have to jump to the rock shelf, where you will find Jackass, a Resistance Member. Talk to this NPC.

Use the narrow passage marked by the game, which leads to the largest part of the desert. Your task is to eliminate enemy machines from 4 areas marked with red circles on the map. We recommend that you first unlock the local Access Points, so that the entire area of the desert will be uncovered on the main map.
Machines in the desert are not very difficult to defeat, but you have to watch out, because at some point Small Exploders will appear. They will try to get close to 2B and self-destruct - the explosion can cause quite a lot of damage. Start running away as soon as you see them, and attack them from a distance using your Pod.
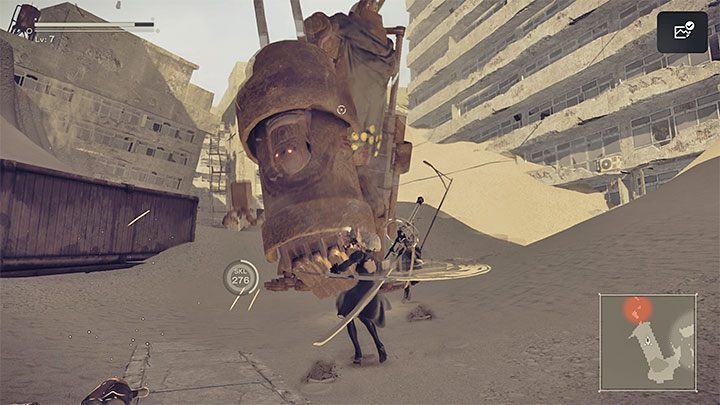
Once you get rid of all the machines in the Desert Zone, you have to go to the north passage. You will see a runaway machine for the first time, and for the next few minutes your primary task will be to chase it.
The north passage will lead you to the buried Desert Housing. Head towards it and start by unlocking a new Access Point.

The new location is more linear and involves moving between the buried buildings.
Initially, look for a building with an external staircase marked on the picture. Climb the stairs to the top and open the large chest located there. Inside, you will find a big Fang of the Twins axe - this is one of the many unique weapons hidden in the game world. As a reminder, newly found weapons can be viewed and set as active in the Weapons tab of the system menu.
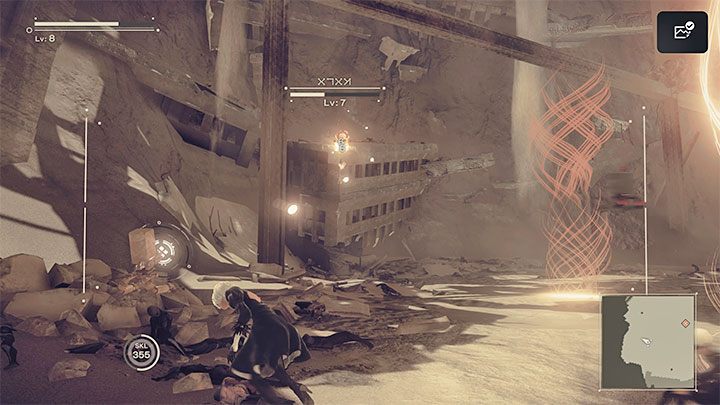
As you go further, you will come across a group of small machines and a larger Goliath Biped. Contrary to appearances, this machine is not a boss, but simply a larger and stronger version of the standard machines. During the fight, take advantage of the fact that Goliath is relatively slow. You can run up to it and attack it with melee weapons. Move away, however, when the Goliath begins to swing its upper limbs and starts preparing for another strong attack.
After the fight, move on and start chasing the escaping machine again. Later, the camera's perspective will shift to a side view. Go down.
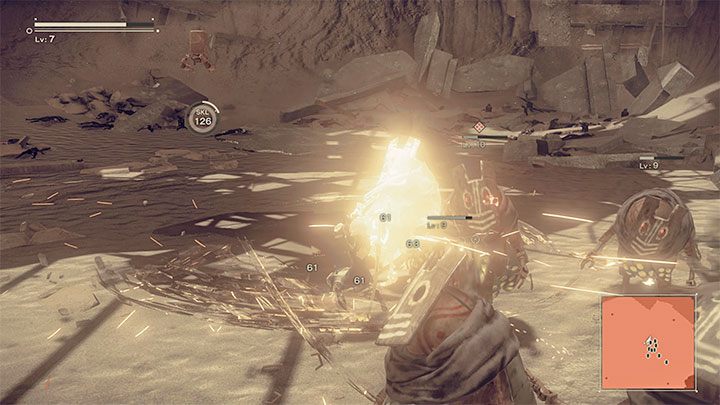
You will reach a place where you will notice a machine standing next to a cradle. You will be attacked by a very large group of small machines. You can use strong attacks in hand-to-hand combat or play more conservatively and fight at a distance. You can't win fights with machines by getting rid of them all. Instead, you have to fight until you see a cutscene, which also foreshadows the fight with the new main boss - Adam.
The boss fight with Adam

Fighting Adam is quite confusing, because the boss will gradually become stronger. At the very beginning of the fight, Adam is very weak. You can attack him at a distance or in close-combat, still not worrying that he might perform some heavy counterattack.

One of Adam's first skills is surrounding himself with a sphere of energy - it is able to deflect long-range attacks and stop close-combat attacks. The sphere will eventually explode and if you want to avoid getting more damage, you have to evade at the perfect moment. The game should slow down time for a split second, which will increase your chances of correctly pressing the evade button.
The boss's sphere will unfortunately become even stronger in the later part of the battle, as Adam will be able to send the bullets aimed at him right back at you. Then you have to focus even more on avoiding his counterattacks.

Once you've weakened Adam sufficiently, the boss will gain teleportation skills. Fron now on, we recommend switching to long-distance fighting. Close combat is more risky, because then Adam can additionally use strong kicks.
Lock the camera on the boss, too (if the selected difficulty level allows it), so you will not have to stop the ranged attacks to find him again when he teleports to another place.

Adam can shoot energy balls towards the characters, and naturally, the ideal course of action would be to evade them and remain in constant motion.
The second attack that the boss has are beacons of light that appear on the ground, and you will take damage of you touch them. These attacks are signaled (example in the attached picture), so you will always have some time to move away from where the next energy beacon is about to appear.
Escape and return to the Resistance Camp
During your escape, you have to reach the top hole, which was shown after defeating the boss. Climb up and run towards it, and then run through the cave.
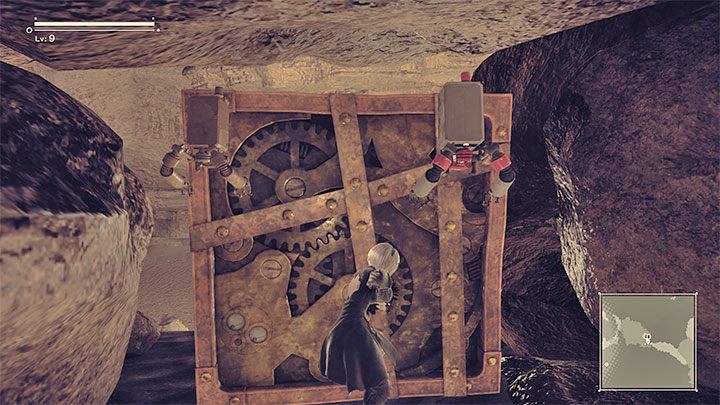
During this scene, you will probably have to push a big chest for the first time. Interact with it and move it far enough so that you can move on.
You don't have to fight the machines you encounter along the way. Once you are far enough from the boss fight area, a conversation with the Operator will start. Head back towards the passage connecting the Desert Zone with the City Ruins.

The characters will decide to return to the Resistance Camp. Talk to Anemone there. In addition, you will gain access to your own room in the Resistance Camp - aside from the loot, you will find a bed there, where you can rest - this is one of the ways to restore full health.
When you try to leave the campsite, a conversation with the Commander will start, and you will learn that you have to explore the Amusement Park in order to find the missing members of the YoRHa squad.
According to the information displayed by the game, expect to find new side quests in the next chapters - many of them are hidden under the question marks on the map, and the available quests are described in the chapter Side quests.