
NieR Automata: Chapter 10, Ending A, Route A - walkthrough NieR Automata guide, tips
NieR Automata: on this page you will find walkthrough of the 10th chapter of Route A - Completion A
Last update: 19 August 2021
This page of the NieR Automata game guide contains the walkthrough of Chapter 10 during Route A. Our guide describes what to do during the attack on the Resistance Camp, how to defeat the final boss of Route A - Eve, how to unlock Ending A (the first major ending of the game), and more.
- Weird Machines - returning to the Resistance Camp
- Mini-boss - mechanical spider
- Eve - the first fight
- Threat Disposal - reaching Pascal's village
- Eve the final boss - the first stage of the fight
- Eve the final boss - the second stage of the fight
- Eve the final boss - the third stage of the fight
- Completing Route A and proceeding to Route B
Weird Machines - returning to the Resistance Camp
The final chapter of Route A will begin once you have successfully escaped from the Abandoned Factory. Save your game at the Access Point in the factory. Go to Resistance Camp. You will receive a call for help and you must reach the safe house on your own, because the Access Point there is unavailable.
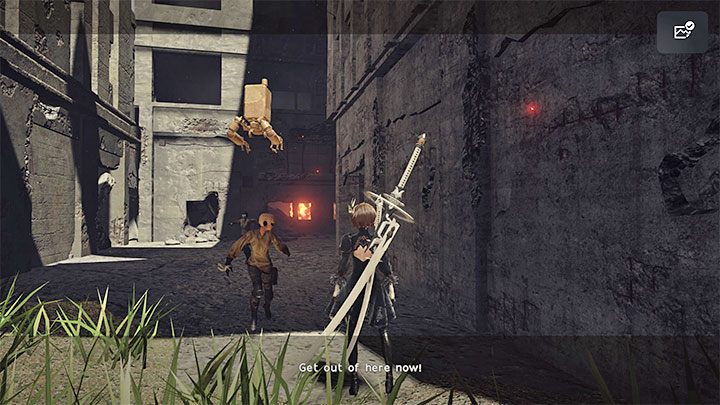
Once you reach the Resistance base, you will witness machines attacking the rebels. You can unlock the hidden ending L here. To do this, you must ignore the dying members of the resistance and immediately withdraw from the camp.

Once you arrive at the Resistance Camp for the second time, start fighting the machines. It's a good idea to use area attacks in the central part of the camp. After disposing of the first group of machines, examine the back of the camp, i.e. the area where the camera switches to the side view. You will encounter more machines there, and the last of them will be a slightly stronger goliath.
After the fighting is over, return to the main part of the camp to talk to Anemone.
Mini-boss - mechanical spider

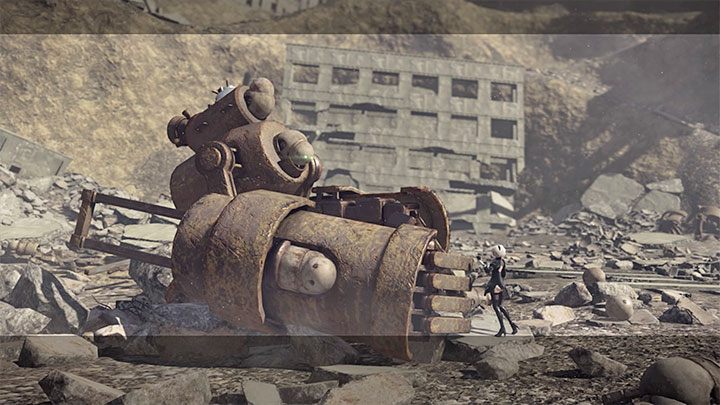
The conversation with Anemone will be interrupted when a large machine appears outside the camp. It is another mechanical spider.
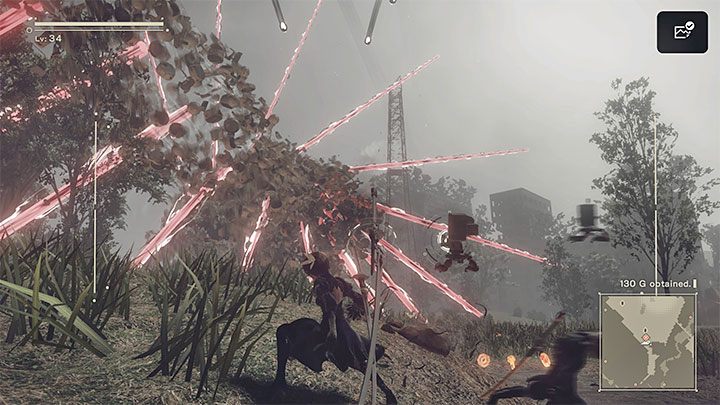
The best strategy in this fight is to attack at range, since the spider can generate discharge around itself and hit the ground with its legs to create small shock waves. In both cases, ranged combat will make it easier for you to survive.
The giant spider also has ranged attacks - the mini-boss can shoot regular projectiles and larger energy streams. In both cases, you should dodge to the side.

Only attack the spider in melee if it's stunned, as it leaves it defenseless for a short period of time. This will allow you to quickly lower its health points.
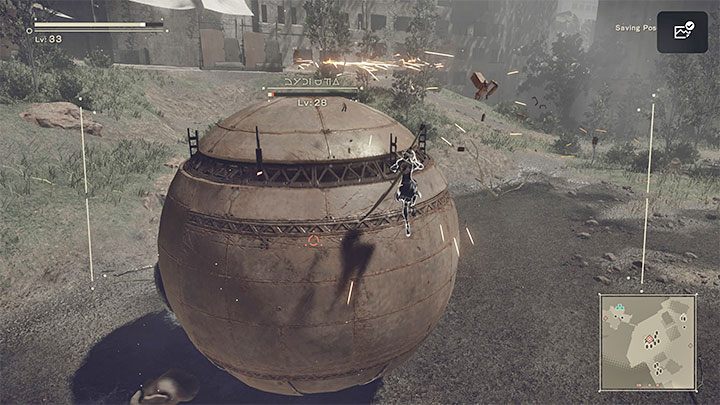
Smaller enemy machines might join the fight. As long as they don't bother you too much, it's a better idea to focus on attacking and eliminating the main enemy as soon as possible. During the final stage of the fight, the spider can turn into a ball and just like during the fight in the Abandoned Factory, you will be forced to attack it with melee weapons.
Once you dispose of the spider, Eve will appear. The first (shorter) fight against this opponent awaits you.
Eve - the first fight

Eve will turn into a big spinning ball of machines. The safest thing to do is to avoid direct contact completely and focus on attacking the boss from a distance to cause more machines to fall off the ball over time.

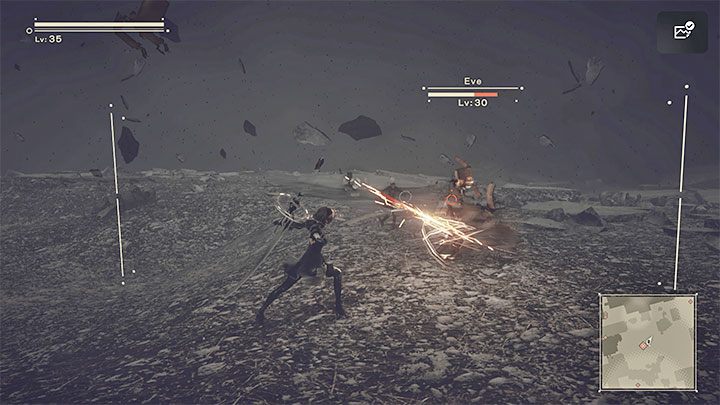
In the next stage of the fight, you will fight Eve proper. The boss is able to levitate and attack from a distance using groups of projectiles and red energy streams. Continue using ranged attacks. Melee combat is also possible, but more risky.
Fight until the boss' health bar drops to zero. You won't be able to defeat Eve for good, but you will be able to complete the next quest objective.
Threat Disposal - reaching Pascal's village
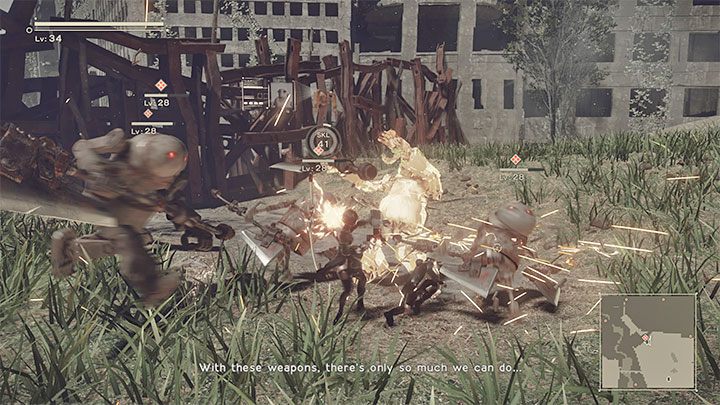
Listen to the radio call and head towards Machine Village. You won't be able to fast travel, so instead you have to reach Pascal's village from the City Ruins side. At the barricade, you will run into a group of opponents and you have to dispose of them all.
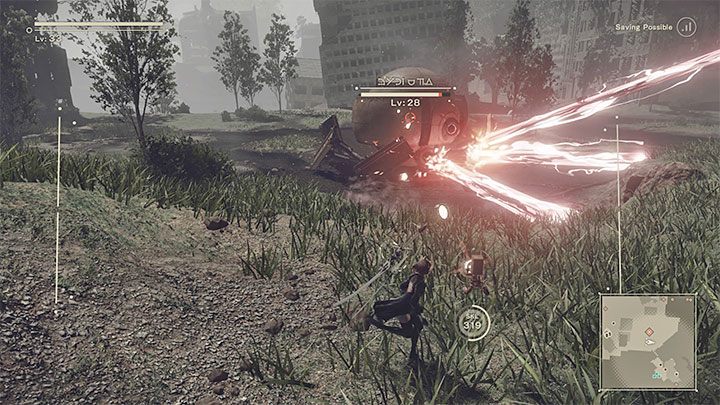
Some sort of mechanical centipede will take part in the fight and it will attack from the air - focus on avoiding the red energy streams. The easiest way is to lock the camera on its weak spot and use your own ranged attacks to dispose of it.
Once the battle is won, you will have a conversation with Pascal, during which you will learn about Eve's current whereabouts. You must go to the central part of the City Ruins. All fights along the way are optional. Once you reach the area, the final battle against Eve will commence.
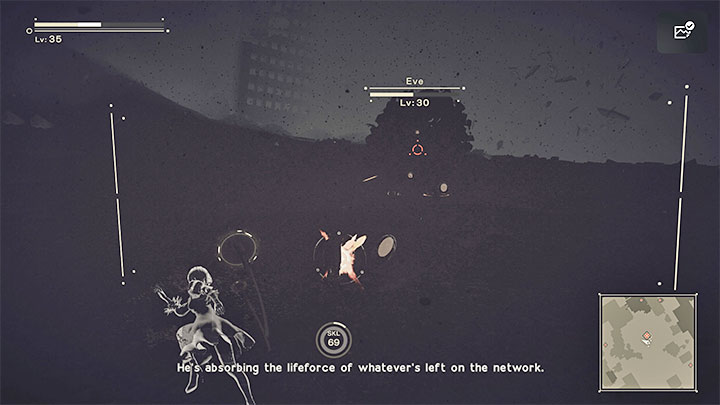
Eve the final boss - the first stage of the fight

Eve is the final boss of Route A. Expect a much longer battle than the one at the beginning of Chapter 10, and more specific requirements during the fight. For the duration of the battle, try to have your camera locked on the boss as the limited field of vision may make it difficult for you to spot them on your own.
As usual, in the area where you will face Eve, you can already find the bodies of players (assuming that you are playing online and with Network Features enabled). It is recommended to revive any of the bodies in order to gain an additional ally to attack Eve and to more effectively distract the boss.
In the initial phase of the fight, Eve will strive to fight in melee and if you're comfortable with dodging, you can also use a melee weapon. Otherwise, focus on ranged attacks, which will weaken the boss at a slower rate.

When exchanging hits, beware of Eve's larger melee attacks (e.g. attempting to crush 2B with his "upper limbs" like in the above screenshot) and his attempts to grab the controlled character. Each well-executed dodge can save you from taking damage.
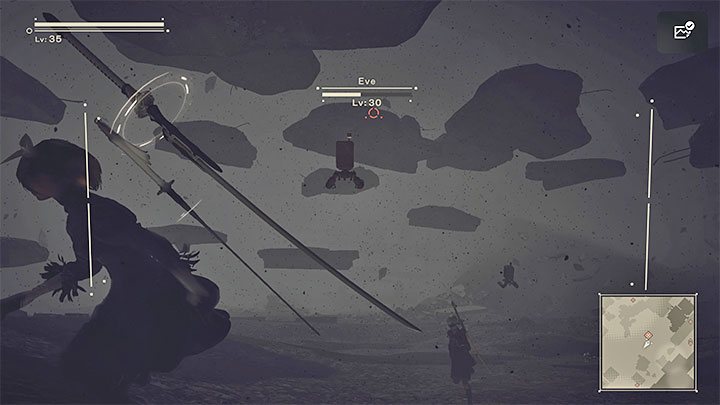
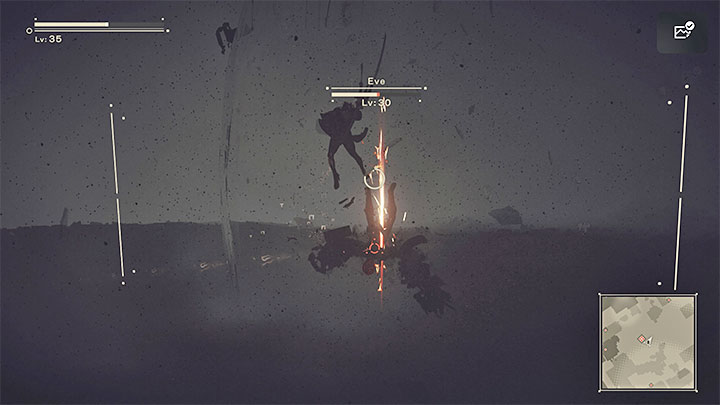
After some time passes, the boss will escape to the upper levitating platform. You can try to reach him by jumping on the nearby lower platforms. Unfortunately, expect the boss to attack you from range while you're climbing and these attacks are difficult to avoid while trying to focus on jumping. You have to dodge them perfectly.
If you can make it to the boss' platform, you'll be able to weaken him with further attacks. If you fall down too many times, then after a while you will still advance to the next stage of the battle and you will simply lose the chance to easily weaken Eve.
You must fight until Eve is surrounded by a sphere and regains his entire health bar. Unfortunately, this can't be prevented in any way. It's just part of the fight.
Eve the final boss - the second stage of the fight
Do not forget about the option to revive another player, especially if your previous sidekick has already died as a result of the boss' attacks or staying active for too long. We recommend doing this as 9S will focus on trying to hack the boss and he will not actively help you in weakening Eve with standard attacks.
The boss' skill range remains unchanged compared to the first stage of the fight. Just like before, you have to deal with his various melee attacks, but this strategy is also what allows you to weaken him faster.
Eve the final boss - the third stage of the fight

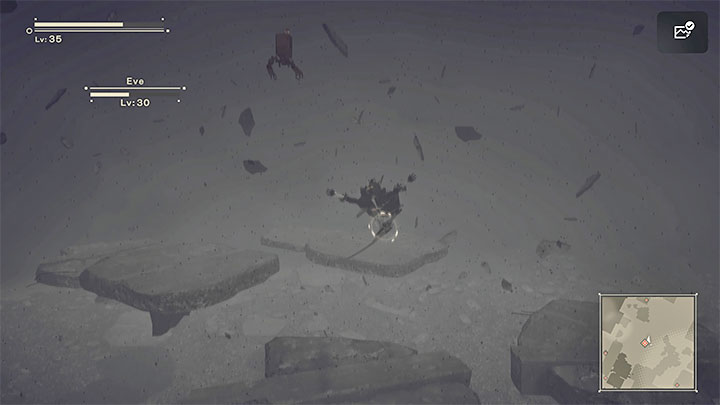
Once you've sufficiently weakened the boss, a cutscene showing 9S attacking will play and you will proceed to the last stage of the battle. During this stage of the fight, the boss will levitate and attack with large groups of projectiles. You don't have to be particularly afraid of these attacks - just run to the sides a lot and dash if sprinting turns out to be insufficient.
Also keep attacking the boss at a distance and be sure to lock the camera on him so that you won't miss with your standard attacks and offensive pod programs.
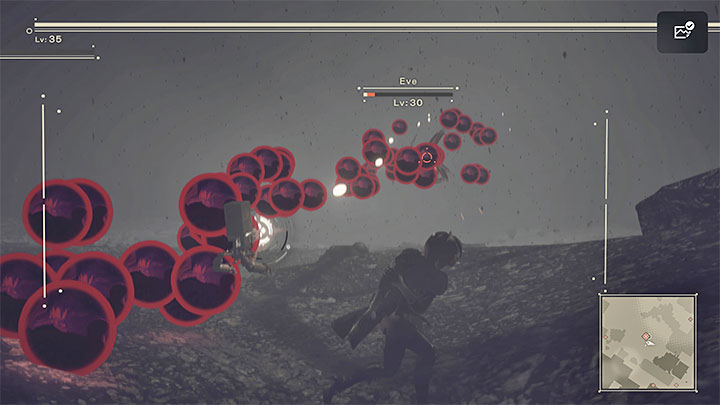
At the very end of the battle, 2B will take unavoidable damage. Because of this, you will be unabe to dodge or fight in melee. Focus exclusively on ranged attacks and try to line up between the flying projectiles.
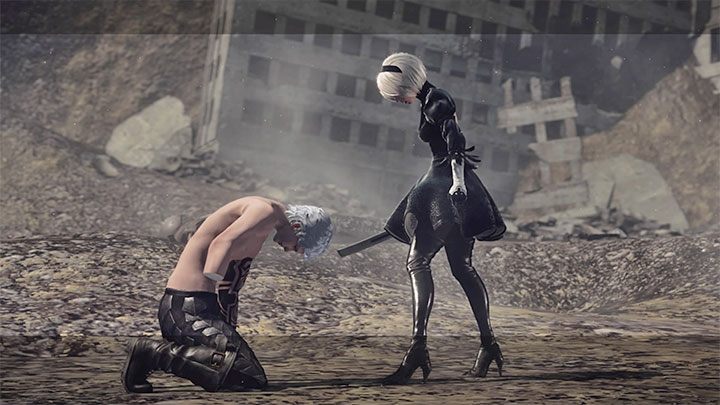
Fortunately, the boss should already be severely weakened and it won't be long before he loses all of his health for the last time. Approach the kneeling Eve to finally kill the boss.
Completing Route A and proceeding to Route B

The game will display ending A, i.e. the main ending of Route A which you have just completed.
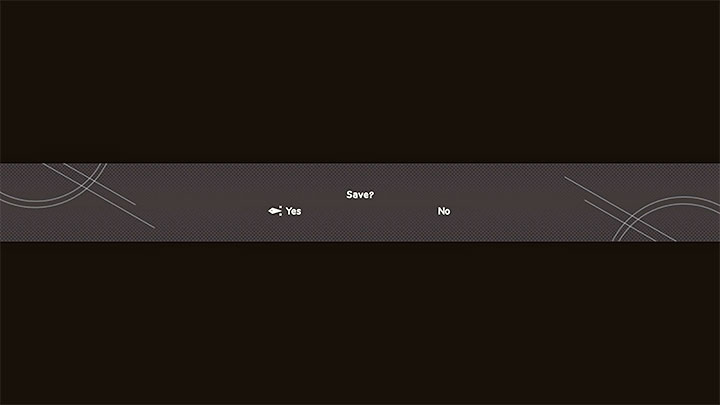
After the end credits, be sure to agree to saving your game.
After you return to the main menu, select Continue and then the save file you have just created. This will allow you to continue your game and proceed to Route B which we have described in the next subsection of the walkthrough.