NieR Automata: Chapter 6, Route A - walkthrough
NieR Automata: on this page you will find walkthrough for the 6th chapter of Route A - Forest and Castle
This page of the guide to NieR Automata contains a walkthrough of Chapter 6, which is a part of Route A and features the first visit to Forest Zone and Forest Castle. From this guide, you will learn, among others, how to reach the Forest Zone, where to find the path to the Forest Castle, how to properly go through the castle, and how to defeat the boss A2.
- Alien Report - unlocking the fast travel and returning to the Bunker
- Machine Recon - reaching the Pascal's Village
- The Forest Kingdom - crossing the forest
- Forest Castle
- A2 boss
Alien Report - unlocking the fast travel and returning to the Bunker
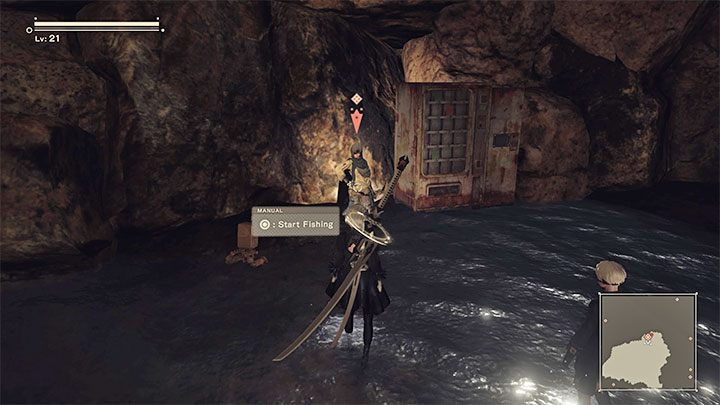
After the fight with Adam and Eve in the finale of chapter 5, leave the spaceship where the bosses were and go where you previously jumped into the caves. Listen to Operator 6O announcement on the way.
Get to the place where you will meet Jackass and where you'll find a new Access Point. You will learn about unlocking fast travel. You can use it by interacting with Access Points and selecting a new option, Transport. As a teleportation target, select Bunker.
Machine Recon - reaching the Pascal's Village

In the Bunker, you need to talk to Commander. You'll get new orders. Return to the central area of the Bunker and interact with one of the Access Point stations. You can review the new messages (the game should unlock at least 2 completely new side quests) or immediately select the Transport option and then Pascal's Village (formerly machine village) as a destination.
After reaching the place, talk with Pascal in the village. You will get several dialog options to choose from, and all of them are worth checking out. You will learn about new machines from Forest Zone, which need to be found.
The Forest Kingdom - crossing the forest

To find the way to the Forest, you will have to go to the outskirts of the City Ruins. The easiest way is to approach Access Point station and choose City Ruins: Near the Tower, which is the closest to your destination. You have to cross the drawbridge, which will lead you to the overgrown shopping center.
Exploring the shopping center, you will find a blocked passage. Shortly after the characters comment on this, a group of machines will appear. Deal with them.

After winning the fight, a will watch a cut-scene involving the head of the machine, which will roll towards the barricaded passage and explode. This will allow you to move on. Follow the path, and you will soon reach the Forest Zone.
You will be "greeted" by a group of hostile machines, and you have to get rid of them before exploring the new location.

Your final destination is the castle, which is located on the other side of the forest. However, before you get there, it is worth taking some time to explore the forest. You can unlock a new Access Point, do several side quests (including completing at least one previously started), and find several new unique weapons hidden in this area.
To continue the main plot, reach the bridge in the forest shown in the picture. It is the only undamaged bridge in the area. Follow the mountain path that leads to the castle.
After reaching the first location with castle walls and pillars, you will be attacked by a new group of machines. You can ignore them or take part in the fight, and in the latter case, use white weapons to weaken Goliath.
In this area, you can get a unique weapon, Cypress Stick, but obtaining it can be problematic. You would have to jump very precisely on the pillars to reach the larger upper shelves and finally to the one from the picture with the weapon box.

Choose a path leading by the damaged sidewalls towards the castle. On the way, you will find an Access Point (Forest Castle: Front), and after dealing with the machines, you can activate it.
Jump down to the main courtyard and head towards the main entrance to explore the castle.
Forest Castle

The whole castle has to be explored with a camera positioned from the side. This can make it difficult for you to avoid attacks from certain opponents. If necessary, use double jumps in addition to dodging. In most situations, it is safer to attack enemies at a distance.
The main route through the castle is quite linear and not complicated, although you can also explore optional paths along the way and find loot boxes, for example.

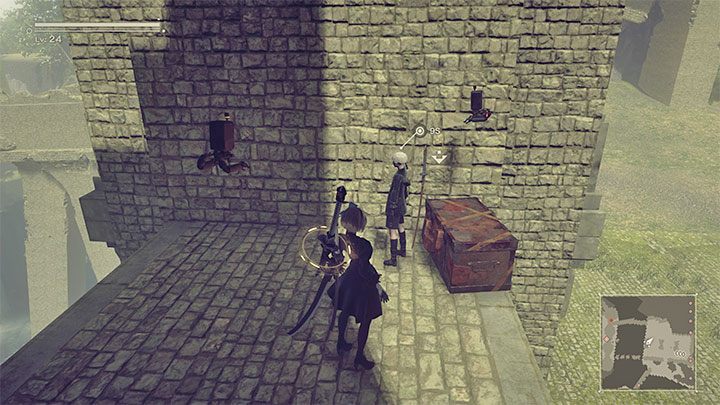
Along the way, you will come across locations that resemble large libraries and have square shape. Look for exits that allow you to resume the exploration (examples in the picture).
At some point, you will have to go to the left for a change, but the general movement pattern remains unchanged.

As you go through the castle, you will probably encounter Linked-sphere Type machines for the first time in the game. Avoid direct contact with them, and if they approach you, be careful and use the dodge when needed.
You can ignore the first machine of this type or use a lock-on and start shooting at its yellow core from a distance. Depleting him of his energy bar will defeat the machine.

In the next room of the library, use the additional ladder and perform a double jump over the missing part of the floor to reach the new passage. Expect more encounters with Linked-Sphere Type machines, but they are optional - you can also turn left and run.
In the location from the picture, you can jump to a lower level and push a large box blocking the lower passage. Thanks to that, you will find Forest Blacksmith Masamune, who can upgrade your weapons to a maximum 4th level. We described this in more detail on the Weapons' level 4 upgrade - how to achieve? page in the FAQ section. Unfortunately, during the first playthrough of the game as 2B, it is unlikely that you will have the necessary components for crafting.

Following the upper left path, you will reach the second Access Point in the castle. Be sure to get rid of the machines, unlock the Access Point, and save the game because you're about to face the boss.
Keep going left. Attack the encountered groups of machines at a distance and use pod programs to make the fight easier.
A2 boss

Finally, you will reach the cradle, and when you approach it, Android A2 will appear. Like in one of the previous fights, you have to play this boss fight with a side view.
Before proceeding to the combat, go around the place (especially check the area next to the cradle) and try to resurrect the corpse of some other fallen player to help you in this fight.

To attack A2, you can use white and ranged weapons - in the latter case, do not forget about locking the camera on the boss.
The boss also uses a white weapon, and if you attack constantly, A2 will have less opportunity to use hers.

When the camera moves slightly back, it's a sign that the boss is preparing for one of the unique attacks. It can be:
- A strong impact from the air - dodge at the right time to avoid collision with A2,
- A charge on the ground - it's safer to dodge, although you can also try to perform a double jump before A2 appears.
The fight should end when A2 has about 1/3 of her health bar. The opponent will perform a leap of faith from the castle wall and leave the arena.

You can run to the left and perform a long jump, but do not forget to hold down the jump button to activate the glide. When you are back in the castle courtyard, listen to the conversation with the Commander.
Note - you can optionally return to the place where you fought with A2. The re-examination of the cradle will end successfully this time, and you will find loot in it.

You are not permitted to copy any image, text or info from this page. This site is not associated with and/or endorsed by the Square-Enix / Eidos or PlatinumGames. All logos and images are copyrighted by their respective owners.
Copyright © 2000 - 2025 Webedia Polska SA for gamepressure.com, unofficial game guides, walkthroughs, secrets, game tips, maps & strategies for top games.