Escape and the engine room | Layers of Fear 2 walkthrough Layers of Fear 2 guide, walkthrough
Last update: 29 May 2019
This page in our guide to Layers of Fear 2 contains walkthrough for the beginning stages of act 2. There are certain sections in this act where you have to run away from monsters. Besides that, you will also explore a lot and solve a few puzzles. Some of them involve bringing the power back or unlock the passage near the projector.
A torn photo with an autograph is on the table near the starting point. Once you reach the office, examine the photo camera lying on the desk. Then, repeat this action (a distorted signal will appear instead of a comment).
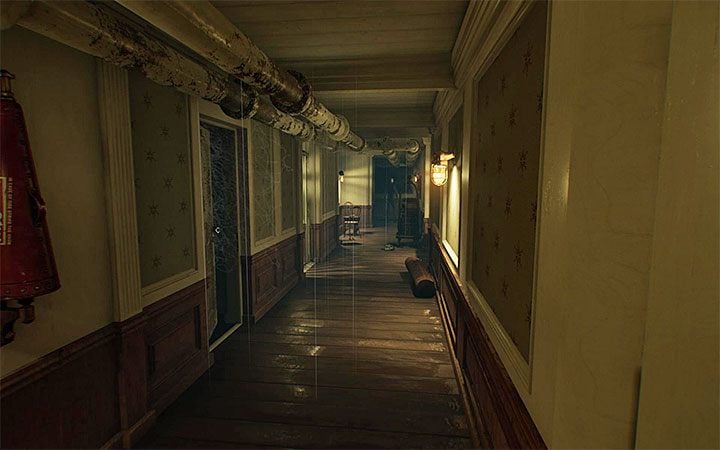
Watch out for yourself in the place presented in the picture. A monster will appear here soon - this is another place where you can die fast.
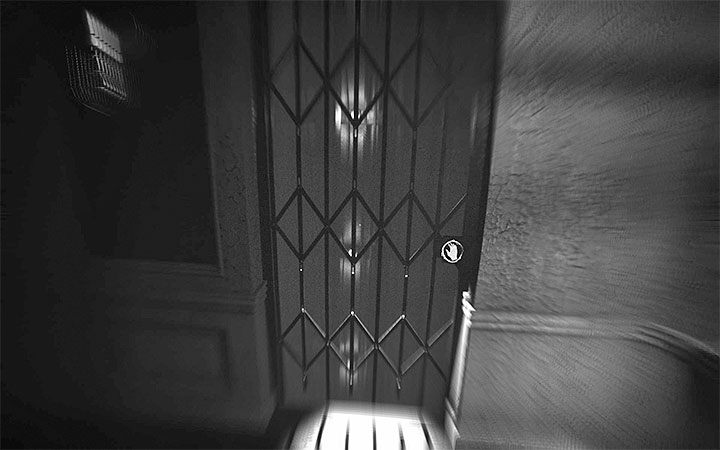
Start running and don't look back. Keep moving through the corridors until you reach the lift (see the picture above). Move the door fast and jump into the empty lift shaft. You land in the engine room - the hero has managed to escape from the monster.
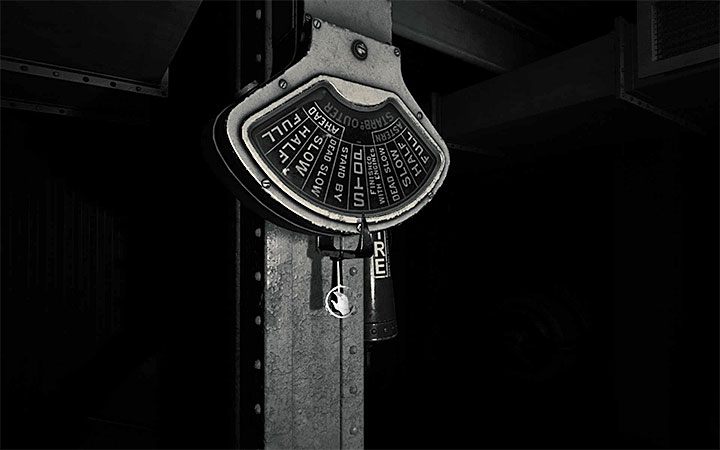
Approach the lever presented in the picture - it is for controlling the ship's speed. Move it either all the way to the left or to the right. Do that and you will bring the power back to this area. You are now able to traverse the corridors with greater ease.
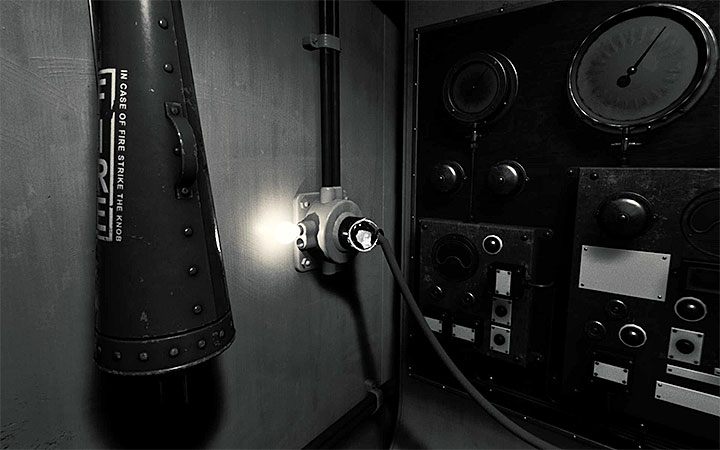
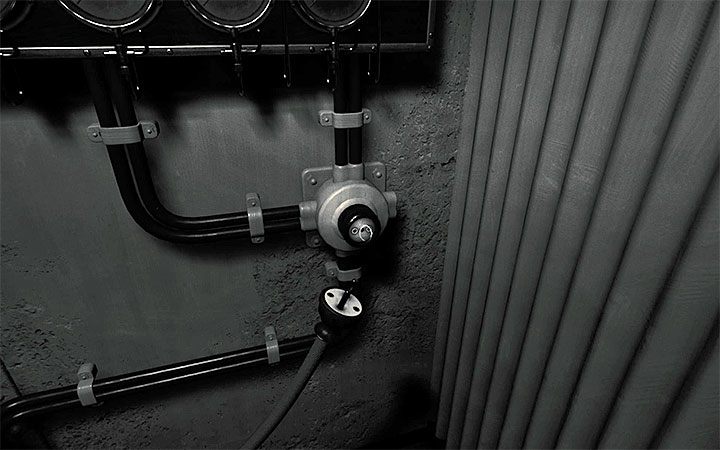
In the engine room, you can solve a puzzle with a cable. Go to the electric socket presented in picture 1 and pull out the cable. Take the cable right and put it into the electric socket presented in picture 2. Pull the lever located next to the lamp. You can now continue exploring the engine room.
Pay attention to the ladder you will pass by soon. Climb it and open a small box. Inside, you will find a part of a journal. After that, go down and reach another metal door.

Keep moving through the engine room - ignore the mannequins. Climb the ladder. You can move forward - the passage is blocked with hot steam. Interact with the valve to cut off the water supply.
When you reach the fork, go right. Reach the end of the metal balconies (see the picture above) and pick up a filmstrip (collectible). After that go back to the fork and choose the path on the left - it leads to another metal door.
Keep moving forward - ignore the screen distortion. You are in one of the corridors - examine the locked gate. A decoration is hanging on it.
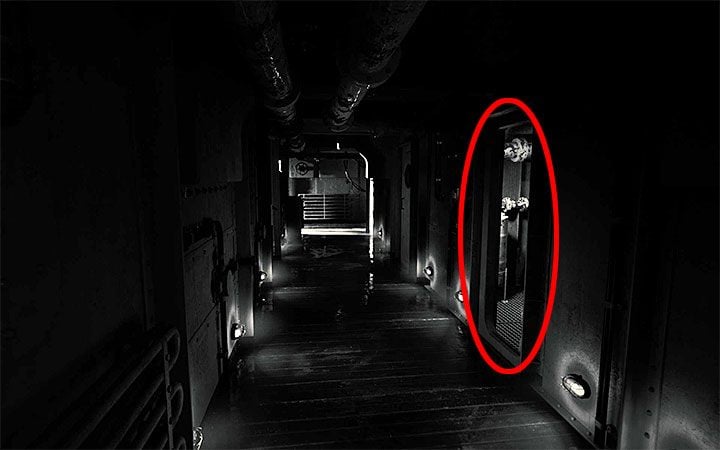
Reach the place presented in the picture above. Soon, a monster will appear in the corridor.
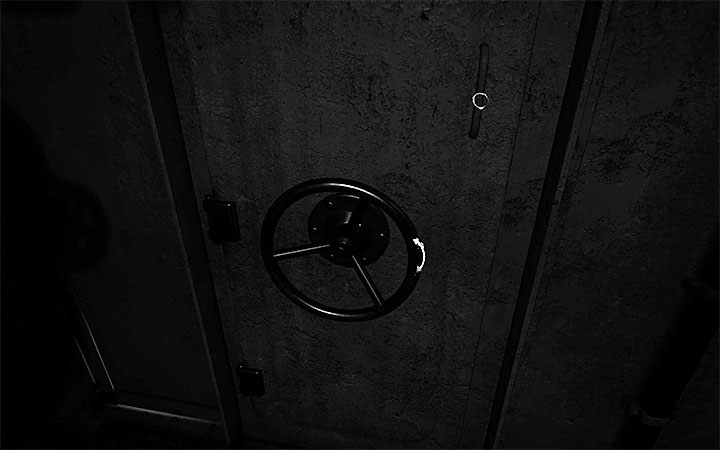
Do wait for the creature - run quickly to the first cabin on the right. Turn around, lock the door and turn the rotating mechanism - the monster won't be able to get inside. Wait for the monster to lose interest in you - it will go somewhere else. After that, unlock the door and go back to the main corridor.
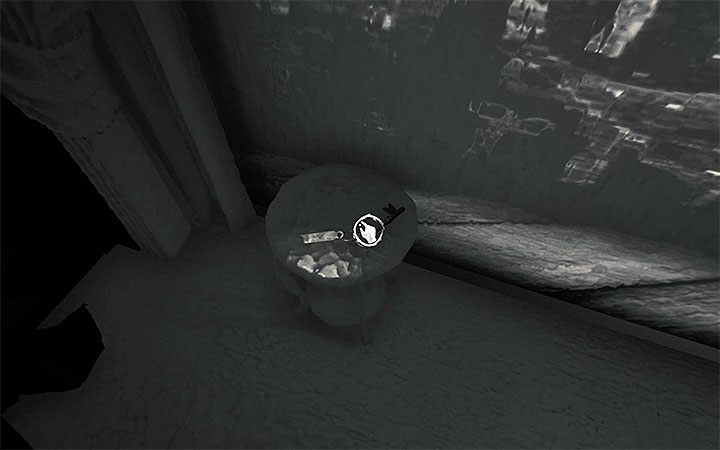
Reach the new room with a projector - you have to solve a puzzle here. This one is more complex than the one in the first act. Interact with the projector. Start with locating a cage with multiple keys. Approach the screen - a small table with a key will "materialize". Take the key and go back to the projector.
The second part of this puzzle is to make a door appear on the screen. Stop the movie in the following parts:
- Frame with a door-frame
- Frame with a door
- Frame with a doorknob
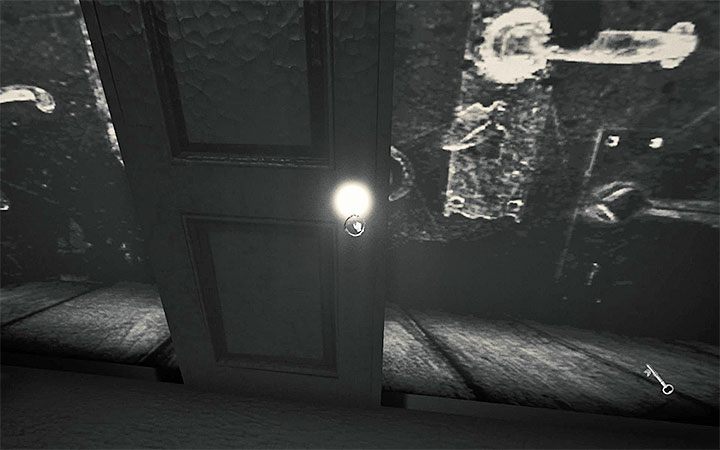
Release the button after each use of the projector to make the object appear on the screen. Once you are done, approach "the glowing" doorknob and open the door.
Approach the window and interact with the bell. Move forward. You reach a room with a mannequin lying on the bed. You can interact with the TV. Check another cabin. Open the locker - you will find a security officer's note.
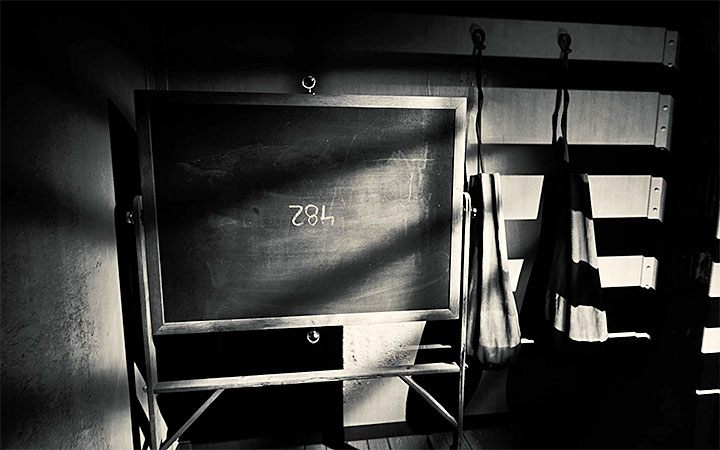
In this area, you can solve a lock puzzle. Reach the cabin with a blackboard. Push it. The code is rotated 180 degrees - it's 482. Go back to the lock and enter the code.
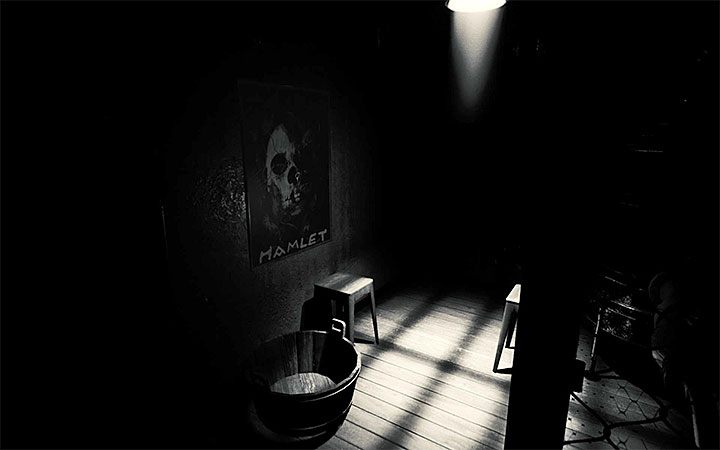
You are in a new corridor. Interact with the valve to stop the hot steam. Examine the new area carefully - a movie poster (Hamlet) is hanging on the wall in the darker part of this place.
Move forward. A child is sitting on a wardrobe located in one of the next few rooms. However, you can't interact with it. Examine the compass. Reach the well and jump inside.