Into the Fire - Fallout 76 Walkthrough Fallout 76 Guide, Walkthrough
Last update: 23 November 2018
The following page contains walkthrough for the seventh main quest in Fallout 76. Into the Fire mission activates automatically after entering the Charleston Fire Department, but only if you completed An Ounce of Prevention quest. This mission allows you to join the Fire Breathers.
Pass the test

Charleston Fire Department is located near the AVR Medical Center, so you can go there right after finishing the An Ounce of Prevention quest. Reach the place and come inside - Protectrons here are friendly, but other opponents can spawn nearby.
A gas mask can be found in this area - for more information, check "How to get a gas mask in Fallout 76?"

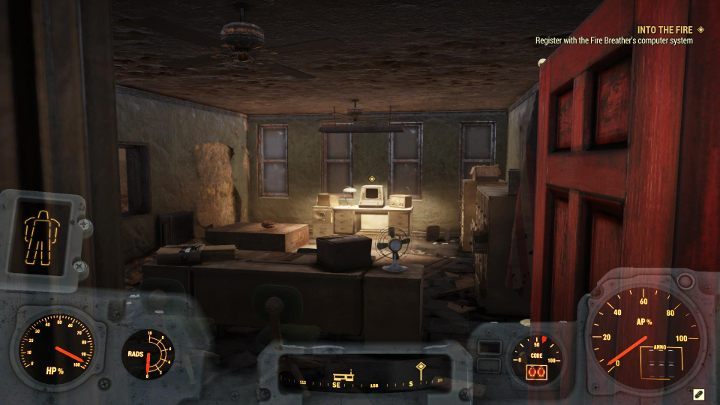
In the building, find a computer and then choose the option to take the test. You'll be asked seven question regarding safety. In the fire department's building, you can search for notes which will help you pass - however, you'll find all the answers below:
- First question: "Evacuate as quickly as possible"
- Second question: "A water-soaked rag"
- Third question: "Gently bind the burn with clean bandages"
- Fourth question: "Retreat immediately"
- Fifth question: "Purified Water, 2 Ash Rose, 2 Blight, 2 Soot Flower"
- Sixth question: "Fall back and engage from a distance with firearms"
- Seventh question: "End his life as mercifully as possible"
After giving the answers listed above, you'll pass with a perfect score and get the next objective.
Complete the Physical Exam

Now, your objective is to pass the physical exam. You have to run from point A to B and back. First, go to a point which is marked on your map. Use the computer and take the physical exam - you've got 3 minutes to complete it. Then, take the following steps:
- The time for preparation will appear next to the quest name (about 15 seconds). When the time is up, press the A button.
- Use the bridge next to the button, and then jump through the hole in the wall.
- Head towards the quest marker. You'll quickly find an open field, probably with enemies. You can go around them or kill them. You'll have enough time to get rid of them, and it's better to do so because they can be a problem when you're running.
- Reach the place with B button and press it.
- Finally, get back to the place where you started (with the A button) using the same way. After that, press the A button. If you finished in 3 minutes, you pass.
If you can't pass because of the enemies, try killing them before starting the exam. If you quickly take the test after killing them, they shouldn't be able to respawn.
Complete the final exam
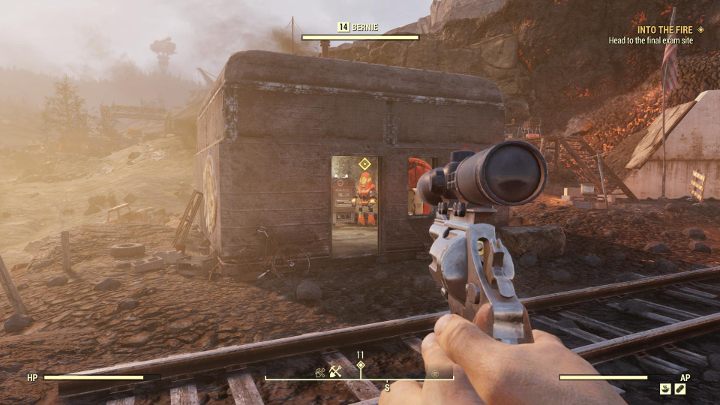
After completing the physical exam, you still have to take the final exam - your task is to trigger an alarm in a dangerous mine. Go to the place marked on your map. Talk to a Protectron named Bernie. You'll receive a Fire Breather Kit Ticket - use it on the nearby dispenser. You'll get a firefighter outfit and a holotape - put the new clothes on and play it. You can now go to the mine. It's located nearby and will be marked as the objective of the mission.
Next to Bernie, you should find a Power Armor - if it's not there, try to leave and re-enter the game to get to another server. In this quest, the Power Armor is very useful, because many opponents will be waiting for you in the middle of the mine.
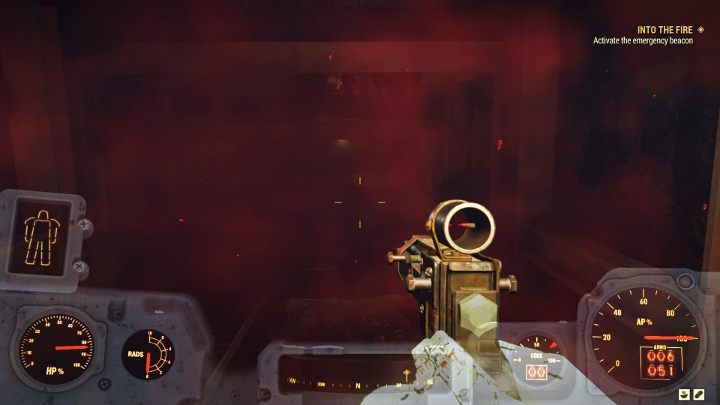
Inside, you have to open the door using the terminal - it's not secured, so just select the option to unlock the door. Go to the burning tunnel. Avoid the fire (when you touch it, you'll receive damage) and follow the path. You'll meet a lot of Scorched on the way.
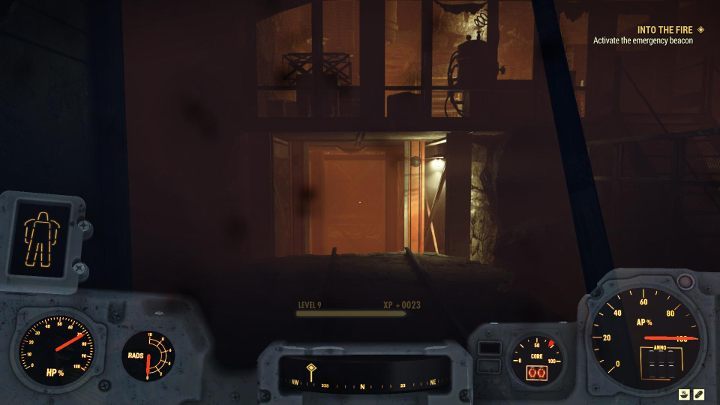
In the place shown in the picture above, you have to start going down - use the nearby stairs. Of course, you can also search the upper area - you won't find any special items there, but some can be useful for crafting.

Your goal is at the bottom. Head forward, but first, you have to deal with the horde of Scorched. After reaching your destination, regenerate your health - when the alarm starts, you'll be attacked by another wave of enemies.
After defeating them, you have to decide how to come back outside:
- Using the same path you got here.
- Turning left next to the machine, where the alarm was triggered.
Regardless of how you get back, go to the Bernie again. Talk to him to finish the exam.
Completing the quest
Now, you can go back to the Charleston Fire Department. Go upstairs and use the computer. Move to the next room and press the marked button - that way you'll finish Into the Fire quest. As a reward, you'll get Stimpacks and a heavy metal piece of armor. Additionally, you'll automatically start the next quest of the main storyline - The Missing Link.